|
|
In this tutorial I want to show you how to create a modern abstract background using standard shapes. Then I’ll show you how to transform these standard shapes into dynamic ones. This will allow you to smoothly manage their settings and even transform them into other objects so you can achieve new artwork in just seconds. All this has become possible thanks to the release of the new VectorScribe2 plug-in.
|
|
|
In today’s article I explore new functions of the Pencil Tool (N). Tool options have been greatly simplified, from now on we can automatically close paths and draw straight line segments. Are there any problems with editing paths? Let’s check.
|
|
|
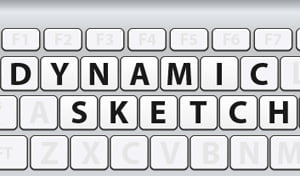
Imagine if you were able to draw more naturally and intuitively in Adobe Illustrator! Well, anyone who has used the Dynamic Sketch plug-in will know that this has been specifically designed just for this! Today’s guide aims to speed up your vector workflow with Dynamic Sketch by using keyboard shortcuts. This information, along with the Dynamic Sketch’s instructional product movies, will help you get the most from this extremely effective plug-in!
|
|
|
If you use Photoshop’s Curves, Levels and Hue/Saturation for color corrections then you will love using the Phantasm plug-in for Adobe Illustrator. In this tutorial I’m going to share with you how to achieve tonal and color correction in vector images with the same ease as Photoshop’s tools. We will even be able to adjust the Alpha channel and spot colours with this amazing plug-in.
|
|
|
The revolutionary InkScribe plug-in is designed to help you draw precise and calculated shapes in the easiest and quickest way. Today’s guide shows how to speed up your workflow with InkScribe by using keyboard shortcuts. This information, along with InkScribe’s instructional product movies, will help you get the most from this unique plug-in!
|
|
|
If you’ve ever needed to remove unwanted sections of paths quickly and easily then the Gesture Trimming function in DynamicSketch should be part of your toolkit! In addition to showing how this can be done we’ll also look at how to create a vector outline using a few tools by Astute Graphics.
|
|
|
In this tutorial we will learn how to create a vector outline using Width Brush Tool, Width Eraser Tool and Width Selector Tool, which are the tools of the WidthScribe plug-in and are designed for easy work with variable width paths. Today we will create an outline of a comic character, and before we begin, let’s briefly look at a few ways that it can be done.
|
|
|
In this tutorial we will take a look at several ways to create grids, including hexagonal grids, which will be a basis for seamless geometric patterns. Such types of patterns are relatively easy to create; they remain, however, in demand in different design spheres, such as print design, textile design and web design.
|
|
|
In today’s tutorial we will learn how to control transparency of gradient meshes with the help of blending modes, and by adjusting color transition between mesh points and changing its opacity. Moreover after reading this tutorial, you’ll be able to create Illustrator brushes from gradient meshes of any difficulty with the help of free Mesh Tormentor plug-in. Let’s get started!
|
|
|
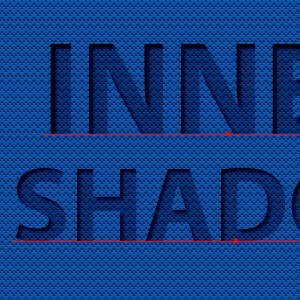
As we all know, Adobe Illustrator doesn’t have a feature to create inner shadows. Some time ago, on our website we suggested a method to create inner shadows with the help of the Clipping Mask and the Drop Shadow effect, which, unfortunately, cannot be applied to editable text. Today, we will consider a method allowing creation of inner shadows for editable text, which was suggested by one of our readers- Prophet. Thank you very much; I’m very pleased that you share your interesting ideas and solutions with us.
|
|
|
|
Recent Consultations |
 |
|
|
|
|