|
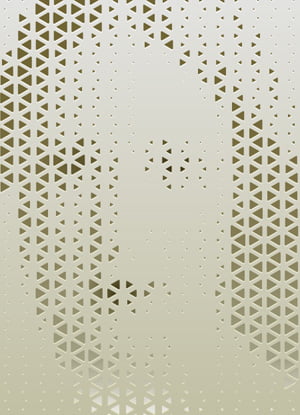
Final Image Preview
In today’s tutorial we will learn how to control transparency of gradient meshes with the help of blending modes, and by adjusting color transition between mesh points and changing its opacity. Moreover after reading this tutorial, you’ll be able to create Illustrator brushes from gradient meshes of any difficulty with the help of free Mesh Tormentor plug-in. Let’s get started!
Step 1
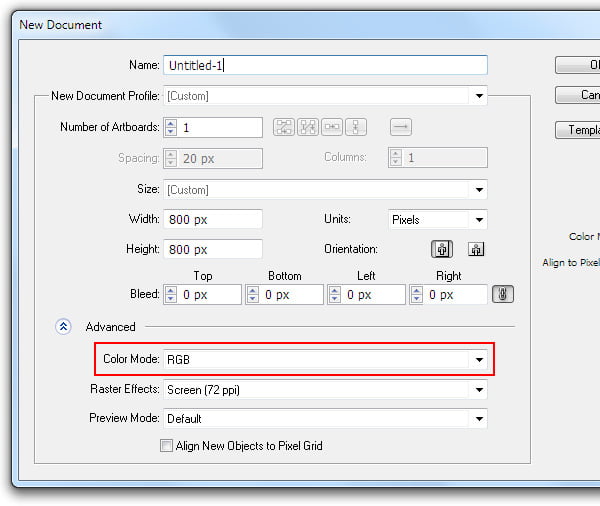
Open Adobe Illustrator and create a new document (File > New). In the dialog box, set the RGB color mode and the size of the artboard, which depend only on your personal preferences.
Step 2
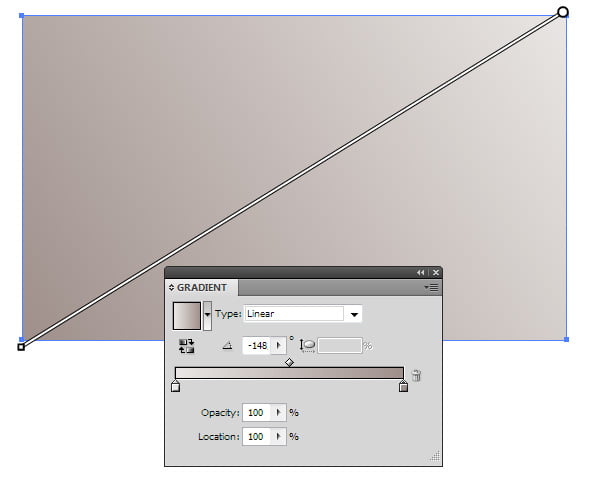
Take the Rectangle Tool (M) and create a rectangle with linear gradient fill. I used two colors for this gradient: R= 233; G = 230; B =228 and R= 158; G = 143; B =138.
This created rectangle will be used as our background, so you can use completely different fill. But the background should exist as an object.
Step 3
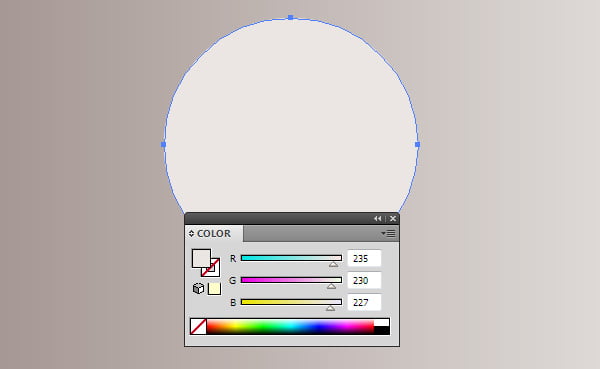
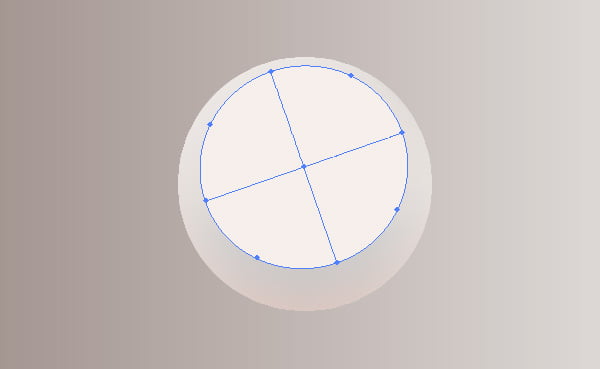
Let’s begin creating our pearl. Take the Ellipse Tool (L) and draw a circle with light-brown fill R= 235; G = 230; B =227.
And now transform our circle into a gradient mesh. To do so, go to the Object > Create Gradient Mesh… and in the dialog box set a number of rows and columns which is two.
Step 4
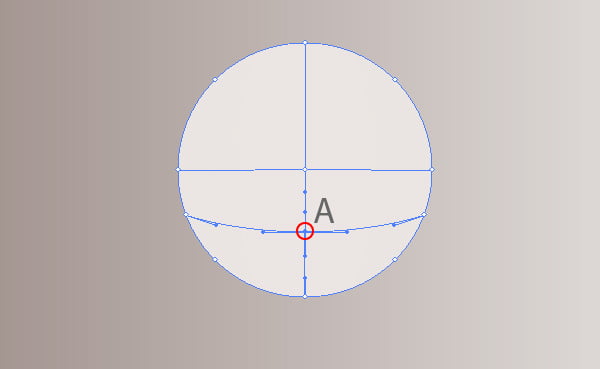
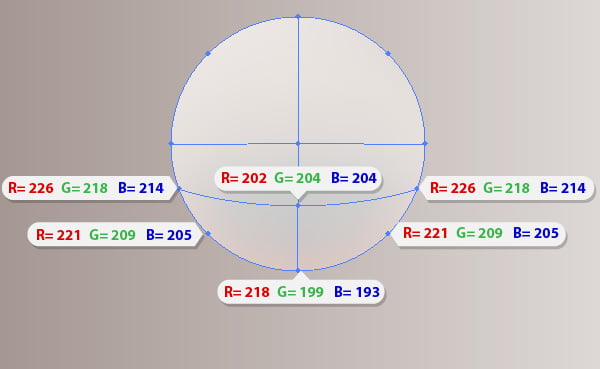
Take the Mesh Tool (U) and create a new mesh point by clicking on the point A.
Now we need to recolor a couple of mesh points. Use the Direct Selection Tool (A) to select them. The points’ location and their new colors are indicated on the figure below.
Step 5
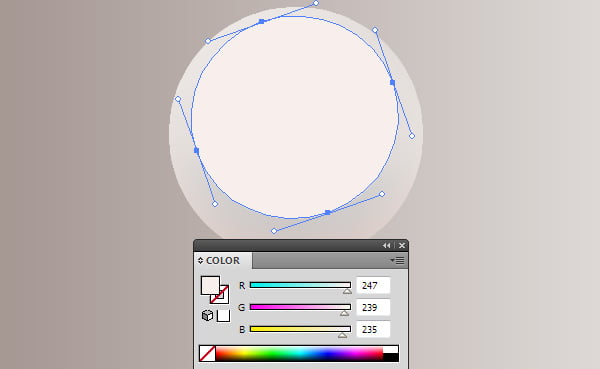
Create an ellipse with the color of fill R= 247; G = 239; B =235 with the help of the Ellipse Tool (L) and rotate it to some angle with the Selection Tool (V), as it is indicated on the figure below.
Transform the ellipse into a gradient mesh (Object > Create Gradient Mesh).
You can read full version of this tutorial on Vectips.com
|