|
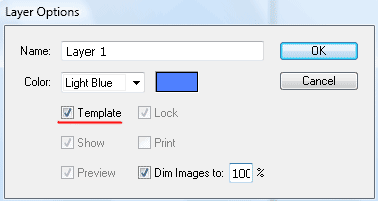
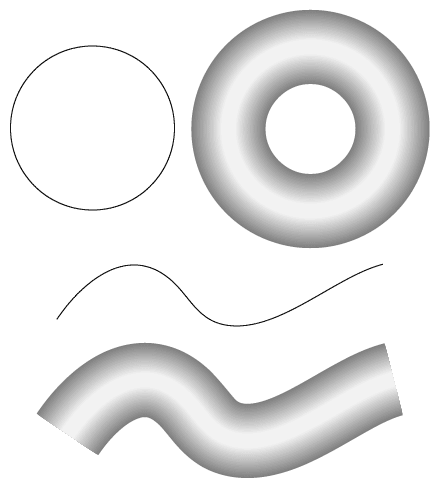
Natalie Ulrich shares some very interesting tricks with us. Today you will find out how to simplify your work with the Gradient Mesh; how to control the Rectangular Grid Tool, the Arc Tool and the Polar Grid with the shortcuts. You will also learn how to create the gradient brushes and chains. Learn at the jump! View of the Reference Image while Creating the Gradient MeshOften illustrators use the reference images to create the vector artworks. The Gradient Meshes can be created with the reference images. It is easy to switch between the Outline and the Preview modes while you work, because the colored Gradient Mesh nodes cover the reference images. If you place the reference image into a separate layer, which you make a template, you will be able to see it in the Outline mode. Otherwise when you go into this mode you will be able to see only the contours of the image. The Shortcuts for the Rectangular GridThe rectangular Grid tool creates the grid with identical cells on default. If you want to change the location of the cells then press the X or C keys while creating the grid to move the vertical lines to the left or to the right; press the V or the F keys accordingly to move the horizontal lines up or down. On the picture to the right the V key was pressed while the grid was created. The Gradient BrushesTo create the gradient that goes along the path you can use the Art Brush. Create a rectangle with the Rectangle Tool (M). Copy and paste it ahead (Cmd / Ctrl + C, Cmd / Ctrl + F). Reduce the height of the upper rectangle. Fill the rectangles with different colors (refer to the picture to the right) Select two rectangles and press the Cmd / Ctrl + Opt / Alt + B shortcuts to create a blend. Double click on the Blend Tool in the toolbar open the dialog box the Blend Options. Choose the Specified steps and set a number of steps so the flow of the color will be smooth, in our case it is 20 steps.
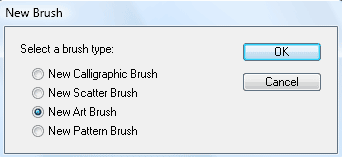
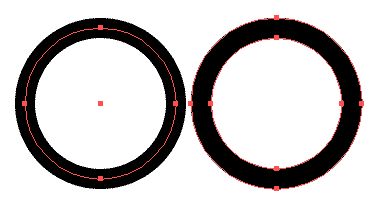
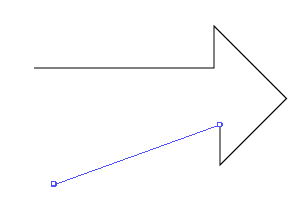
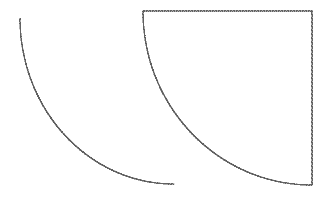
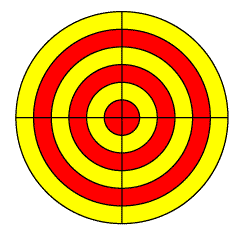
Select the received blend-object and in the Brushes panel press the New Brush button. Then select the New Art Brush and press the OK button in the current and in the next window Now we can apply the received brush into any path. For some micro stock sites with strict conditions to the uploaded vector files, as the IStockphoto.com, the received brush should be transferred into the regular objects (Object > Expand Appearance). Your file can also not be excepted if the blend object consists of more than 10 steps in the beginning stage. The Creation of the ChainYou can easily create crossing objects with the Live Paint Bucket tool (K). Create a circle without the fill and with the stroke. Without removing the selection, go to the Object > Expand Reduce the height of the received object and duplicate it a couple of times. Color the rings into different colors. Select all the objects and click on them with the Live Paint Bucket (K) to transform them into dynamically colored objects. Select the color of one of the objects and click with the tool on the place of crossing of the links of the chain. Use these techniques to the rest of the links. Now we can move any of the objects with the Direct Selection Tool (A) while saving the illusion of the cohesion Please note, the links of the chain consist of two objects, bigger and smaller ellipses, so while you move them in the Live Paint Group you should select them both. Moving of the Points in the Process of the Path Creation.When you create the anchor point with the Pen Tool (P), you can change its location. To do so, press the space key while you keep holding the mouse button and move it to the right place. Release the space key and continue the creation of the path. The Automatic Adding/Deleting of PointsThe Pen Tool (P) adds new and deletes the existing points of the selected path on default. Sometimes this property of the tool prevent from, for example, when you are trying to create a new path near the existing one. To turn this option off, hold the Shift key when you create a new point. To turn this option off in the settings of the program tick "Disable Auto Add/Delete” in the dialog box the (Cmd / Ctrl + K). The Shortcuts for the Arc ToolThe C key switches the modes of creation of the opened or the closed path. To change the direction of the curve of the arch, press the F key. The Automatic Close of the PathTo create the closed path with the Paintbrush Tool (B) or the Pencil Tool (N), hold the Opt / Alt keys while drawing. When you approach the end point release the mouse button. After the path is closed, release the Opt/Alt key. The Direction of the Polar Grid ToolIf you need to create a couple of circles and each of it must be bigger than the previous one, use the Polar Grid Tool. The keys the "arrow up” and the "arrow down” are used to increase and to decrease the number of the circles in the process of their creation. To change the number of the sectors use the "arrow left” and the "arrow right” keys Effective Methods of Working in Adobe Illustrator (Part 1)
Effective Methods of Working in Adobe Illustrator (Part 2)
Effective Methods of Working in Adobe Illustrator (Part 3)
Effective Methods of Working in Adobe Illustrator (Part 4)
Effective Methods of Working in Adobe Illustrator (Part 5)
Effective Methods of Working in Adobe Illustrator (Part 6)
Effective Methods of Working in Adobe Illustrator (Part 8)
Natalia is a successful illustrator and photographer who works with micro stock sites. If you want to become financially independent and get a good source of passive income, register on micro stocks at the following links and start making money right now.
Shutterstock.com
Dreamstime.com
Fotolia.com
123RF.com
DepositPhotos.com
Lori.ru
Istockphoto.com
Follow us if you want to be the first to know about the latest Adobe Illustrator tutorials and articles. Vectorboom team works for you!
|