|
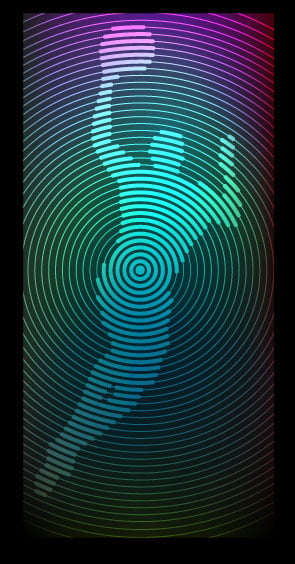
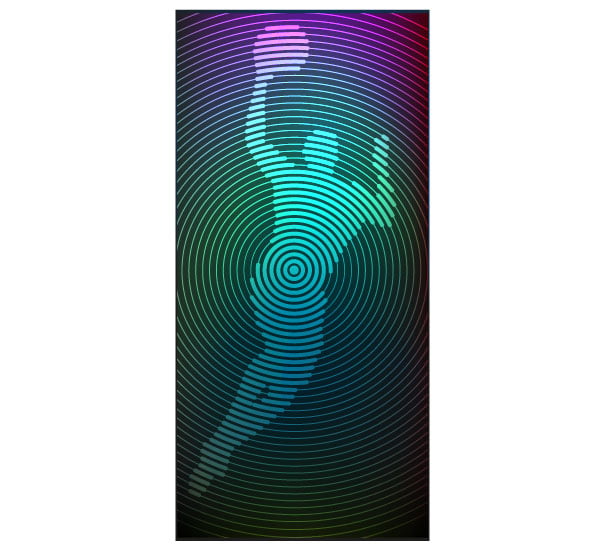
Final Image Preview
In this Illustrator tutorial we will learn making a vector silhouette which consists only of lines. Having mastered the technique described in this vector tutorial, you would be able to create interesting effects which might be useful for you while creating logos and text effects.
Illustrator Tutorial Details
- Program: Adobe Illustrator CS3 -CS6;
- Difficulty: beginner;
- Estimated Completion Time: 30 minutes;
Create Vector Silhouette from Lines
Step 1
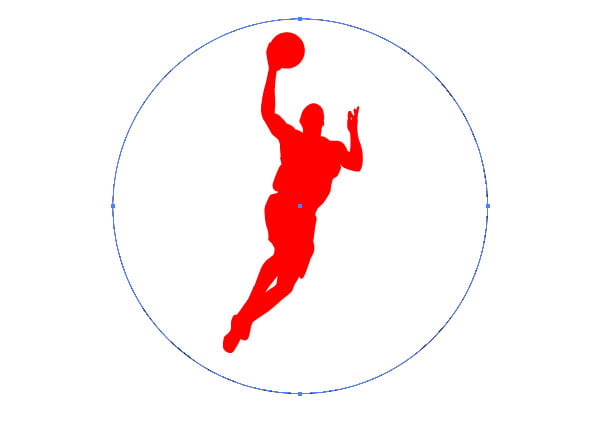
We need a vector silhouette for this tutorial. You can create it yourself by outlining the picture with the help of the Pen Tool (P), or just use the ready ones. You can find a big collection of vector silhouettes at all-silhouettes.com.
Fill the vector silhouette with any bright color.
Step 2
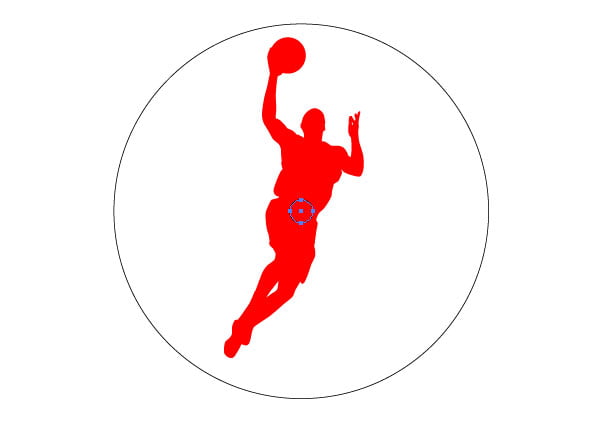
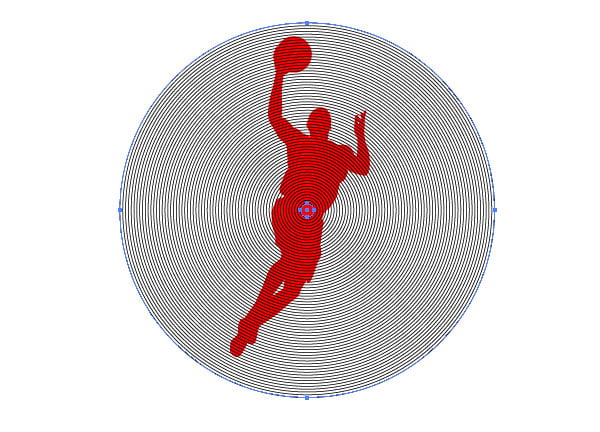
Now take the Ellipse Tool (L) and create a circle, the diameter of which is bigger than the size of the vector silhouette.
This circle shouldn’t have any fill. The thickness of the stroke should be 1px, in black. Create one more circle of smaller size. Both of our circles should have one and the same center.
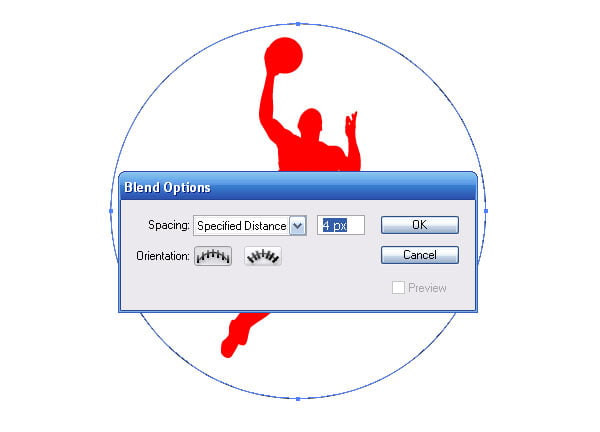
Step 3
Select the circles, then go to the Object > Bland > Bland Options… and set the number of the Specified Distance in the dialog box.
Now go to the Object > Bland > Make.
Then, go to the Object > Bland > Expand.
These actions lead to the creation of the group of concentric circles.
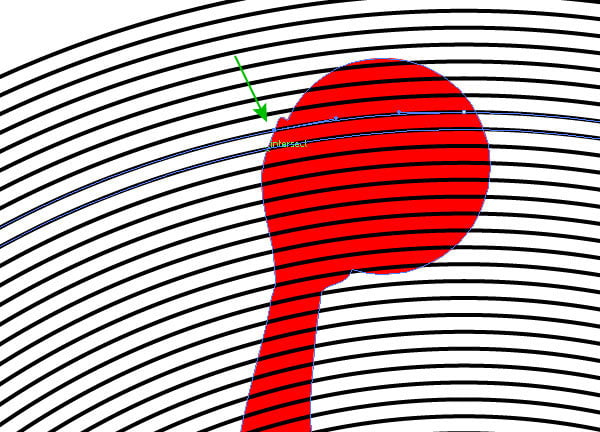
Step 4
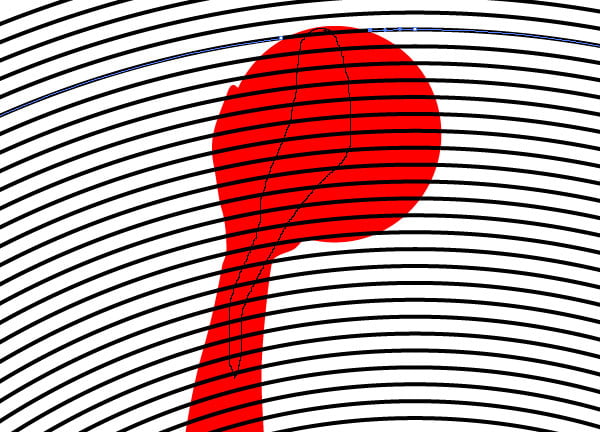
Take the Scissors Tool (C) and cut the circles in the places of intersection with the vector silhouette.
Lock the vector silhouette in the Layers panel, in order to make sure that we don’t cut it by accident. You should go around the whole silhouette while cutting the circles. In the places, where the vector silhouette has a complex shape, you should simplify the outline cuts. In my case, they are the fingers on the basketball player’s hand.
In other words, don’t cut too short segments of circles.
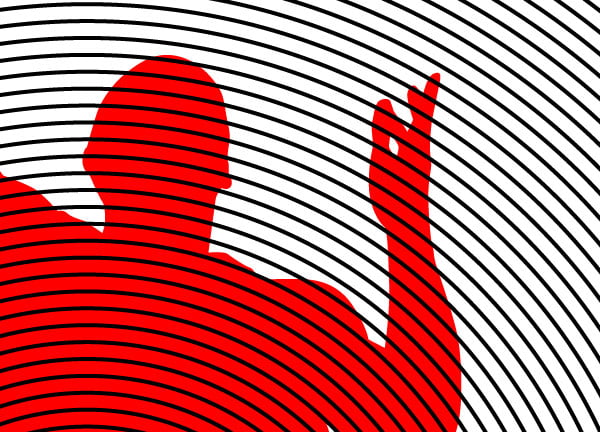
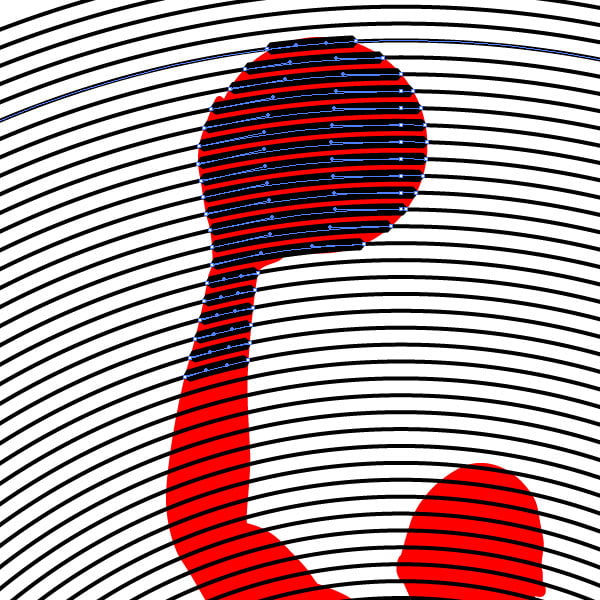
Step 5
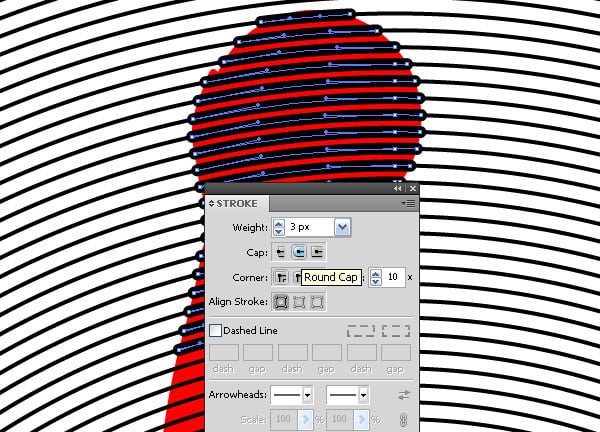
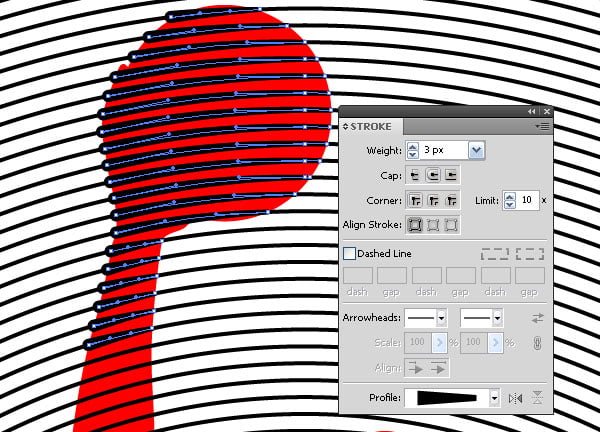
Select the segments of the circles which lay on the vector silhouette with the Lasso Tool (Q).
Don’t try to select all the segments at once, work in stages. Now, let’s change the thickness of the selected segments in the Stroke panel.
You can also apply to them a suitable profile in the same panel.
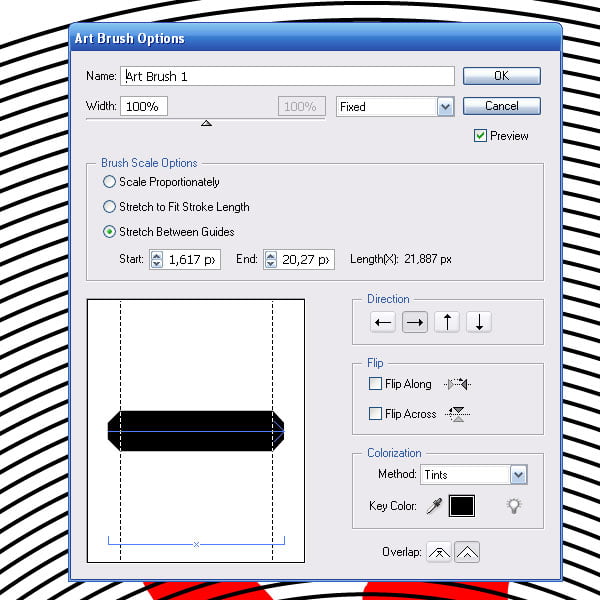
Or create and apply the Art Brushes as I did it.
Experiment to get the best result.
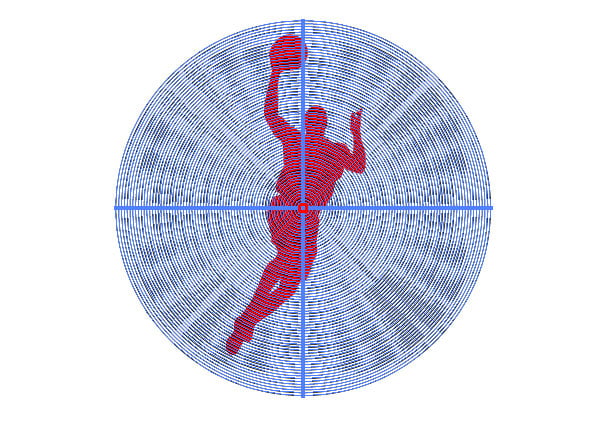
Add light effects to vector silhouette
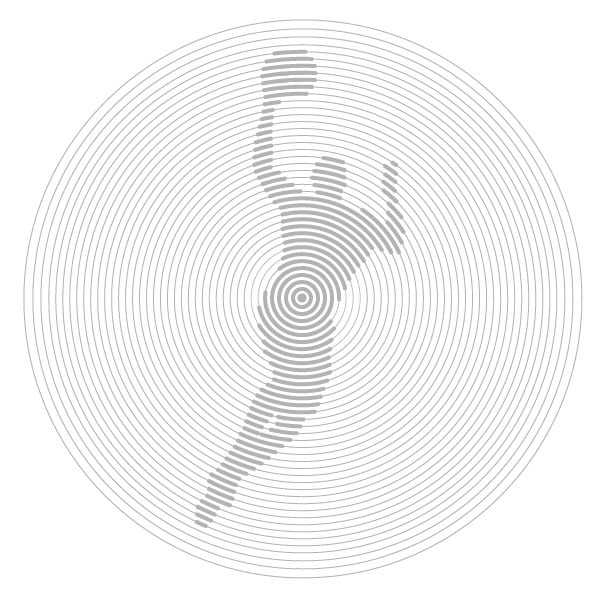
Step 6
Add some light effects to our vector silhouette. Replace the color of all strokes to a neutral grey color.
Create a rectangle and place it underneath all the objects.
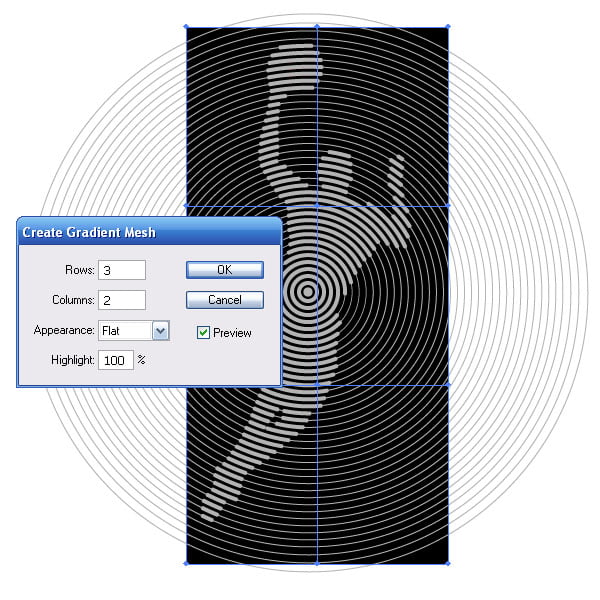
Step 7
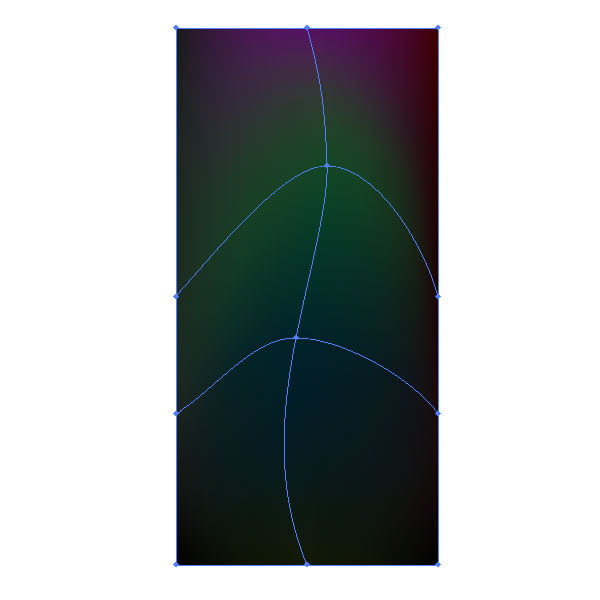
Select the rectangle and go to the Object > Create Gradient Mesh…, then set a number of rows and columns in the dialog box.
Color the nodes with dark shades of different colors. You can also move the nodes of the gradient mesh using the Direct Selection Tool (A).
Step 8
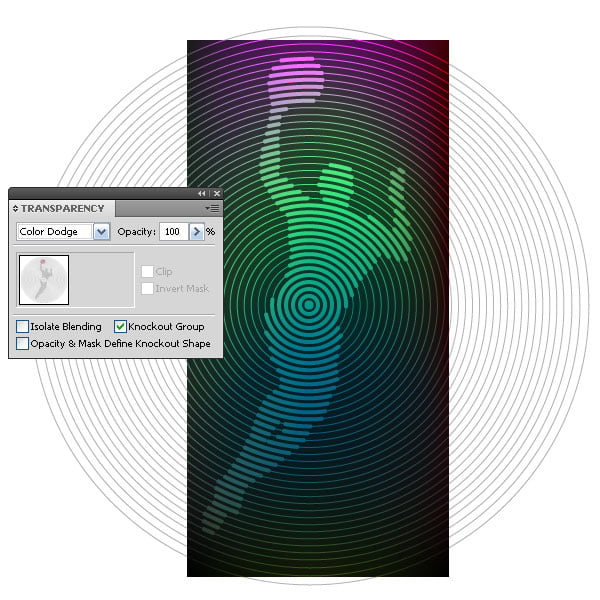
Select the vector outline, which consists of the segments of circles, and apply to it the Color Dodge blinding mode in the Transparence panel.
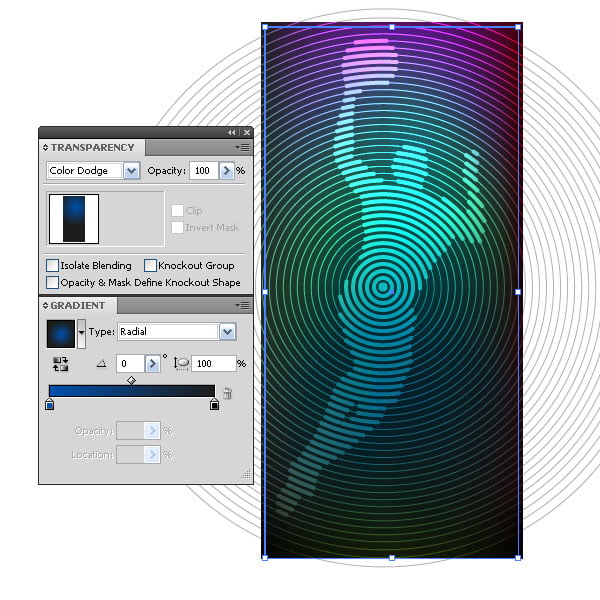
Create a rectangle with the fill of linear gradient from black to blue and also apply the Color Dodge blending mode to it.
Play with colors and direction of the gradient until you get the desired result.
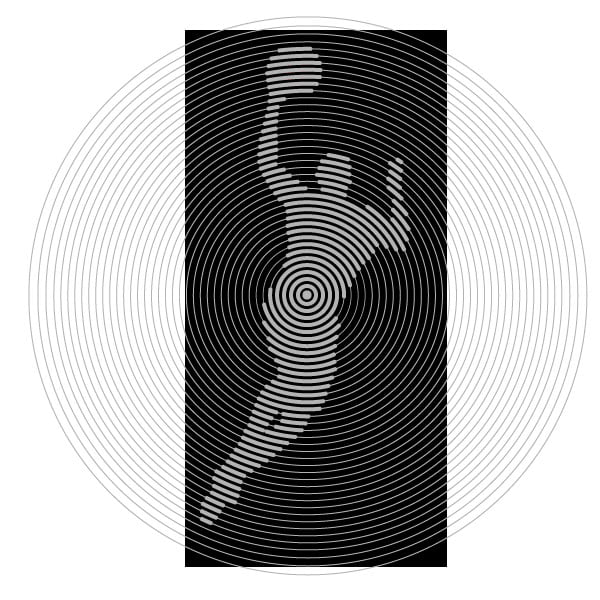
Step 9
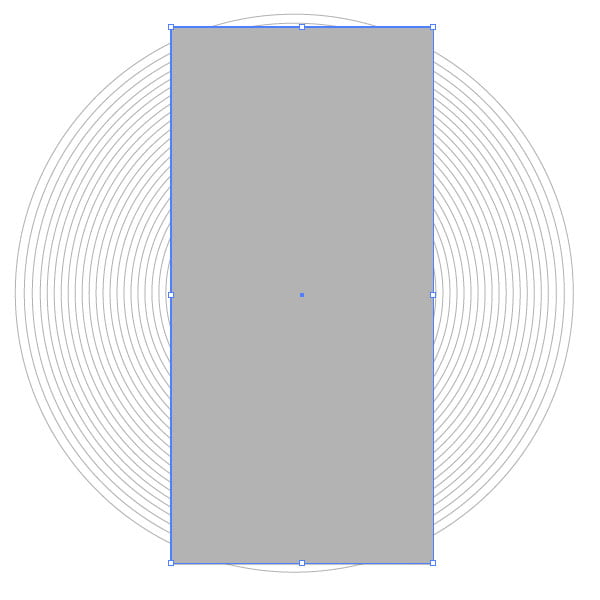
Create a rectangle in any color which limits our composition.
Select all the created objects and go to the Object > Clipping Mask > Make.
Conclusion
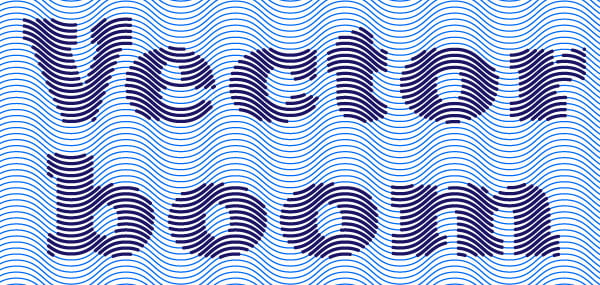
You can also create very interesting text effects while using the described technique. As you probably guessed, any form of lines can be used.
Follow us if you want to be the first to know about the latest Adobe Illustrator tutorials, Interviews and articles. Vectorboom team works for you!
|