|
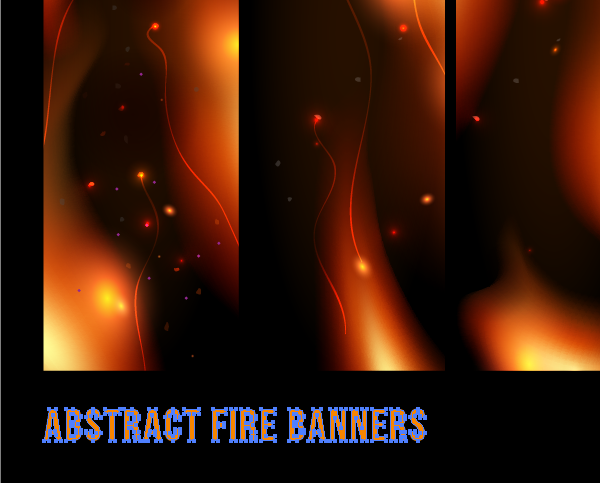
Final Image Preview
In this Illustrator tutorial we will learn how to create a vector fire using very simple techniques. Even the beginners will be able to do this tutorial easily. You will also learn how to create the fire banner and prepare for selling it on the microstock sites. Have fun while learning this Adobe Illustrator tutorial!
Illustrator Tutorial Details
- Program: Adobe Illustrator CS3 - CS6;
- Difficulty: Beginner;
Creation of Vector File
Step 1
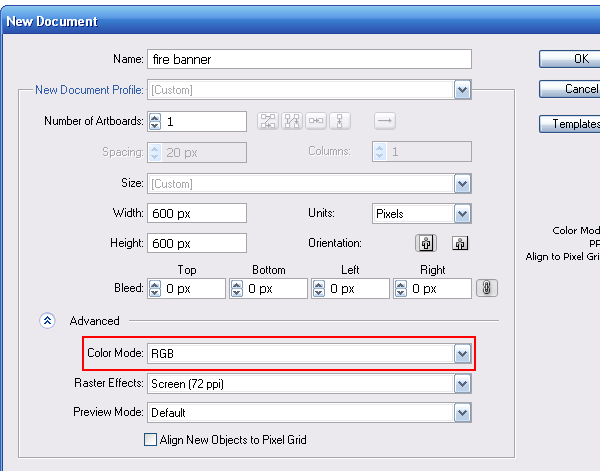
Create a new document.
Please note, we will need to work in the RGB color mode.
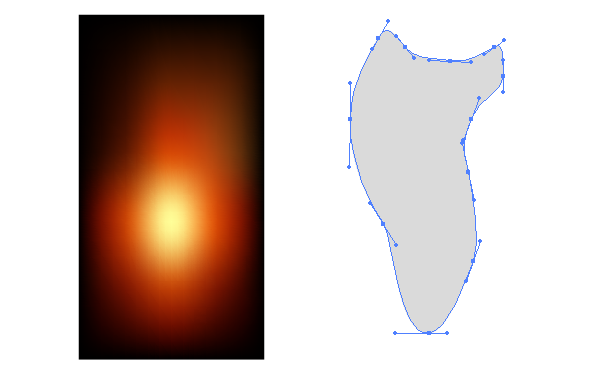
Step 2
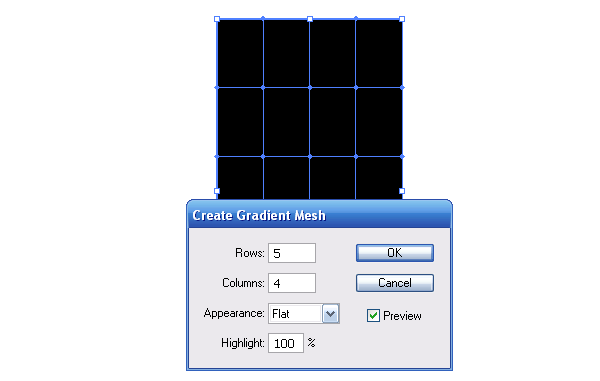
Take the Rectangle Tool (M) and create any rectangle with black fill (R= 0, G= 0, B= 0).
Keep the rectangle selected and go to the Object > Create Gradient Mesh…, and then set the number of columns and rows in the dialog box.
Step 3
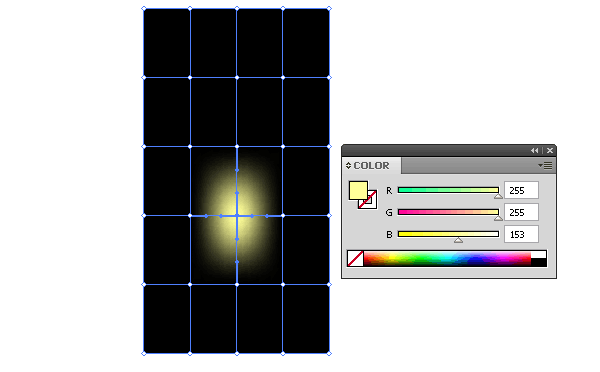
With the Direct Selection Tool (A) select one of the center mesh points and color it in light-yellow.
Now select the next point and color it in red.
Step 4
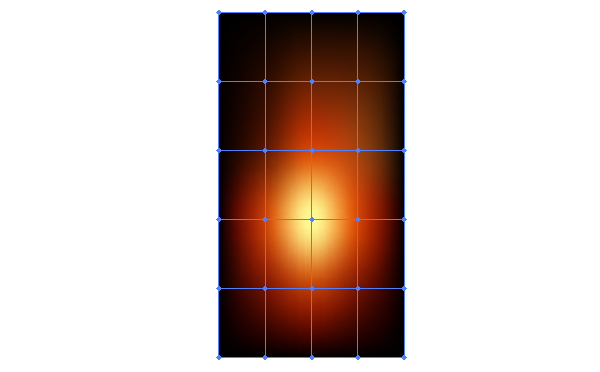
Color the rest of the mesh nodes. You don’t need always to mix the colors in the Color panel. Select the necessary node, and then take the Eyedropper Tool (I) and take the color from already colored nodes or from the mesh cell between them.
Please note, all the external mesh points must remain black.
Step 5
Create a shape of fire. You can use the Pen Tool (P) or the Pencil Tool (N) for that. I personally prefer to use the Pencil Tool, because it is simply faster. The path of this object should be closed. If you use Pencil Tool to create your shape, then hold down the Option/Alt keys when approaching the endpoint.
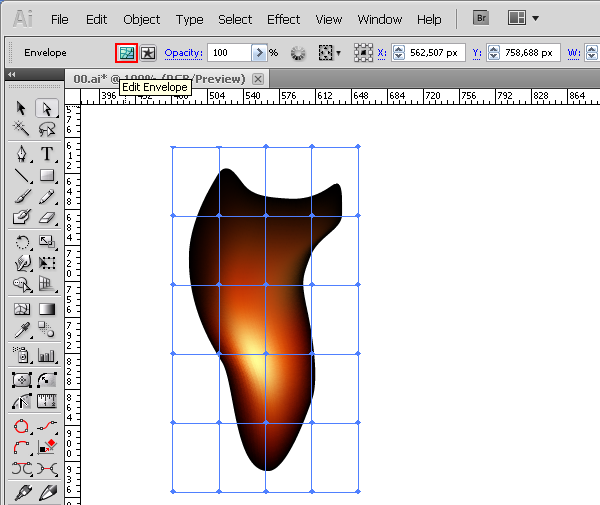
Step 6
Select the Gradient Mesh and the fire-shape, and then go to the Object > Envelope Distort > Make with Top Object or use Option/Alt + Command/Ctrl + C shortcut.
If you want to edit the colors of the mesh points, then click on the Edit Envelope in the Control panel. Now you have an access to the mesh point.
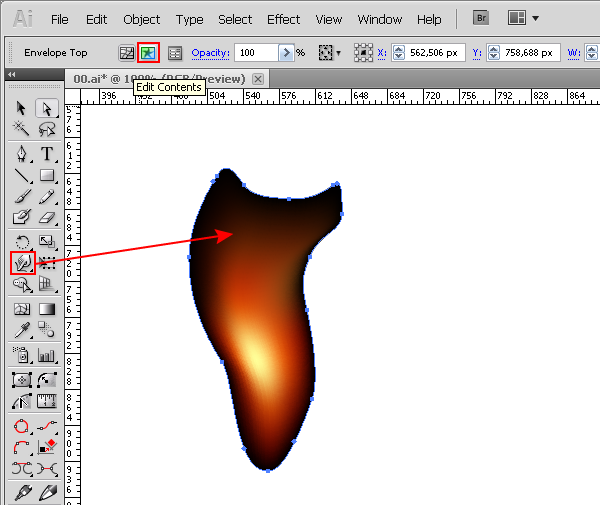
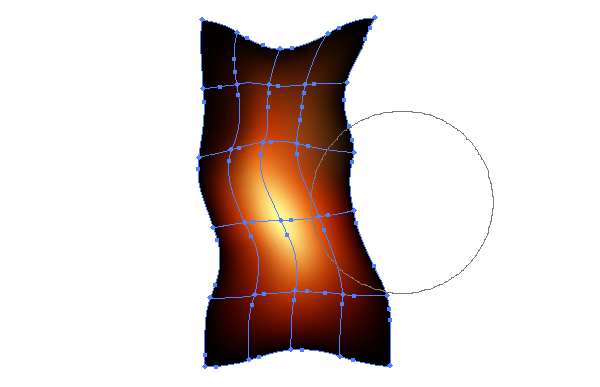
Step 7
To edit the forms of the vector fire switch to the Edit Content mode on the Control panel. Take the Warp Tool (Shift + R) and distort the form as you intended.
You can learn how to control the form and the size of the Warp Tool in the article Successful Methods of Working in Adobe Illustrator (Part 8). Some of the designers while creating the vector flame apply the Warp Tool to the gradient mesh at once, which has a rectangle shape. But I don’t really like this method, because you will get a lot of extra mesh points, making then your gradient mesh absolutely not editable.
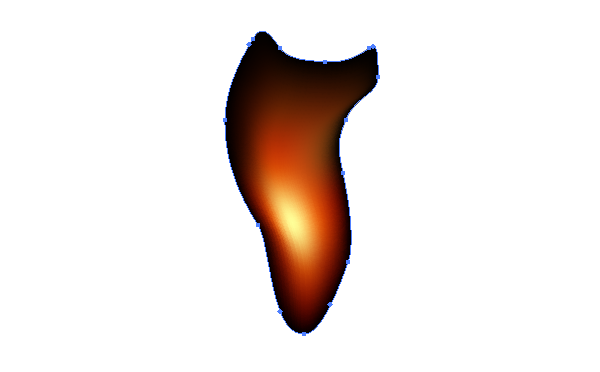
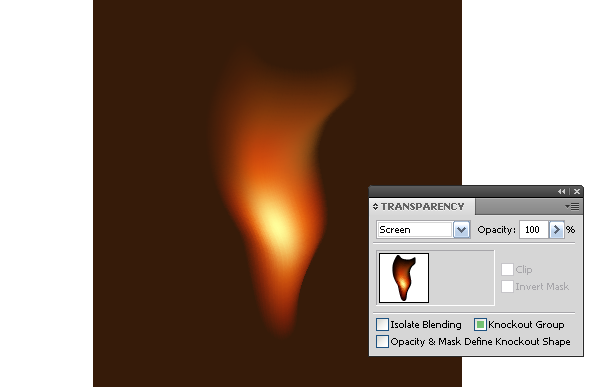
Step 8
In order to make the edges of the vector flame transparent, apply the Screen blending mode to it.
The black color becomes transparent after the use of this blending mode.
Creation of a Fire Banner
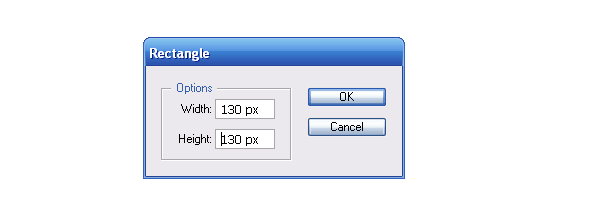
Step 9
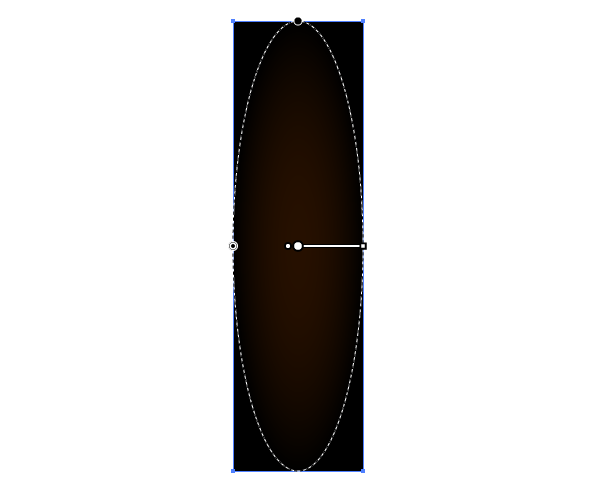
Now let’s create a fire banner. Take the Rectangle Tool (M) and create a square.
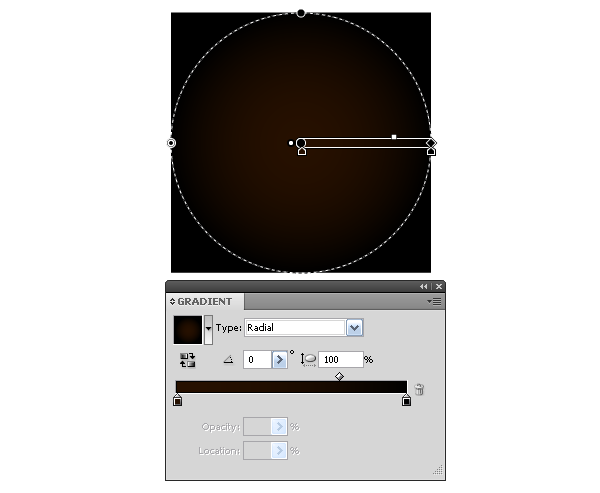
Fill our square with the radial gradient from dark-brown to black.
Take the Selection Tool (V) and transform our square into a rectangle and our radial gradient becomes elliptic.
Step 10
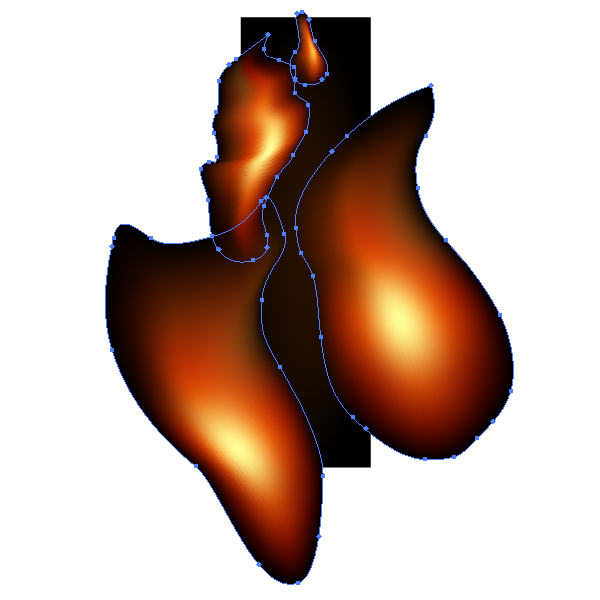
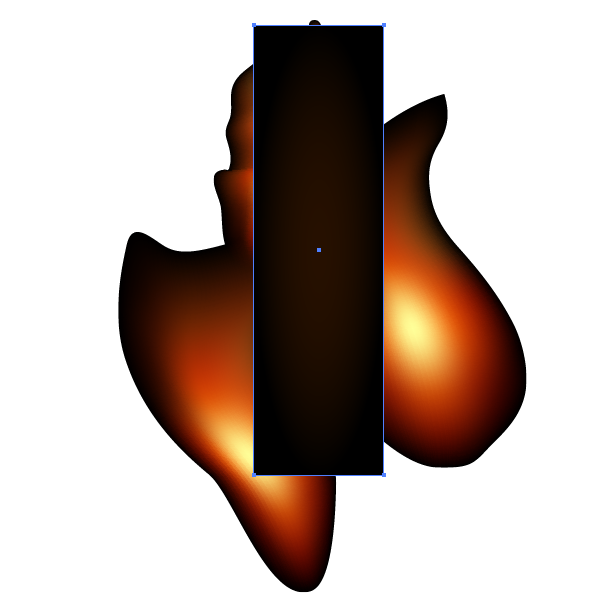
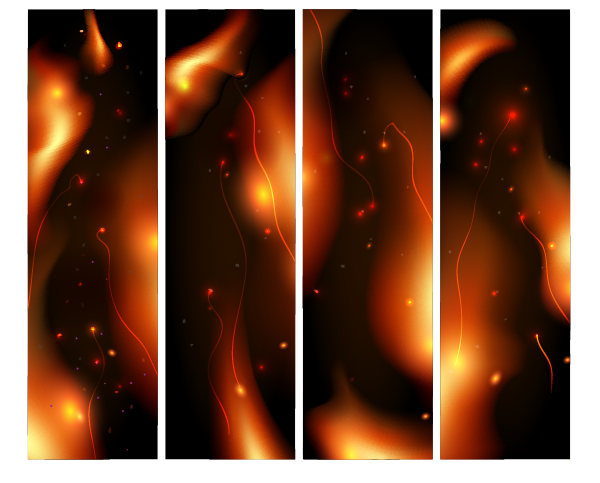
Create a couple of the vector fires and place them above the banner form.
Copy the form of the rectangle and place it to the front. Now place the copy above all the forms in the vector fires.
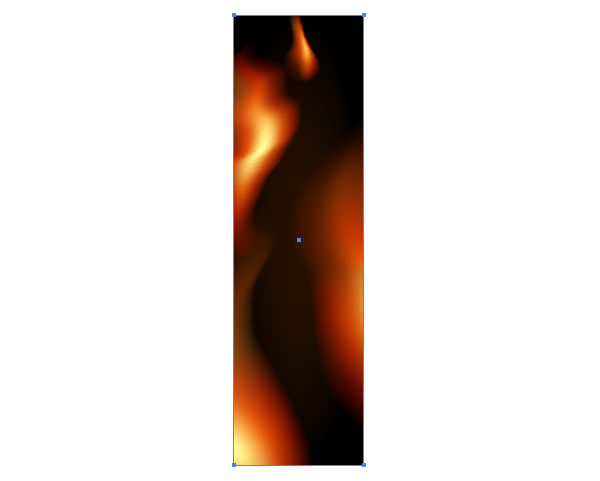
Select this from and the vector fires, then go to the Object > Clipping Mask > Make or use Command/Ctrl + 7 shortcuts.
Step 11
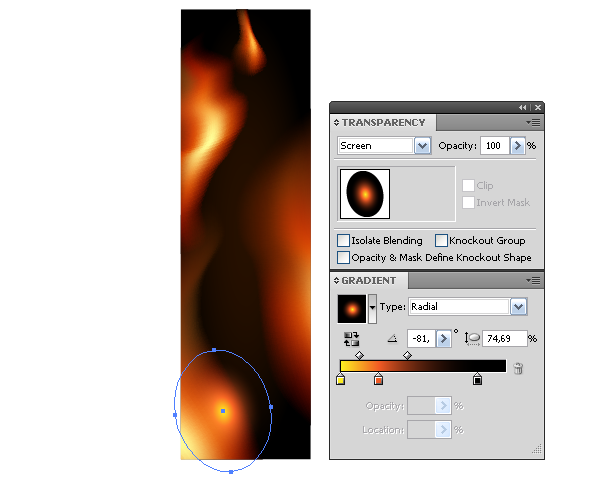
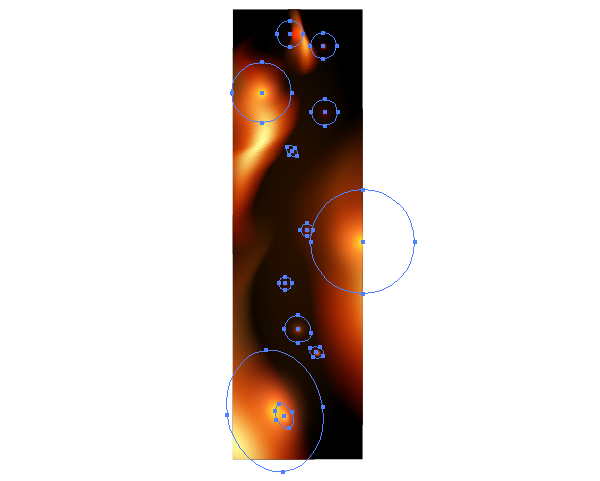
Create a circle which should be filled with radiant gradient. Radiant gradient consists of yellow, orange and black. Transform the circle into ellipse with the Selection tool (V), and then apply the Screen blending mode to it.
Drag the ellipse into the group with the Clipping Path in order it not to extend the fire banner borders. This manipulation should be done in the Layers panel. Using this technique, create a couple of glowing points.
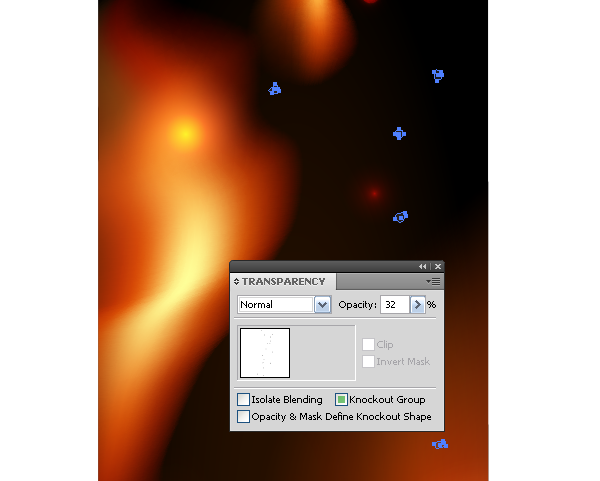
Step 12
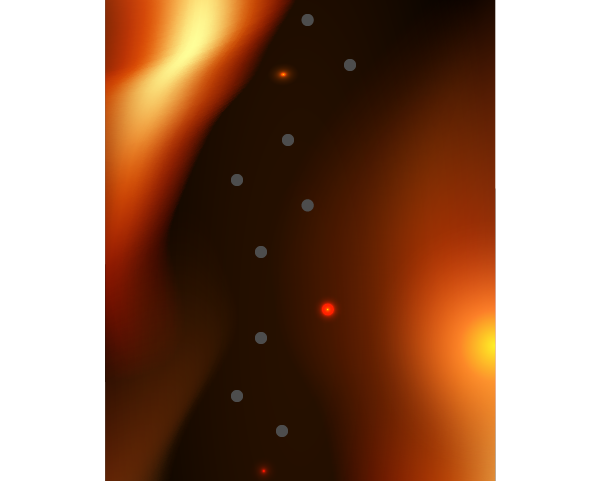
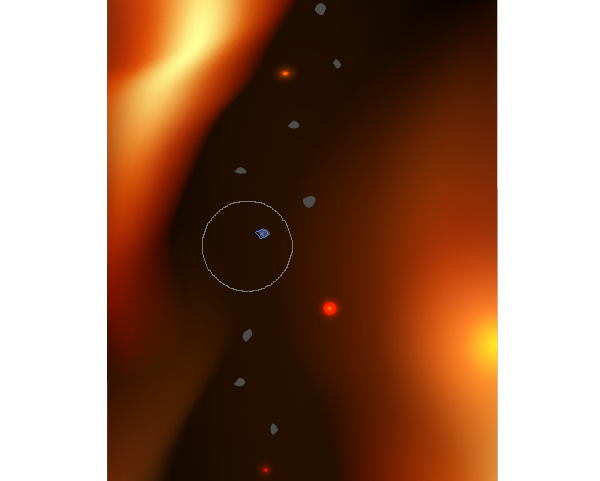
Create some grey circles in the body of flame.
Deform the circles with the Warp Tool. Now they look like ash.
Group all the ash particles (Command / Ctrl + G), and then reduce the opacity of the group in the Transparency panel.
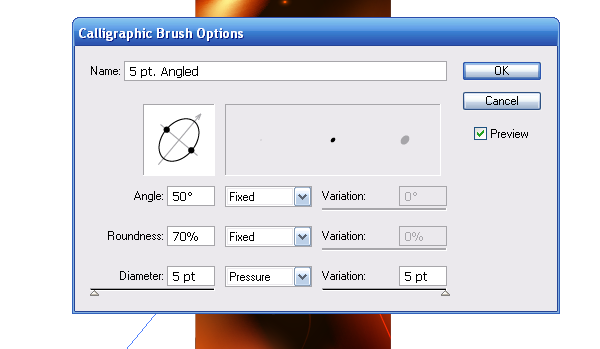
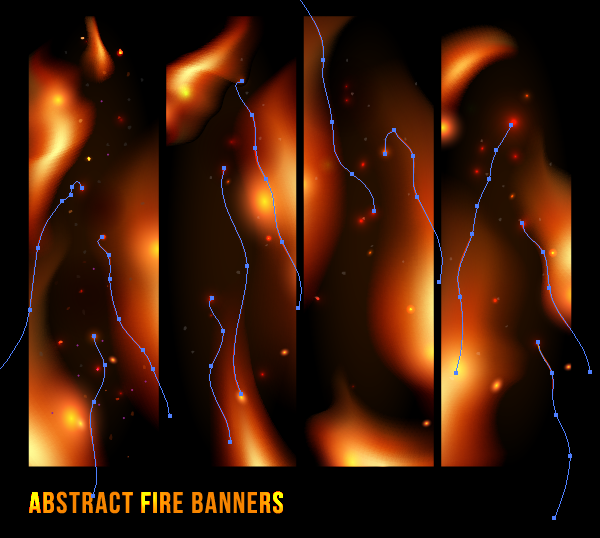
Step 13
And now let’s create some shining sparks. I created them with the Paint Brush Tool (B) and the Graphic Tablet. The brush settings are indicated on the figure below.
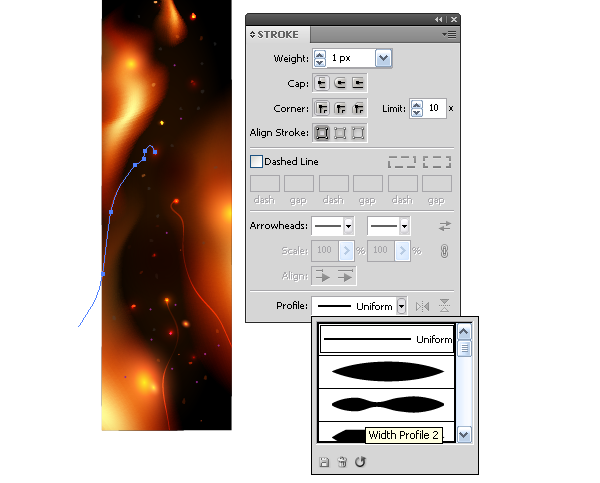
If you don’t use the Graphic Tablet in your work, then you can create shining sparks with the Pen Tool (P) and apply to a suitable profile to these paths from the Stroke panel.
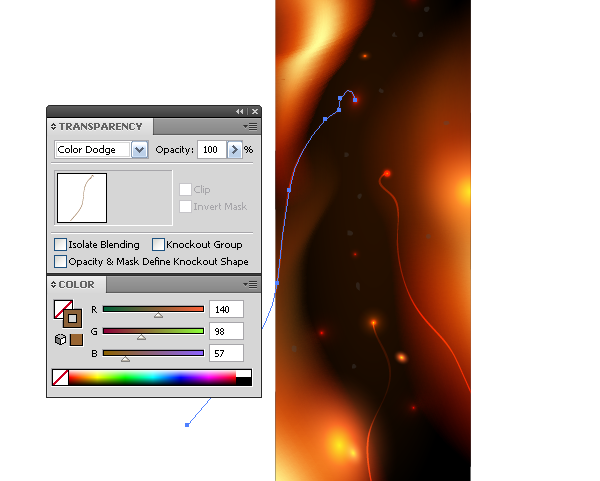
The paths are in light-brown and have the Color Dodge blending mode.
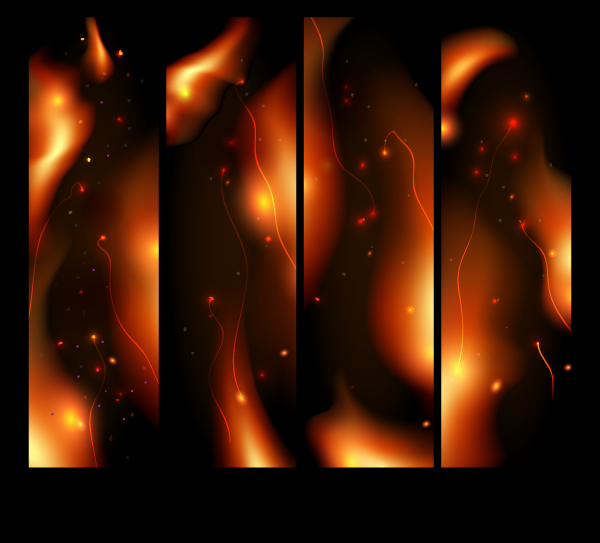
Using the techniques described above I’ve created three more fire banners.
Preparation of Fire Banners for Sale on the Microstock Websites
Step 14
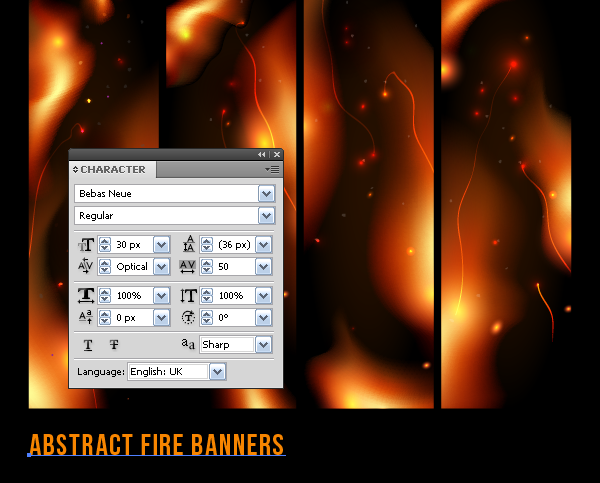
My dear friends, in order to see your work on sale, it should be well designed. I think, it will be good if we create the black background below the fire banners.
Take the Type Tool (T) and type in the name of our work.
Step 15
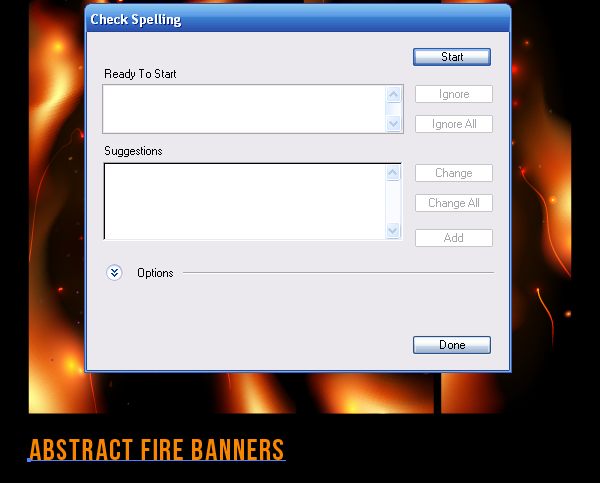
The text must not have any grammatical mistakes; otherwise your vector file will be rejected. To check you spelling go to the Edit > Check Spelling…, and then click on the Start in the dialog box.
Before uploading it to the microstock websites you need to transform your text into regular vector objects. To do so, select the text and go the Type > Create Outlines.
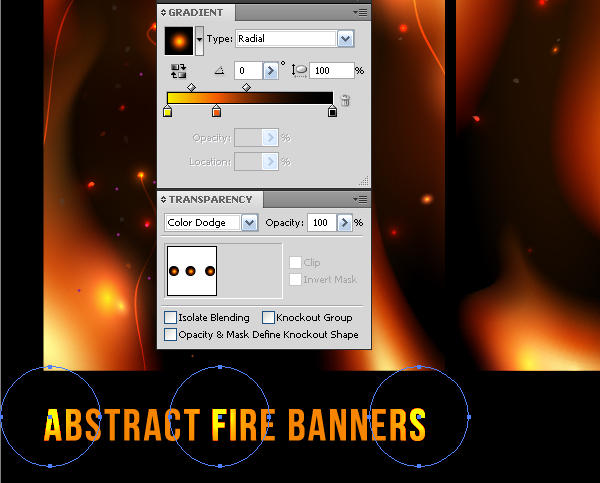
Step 16
It is most excellent when the inscription is made in the same style as your artwork. That’s why I decided to lighten the text in some places with circles filled with radiant gradient, and then applied the Color Dodge blending mode to them.
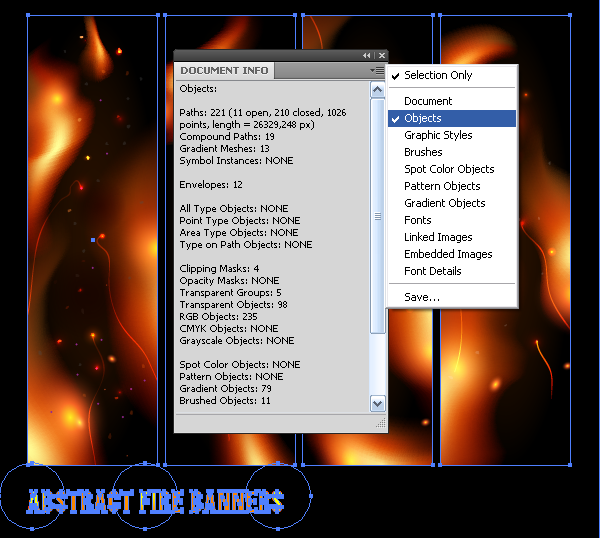
Step 17
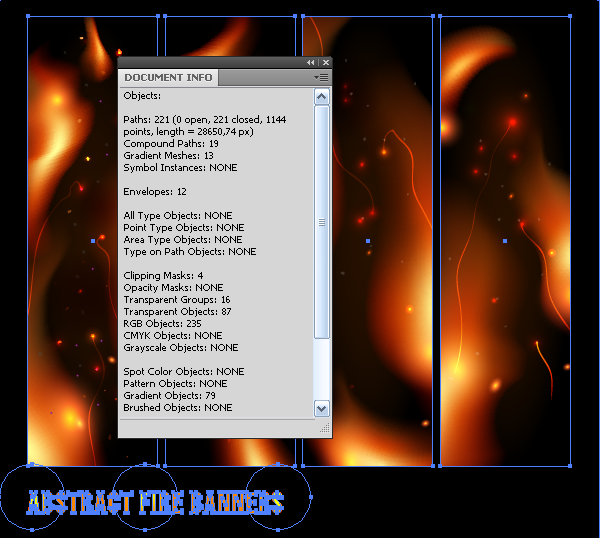
So now, when the work is designed, let’s work on boring technical preparation stage of our file for sale. The file should not have any open paths. Whether we have them, will be shown in the Document Info panel. You need to unlock all the objects (Object > Unlock All), then select all the existing objects (Command / Ctrl + A). Open the Document Info panel (Window > Document Info) and select the Objects in the fly-out menu.
Step 18
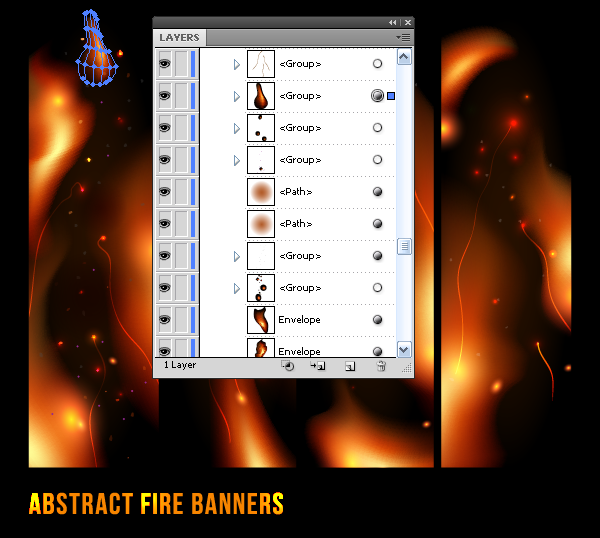
As you can see, our fire banners contain 11 open paths. There are a couple of ways to close such paths. You can use plug-ins or scripts for it. Or you can just close them with the standard Adobe Illustrator functions. You can find out about it more in the article "How to Close Paths Using Standard Functions of Illustrator”. But in any case I don’t advise you closing paths automatically. First, you need to figure out what paths are open. In our case, the open paths are the shining sparks. They must not be closed automatically. Find and select them in the Layers panel.
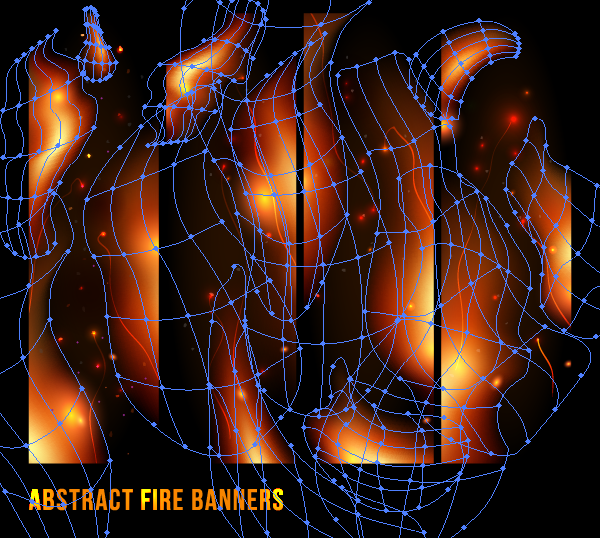
Then go to the Object > Expand Appearance. Select all the existing objects. Now our artwork doesn’t have any open paths.
Step 19
The vector fire is the Envelope object.
I’m not 100% sure it should be converted into the Gradient Mesh, because in some cases some inspectors accepted my artworks like so. But we won’t take such a risk because sometimes it takes weeks of waiting till the approval of your work. Select the Envelope object, then go to the Object > Expand.
Now no-one will figure out how carefully you have created the gradient mesh.
Repeat these actions with all the Envelope objects.
Delete all the elements in the Swatches, the Symbols, the Graphic Styles and the Brushes panel in order to reduce the file size and not to share your secrets to anyone. Create a preview, make a name, select some keywords and upload it to the microstock websites. I wish you to have good sales!
To find out how to automate the process of a file preparation for sales and how to choose the name and the keywords successfully you will learn in our future publications on the pages of Vectorboom.
|