|
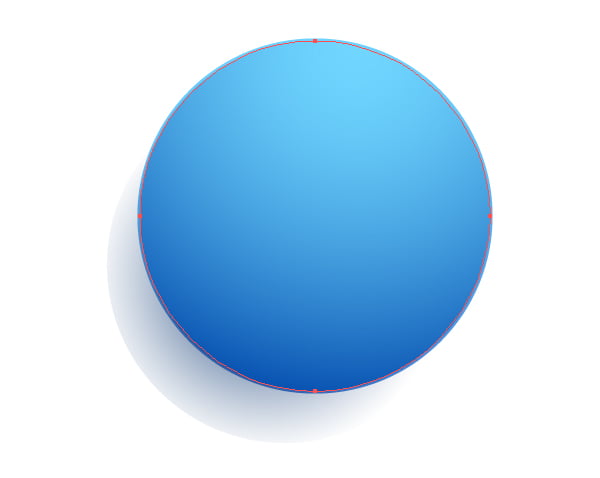
Final Image Preview
In this illustrator tutorial we will learn how to create realistic 3D spheres, without using 3D effects. 3D spheres are perfect for creating abstract background or designing of your own web site. Have fun in this Adobe Illustrator tutorial!
Illustrator Tutorial Details
- Program: Adobe Illustrator CS3 - CS6;
- Difficulty: Beginner - Intermediate;
- Estimated Completion Time: 1 hour;
Create a 3D sphere
Step 1
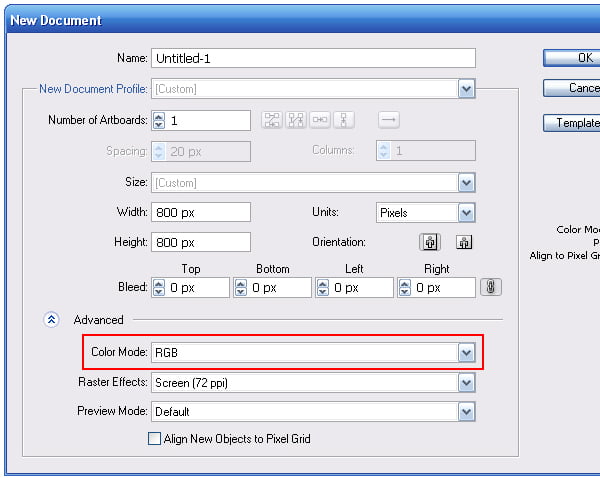
Create a new document.
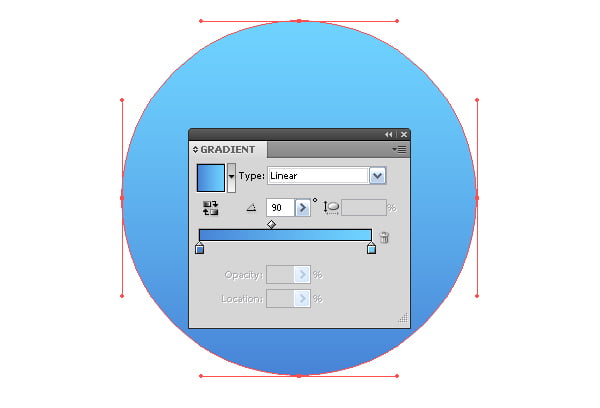
Please note that we will be working in RGB color. Proceed to the creation of the first 3D object in Illustrator. Take the Ellipse Tool (L) and create a circle. Fill it with a linear gradient from light blue to blue color.
Step 2
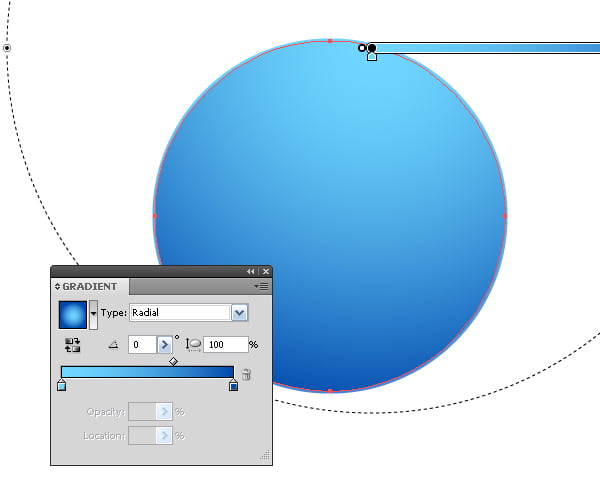
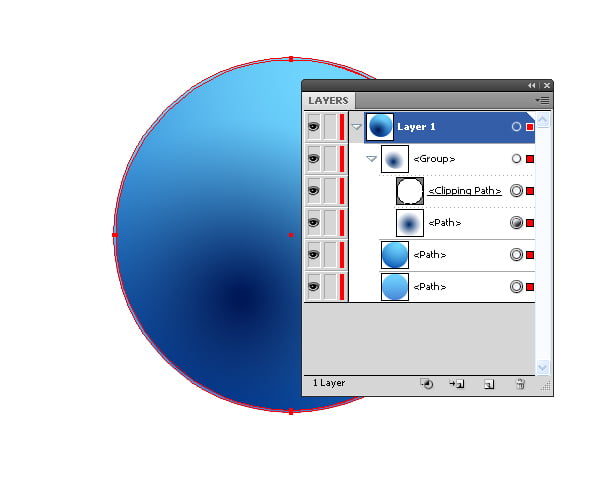
Copy the circle and paste it in front. Reduce the size of the new circle for a few pixels and fill it with a radial gradient from light blue to blue color.
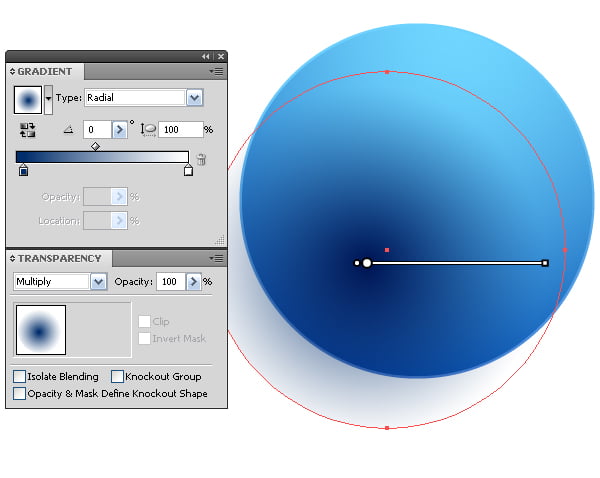
Create a new circle filled with a radial gradient from dark blue to white color. Apply the Multiply blending mode to this circle in the Transparency panel.
White color becomes transparent after the application of this blending mode.
Step 3
Copy the second circle in a row and paste it in front. Place this circle above of all the created objects.
Select two upper circles and go to Object > Clipping Mask > Make or use Cmd / Ctrl + 7 shortcuts.
By adding shadows and penumbras, we gradually create 3D sphere in Illustrator. As you can see, you can create volume without using 3D effects.
Step 4
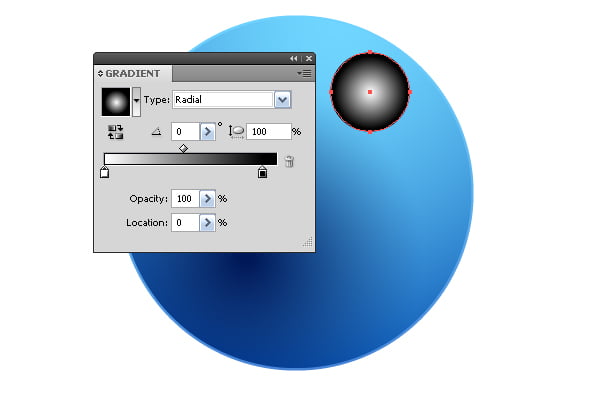
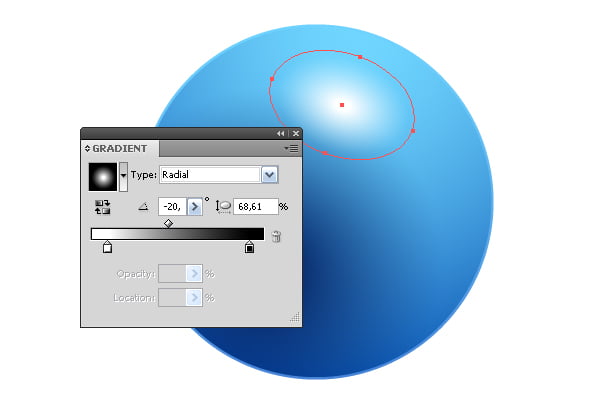
Now add a few glares. Create a circle and fill it with a radial gradient from white to black color.
Apply the Screen blending mode to the circle.
A special feature of this blending mode is that the black color becomes transparent after application.
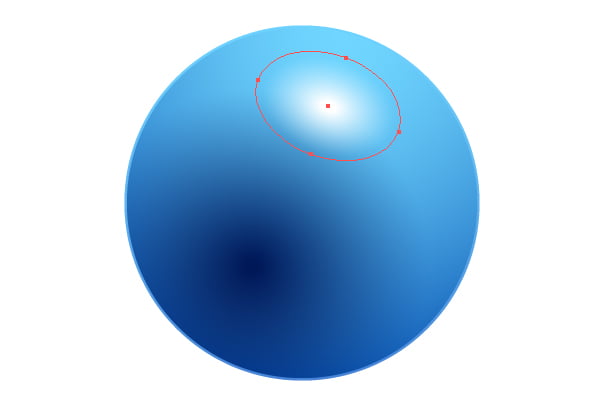
Step 5
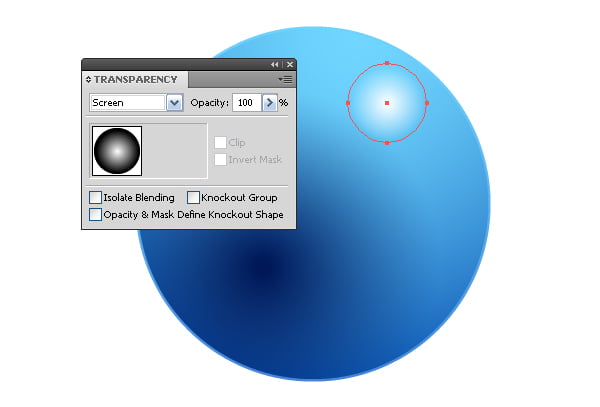
With the help of the Selection Tool (V) transform the circle into an ellipse and rotate it.
After these manipulations radial gradient will become elliptical.
For the contributors of micro stock web sites I would like to note that elliptic gradient obtained in this way can be normally converted into vector format EPS10. If you create an elliptical gradient in another way, for example, by using Gradient Annotator, or will be moving the center of the gradient, you may have a risk of getting a bitmap image instead of an elliptical gradient when saving as EPS10. It can also lead to the splitting of a vector object into a few ones that is also not very good I believe. Using this technique, create two more glares.
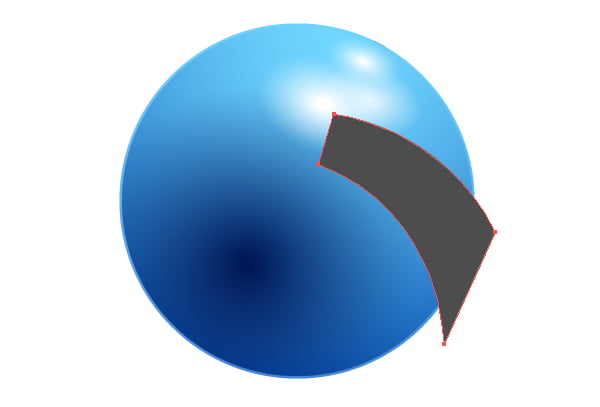
Step 6
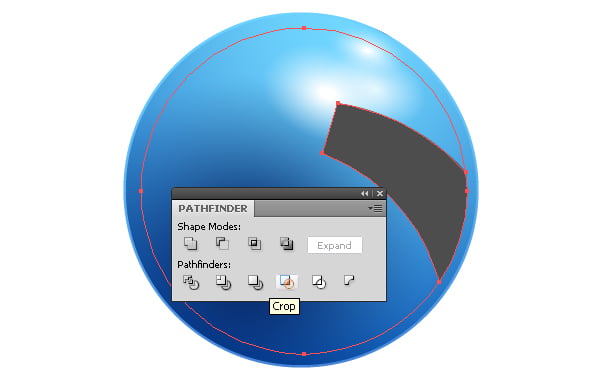
Proceed to the creation of reflections on the 3D sphere. Take the Pen Tool (P) and create a shape shown in the following picture.
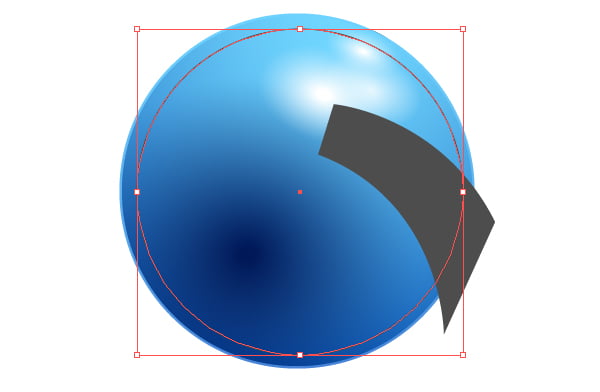
Create a circle with a diameter smaller than the one of the 3D sphere.
Select the circle and the gray shape, then click on the Crop in the Pathfinder panel.
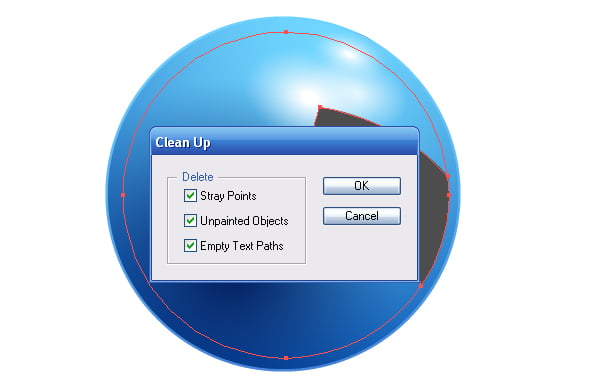
Now go to Object > Path > Clean Up....
This will remove unnecessary objects resulted from the creation of the shape.
Step 7
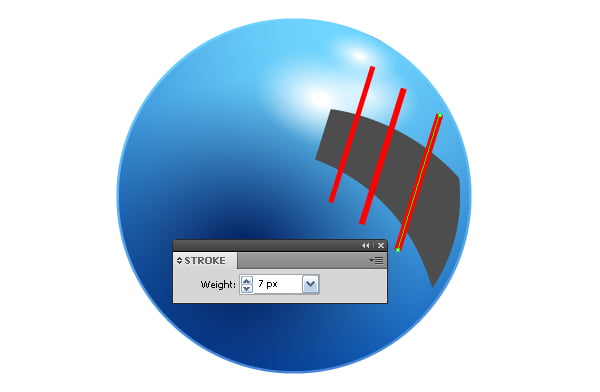
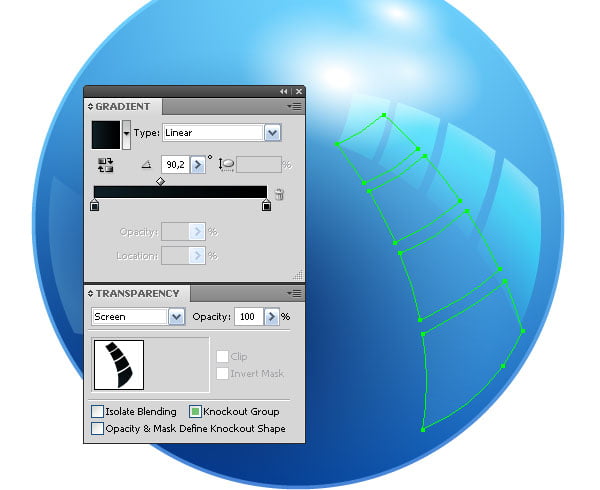
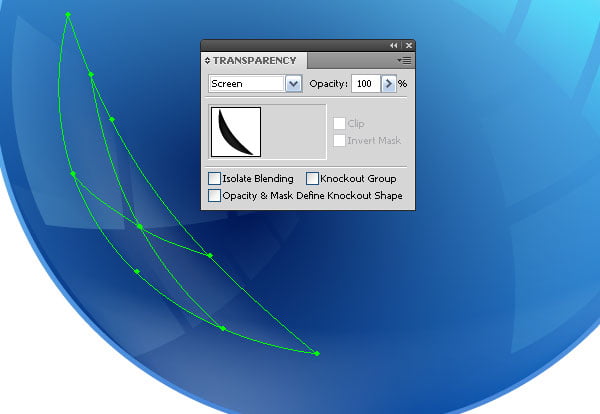
With the help of the Pen Tool (P) create three straight-line segments. Set different thickness for them in the Stroke panel.
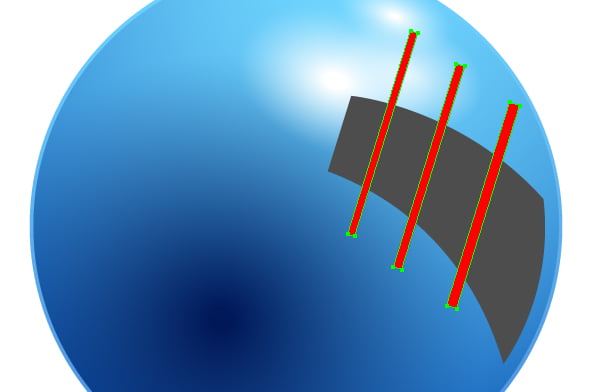
Select segments and go to Object > Expand.
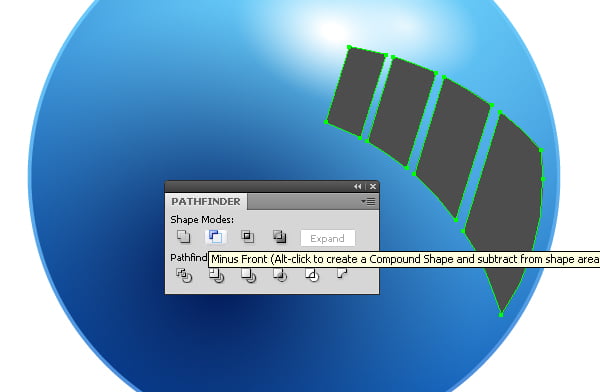
Now go to Object > Compound Path > Make or use Cmd / Ctrl + 8 shortcuts. Select the Compound Path and gray shape, and then click on the Minus Front in Pathfinder panel.
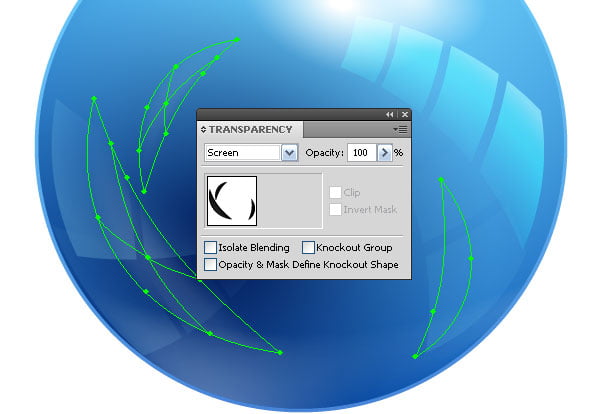
Step 8
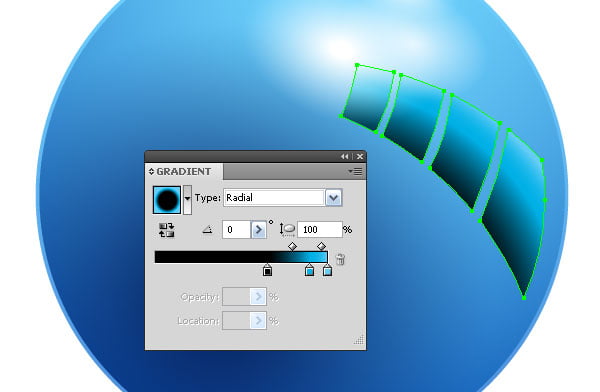
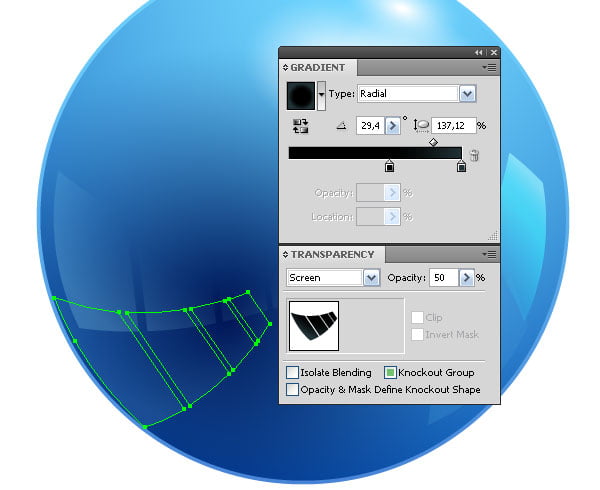
Fill the group of achieved objects with radial gradient, which consists of one black and two blue sliders.
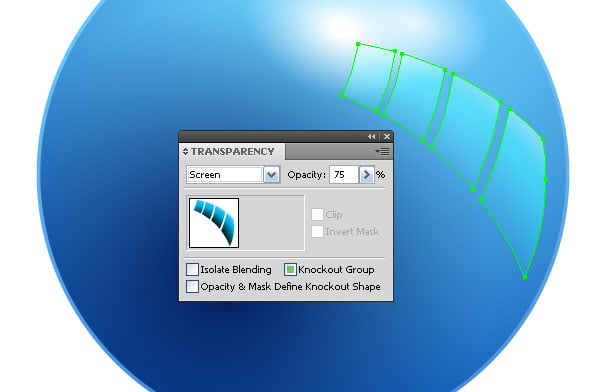
Apply the Screen blending mode to the group and reduce opacity to 75%.
This is how we created the first reflection on the 3D sphere.
Step 9
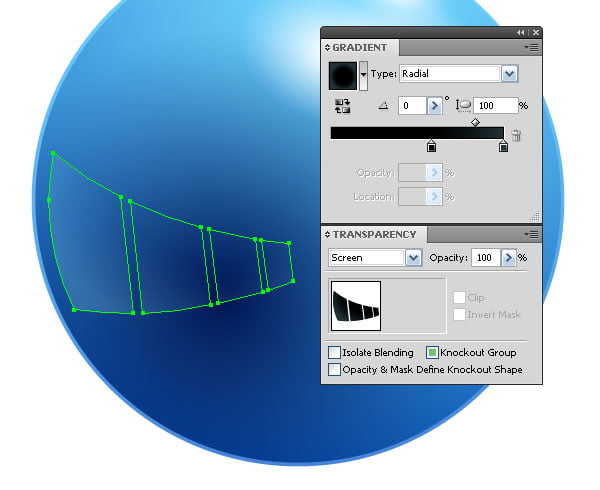
Using the techniques described above, create a few more reflections on the 3D sphere.
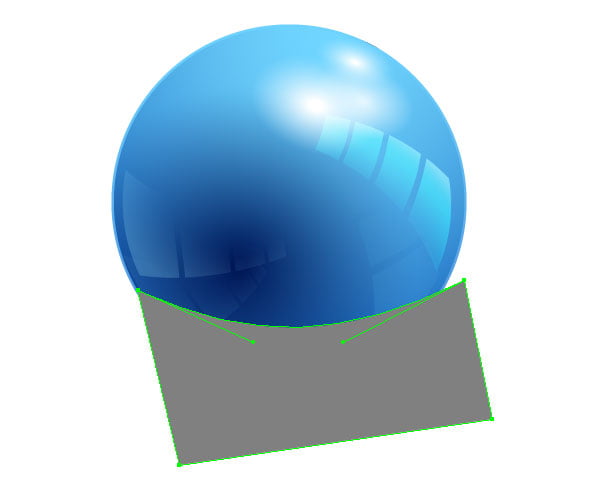
Step 10
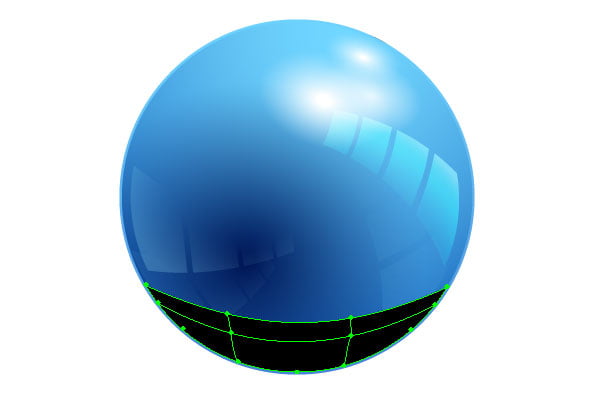
With the help of the Pen Tool (P) create an object shown in the picture below.
Select the shape of the 3D sphere and this shape, then take the Shape Builder Tool, holding down Opt/ Alt key, remove the bottom part of the shape.
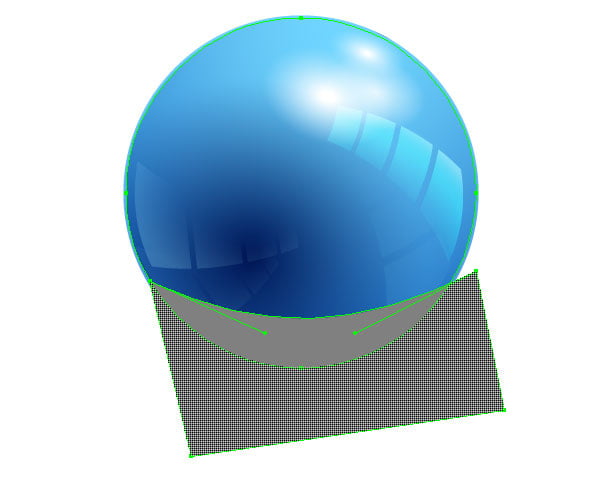
Step 11
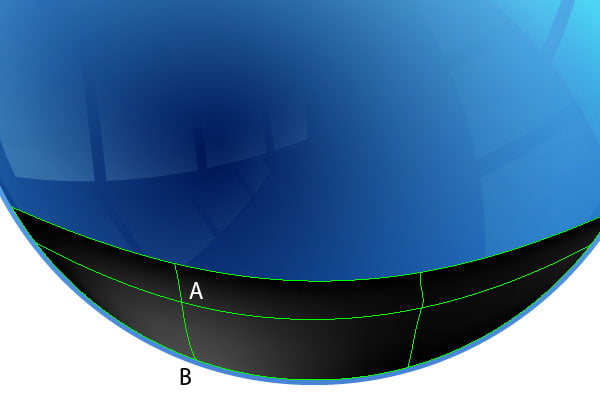
Fill the shape with black color, then take the Mesh Tool (U) and create a simple gradient mesh.
Color the mesh points A and B with different shades of gray color.
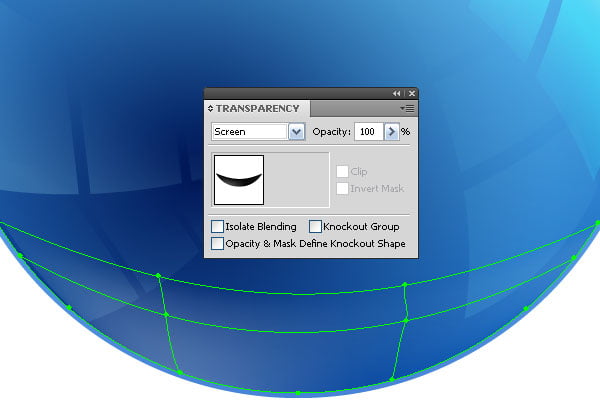
Select the entire gradient mesh and apply the Screen blending mode to it.
Thus, we can get reflections with soft edges on the surface of 3D objects in Illustrator.
After the creation of all the reflections, 3D sphere looks as follows.
Create a composition with 3D spheres
Step 12
Select and group up all the elements of 3D sphere. Duplicate the 3D sphere and reduce the sizes of some of its copies placing them around the first sphere, creating a composition.
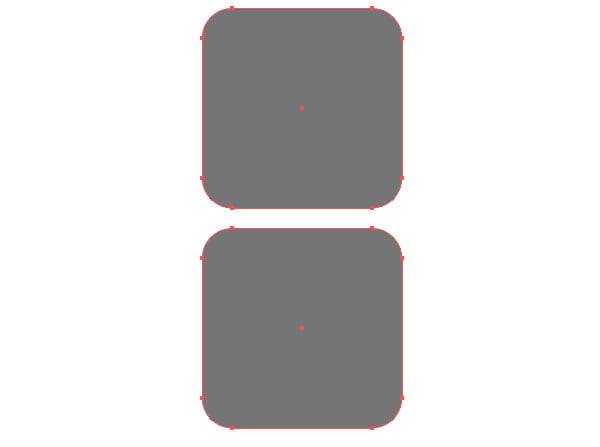
Step 13
Create bridges connecting 3D spheres. With the help of the Rounded Rectangle Tool create a rectangle. Place it straight down while holding Shift + Opt/ Alt, which will result in its duplication.
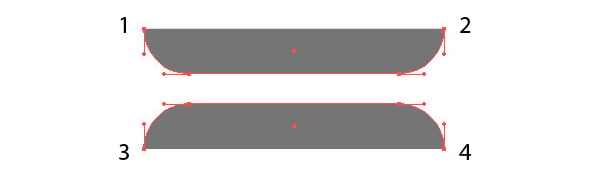
Take the Scissors Tool (C) and cut the rectangles at points 1-4, then remove the upper part of the top rectangle and lower part of the bottom rectangle.
Step 14
Take the Pen Tool (P) and connect the obtained paths.
Drag this shape to the Brushes panel and save a new brush as an Art Brush. Tick Stretches between Guides and set guides it the dialog box as shown in the figure below.
For more ore details about the properties of the Art Brush you can read in my article "New Properties of the Art Brushes in Adobe Illustrator CS5".
Step 15
Take the Pen Tool (P) and connect the center of the first 3D sphere with center a few other spheres.
With the help of the Scissors Tool (C) cut the segments and remove the parts that will not be visible to the viewer. Place the segments below all the created objects and apply the brush created in the previous step to them.
You can vary the thickness of the segments in the Stroke panel.
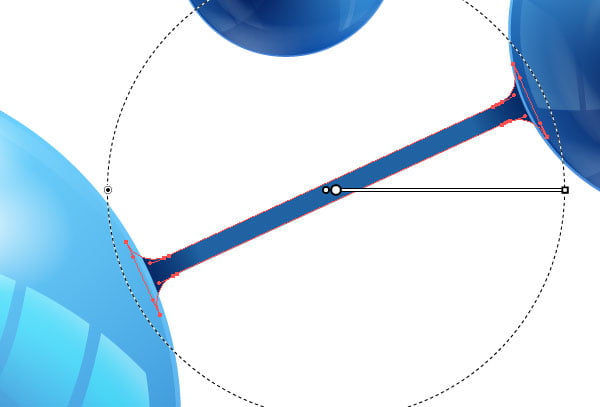
Step 16
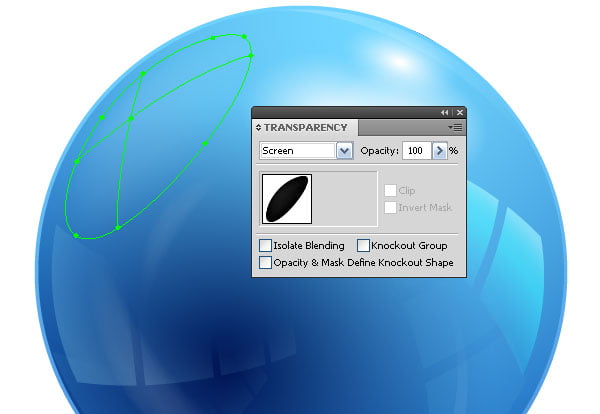
Select all the bridges and go to Object > Expand Appearance. Now we can fill the bridges between 3D spheres with a radial gradient.
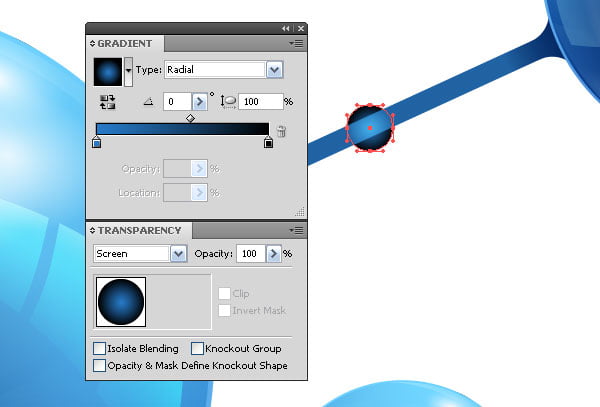
Create a circle filled with a radial gradient from blue to black color. Apply the Screen blending mode to it.
Transform this circle into an ellipse and rotate so that the major axis of the ellipse is located along the bridge between 3D spheres.
This technique should be applied to all the bridges.
Adobe Illustrator is perfect for creating the illusion of volume, isn’t it?
Now we can use the created composition as a vector abstract background or as an Abstract Web Design.
Follow us if you want to be the first to know about the latest Adobe Illustrator tutorials and articles. Vectorboom team works for you!
|