|
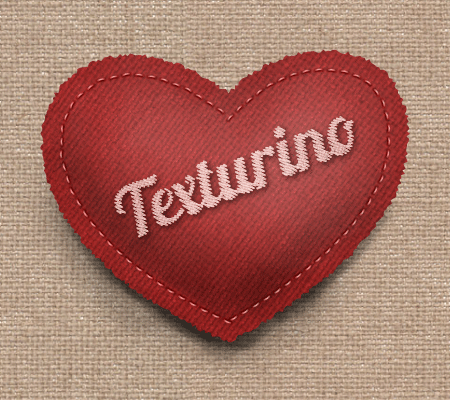
Final Image Preview
Today using the example of creating a handmade sackcloth heart, we will explore the Shadows and Highlights functionality of Texturino v1.2 to add realism to your vector workflow. The new Convert Raster Art to Texture feature makes it even easier to work with bitmap textures. So, let’s get down to learning and applying new technologies that extend the capabilities within Adobe Illustrator!
Step 1
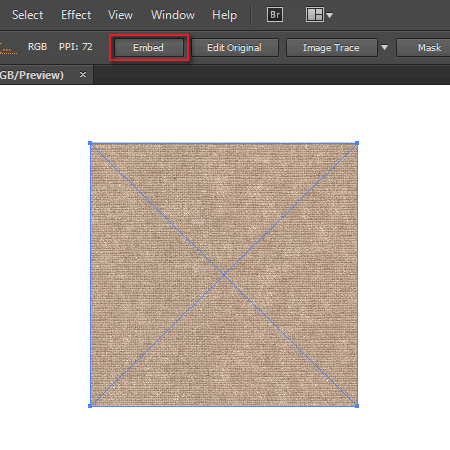
For this tutorial, we will need Free Hi-Res Canvas bitmap textures, which you can download from fuzzimo.com. For this work, I have chosen the fzm-canvas.texture-04-[800×789] texture from the Seamless folder. Start Adobe Illustrator and create a new document (Cmd / Ctrl + N). Here I am working in RGB color mode. Now place the selected texture into a new document (File> Place…). By default, it will be a linked file. Click on the Embed button in the Control panel.
Step 2
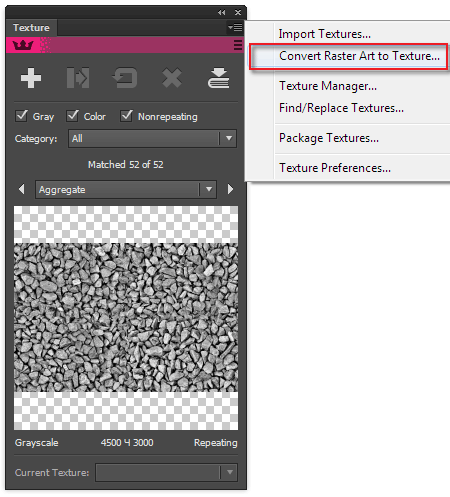
With the help of the latest release Texturino (v1.2 or later), we are able to automatically convert embedded images directly in Texturino’s Texture Manager. Select the texture, and then open the Texture panel. To do this, go to Window> Texturino> Texture panel or simply click on the Texture Tool icon in the Tools panel. Open the panel’s fly-out menu and select the new function Convert Raster Art to Texture…
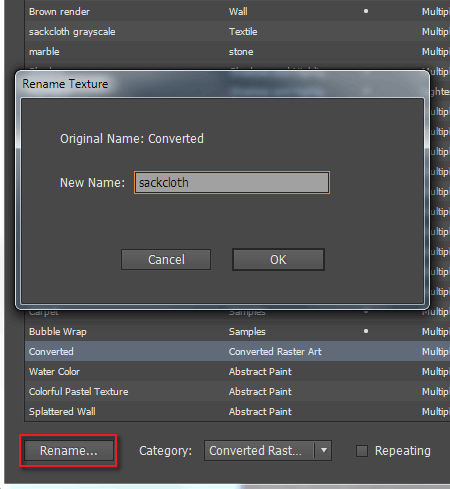
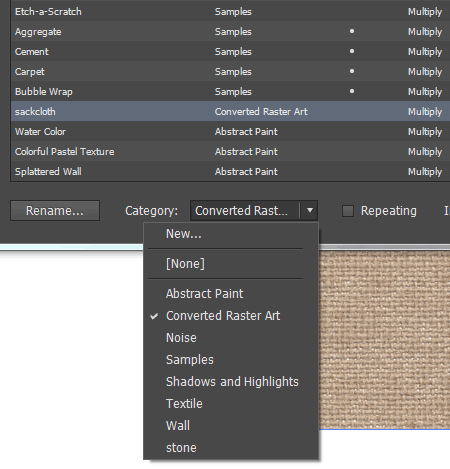
The Texture Manager dialog box opens and we can see that a new texture has appeared in the library.
You can rename it by clicking on the Rename button. Now name it the “sackcloth”.
You can also select an existing category or create a new one.
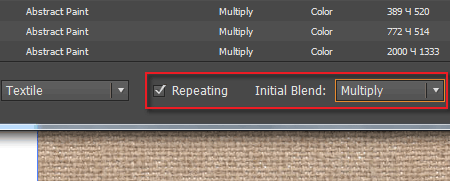
You need to use seamless texture, so tick the Repeating option. You also have the opportunity to choose blending mode, which will be applied to the texture by default.
After selecting all the options, the texture is ready for use.
Step 3
Now create a rectangle with white fill, then apply the sackcloth texture to it by clicking the Plus icon in the Texture panel. An annotation system will now appear on the object which we can use to change the scale, opacity, blending mode and to rotate texture with control.
You can read full version of this article on AstuteGraphics.com....
|