|
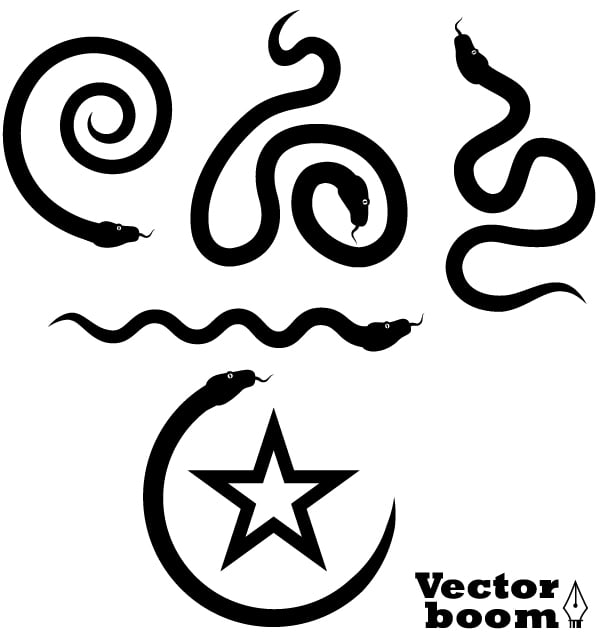
Final Image Preview
In this illustrator brushes tutorial we will learn about the new features of the Art Brush and learn how to set up it. Due to advanced features you'll have to experiment less with the art brush shape in order to achieve the desired result. In addition, you will be able to use the illustrator art brush to solve such issues, where its use was previously impossible. Let's begin!
You can download the source vector file for this tutorial

Tutorial Details
- Program: Adobe Illustrator CS5;
- Difficulty: Beginner
- Estimated Completion Time: 10-15 minutes
Properties of the Illustrator Art Brushes
Step 1
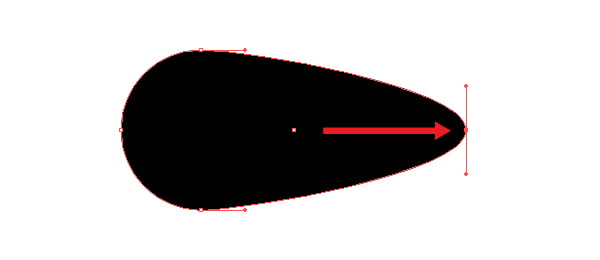
Art Brush is one of the most common means to create different effects of the outline. The shape of the illustrator art brush is often created out of the shape obtained by transforming the ellipse. Let's see how it's done. Take the Ellipse Tool (L) and create a circle.
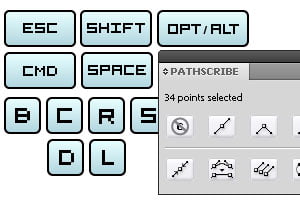
To ensure you get a perfect circle, hold down Shift during its creation and the Opt / Alt + Shift to fix its center. Now take the Direct Selection Tool (A) and pull the right point of the circle, holding down the Shift key, as it is shown in the figure below.
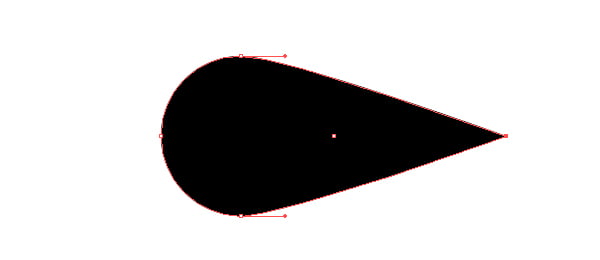
Keep this point selected, convert it from a smooth to a corner one.
We got a basic shape for the Illustrator Art Brush.
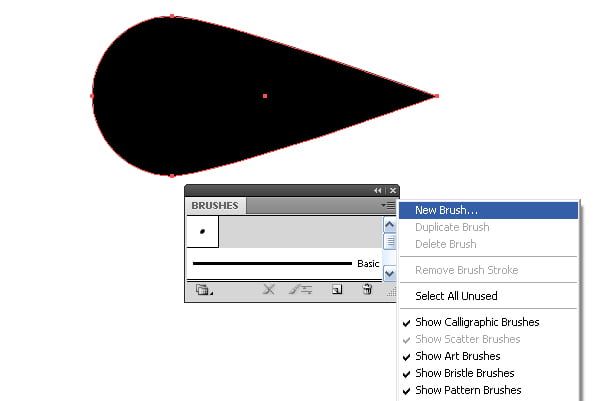
Step 2
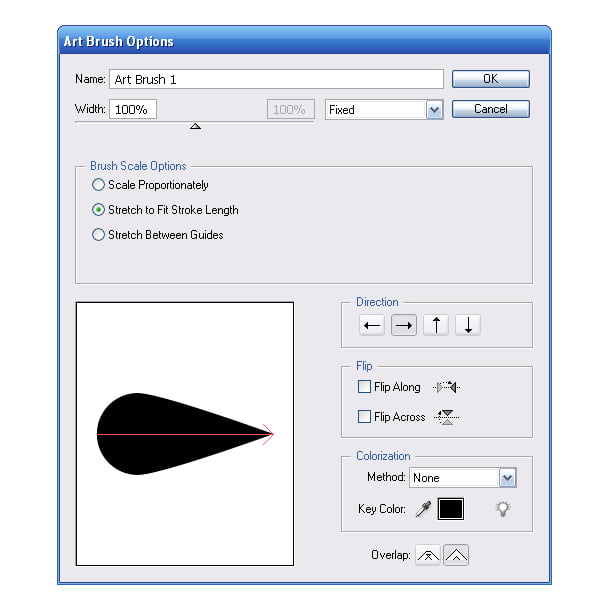
Move the created shape to the Brushes palette and save the new brush as an Art Brush.
Do not make any changes in the open dialog window, press OK.
Step 3
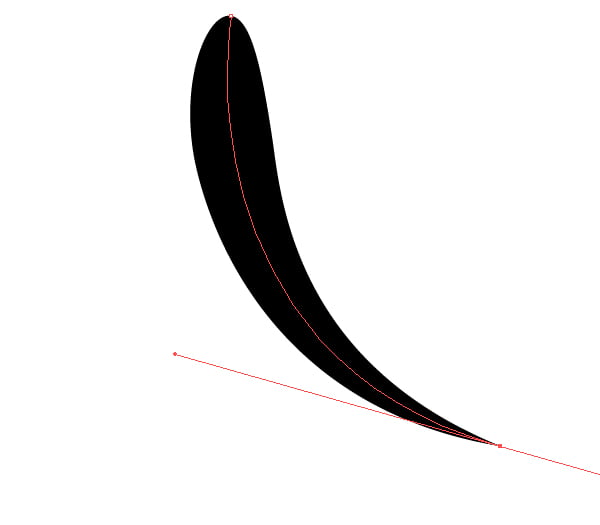
Now with the help of Pen Tool (P) create any outline and apply the created brush to it.
As it was expected, the art brush is evenly spread throughout the outline. It is almost impossible to guess ahead how the curve will look like after the application of the illustrator brush. So you will have to edit the original shape to achieve the desired result. In Adobe Illustrator CS5 it is possible to create Art Brushes, which will stretch unevenly. How is it? Let us readjust the created art brush.
Step 4
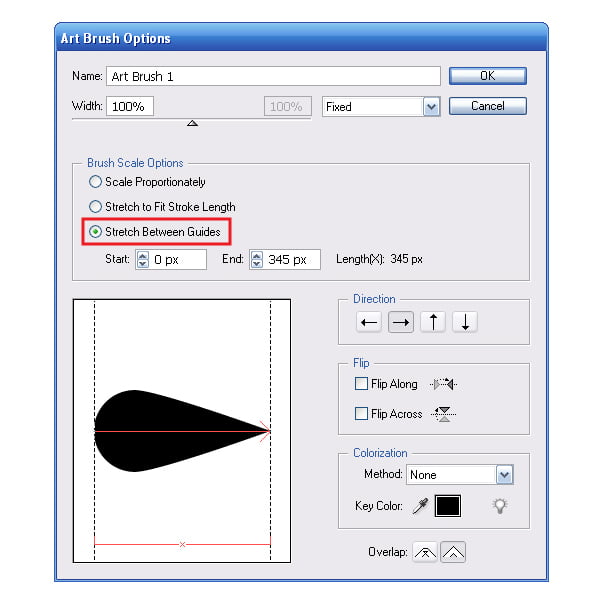
Double click on the illustrator art brush miniature picture in the Brushes palette accesses a dialog box with its parameters. Choose Stretch Between Guides.
This option allows us to set the area of the art brush, which will be stretched and areas that would remain unchanged. Length of these areas can be set accurately by means of numerical values or by moving the guides in the window with the image of the art brush.
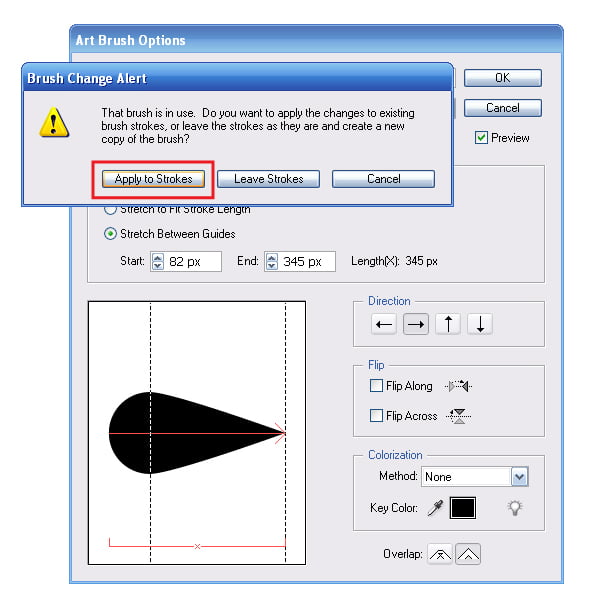
Click OK, and then Apply to Strokes in the new dialog box.
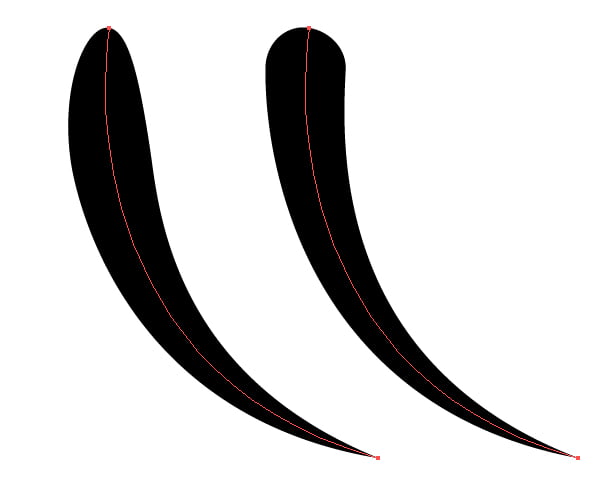
The figure below shows a standard Art Brush (left) and one with new Illustrator CS5 properties (right). As a practical person, I should note that the brush on the right is needed more often while working (stems, branches, hair, off the top of my head).
Create a Vector Snake with Illustrator Art Brush
Step 5
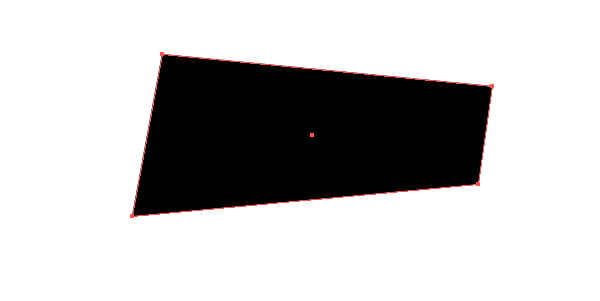
Now let's create more complex illustrator brush, which should have the properties described above. Create a vector snake, which can be used as a motif or other graphics. Let's start with the head. Take the Rectangle Tool (R) and create a rectangle. Moving vertices of the rectangle with the help of the Direct Selection Tool (A) bring it to the shape of irregular trapezoid.
Step 6
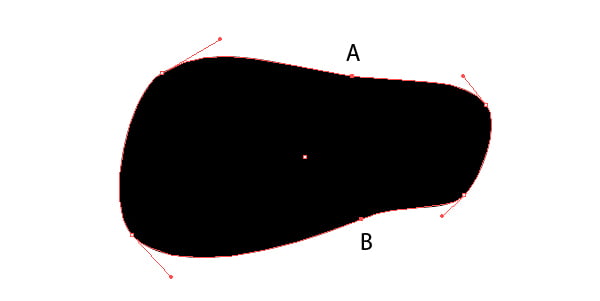
Convert all its corner points into smooth ones and with the help of Pen Tool (P) add two new points A and B to the vector outline. Moving the points and their handles, create the shape of a vector snake head side-wise.
Step 7
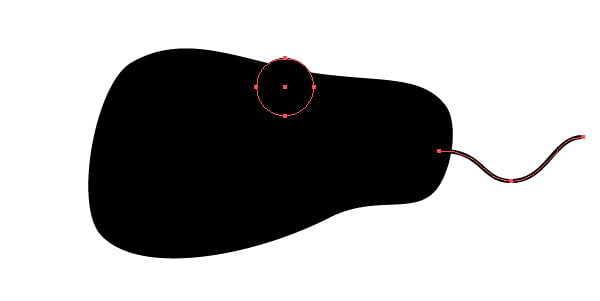
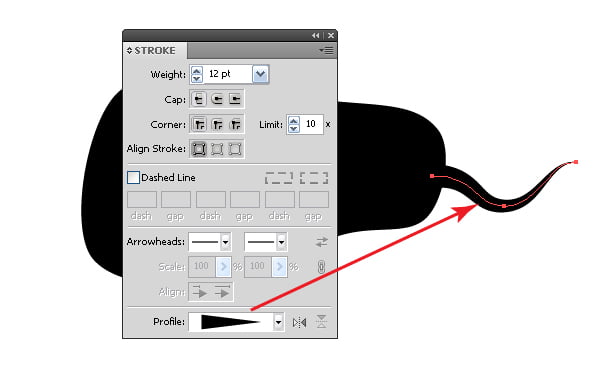
Take the Ellipse Tool (L) and create the eye-pit, now take the Pen Tool (P) and create a curved line — vector snake’s tongue.
Set the profile and thickness for the tongue of a vector snake in the Stroke palette.
Step 8
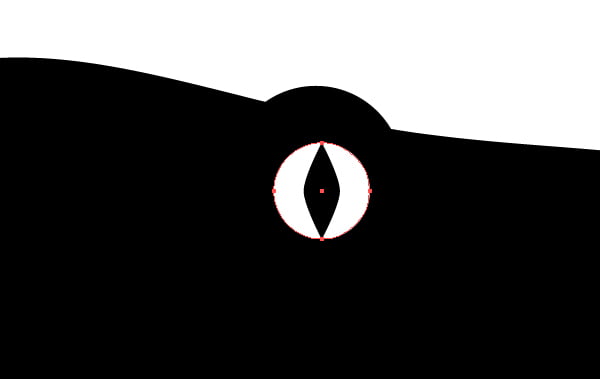
Take the Ellipse Tool (L) and create an eye, now take the Pen Tool (P) and create the shape of the pupil.
Step 9
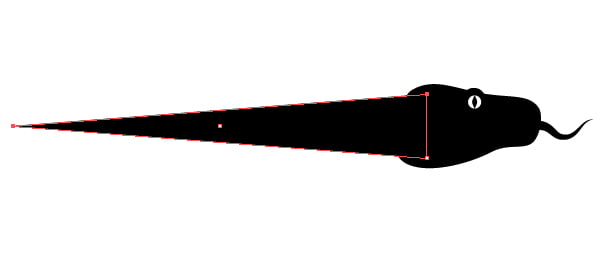
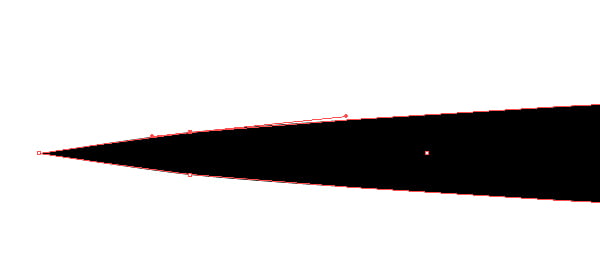
It's time to make vector snake’s tail. Take the Pen Tool (P) and create a tail in a triangle, as shown in the figure below.
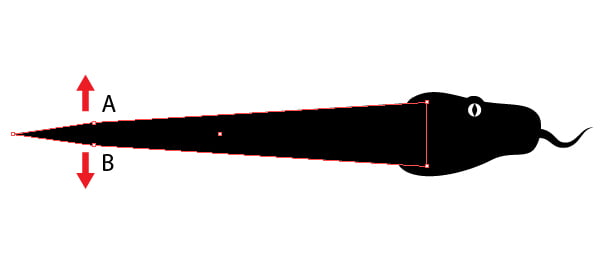
With the help of the Pen Tool (P) add two new points A and B to the vector outline and slightly shift them from the center-line of the tail.
Convert these points from corner into smooth ones.
At that creating of the brush shape is completed.
Step 10
Move the snake into the Brushes palette and set the position of the guides in the dialog box.
Step 11
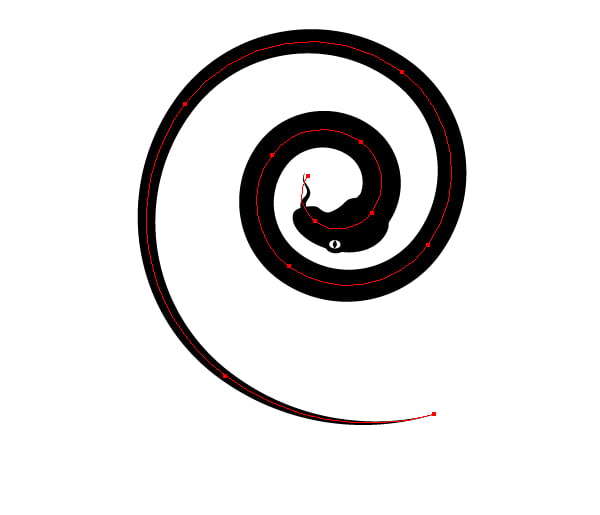
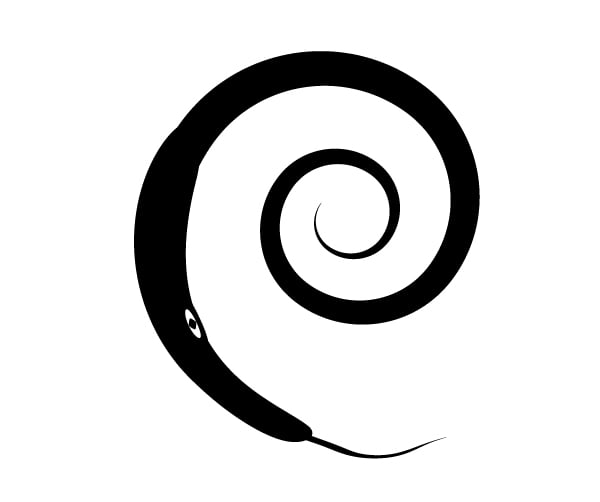
Apply your brush to some nice outline, such as a spiral (Spiral Tool).
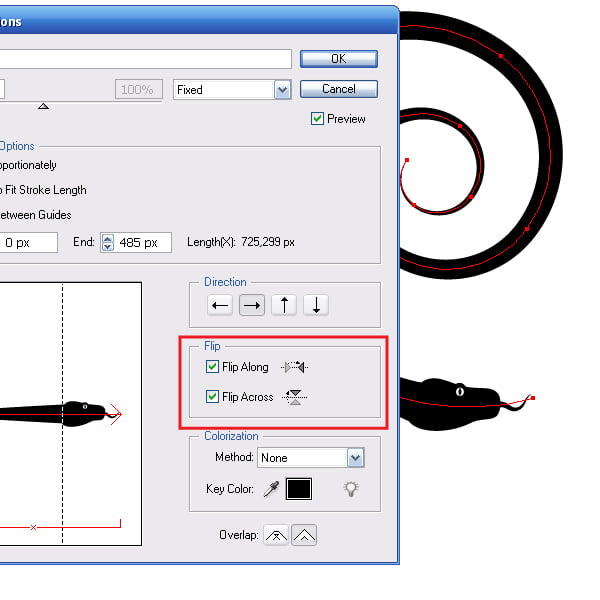
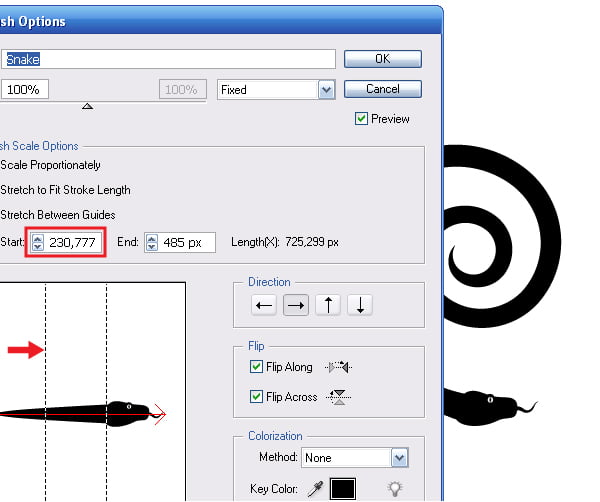
Oops, my snake turned in the wrong direction. Edit it. Double-click on the brush in the Brushes palette and edit the parameters in the dialog box, watching for changes at the same time.
You can also control the distribution of the width of the tail along the outline by moving the second vertical guide in the Art Brush Options dialog window.
Look, what would happen if we applied the regular Illustrator Art Brush to the outline.
Now I think you understand how helpful new feature of the Illustrator CS 5 Art brush is.
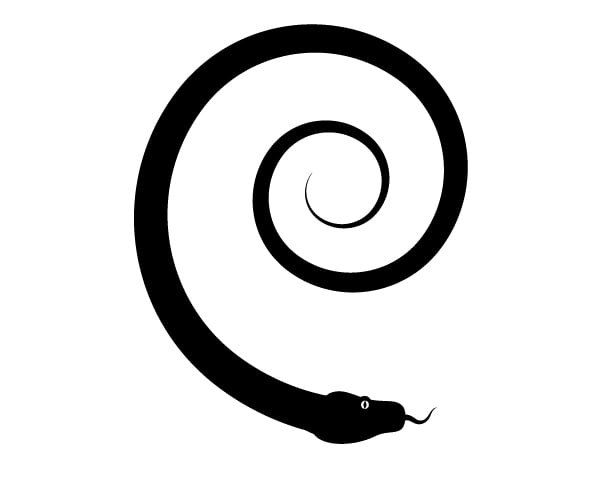
Here below is shown how you can apply your art brush to various curved outlines.
You can also read other Illustrator tutorials:
Final Image
You can download the source vector file for this tutorial
Follow us if you want to be the first to know about the latest Adobe Illustrator tutorials and articles. Vectorboom team works for you
|