|
Final Image Preview
In this CorelDraw tutorial I will tell you how to easily create a retro portrait in CorelDraw with a FreeHand Tool and Interactive Blend Tool.
Let’s first start drawing an eye.
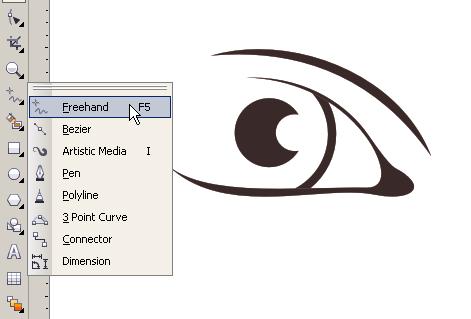
Select FreeHand Tool (or Bezier if it is more comfortable to you) and draw an outline of an eye. Remember that the shape has to be closed to be able to colour it. Keep the nodes cusp, so the outline looks neat.
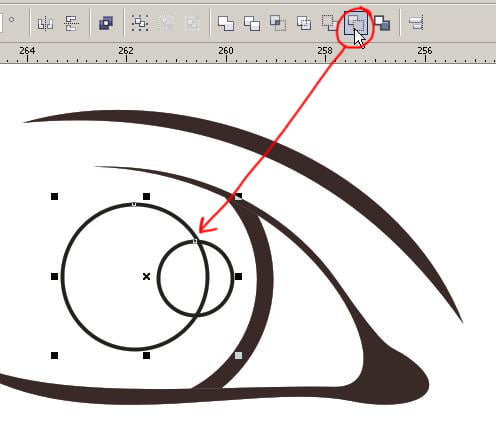
To draw a pupil, select Oval Tool, draw 2 circles like shown below and apply Back Minus Front:
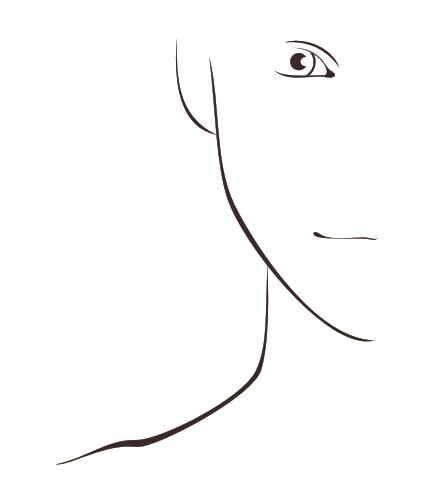
Use FreeHand Tool (or Bezier Tool) to draw the rest of the face outlines (just left part of the face):
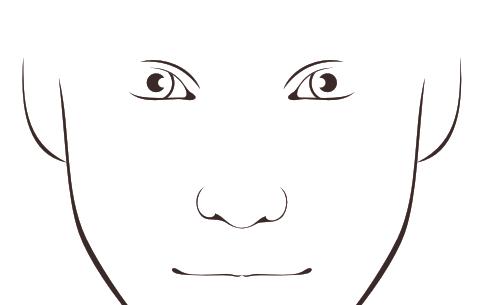
Select all the shapes, copy them (Ctrl+C), paste (Ctrl+V) and holding Ctrl drag to the right, so the shape is symmetrically flipped:
Select FreeHand Tool to draw the outline of the nose. To place it in the horizontal centre of the face, select two outlines of the face, group them; then select outline of the nose and the grouped face outline, press C:
Now the most interesting part: Blending!
Select Interactive Blend Tool (left panel):
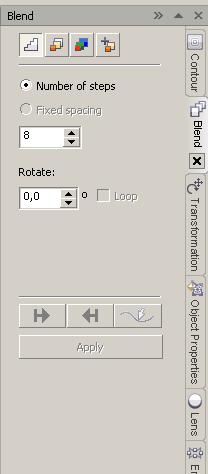
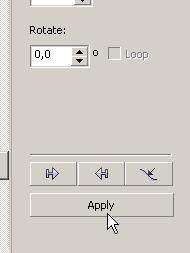
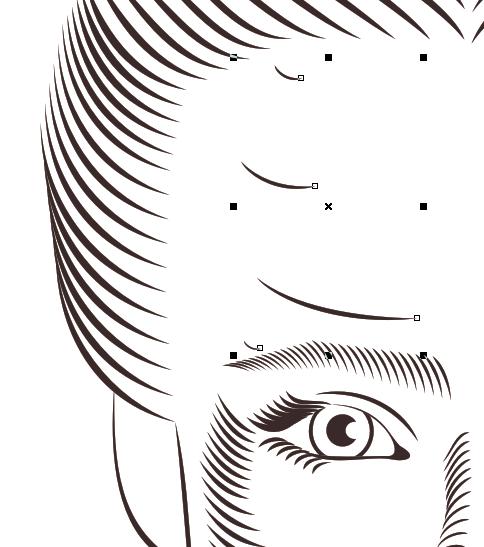
Have a look at the Blend properties on the right panel (or if it is not there, go to Window > Dockers > Blend), where you can set the number of blend steps, rotate, apply to paths etc.:
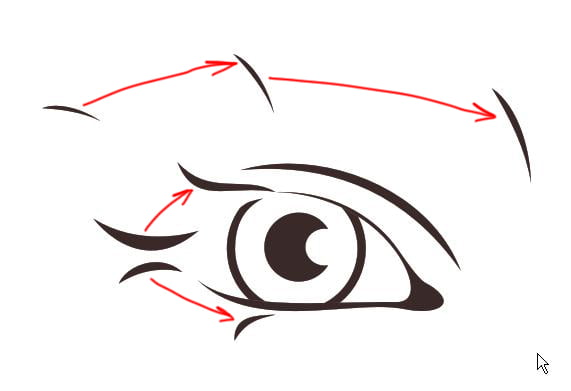
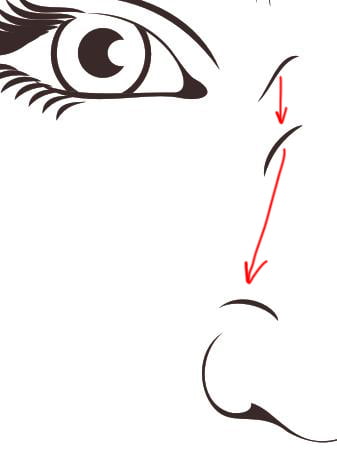
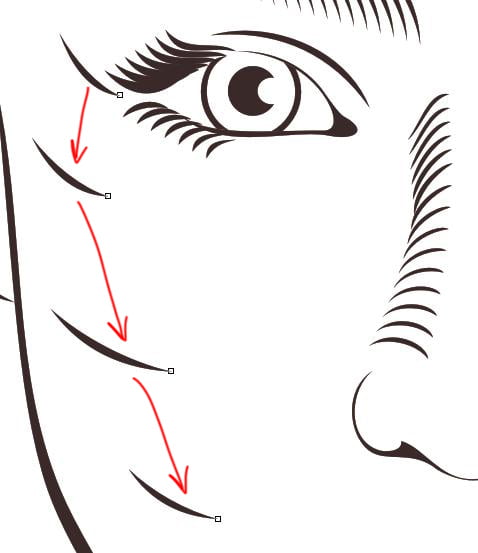
Select FreeHand Tool to draw a few eyelashes, and apply Blend as shown below:
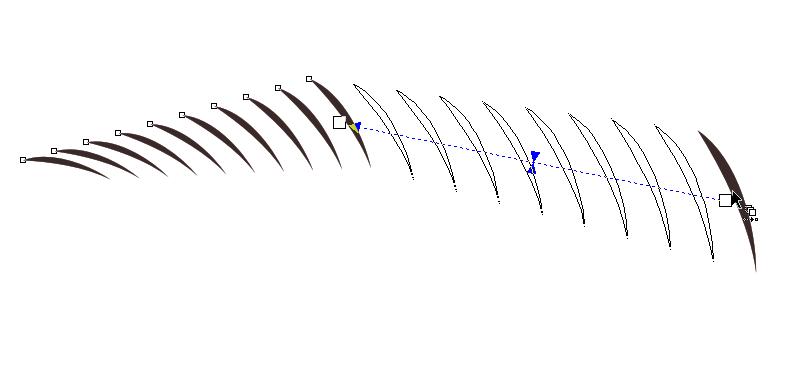
If you have 3 or more lashes, select Blend Tool and drag from one eyelash to another one:
Set the number of steps (lashes) you need to have on the right panel and press apply:
Now drag it from the 2nd to the third one:
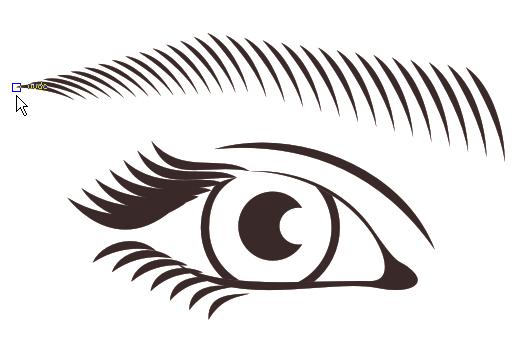
The finished eye with eyelashes and eyebrows will look like this:
Do the same with the nose: draw 2 or 3 lines and apply Blend.
Now the nose looks a bit to straight and might need a bit of a curve. For this draw a curve:
Place it on the nose:
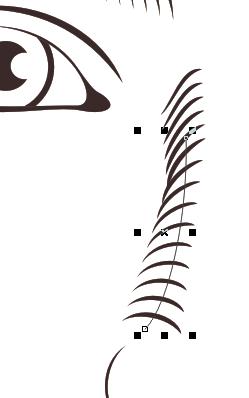
Select the Blended group of lines, go to Blend properties on the right, click New Path:
You will see a big black arrow now. Click with this arrow on the line on the nose:
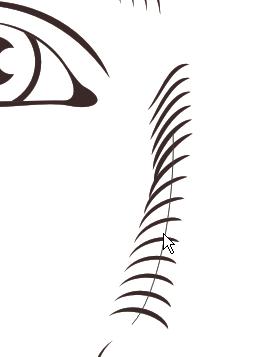
Click Apply, and the nose strokes will follow the curve of the line.
(Don’t forget to delete the line: right click on the blend group> break apart and delete the line).
Do the same with the shades on the cheeks:
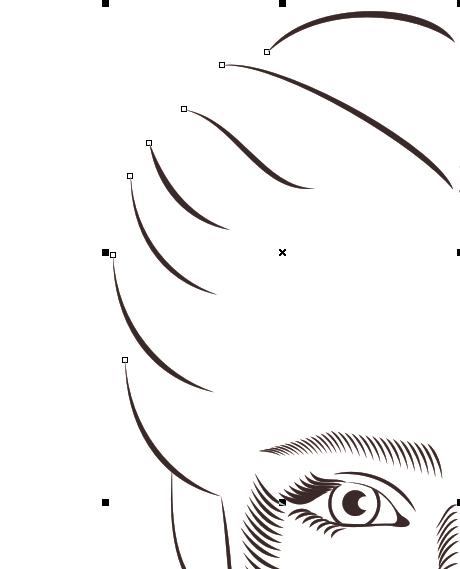
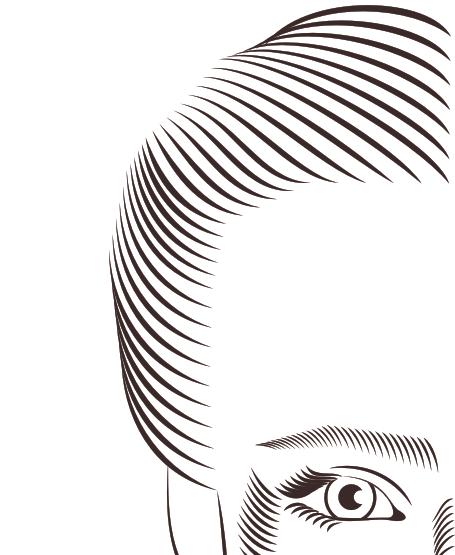
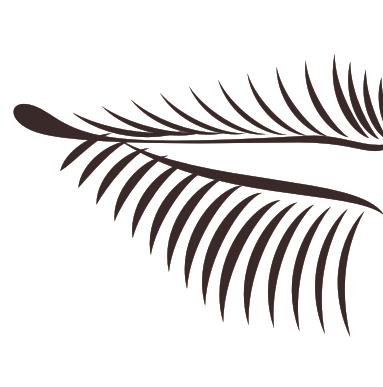
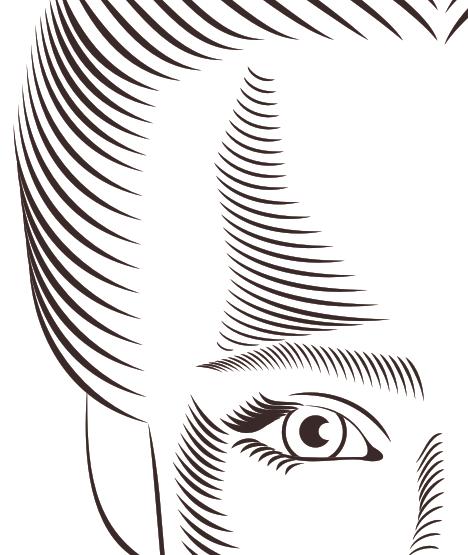
Now hair. Keep in mind that it is better to draw the key strokes on the angles and curves of your image, so in the end blend repeats the needed shapes and contours:
Now lips:
The forehead shade:
Now copy the shades you need (Ctrl+C), paste them again (Ctrl+V) and drag to the right holding Ctrl:
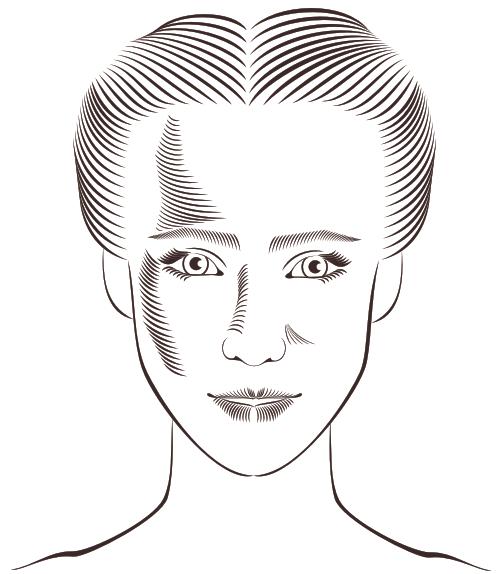
I added a light brown background and placed it to the back, and also a retro grungy effect on top of the image. SO here is what I’ve got:
Source: Anastasiia Kucherenko on Web:
shutterstock.com
istockphoto.com
zazzle.com
Follow us if you want to be the first to know about the latest Adobe Illustrator tutorials and articles. Vectorboom team works for you!
|