|
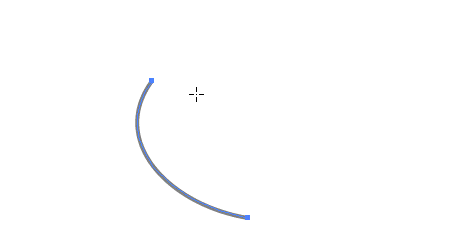
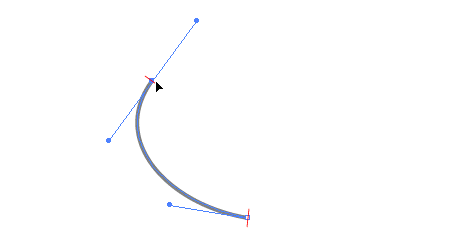
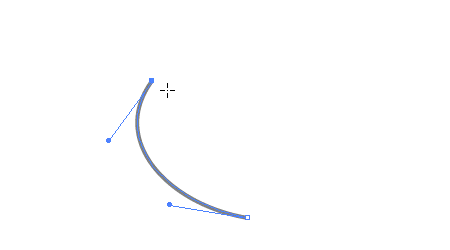
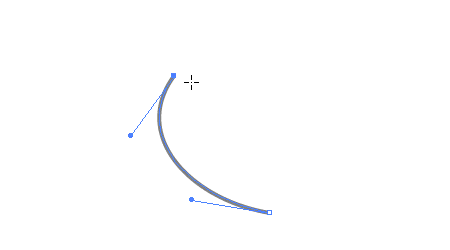
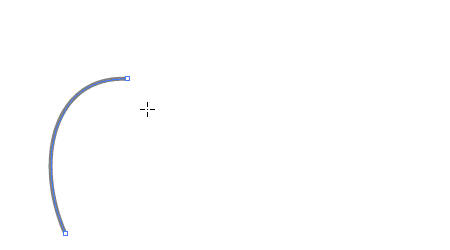
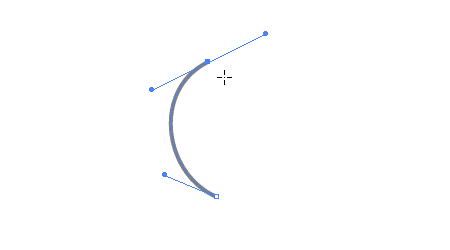
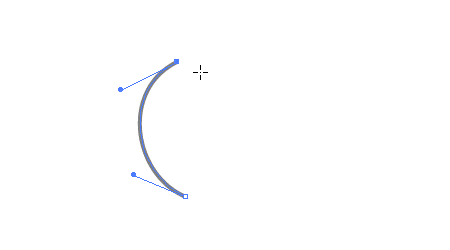
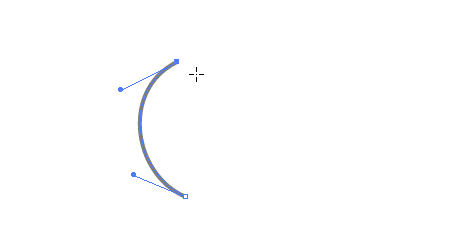
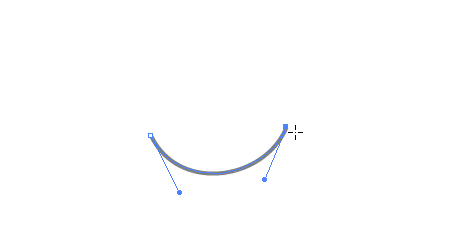
The Extend Path Tool in VectorScribe2 allows you to trim or extend the path along Bezier, Radius, Straight, and Spiral trajectories. If you haven’t already had a go with this then I strongly recommend you try it now (download VectorScribe 14 day free trial!). Today’s guide will show you to quicken your workflow further with the Extend Path Tool by using keyboard shortcuts. Using these shortcuts and using tips from the HD product movies from the website will help you maximise the potential in this truly creative tool!
All key shortcuts operate when the mouse button is down
Command/Ctrl — overrides snapping and constraining.
Esc — cancels path extension or shortening.
Space — hides annotations.
Left/Right Arrow — in Fixed radius mode, this decreases/increases the radius value. In Scaled Radius mode, this decreases/increases the scaling factor.
Up/Down Arrow — increases/decreases the spiral winding constant.
C — toggles distance constraint.
E — cycles through the four extension modes: Single Bezier, Constant Radius, Straight and Spiral.
L — toggles display of measurement values.
M — switches between the measurement types: Absolute and Percentage.
R — cycles through the radius modes: Fixed, Matched and Scaled.
U — With Smart Guides enabled, this temporarily disables Smart Guides.
V — switches between normal and reverse curvature.
X — locks/unlocks the extension type. To switch between extending, shortening, and reverse extending a path, the extension type must be unlocked. Passing the cursor close to the original path endpoint also unlocks it. On each drag operation, the extension type always starts out in a locked state.
|