|
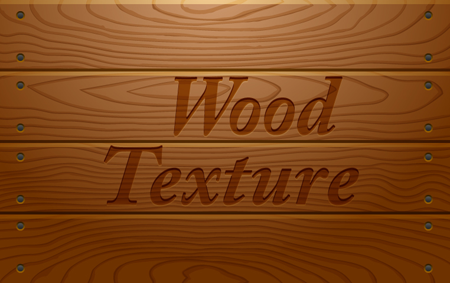
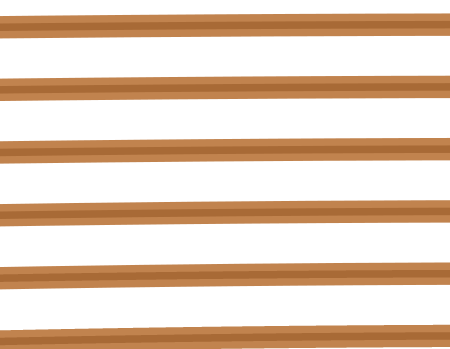
Final Image Preview
In today’s tutorial we will take a look at a new way of creating vector wooden texture in Adobe Illustrator. The technique that is covered here has become possible thanks to the use of the WidthScribe plug-in that allows you to work efficiently with variable width paths. Have fun and enjoy our new tutorial!
Step 1
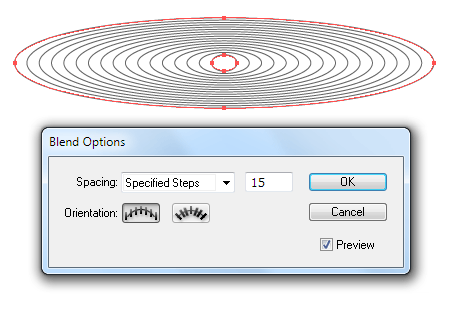
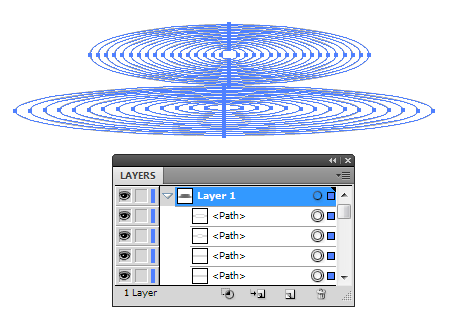
Wood texture has strongly pronounced fibers. These are annual rings, which in longitudinal section may look like ellipses. Let’s create a basis for future texture. Draw two ellipses with the help of the Ellipse Tool (L), as shown in the following picture.
Select the created objects, then go to Object> Blend> Make. Now go to Object> Blend> Blend Options … and set the required amount of specified steps in the dialog box.
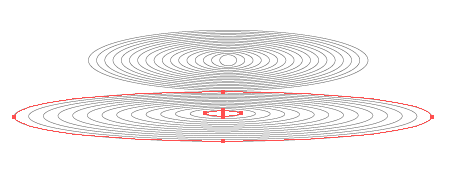
Using this technique, create another blend object, which also consists of two ellipses.
Step 2
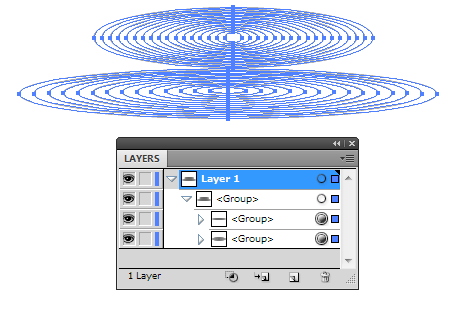
Select all the created objects, then go to Object> Blend> Expand. Now we have a set of ellipses of different sizes, which are located in different groups.
Ungroup all the ellipses, to do this, hit twice Cmd / Ctrl + Shift + G shortcuts.
Step 3
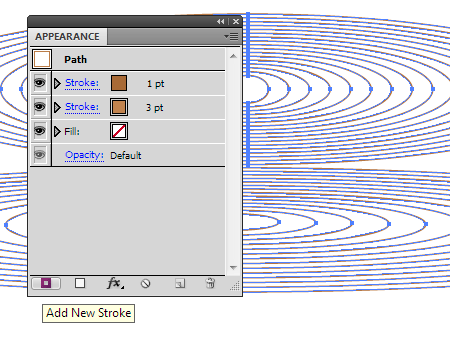
Color the stroke of the ellipses in a light brown color and set 3px width for them. Open the Appearance panel (Window> Appearance), then add a new stroke to the ellipses by clicking on the Add New Stroke in the bottom of the panel. Color the new stroke in a brown color and set 1 px width for it.
Now all the ellipses have the two-color stroke.
You can read full version of this tutorial on AstuteGraphics.com....
|