|
You will use Meshes, Gradients and Blends for creating the resulted picture. The skills you will learn here can easily be transferred to creating various objects. So let’s get started!
Tutorial Details:
- Program: Adobe Illustrator CS3 — CS5
- Difficulty: Intermediate
- Estimated Completion Time: 2 hours
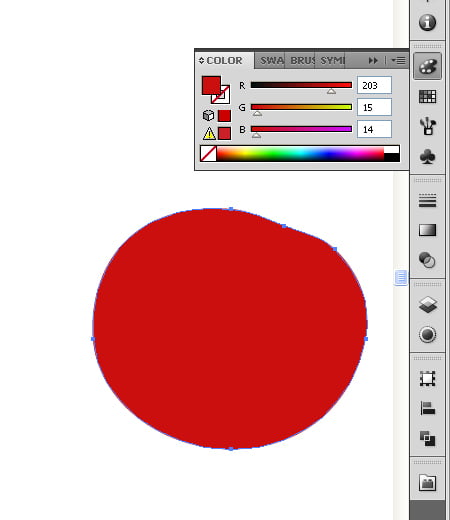
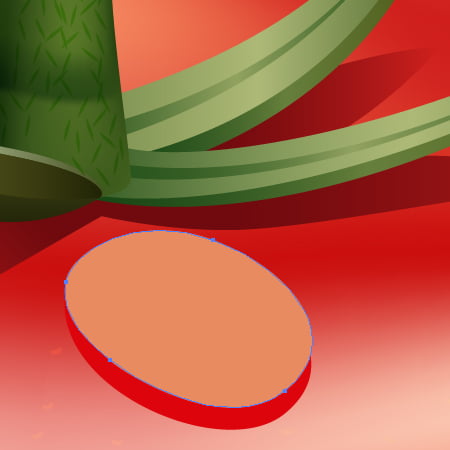
Step 1
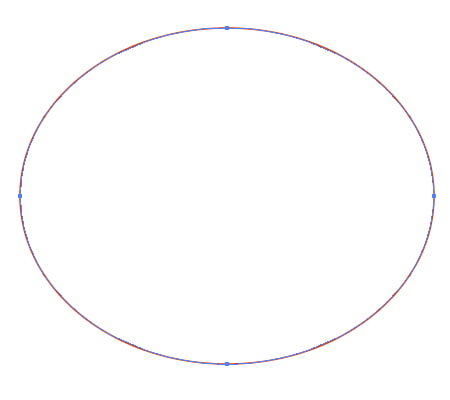
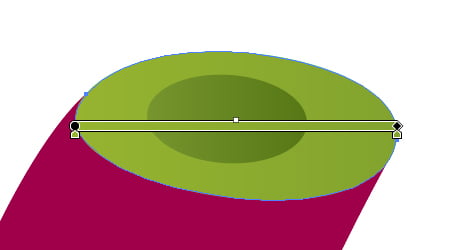
Take the Ellipse Tool (L) and create the following path.
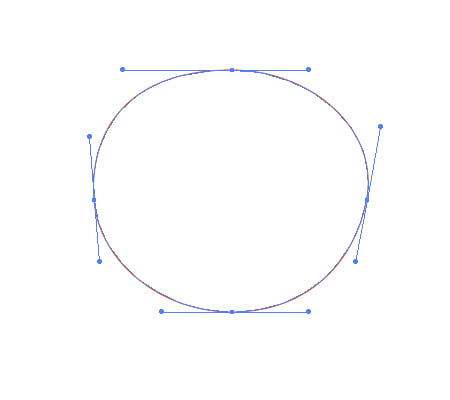
Take the Direct Selection Tool (A) and change the path. You should have a picture the same as below.
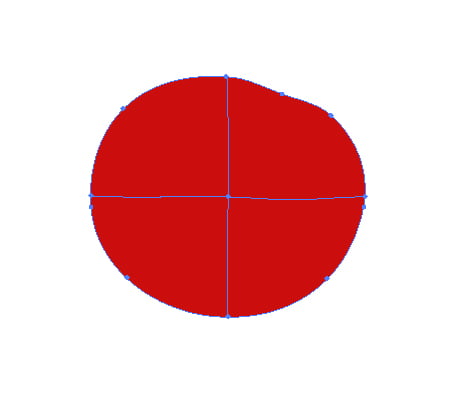
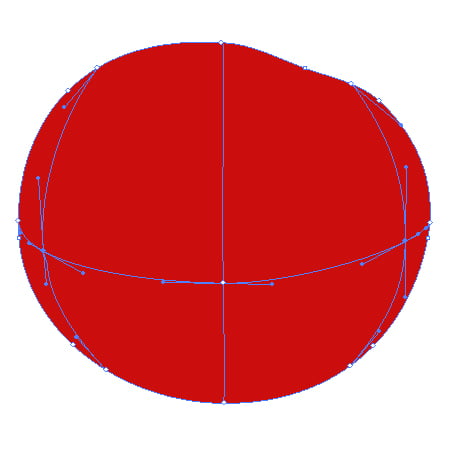
Step 2
Take the Pen Tool (P), add the anchor point, and transform the path to the following form.
Fill this path with dark red.
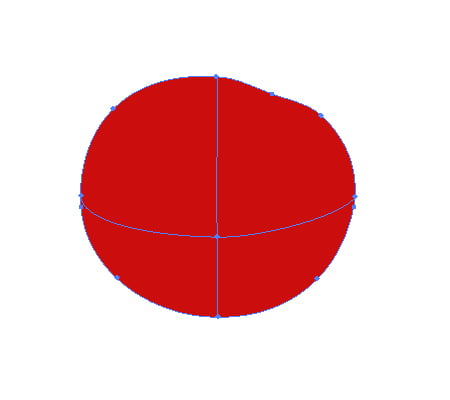
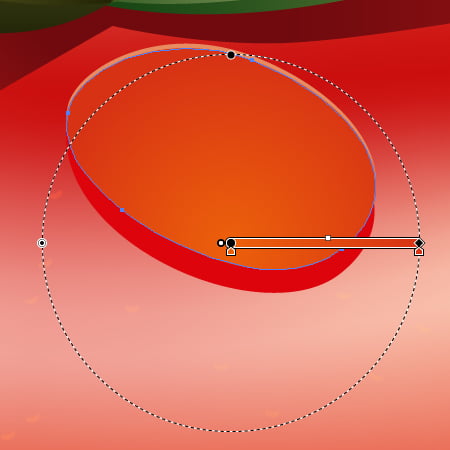
Step 3
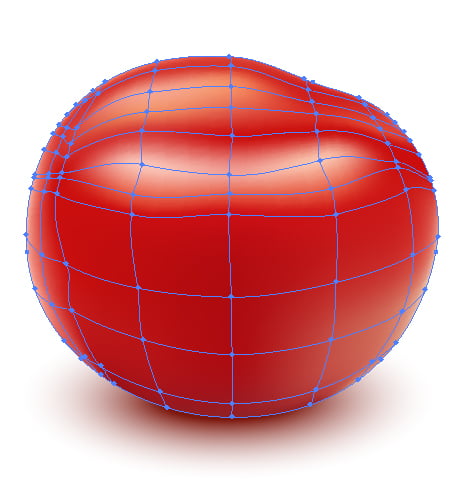
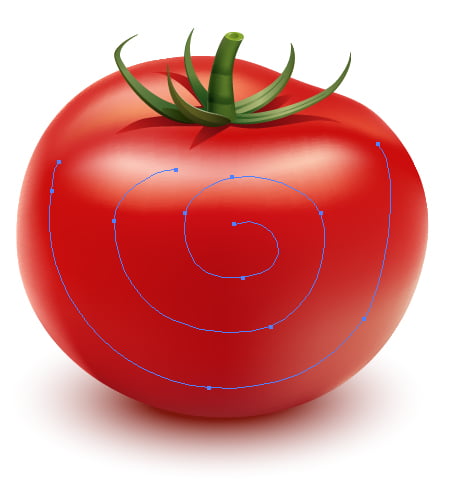
Let's now make the Mesh. Grab the Mesh Tool (U) and add the mesh anchor point in the center of the tomato form. See the diagram below for reference.
Then move this anchor point downwards.
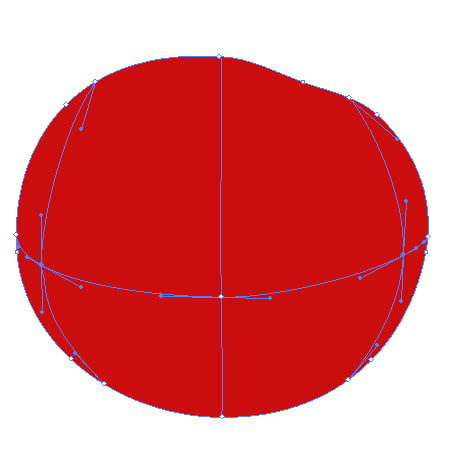
Add the next mesh anchor points.
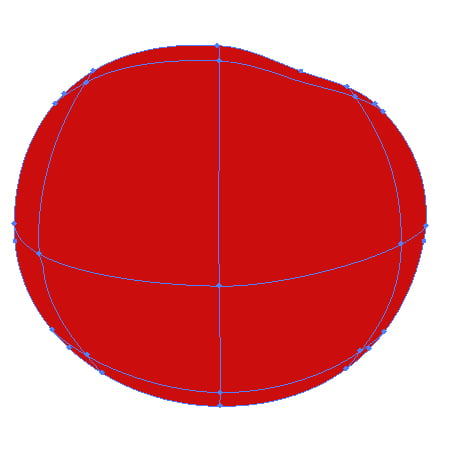
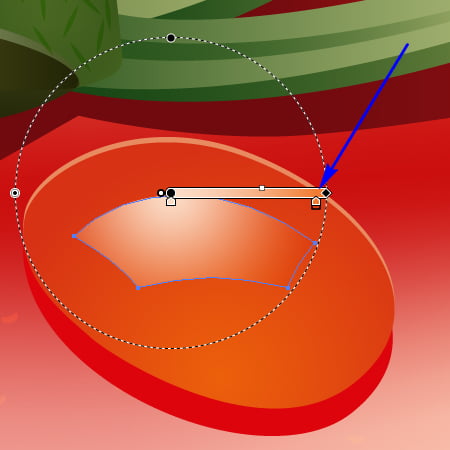
Step 4
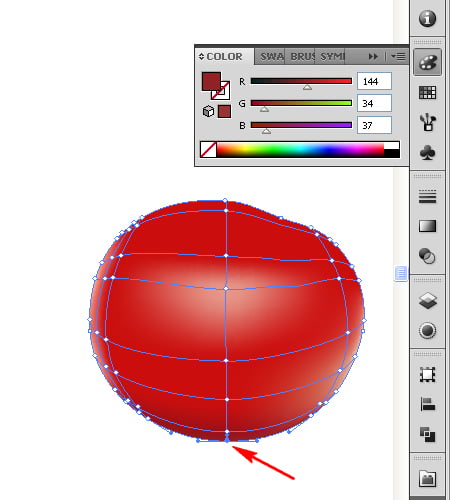
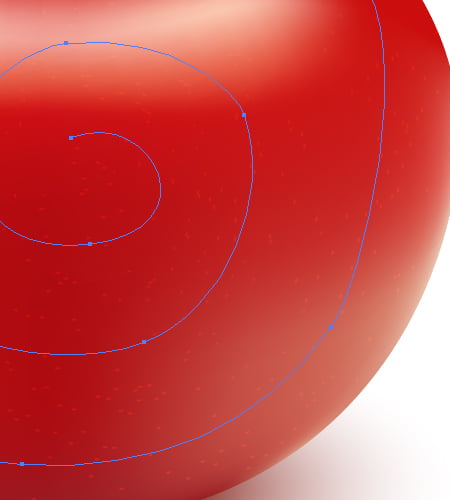
Then convert the anchor points using the Direct Selection Tool (A) to the following form in order to represent a globular shape of the tomato.
Repeat these actions for both: the top part and the lower part of the tomato.
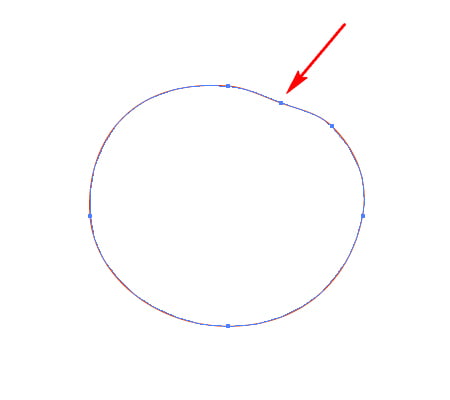
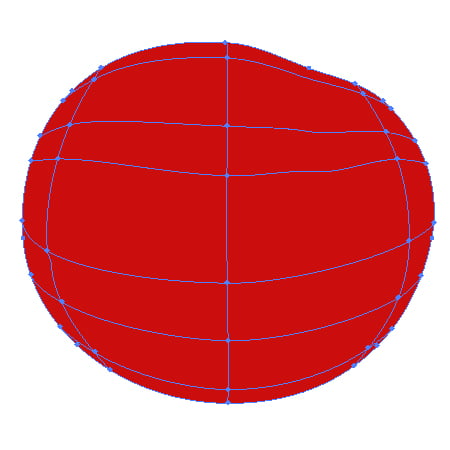
Add more mesh anchor points.
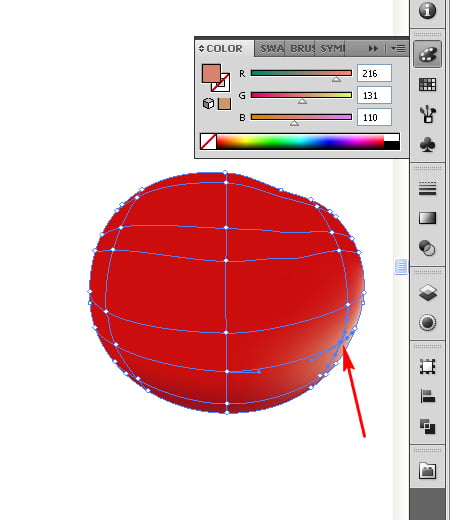
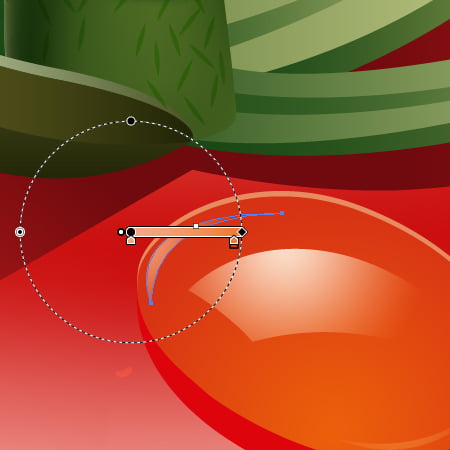
Step 5
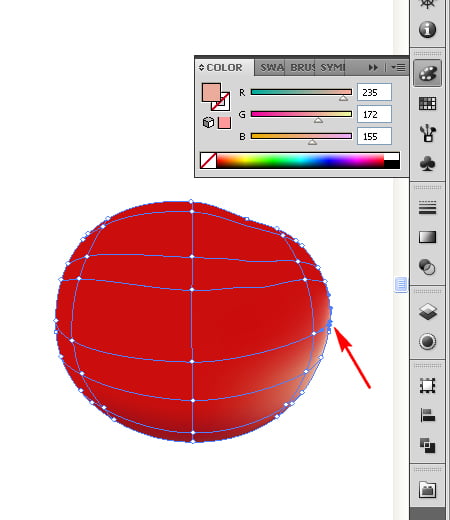
Select one of the anchor points and change the color of it.
Change the color of the close anchor point.
Add the distribution of light to the surface of the tomato.
Step 6
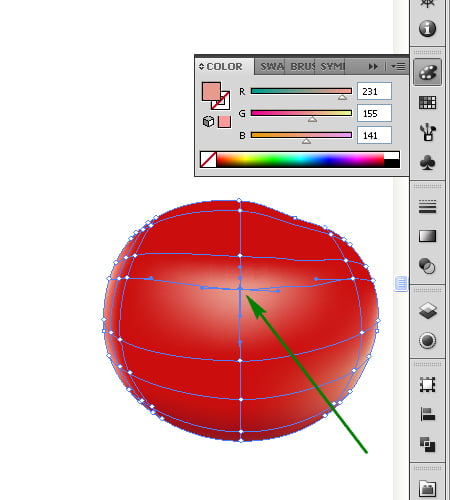
Continue to change the colors of the anchor points. See the diagram for reference.
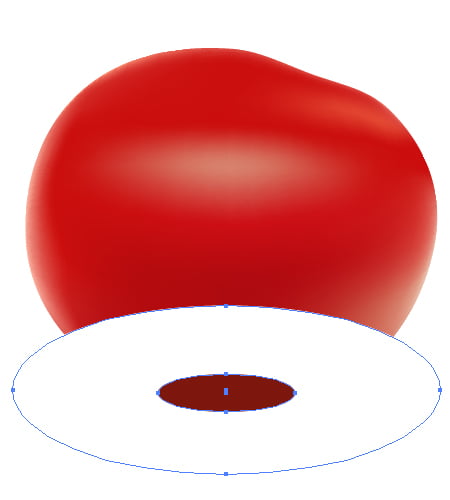
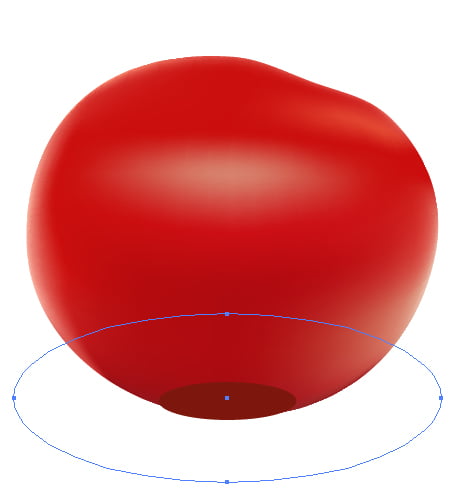
Step 7
Illustrate now two concentric elliptical paths in the lower part of the tomato. The big ellipse is filled with white and is located under the small ellipse.
Change the Opacity of the white ellipse to zero.
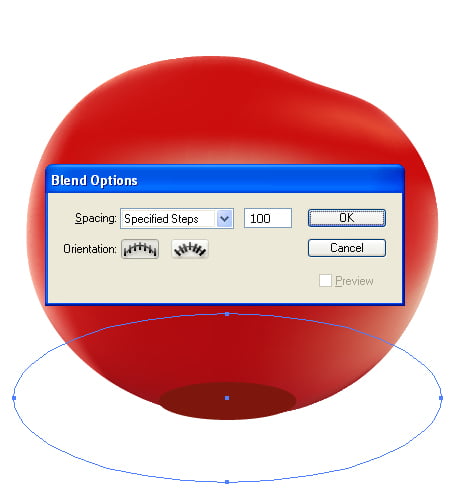
Then go to Object > Blend > Blend Options and set the Spacing to "Specified steps" and the quantity of steps to 100.
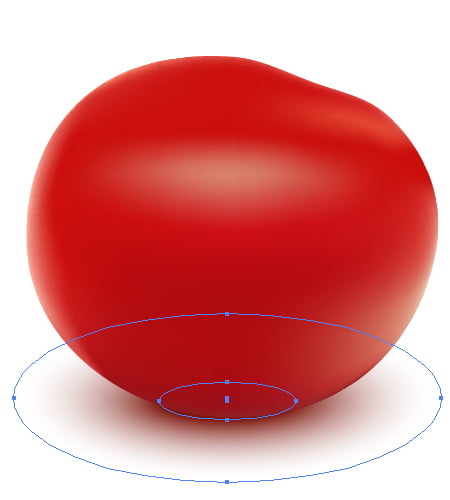
Select both concentric ellipses and go to Object > Blend > Make (Command + Alt + B). Send this blend to back. It will represent shadow.
Step 8
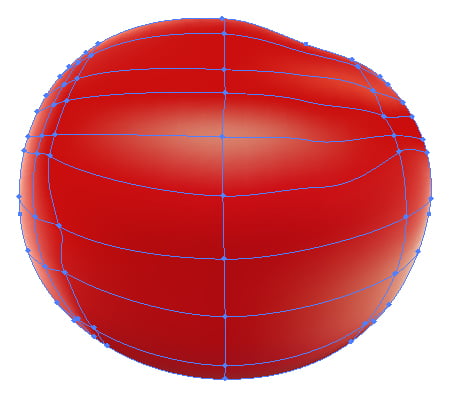
Complicate the mesh in order to show the photo-realism of the tomato's surface.
Step 9
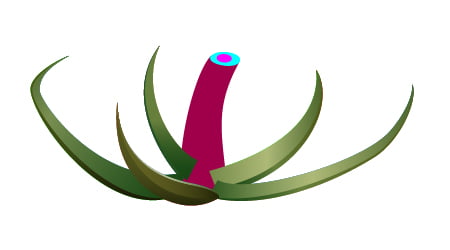
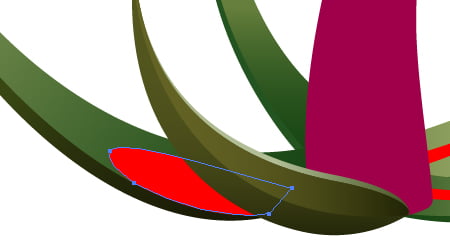
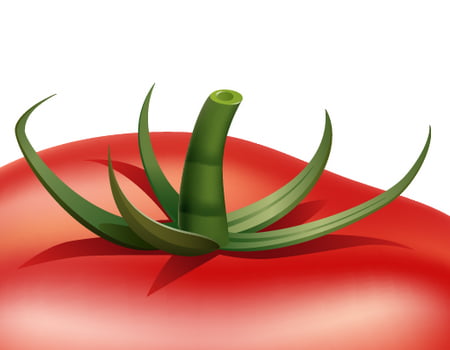
Let's now create a stem of the tomato. Draw the first leaf. And fill it with any color.
Draw other leaves.
Step 10
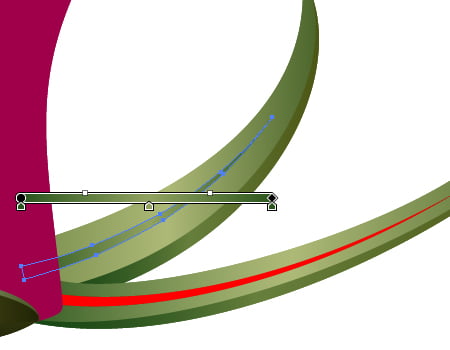
Illustrate the central branch.
Make a lateral surface of the leaf.
Repeat these actions for the other leaves.
Step 11
Fill a lateral surface of the leaf with a Linear gradient. You need to achieve the following result.
Do the same with the other leaves.
Step 12
Fill the cut section of the branch with the Linear gradients.
Step 13
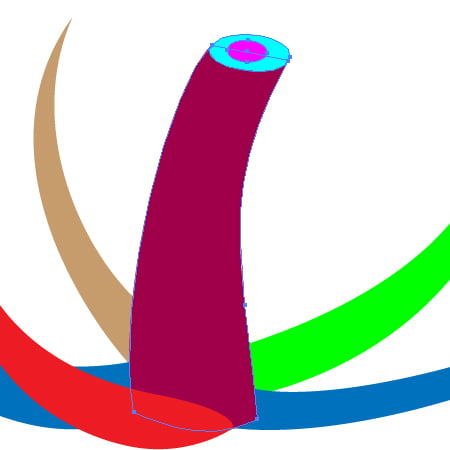
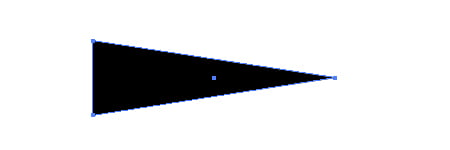
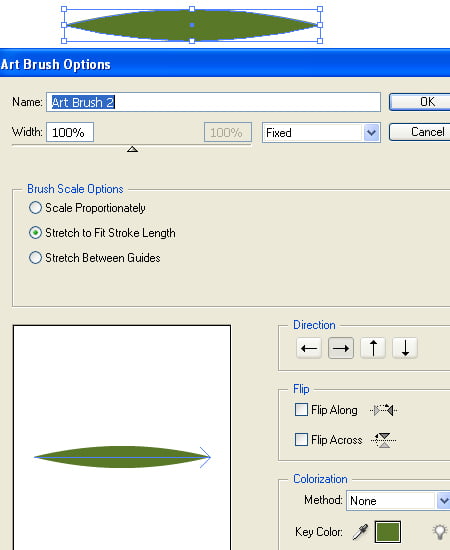
Draw a triangular path.
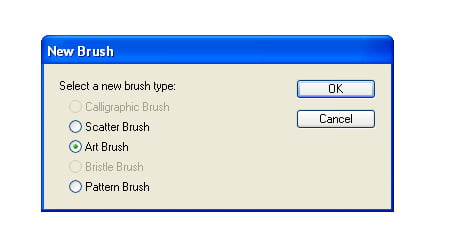
Drag and drop it into the Brushes palette. Select the Art Brush option in the dialog box.
Set the items for the brush as you can see them on the diagram below.
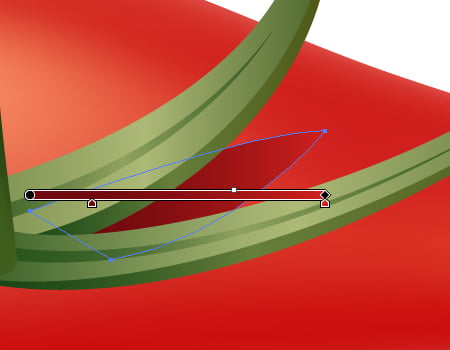
Take the Pen Tool (P) and draw the next path. Then apply the Art brush to it. Change the color of the path and change the Stroke Weight, if necessary.
Create another similar path.
Step 14
Then draw the following path.
Step 15
Select the first red path drawn one step earlier, and go to Object > Expand Appearance, then go to Object > Ungroup. And fill the path with the Linear gradient.
Fill the other red paths with the Linear gradients.
Step 16
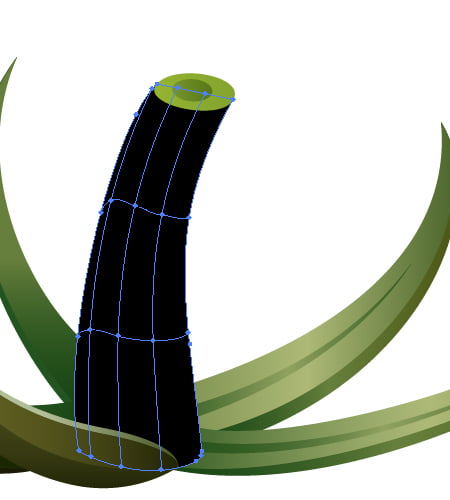
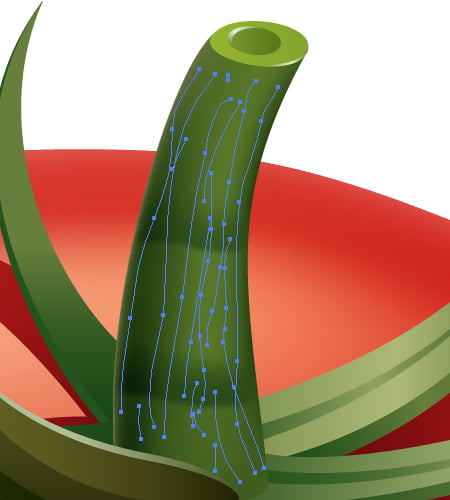
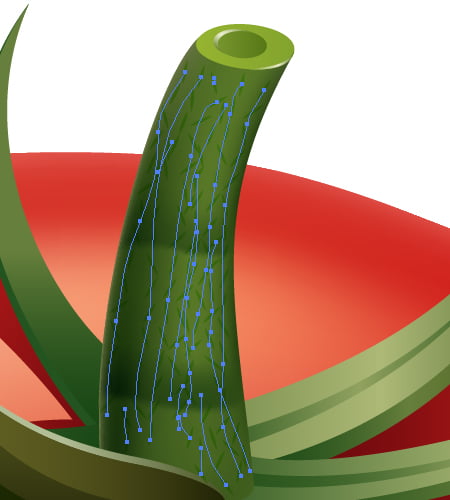
Select the wine red stem, take the Mesh Tool (U) and convert it to mesh. See the diagram below.
Paint it with green hues.
Add dark green colors to the stem.
Step 17
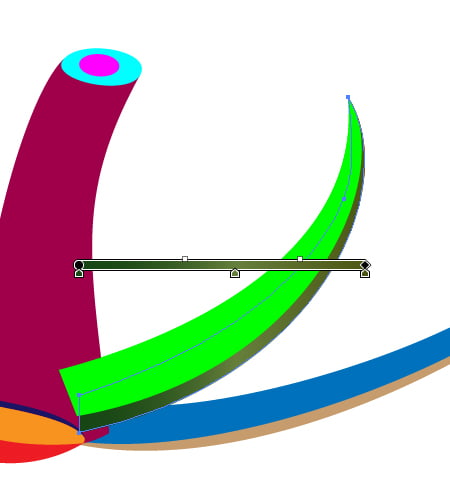
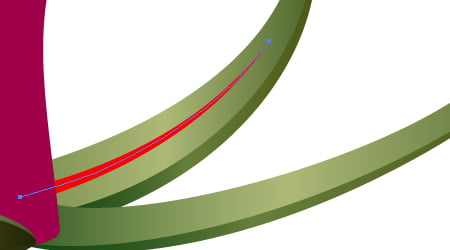
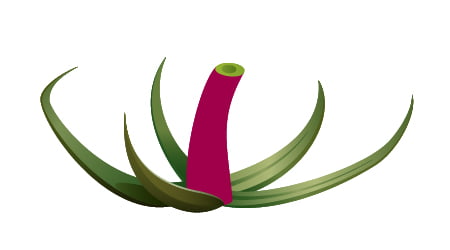
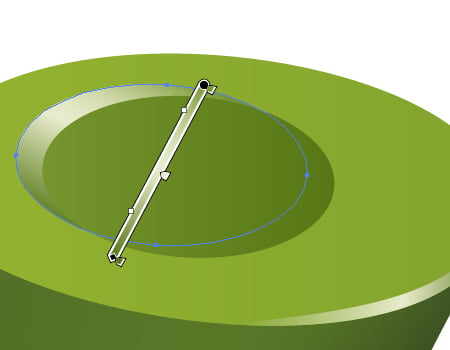
Place the tail over the tomato. Change the dimensions of the tail, if it is necessary.
Make an Art brush which is shown in the diagram below.
Then draw the next path in the top part of the tail using this Art brush and fill it with the Linear gradient.
Illustrate the shown below elliptical path filled with the Linear gradient too.
Step 18
Let's illustrate shadow from the leaves. Draw the path filled with the following Linear gradient.
Repeat this step for the other leaves of the tomato.
Step 19
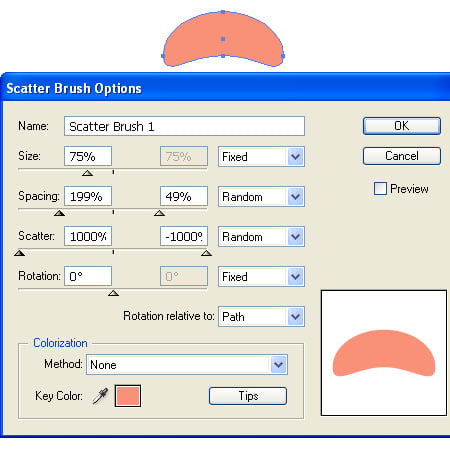
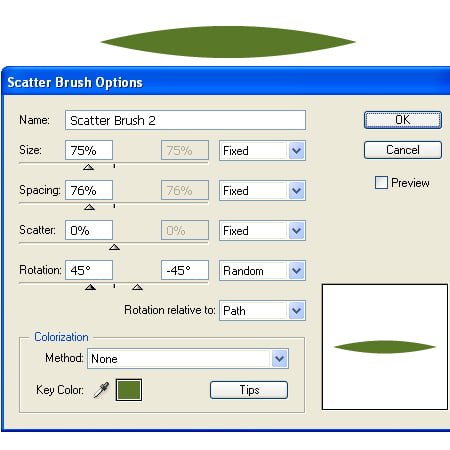
Draw the next small path looking like a tangerine segment. Fill it with tangerine. Its size in across-track direction must be several pixels only.
Then drag and drop it into the Brushes palette. Select the Scatter Brush option in the dialog box. Set the items for the brush as you can see them on the diagram below.
Step 20
Illustrate two paths shown below on the surface of the tomato.
Apply just created Scatter brush to them.
Step 21
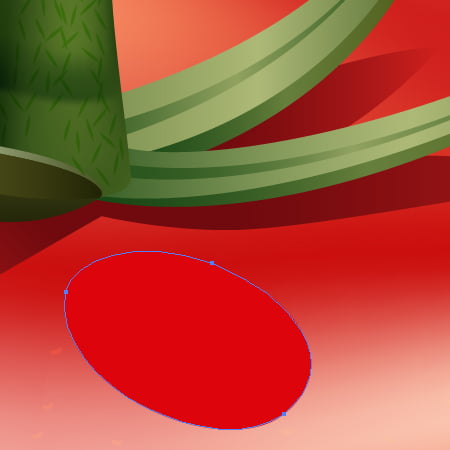
Produce the next scatter brush filled with dark olive green.
Sketch the paths over the tomato tail.
And apply the new scatter brush to them.
Step 22
Let's illustrate drops on the tomato. First, outline the next path under the tail on the red surface of the tomato.
Repeat this.
And now create the path filled with the Radial gradient.
Sketch the following contour filled with the Radial gradient where the second color-stop (pointed by an arrow on the diagram) has the zero opacity.
Repeat this action for another path.
And repeat again.
Step 23
Illustrate as many drops as you want.
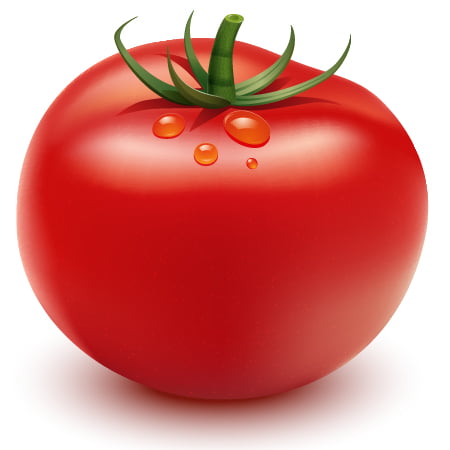
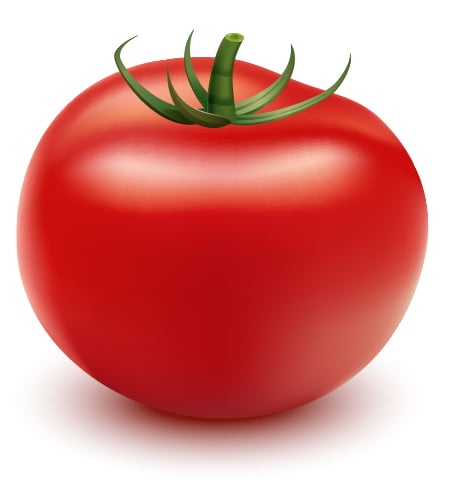
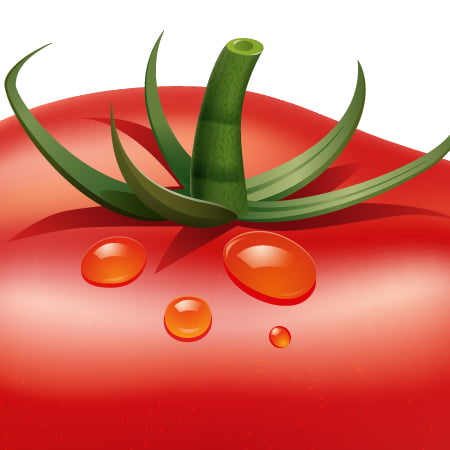
Conclusion
Bon appetit!
If you're looking for fantasy photoshop tutorial or artworks, check this link to get more inspiration.
For more design ideas, you may check out RipeConcepts portfolio.
Follow us if you want to be the first to know about the latest Adobe Illustrator tutorials and articles. Vectorboom team works for you!
| 


 HOW DO YOU DO THE LEAVES? THIS TOMATO IS RUINING MY LIFE