|
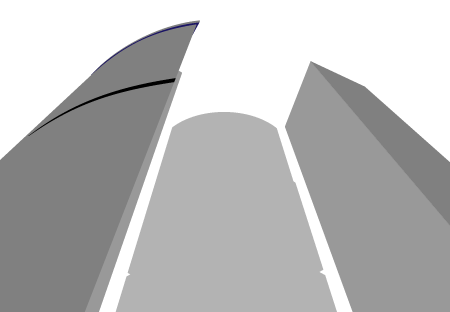
Final Image Preview
In this tutorial we will learn how to create the effect of linear perspective using the Width Gradient Tool, which is one of the tools of the new WidthScribe plugin. In addition, for the coloring of variable width paths, we will use the Gradient on a Path feature in Adobe Illustrator CS6. Thus, today, we are using two new techniques of vector graphics. Read on to work more creatively and efficiently!
Step 1
As a reference image I will use an International Business Centre from Shutterstock.
With the help of the Pen Tool (P) create basic shapes of buildings.
Step 2
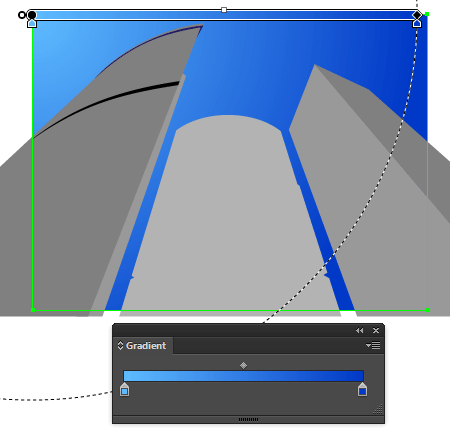
Let’s simply limit the space of our composition. Create a rectangle using the Rectangle Tool (M) and fill it with a radial gradient that includes two shades of blue color. Place the rectangle below all the created objects.
Step 3
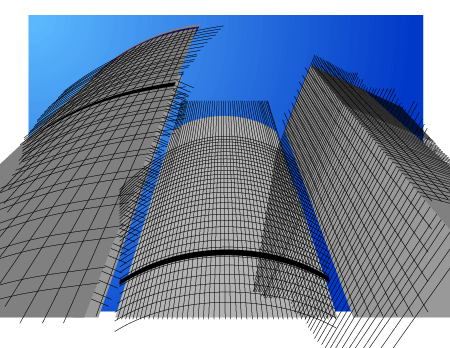
With the help of the Line Segment Tool (\) create a set of lines, which correspond to the position of window frames. These are uniform paths 1px thick.
The distance between them is determined by the shape of the building and the perspective. In this work I referred to the reference image. To create curved segments, use the Pen Tool (P) or InkScribe Tool (DrawScribe plugin).
Thus, I created windows on all the buildings.
You can read full version this tutorial on AstuteGraphics.com
Follow us if you want to be the first to know about the latest Adobe Illustrator tutorials and articles. Vectorboom team works for you!
|