|
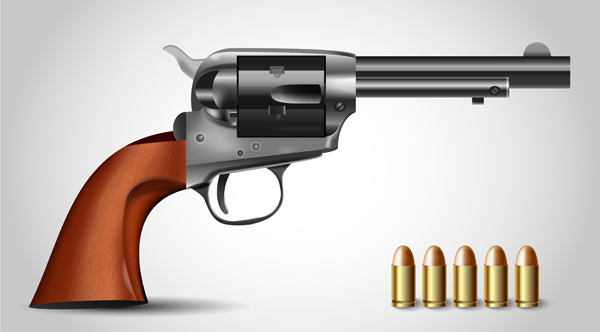
Final Image Preview
Do you want to illustrate a handgun? If yes then let’s get started!
Tutorial Details:
Step 1
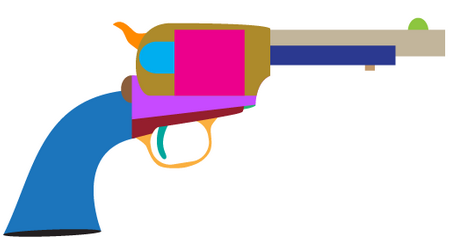
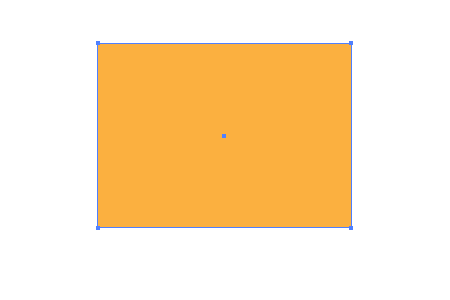
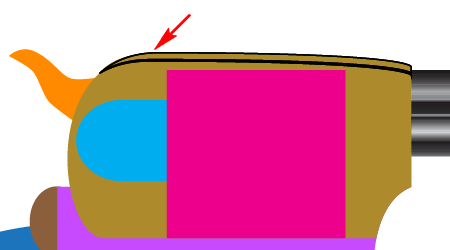
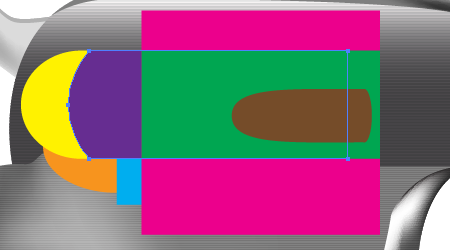
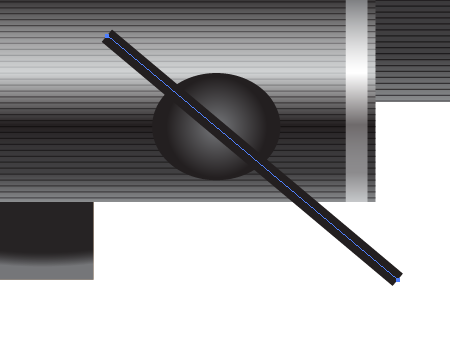
First of all, you need to create the main geometry of the final result. You must achieve the following picture shown below.
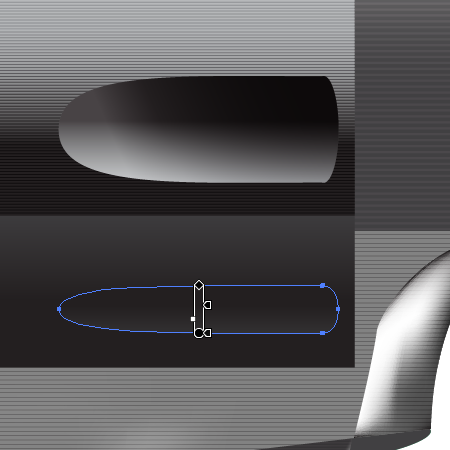
If you know how to achieve this, do it by yourself without assistance and go immediately to Step 8. Otherwise you should read carefully the beginning seven steps of this tutorial. Take the Rectangle Tool (M), and illustrate a rectangular path.
Then convert this rectangular path to the following form using the Direct Selection Tool (A) and the Convert Anchor Point Tool (Shift + C).
Step 2
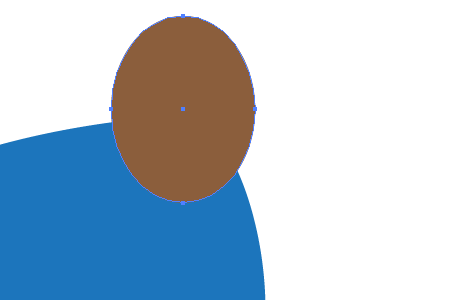
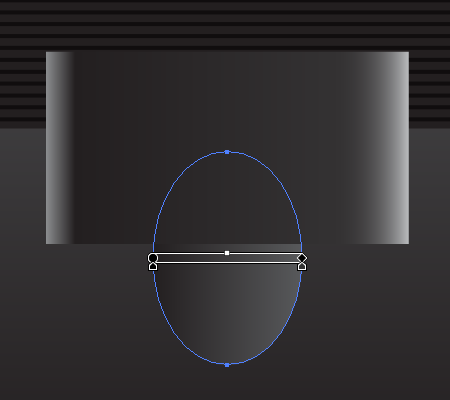
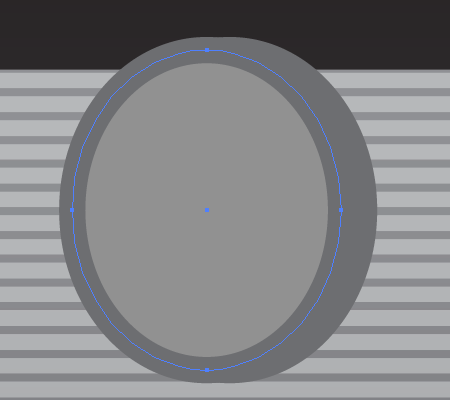
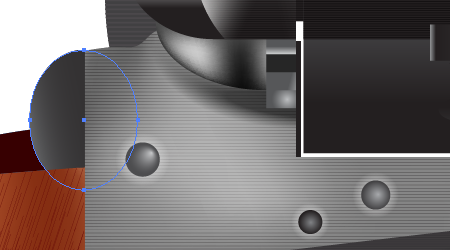
After that take the Ellipse Tool (L) and draw an elongated elliptical path in the lower part of the handle. Rotate it somewhat by going to Object > Transform > Rotate.
Place another ellipse in the upper part of the handle.
Then draw the next paths. See the diagrams below for reference.
Step 3
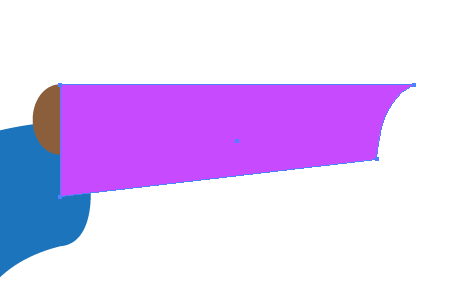
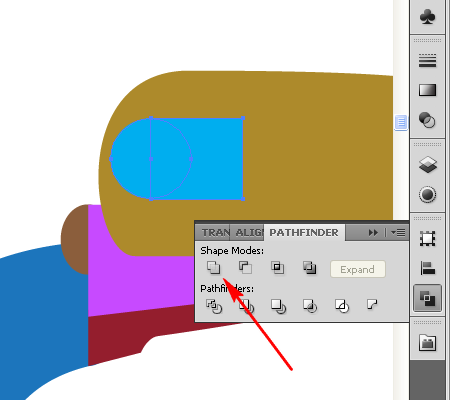
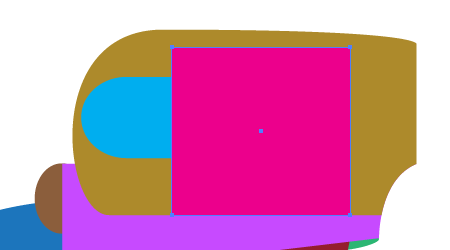
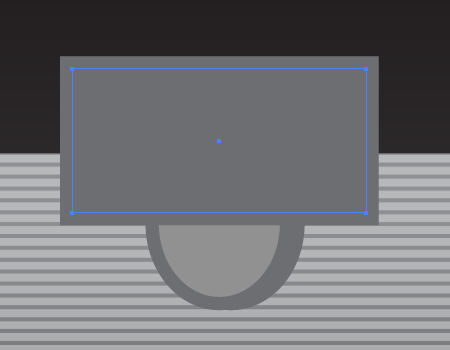
Sketch now a rectangle in the center of the revolver.
Then draw the circle as shown.
After that select both: the rectangle and the circle, and go to the Pathfinder palette in order to click there the Unite-button.
You need to achieve the following path.
Step 4
Draw the following paths.
Step 5
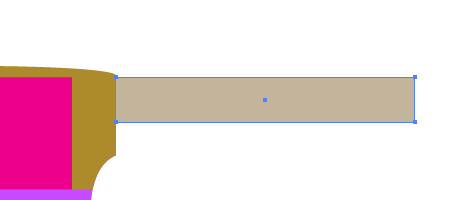
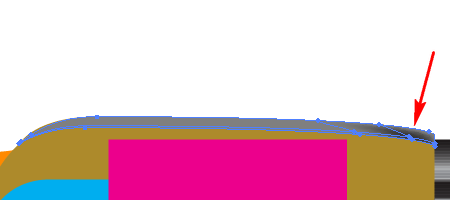
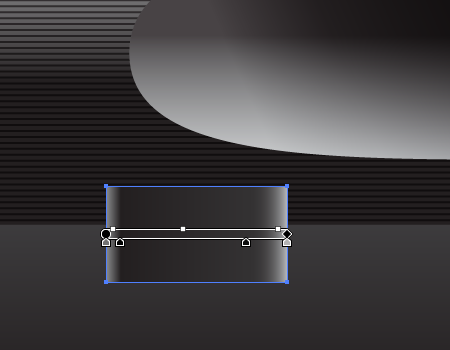
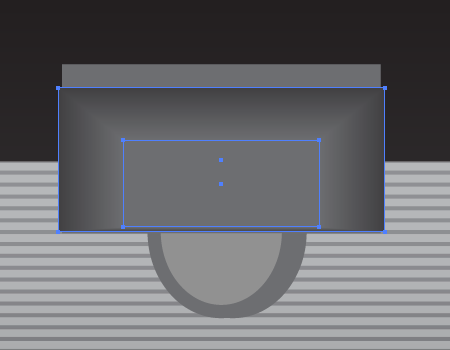
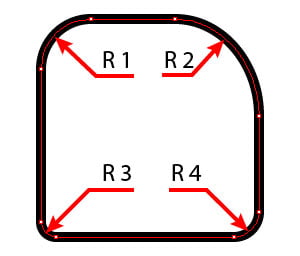
Grab now the Rectangle Tool (M) and draw the next path.
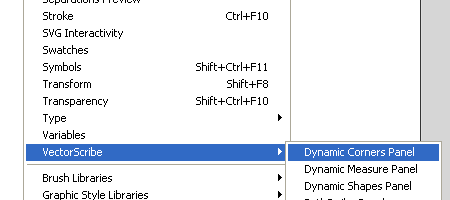
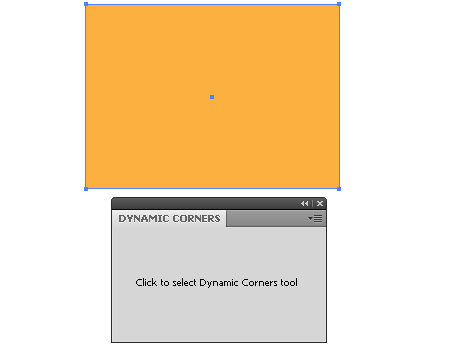
Now let's go to Window > VectorScribe > Dynamic Corners Panel,…
…and click there to select Dynamic Corners tool.
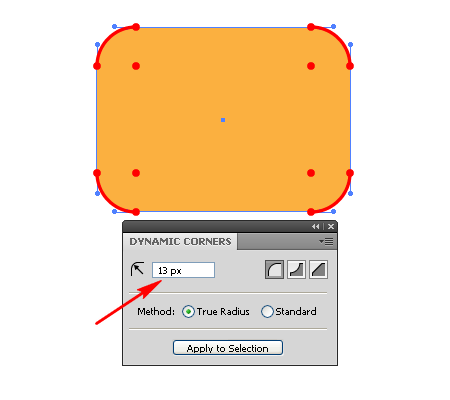
Then click "Apply to Selection" button and change the value of curving (pointed by an arrow on the diagram).
You should have a picture the same as below.
Step 6
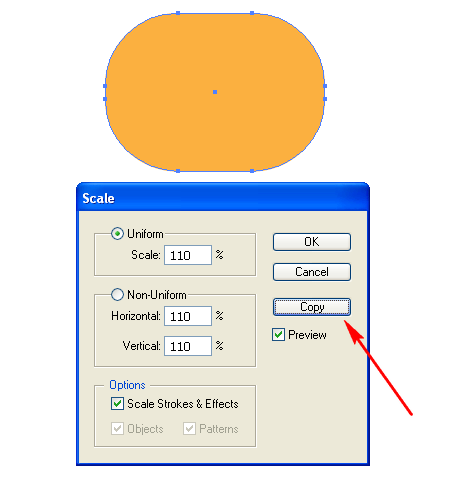
After that go to Object > Transform > Scale and set there the values shown below. Then click the Copy button. And go to Object > Arrange > Send Backward.
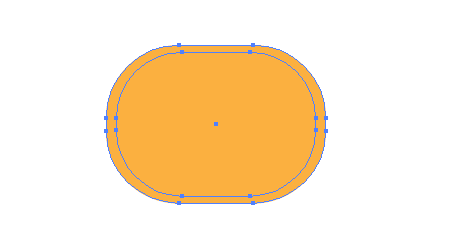
Select now both paths,…
…and go to Object > Compound Path > Make (Command + 8).
Step 7
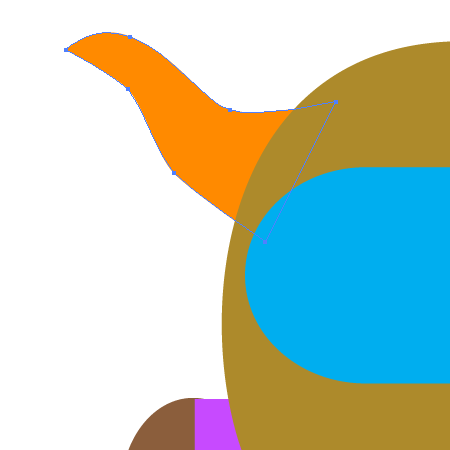
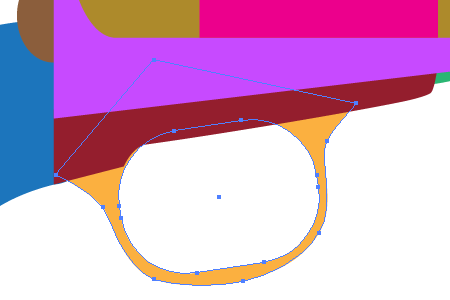
Then convert the form of this Compound path, rotate it, and place under the revolver.
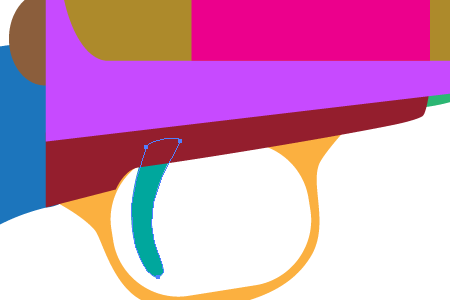
Illustrate now the cock of the revolver.
Step 8
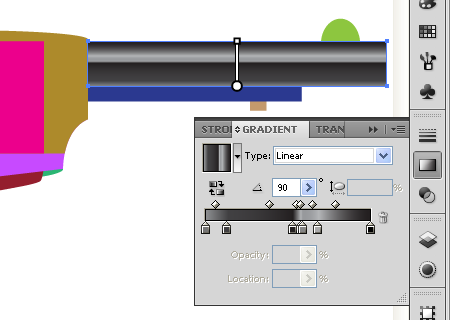
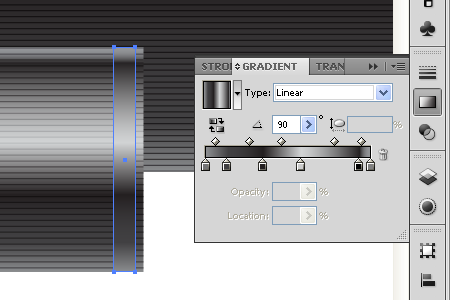
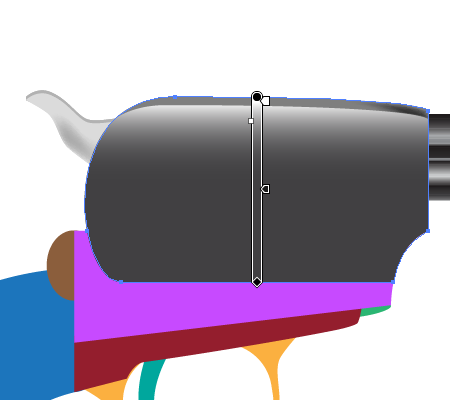
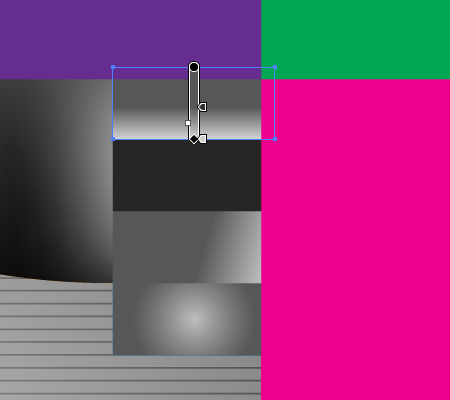
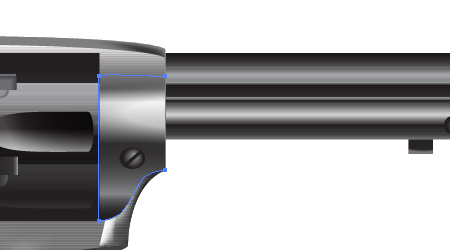
Fill now the the upper part of the barrel with the vertical gradient filling.
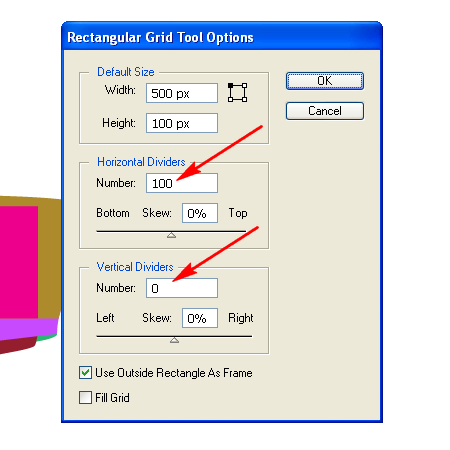
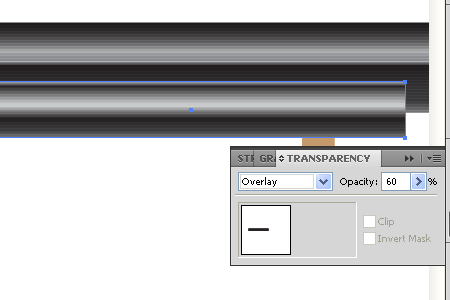
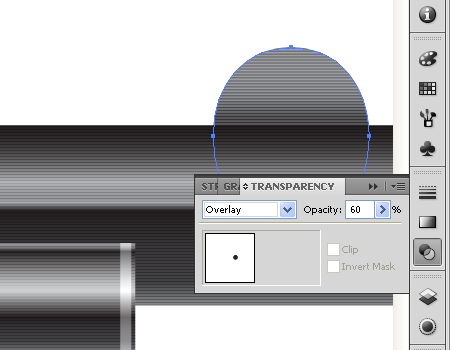
As you perhaps know the parts of almost all the steel details are coarse enough. How to represent this property of steel? Take the Rectangular Grid Tool, click in the workspace of your Illustrator file and set the following items as you can see them on the diagram below. Pay attention to the numbers of horizontal and vertical dividers.
Then place the grid (it will be named "the Grid" further in this tutorial) over the barrel. And change the Stroke weight of the grid lines, if necessary.
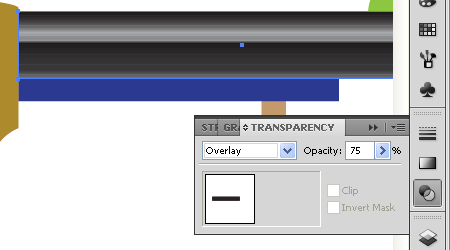
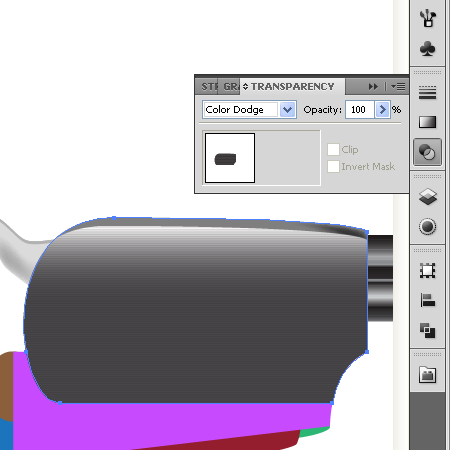
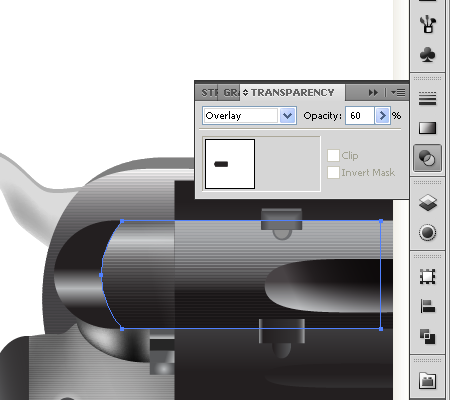
Select the barrel path, copy it and paste in front (Command + C then Command + F). Bring it forward by going to Object > Arrange > Bring Forward. Select both: this path and the Grid, and go to Object > Clipping Mask > Make (Command + 7).
Then go to the Transparency palette and change the Blending mode of the Grid lines to Overlay, and change also the Opacity of them. You should receive a picture the same as below.
Step 9
Illustrate the cleaning rod detail (the lower part of the barrel) the same way. Follow the helpful examples below.
Step 10
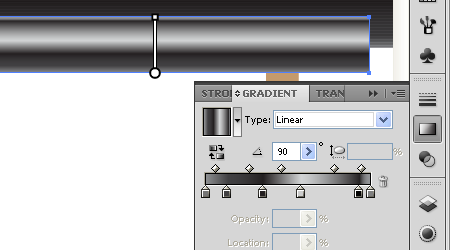
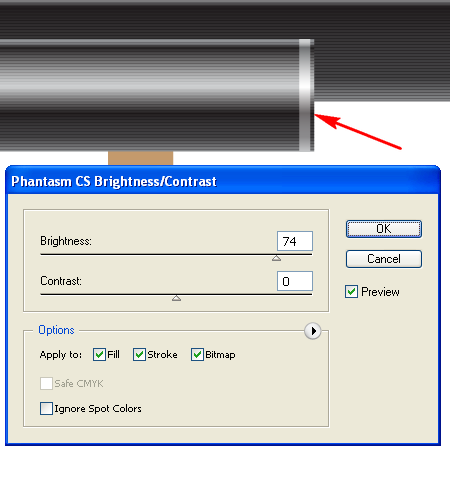
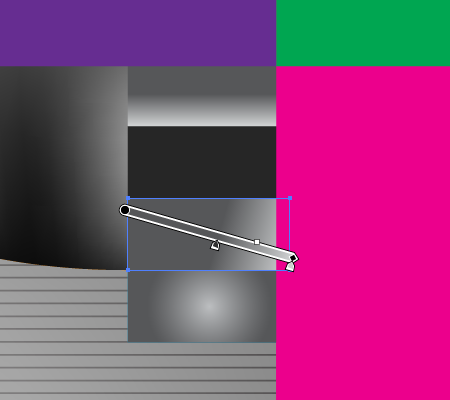
Sketch the rectangular path at the right end of the cleaning rod detail. Fill it with the same gradient filling.
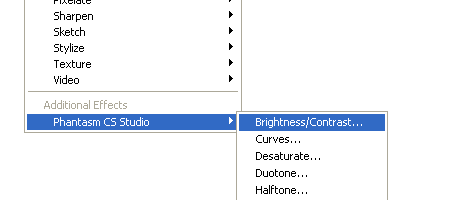
Then go to Effect > Phantasm CS Studio > Brightness / Contrast.
And apply the following effect in order to receive something like the following.
As you can see, the using of Phantasm CS Studio allows you to keep the hues of gradient filling while changing the brightness of it at the same time.
Step 11
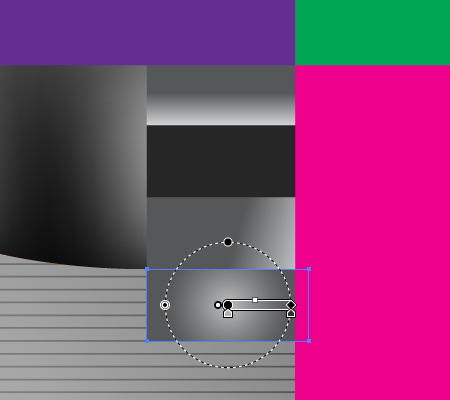
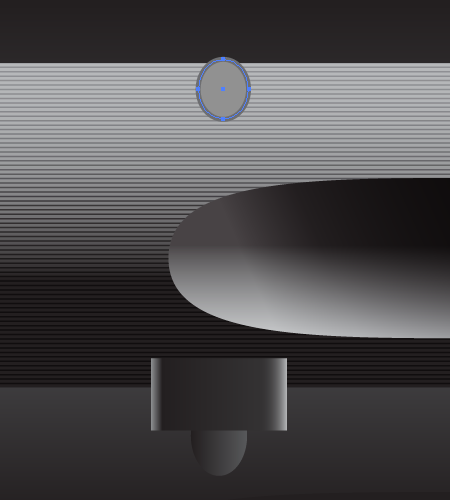
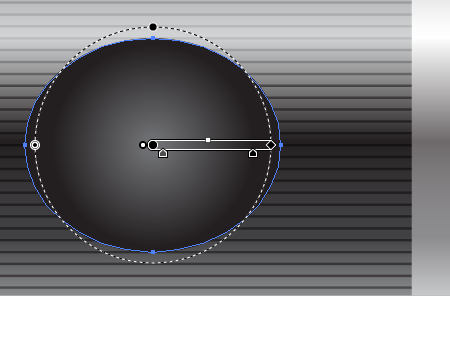
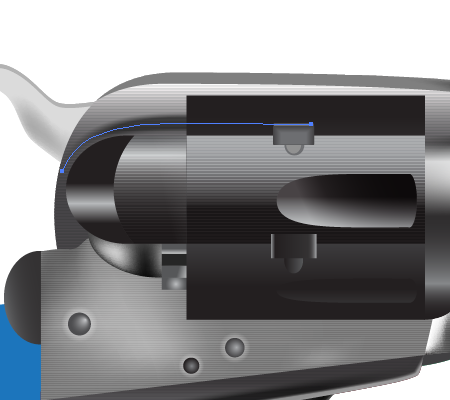
Fill the bottom detail under the cleaning rod one with the Radial gradient.
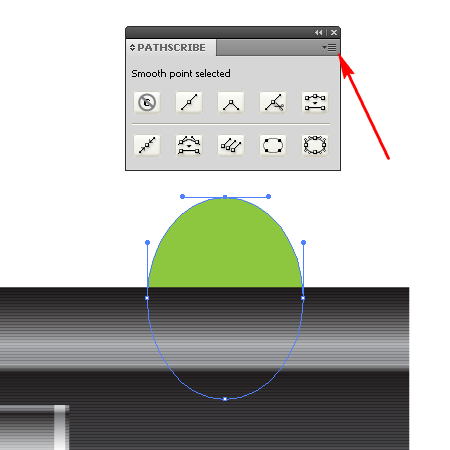
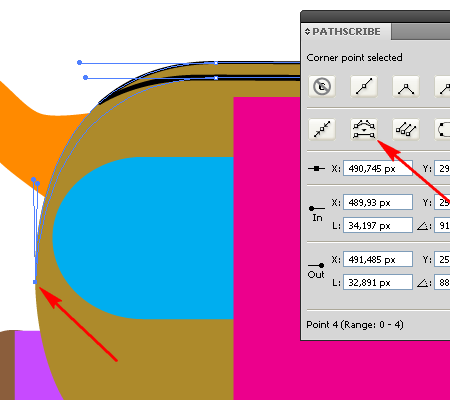
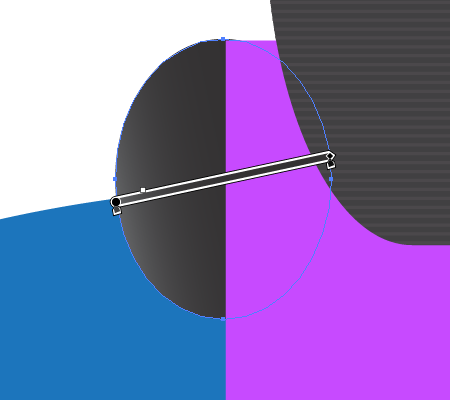
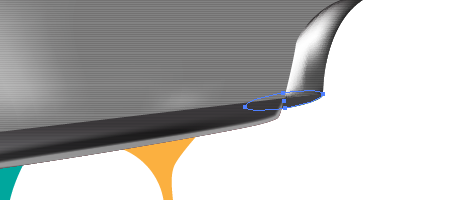
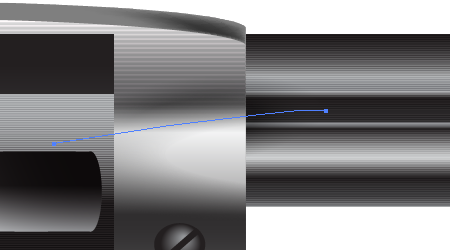
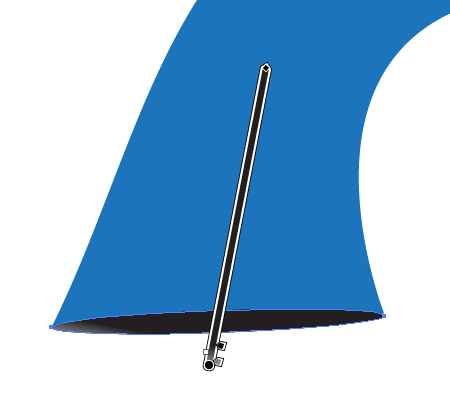
Now we need to change the path of the foresight. Select the uppermost anchor point of this ellipse, and go to Window > VectorScribe > Pathscribe Panel.
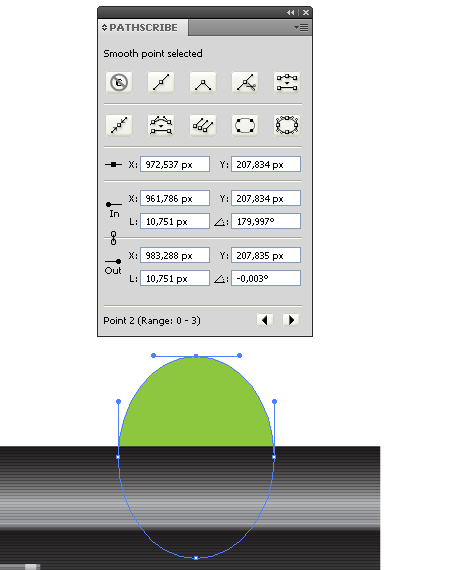
Then choose the "Expand Panel" command in the fly-out menu by clicking the button shown by an arrow in the diagram above.
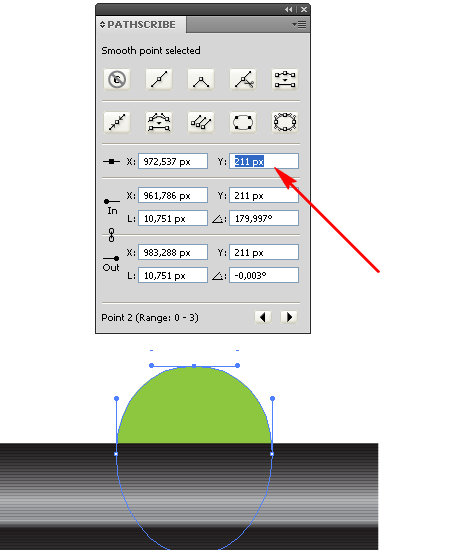
This panel is more adaptable and smarter for editing the handles and the anchor points of your paths then the usual tools of Adobe Illustrator. Increase the Y-value of the anchor point in order to move it downward.
Step 12
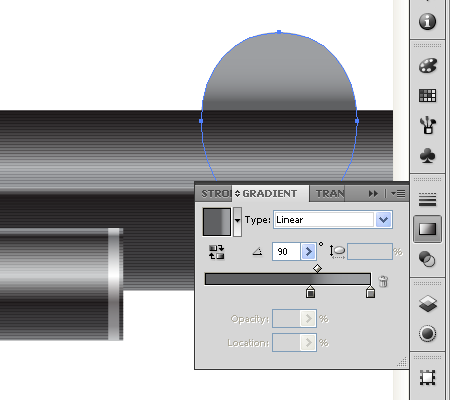
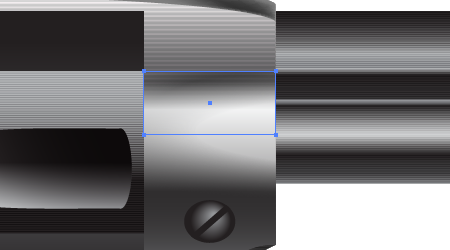
Fill the foresight with the vertical gradient and apply the Grid lines to it as you did it in the Step 8.
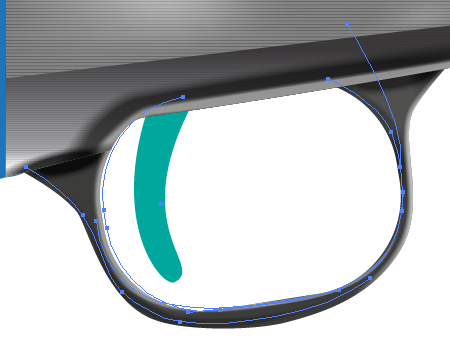
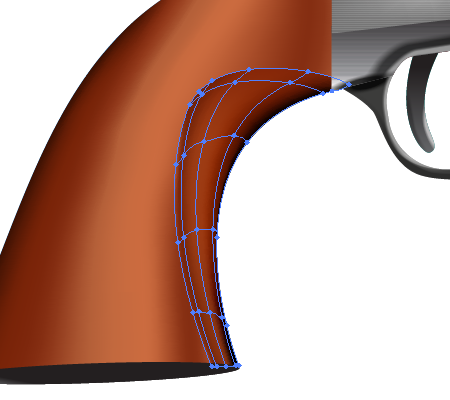
Step 13
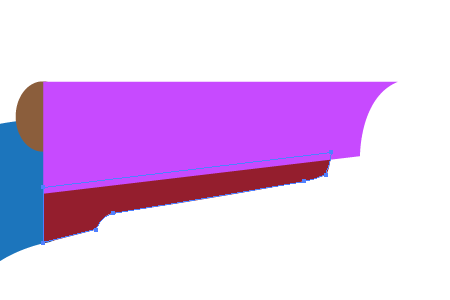
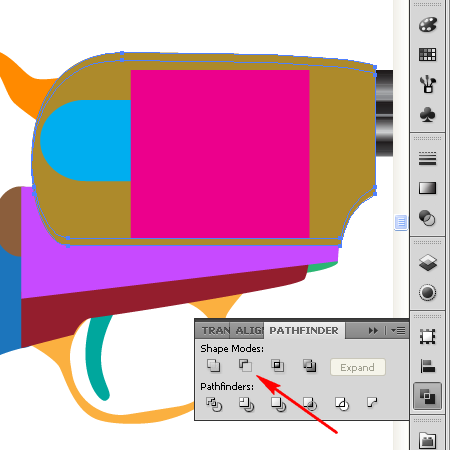
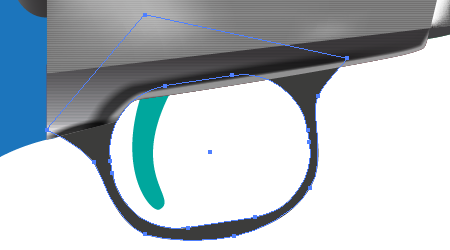
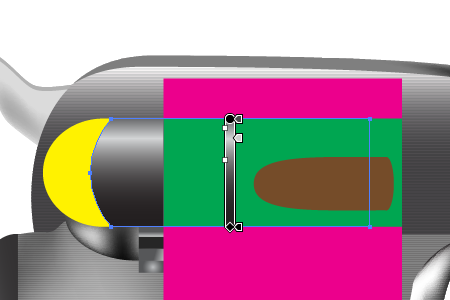
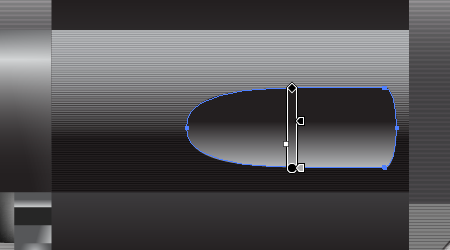
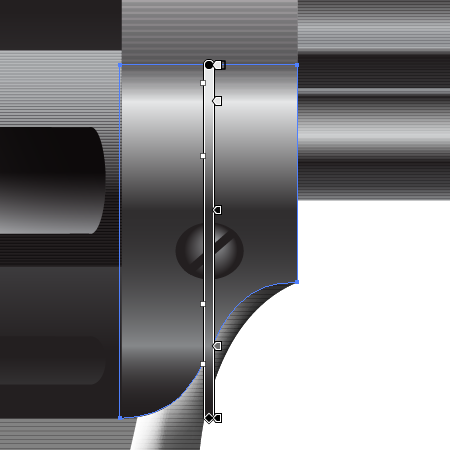
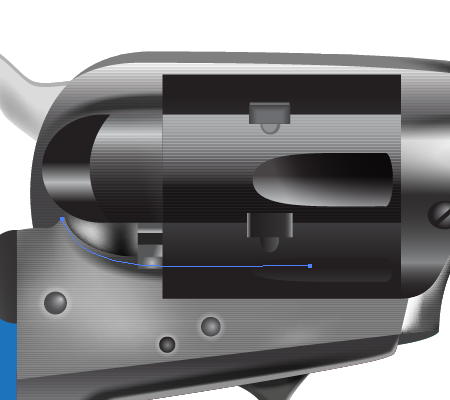
Select the olive part (the central part of the revolver), copy it and paste in front twice (Command + C then Command + F twice). Select the top copy and move it gently downward.
Then select both copies of the olive part, and go to the Pathfinder palette. Click there the "Minus Front" button.
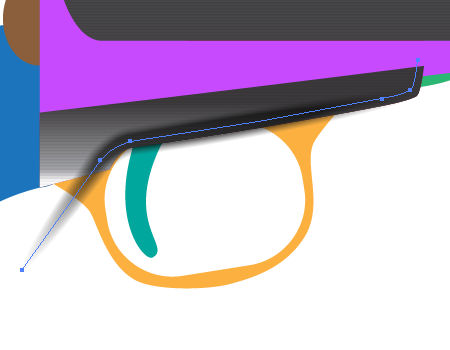
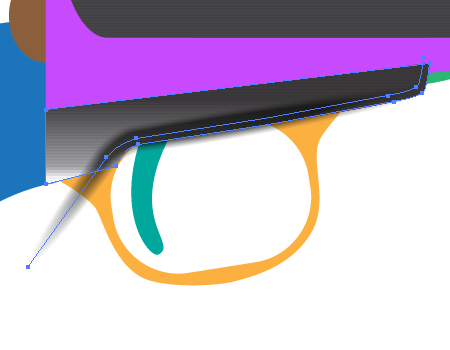
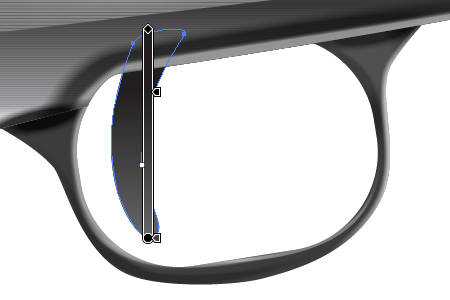
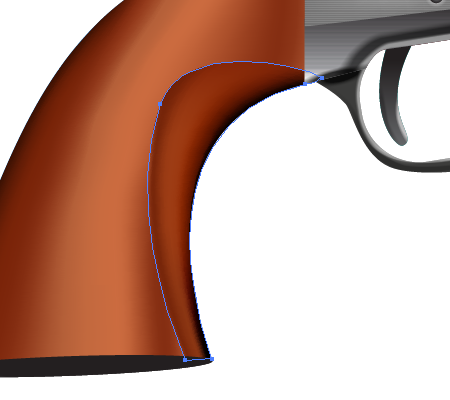
Step 14
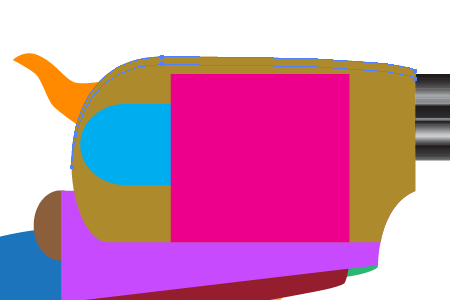
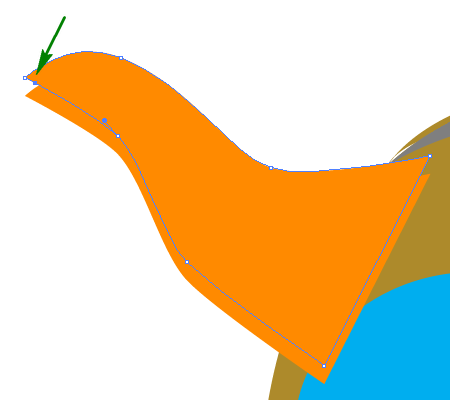
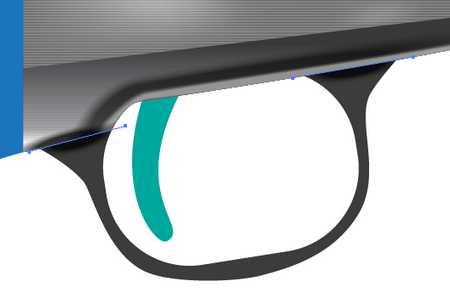
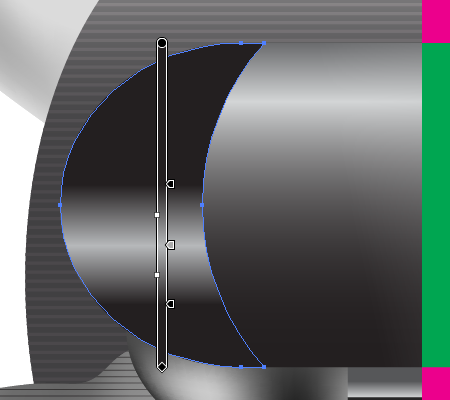
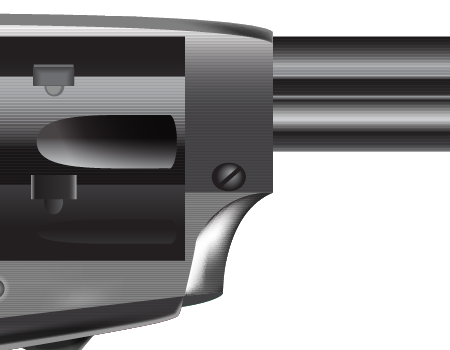
This path now must be converted to the following black one shown below. (The black path is shown for your convenience only).
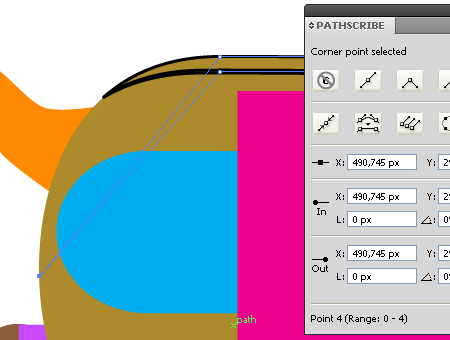
Select the leftmost anchor point, go to the Pathscribe palette, and click the "Retract handles on selected segments" button there.
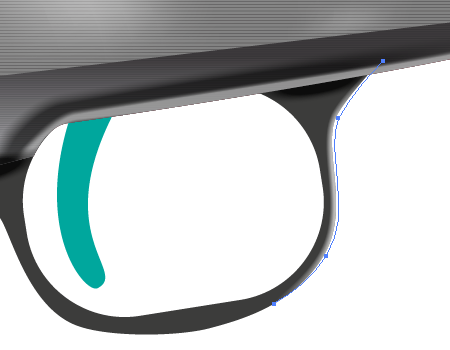
You will have a picture the same as below.
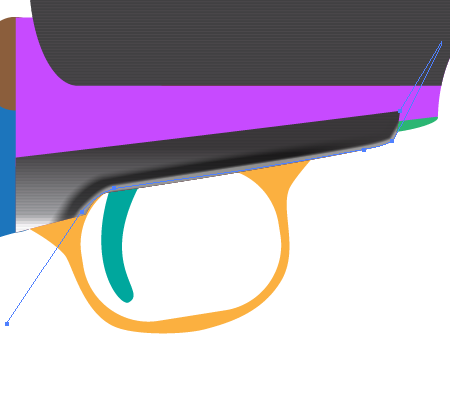
Then take the Direct Selection Tool (A) and move the leftmost anchor point upward as shown.
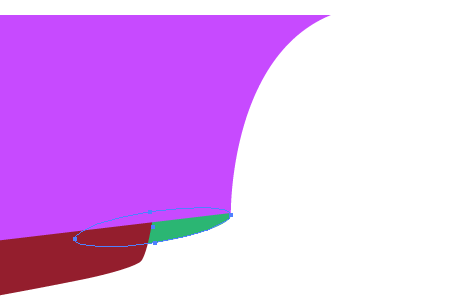
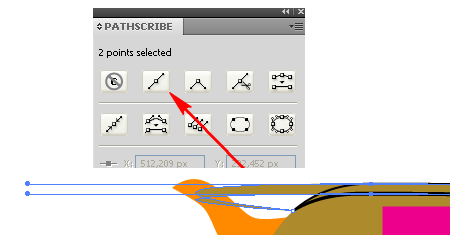
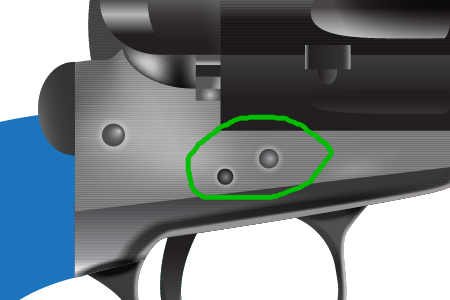
Grab the Lasso Tool (Q), and select two anchor points shown with green.
And click the "Smooth point" button in the Pathscribe panel.
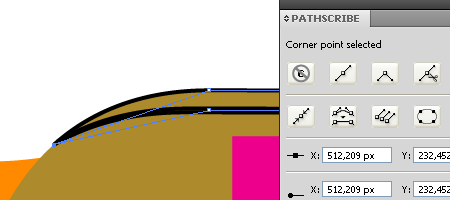
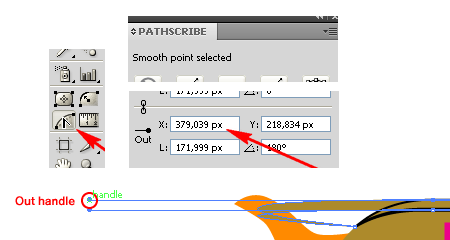
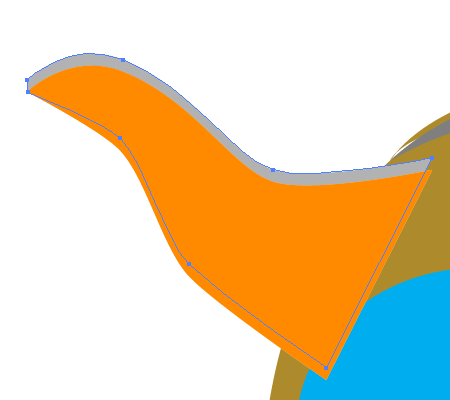
Now take the PathScribe Tool, select the out-handle of the top anchor point with it, and change the X-value for it.
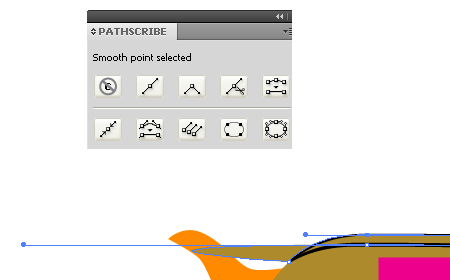
The result should look something like the following
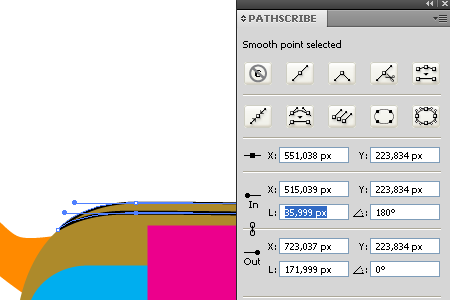
Repeat this operation for the second anchor point handle.
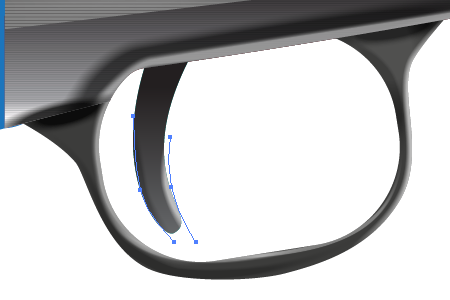
Step 15
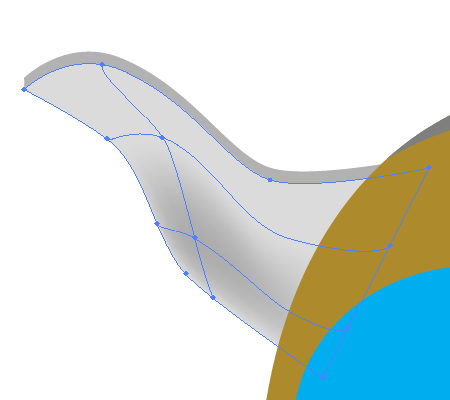
Then take the Mesh Tool (U), click in the received path, and change the colors of mesh nodes.
Select the path of cocking gun detail, copy it and paste in back (Command + C then Command + B), move it slightly upward.
Take the Pen Tool (P), add the corner anchor point to the path.
And move this point as shown.
Fill the back path with gray.
And create the following mesh from the front path using the Mesh Tool (U). Move both paths backward.
Step 16
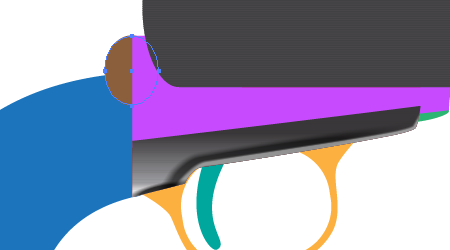
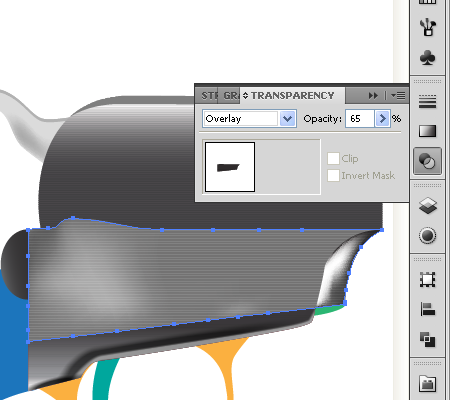
Fill the central path of the revolver with the vertical gradient filling as shown below.
And apply the grid lines to it as you did it in the 8th step.
Step 17
Repeat these manipulations for the next path. Follow the helpful examples below.
Step 18
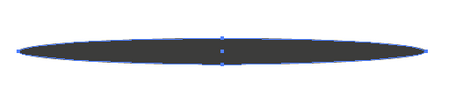
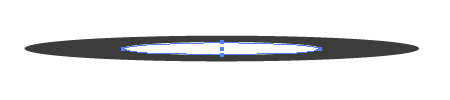
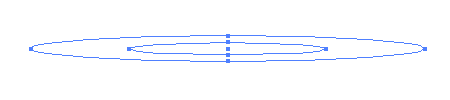
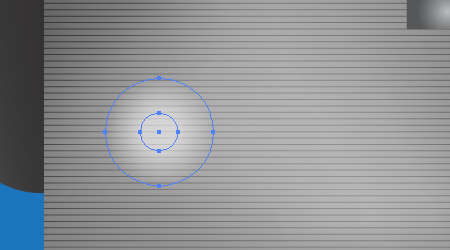
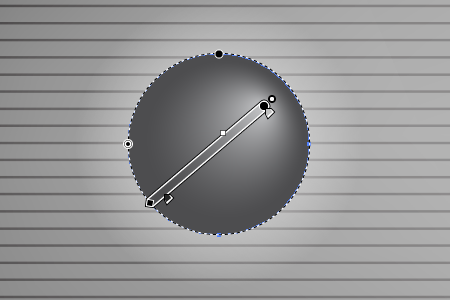
Grab the Ellipse Tool (L) and draw an elliptical path. Fill it with gray.
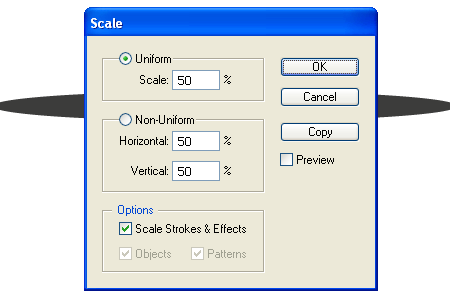
Copy it and paste in front (Command + C then Command + F). Fill the copy with white. Then go to Object > Transform > Scale and set there the values shown below.
And after these manipulations you will achieve the following result.
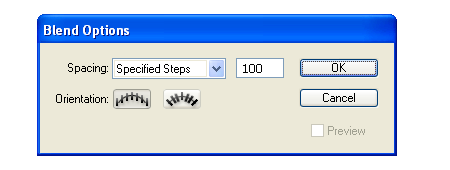
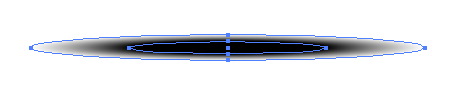
Go to Object > Blend > Blend Options and set the Spacing to "Specified steps" and the quantity of steps to 100.
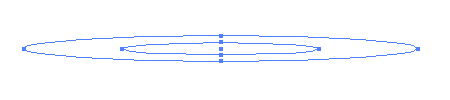
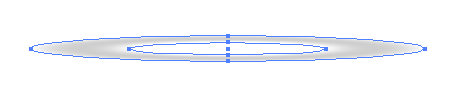
Change the opacity of the biggest ellipse to zero.
Select both elliptical paths and go to Object > Blend > Make (Command + Alt + B).
Step 19
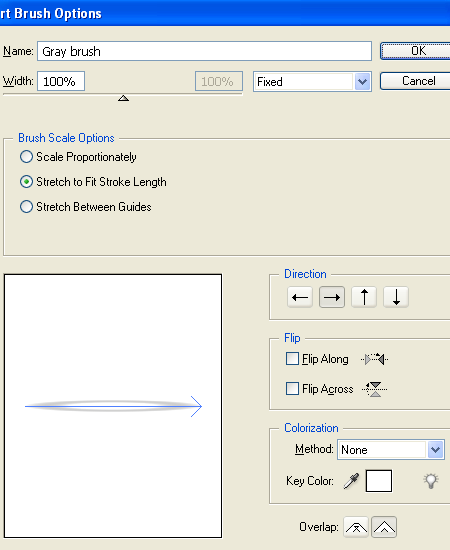
Drag and drop this path into the Brushes palette. Select the Art Brush option in the dialog box.
Set the items for the brush as you can see them on the diagram below. Name this brush "Gray brush."
Produce the "White brush" where the biggest ellipse is filled with white the same way. And also make the "Black brush" where the biggest ellipse is filled with black.
Step 20
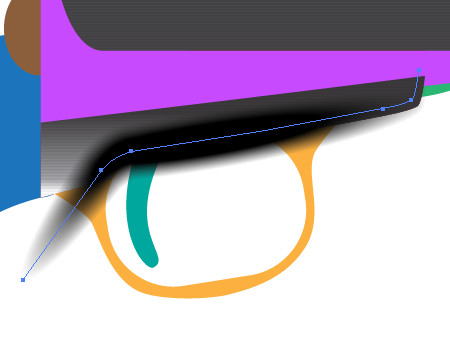
Take the Pen Tool (P), illustrate a path in the lower filled part of the revolver (shown in the diagram below) and apply the "Black brush" to it.
Change the Stroke weight and the opacity of this path if necessary.
Then select the last filled path of the revolver (see the diagram below), copy it and paste in front (Command + C then Command + F). Place it over the path which has just been created.
Select both paths,…
…and go to Object > Clipping Mask > Make (Command + 7).
Step 21
Illustrate now the next path and apply the "Gray brush" to it. Crop it with the Clipping path too.
Make the following path and apply the "Black brush" to it. Crop it with the Clipping path too.
Step 22
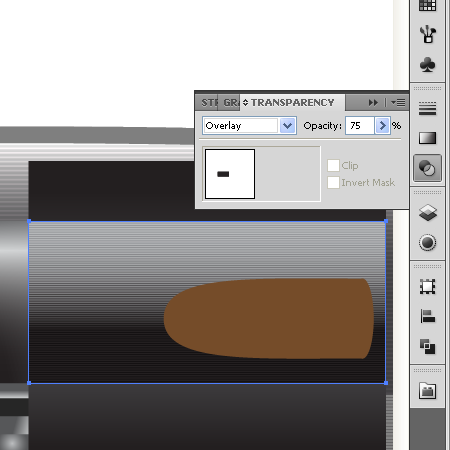
Select the brown elliptical path.
And fill it with an angled linear gradient.
Step 23
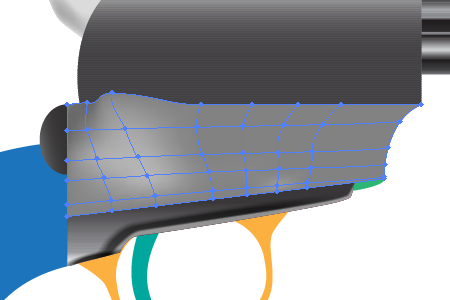
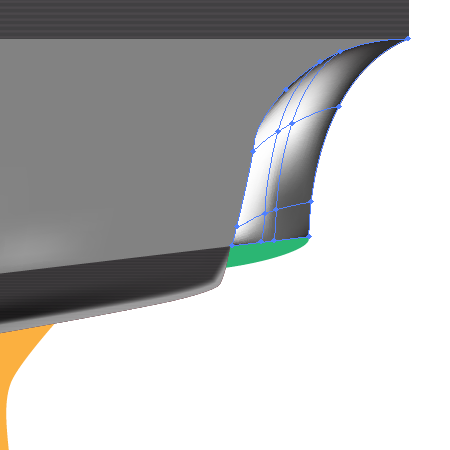
Select now the heliotrope path under the central path of the revolver and convert it to the mesh using the Mesh Tool (U). Change the colors of the nodes.
Then illustrate another mesh over the first one in the right side of the first mesh. See the diagram below for reference.
Apply the Grid to it.
Step 24
Fill the next elliptical path with gray.
Fill the cocking rim detail with gray.
Make the following two paths and apply the "Black brush" to them. Crop them with the Clipping path made from the cocking rim detail path.
Illustrate the next path and apply the "White brush" to it. Crop it with the same Clipping path.
Sketch other paths and apply art brushes to them in order to lay emphasis on the volumetric form of this detail.
Step 25
Fill the cock with the vertical gradient.
Use the brushes and the Clipping mask in order to represent the volumetric form of the cock.
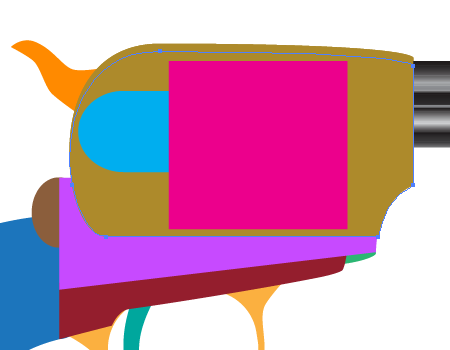
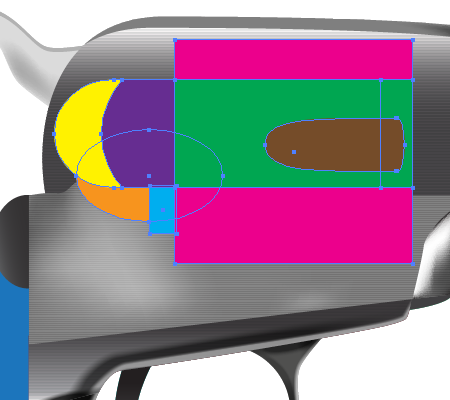
Step 26
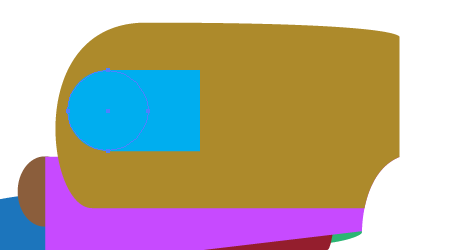
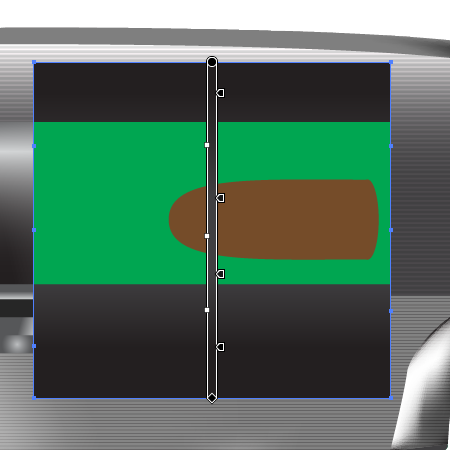
Illustrate now the following flat paths in the center of the revolver. (The orange path is an ellipse. The crimson path is a square that lies under the green one).
Besides, pay attention to the violet path.
Step 27
Convert the orange ellipse to the mesh. Pay attention to the colors of the nodes shown with green.
The blue path is divided in four. See the helpful diagrams below for reference.
Step 28
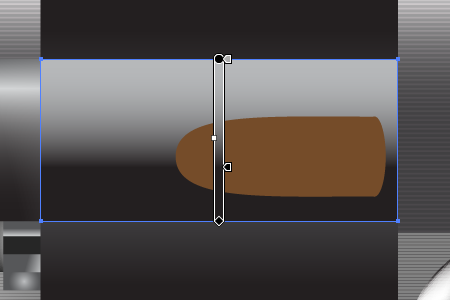
Fill the violet path with the vertical gradient.
Copy this path and paste it in front (Command + C then Command + F). Fill it with an angled linear gradient, where the left color-stop has the zero opacity.
Step 29
Fill the yellow path with the vertical gradient.
Do the same with the crimson path.
Apply the vertical gradient to the green path too.
Apply the Grid to this path.
Step 30
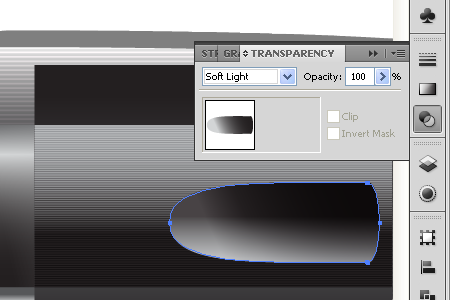
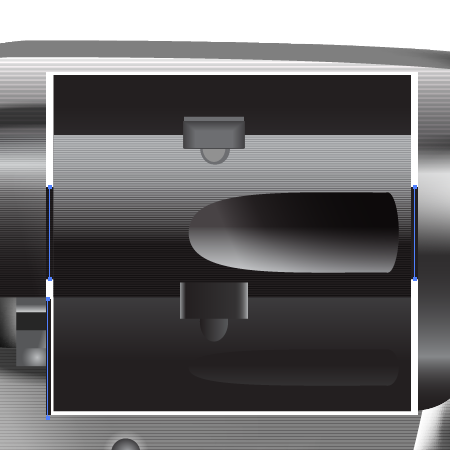
Fill the cavity of the revolver's drum with the vertical gradient as shown.
Copy this path and paste it in front (Command + C then Command + F). Change the filling of the copy to the angled linear gradient.
Change the Blending mode of this path to "Soft Light."
Step 31
Illustrate the analogous cavity in the lower part of the drum. Fill it with the vertical gradient too.
Step 32
Take the Rectangle Tool (M) and draw the next path under the first cavity.
Then illustrate the elliptical path under it.
Step 33
Sketch the ellipse over the first cavity. Its filling must be lighter than its stroke.
Copy it and paste in front (Command + C then Command + F). Move it to the left slightly.
Illustrate the gray rectangular path over it.
Then paint two following paths. Each of them has the 100% opacity.
And make a blend from them by going to Object > Blend > Make (Command + Alt + B).
Step 34
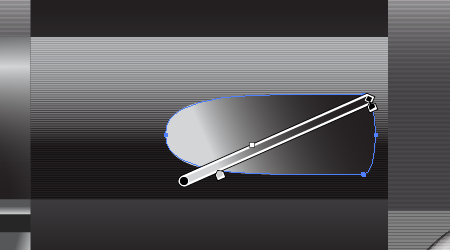
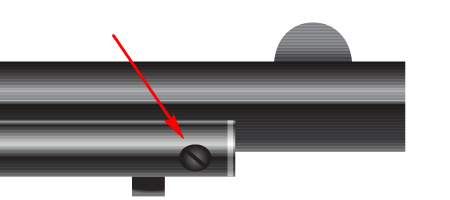
Draw now an elliptical path filled with the radial gradient at the right end of the cleaning rod detail (the lower part of the barrel).
Then take the Line Segment Tool and draw the following line.
Crop it with the Clipping path.
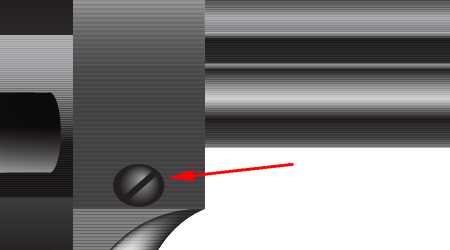
This set of paths represents a screw-bolt.
Draw as many screw-bolts as you want.
Step 35
Picture now the following blend made from two white circles. You must know already how to create it without assistance, mustn't you?
Then draw the following path over it.
This set represents a pin.
Draw as many pins as you want.
Step 36
What does fail in the following picture? What is your opinion?
The part of joining the cleaning rod detail and the central detail of the revolver must be conical. How to achieve this? First illustrate the following path filled with the vertical gradient. Pay attention that the opacity of the top color-stop equals to zero.
Then apply the "Gray brush" to the following horizontal line.
And crop it with the Clipping path.
Step 37
Emphasize the conical form of joining by using the "Black brush" cropped with the corresponding clipping path too.
Step 38
If you want, apply the Grid to the drum too.
Create a shadow using the "Black brush".
Repeat this action.
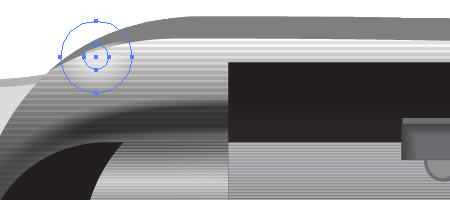
Create a light spot using the blend in the top part of the revolver.
Step 39
Draw the white square under the drum.
Sketch the following black paths.
Step 40
Create a light spot on the drum. Draw the path and apply the "Gray brush" to it.
Crop it with the clipping path.
Fill the bottom part of the handle with an angled gradient.
Step 41
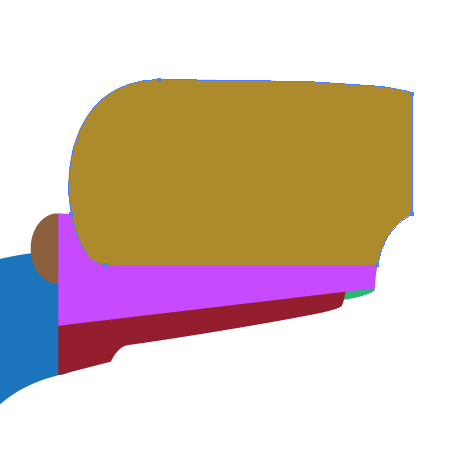
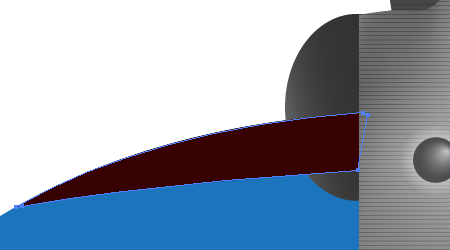
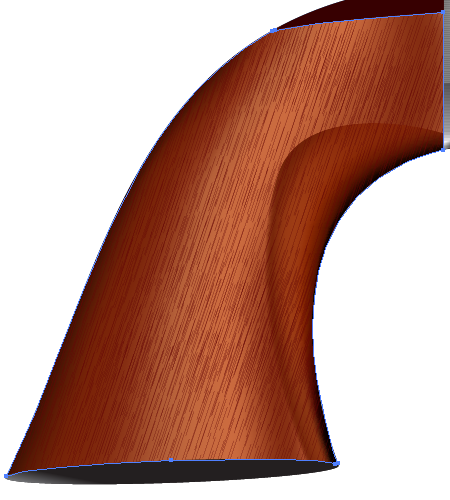
Let's paint the handle. Draw the dark brown path in the top part of it.
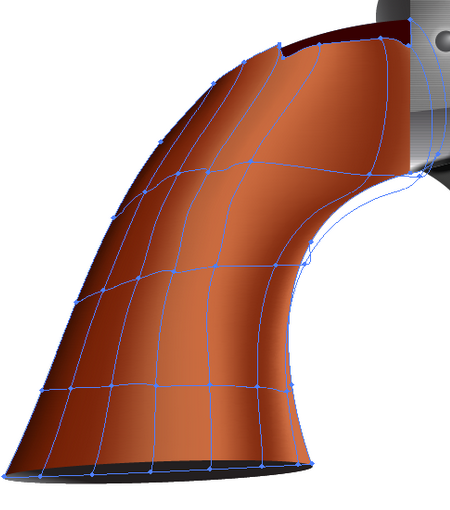
Transform the handle path into the mesh and paint it by changing the colors of the mesh nodes.
Crop the mesh with the clipping path.
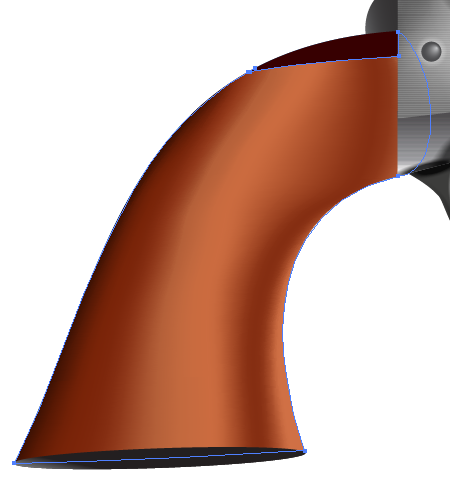
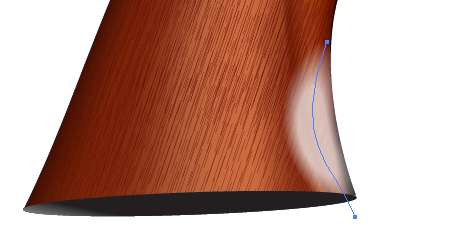
Illustrate the next mesh where the leftmost nodes have the zero opacity.
And crop it with the clipping path too.
Step 42
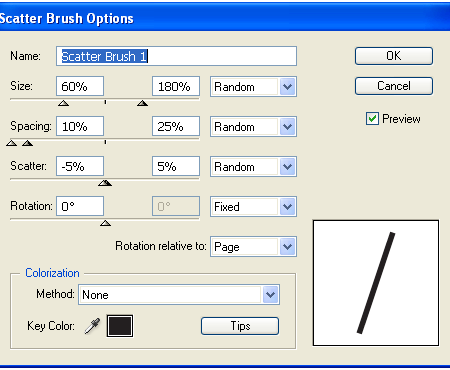
Do you know how to simulate a wood texture in Adobe Illustrator, and only in Adobe Illustrator? Have an eye on the following steps. Follow the thread of my thoughts! First of all, draw a simple short path.
You may see parts of the revolver in the image above because it allows you to conceive the dimensions of this stroke. Drag and drop it into the Brushes palette. Select the Scatter Brush option in the dialog box. And set the items for the brush as you can see them on the diagram below.
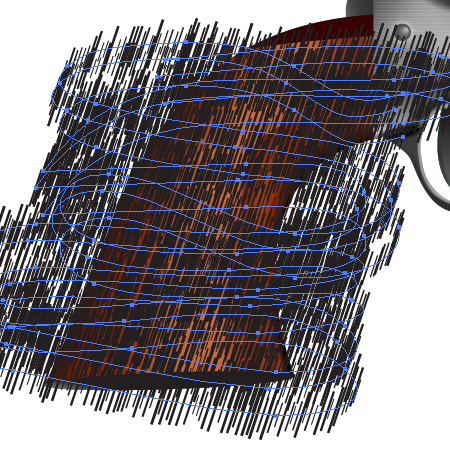
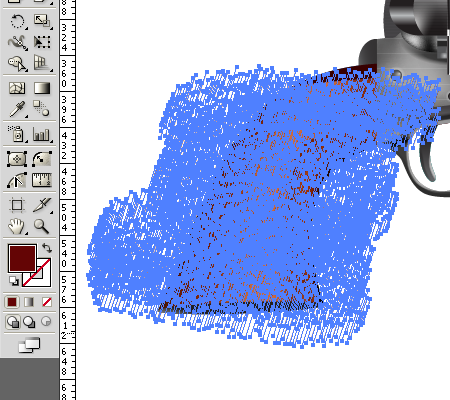
Take the Paintbrush Tool (B) and draw the paths which you can see in the diagram below.
Then go to Object > Expand Appearance, and go to Object > Ungroup twice.
Set the Stroke to None.
Step 43
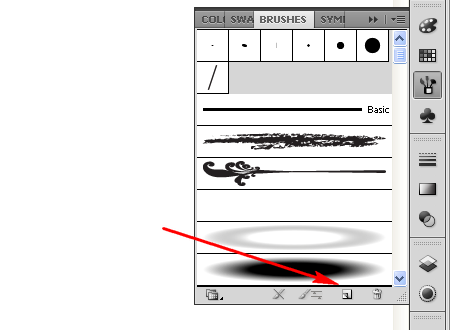
Now let's go to the Brushes palette and click there "New Brush" button.
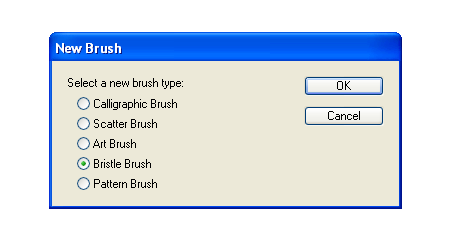
Select the Bristle Brush option in the dialog box.
And set the items for the brush as you can see them on the diagram below.
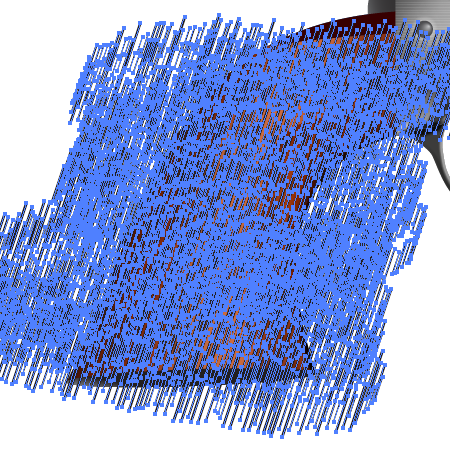
Change the Fill color in the Control Panel to brown and apply the new Bristle brush to these strokes.
Crop the strokes with the clipping path.
Step 44
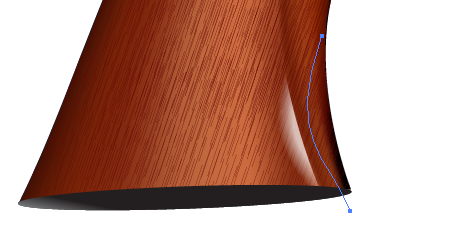
Create a light spot using the "White brush" on the handle.
And crop it with the clipping path.
Step 45
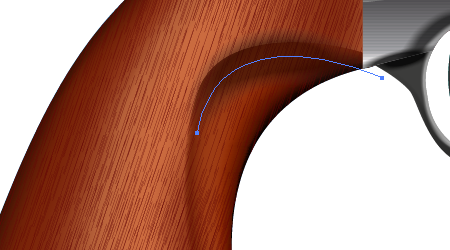
Create a shadow using the "Black brush" on the handle. And crop it with the clipping path too.
Place the elliptical path in the handle.
Conclusion
The weapon is not only the tool of aggression, but also the tool of defence. Use it only for the second purpose! :)
Follow us if you want to be the first to know about the latest Adobe Illustrator tutorials and articles. Vectorboom team works for you!
|