|
Often you might hear form beginner vector designers a question, how to round the corners of a vector object in Adobe Illustrator. Surely, there are plug-ins and scripts that can help. But for most of them, unfortunately, you should pay. Today I’ll show you several ways how to solve this problem with the help of standard Adobe Illustrator tools. These techniques were developed by my friends ITT and Artelles.
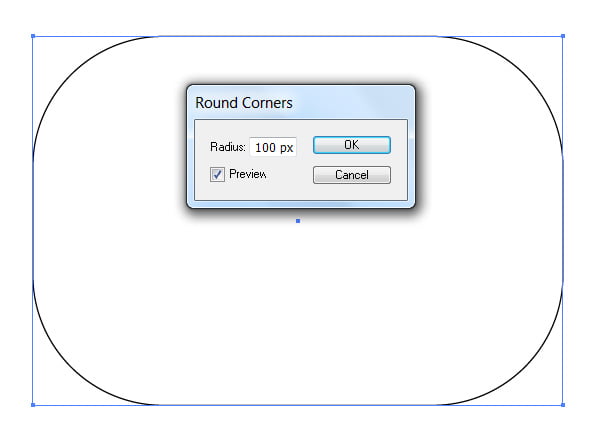
There is the Round Corners Effect in Adobe Illustrator; you can round the corners of selected vector objects with it. Create any rectangle with the Rectangle Tool (M) Round the corners of the rectangle with a radius of 100 px. To do so, go to the Effect > Stylize > Round Corners The disadvantage of this technique- all the corners are rounded with a radius of the same length. The rounding radius for separate corners cannot be changed with this technique.
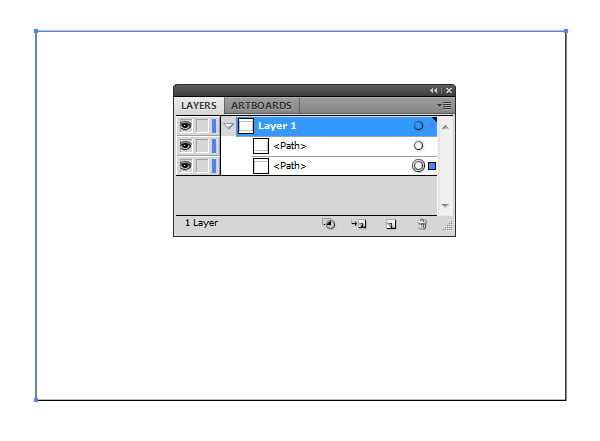
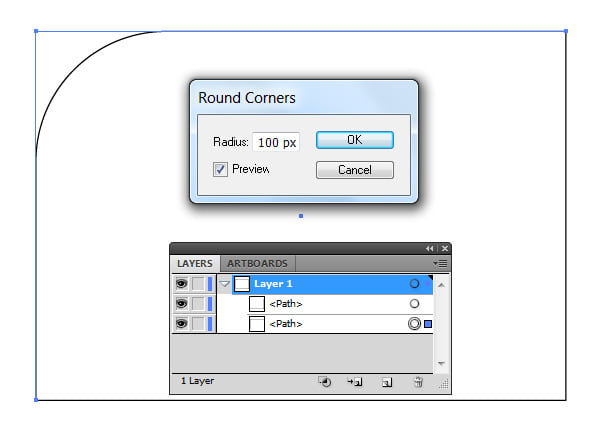
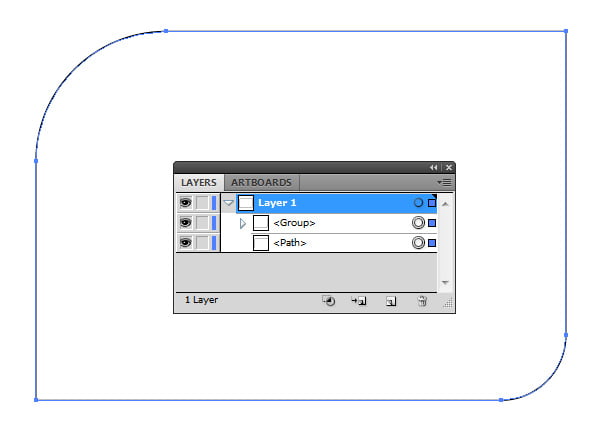
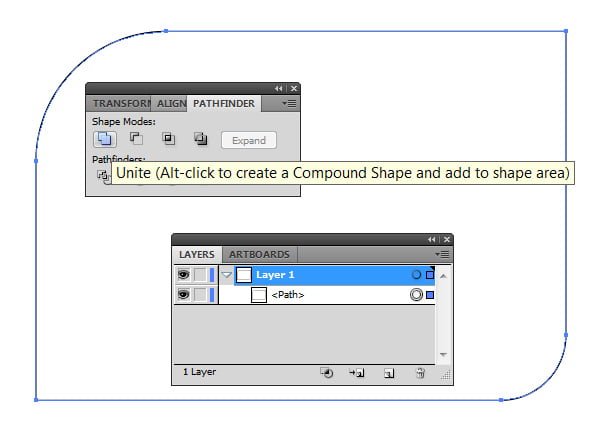
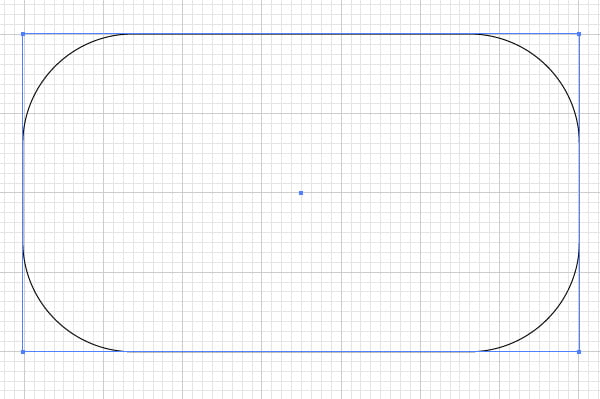
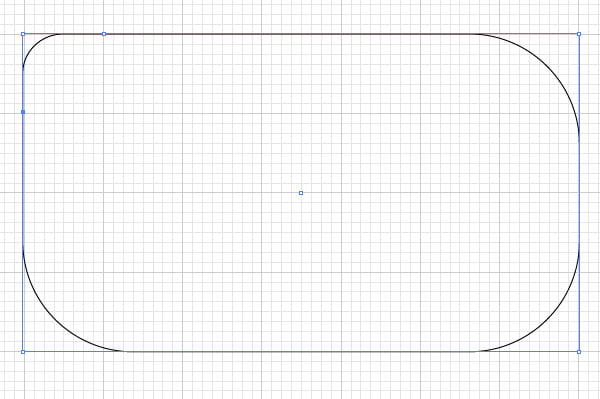
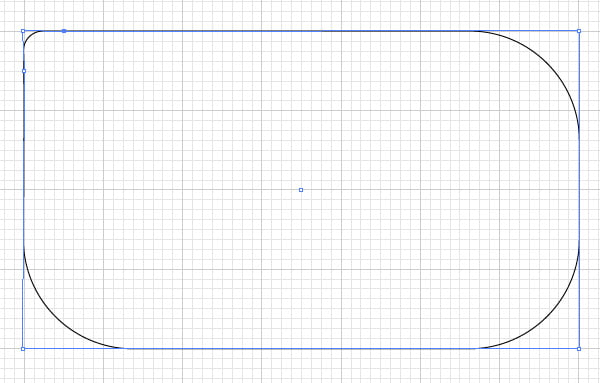
To change the rounding radius of separate rectangle corners we will use the Scissors Tool (C). With this tool cut the rectangle from upper right to lower left point. Apply the Round Corners Effect and round the upper left corner with a radius of 100 px. Now select the second part of the rectangle and round the lower right angle with a radius of 50 px. To connect the cut parts of the rectangle you need to select them and go to the Object > Expand Appearance, after that click on the Unite in the Pathfinder panel. In the next technique we will use extra points and a pixel grid. Turn on the pixel grid (View > Show Grid) and create a rectangle. Using the Round Corners Effect round the corners of the rectangle to a radius of 100 px. To change the rounding radius of the upper left corner with the Pen Tool (P) set two extra points in the same distance from the corner point. Note, when you move this points you can control the rounding radius. If you add two points on the sides of the corner at a smaller distance than the double rounding radius (diameter), reduce the rounding radius to the half of that distance.
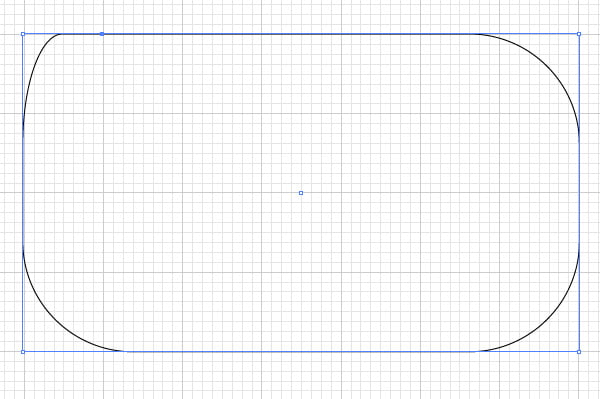
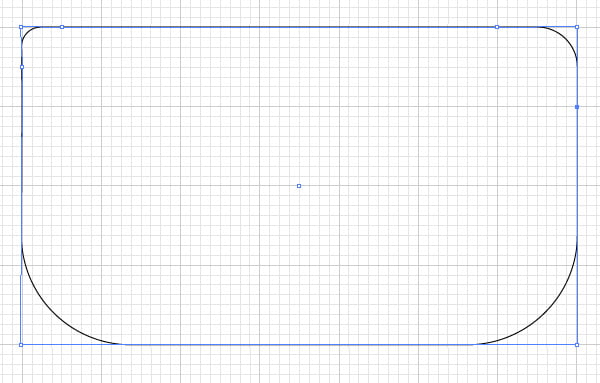
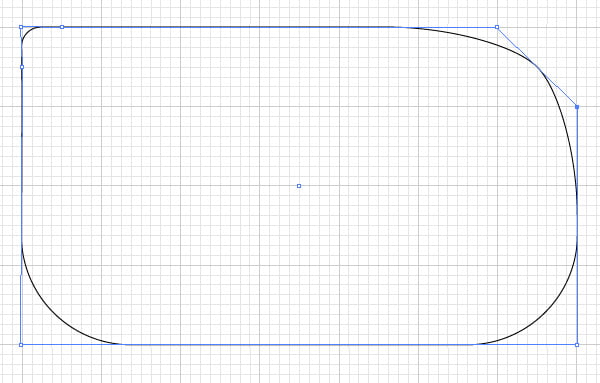
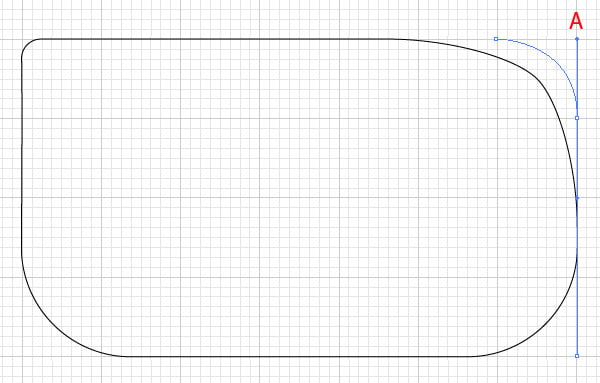
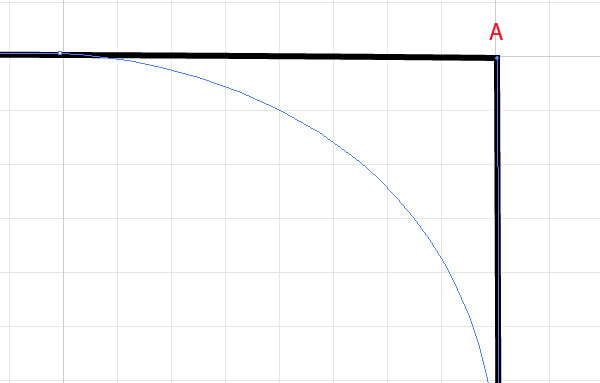
We also have possibility to reduce the radius to 0. With the Pen Tool (P) set two extra points in the upper right corner and delete the top anchor point With the Convert Anchor Point Tool (Shift + C) convert one of the angle points into smooth and drag it so that its endpoint was in point A
Follow us if you want to be the first to know about the latest Adobe Illustrator tutorials and articles. Vectorboom team works for you!
|