|
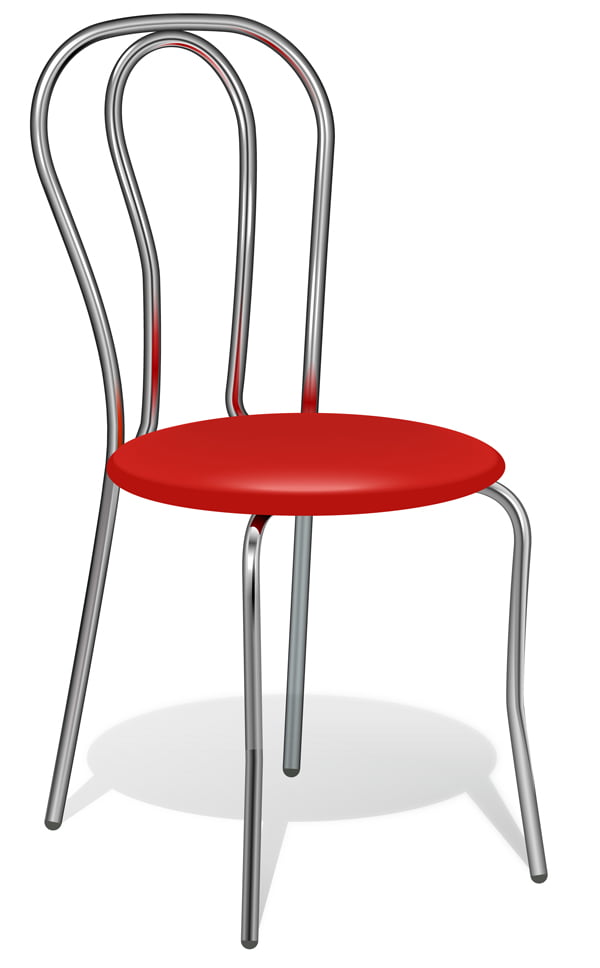
Final Image Preview
Tutorial Details
-
- Program: Adobe Illustrator CS6
-
- Difficulty: Intermediate
-
- Estimated Completion Time:45 Minutes
Adobe Illustrator CS6 has a new feature which is called Gradient on Strokes. It is the first time since Adobe Illustrator’s creation we have an opportunity to apply the gradient fills to the strokes. There are two more types of the gradient fills beside the linear and radial gradient fills. I think this feature has lots of creative potential. Let’s examine the gradient on strokes in more detail and figure out how to use it.
Step 1
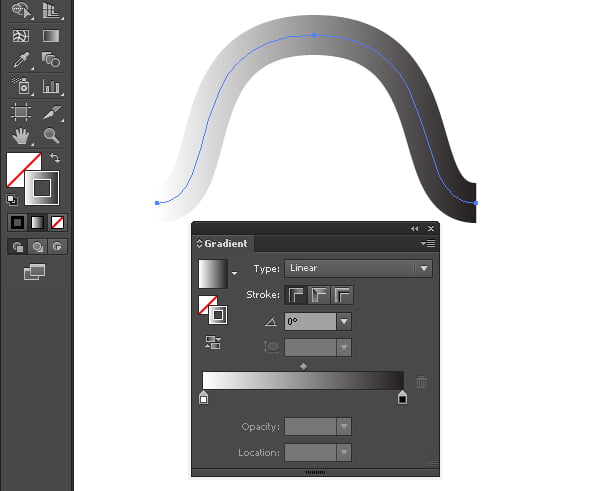
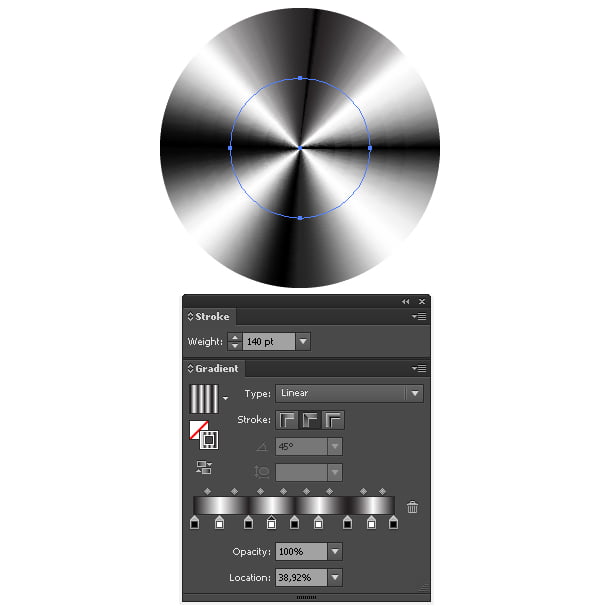
Create a path without a fill but with the stroke wide enough for our experiments.
Apply a black-and-white linear gradient to the path.
Open the Gradient panel (Window > Gradient) and check out how you can control this gradient. We can change the gradient’s angle; and also color, place and opacity of its sliders.
But unfortunately, we can’t control this gradient with the help of the Gradient Tool (G) and the Gradient Annotator is inactive as well.
Step 2
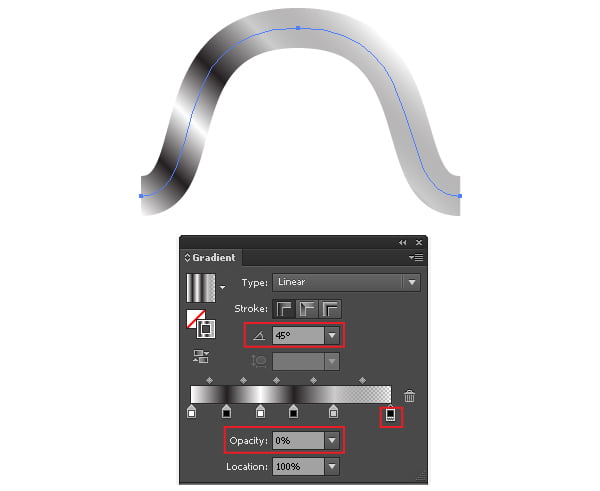
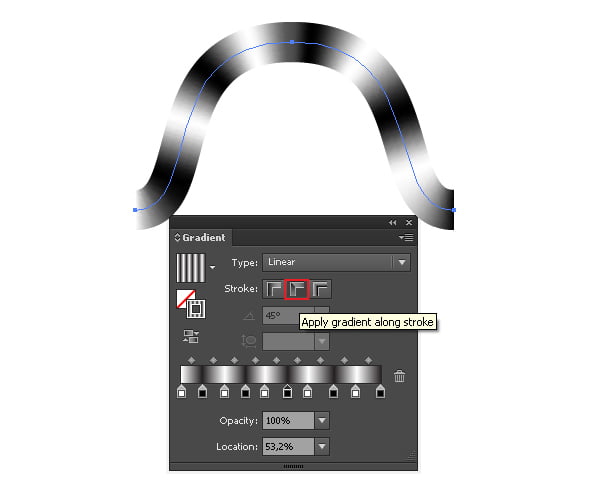
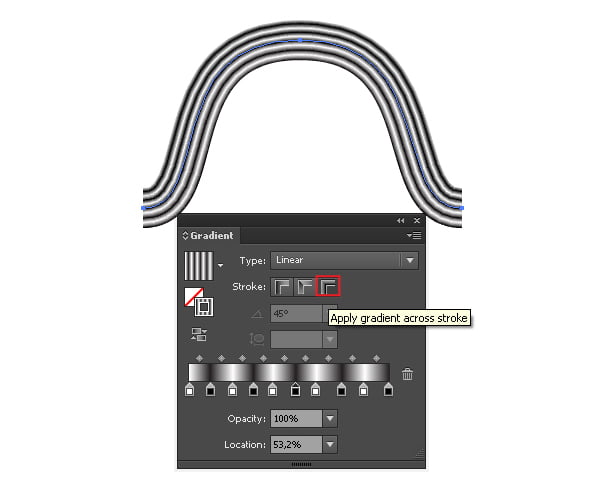
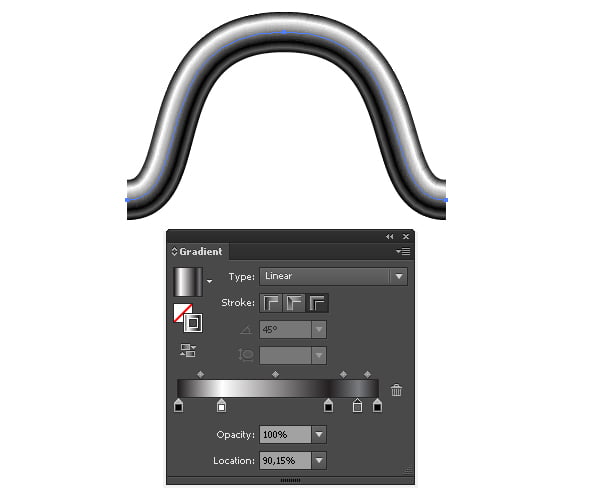
There exist two more types of gradient fill for the gradient on strokes. There are the gradient along stroke and the gradient across stroke.
While using those two types of gradients, we can still control the sliders, but we cannot change the gradient’s angle and its location with the Gradient Tool (G). The Gradient along stroke is perfect for creation of the patches of light and the conic gradients.
The Gradient across the stroke is good for creation of cylindrical surfaces, as tubes.
You can read full version this vector tutorial on VectorTuts+
Follow us if you want to be the first to know about the latest Adobe Illustrator tutorials and articles. Vectorboom team works for you!
|