|
InkScribe is one of the tools of the new DrawScribe plugin and is designed for fast, accurate, and smart creating and editing of Bezier curves on which the entire vector graphics is based. For the past 25 years, the Pen Tool was used for creating these objects, and you would not believe that for all this time it was not essentially modified at all. I think it’s time to introduce a new tool that is able to work more flexibly and quickly. Today we begin a series of articles that will introduce you to new tools of the DrawScribe plugin and their functions.
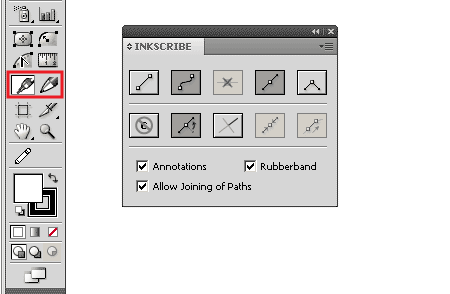
After downloading and installing the DrawScribe plugin, the icons corresponding to its tools will appear in the toolbox, below the group of VectorScribe tools if previously installed. To open the associated InkScribe panel, go to Window > DrawScribe > InkScribe.
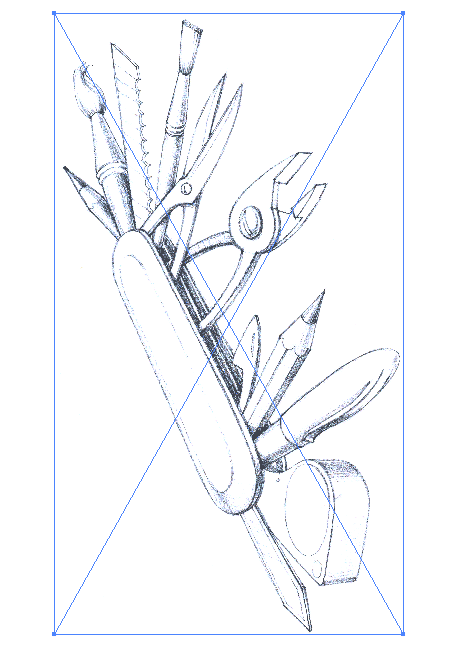
Let’s hand-trace a pencil sketch that was kindly provided by my friend Valentin Sant.
Reduce the opacity of the sketch and proceed to work.
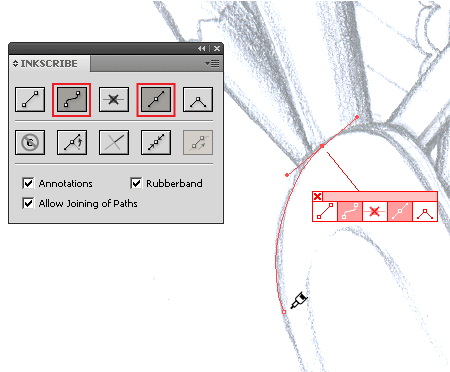
In the InkScribe panel, choose to create a curved segment ("Draw a curved segment”) and smooth for the type of points ("Smooth Point”) as highlighted below. Place the first point — by simply single-clicking or click-dragging if you also wish to control the direction of the first handles — and move the cursor along the outline to the approximate place of the next point.
You can read this vector tutorial on Asturegraphics Blog
Follow us if you want to be the first to know about the latest Adobe Illustrator tutorials and articles. Vectorboom team works for you!
|