|
In this tutorial you will learn how to apply bitmap textures to 3D vector objects using a simple technique. This has become possible thanks to Texturino plug-in, which allows you to quickly convert any embedded images into textures and easily manage them with the help of Texture panel, Texture Manager, and annotation system. Let's get started!
Step 1
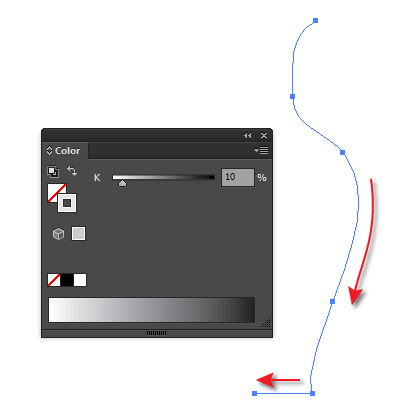
Start Adobe Illustrator and create a new document (Cmd / Ctrl + N). Whilst working in RGB color mode, proceed to the creation of the 3D object. With the help of the Pen Tool (P), draw a curved path that will fit the side surface of the vase, then extend it using a horizontal straight-line segment which corresponds to half of its bottom. Apply to this path a 1px wide stroke of light gray color then ensure the fill is turned off.
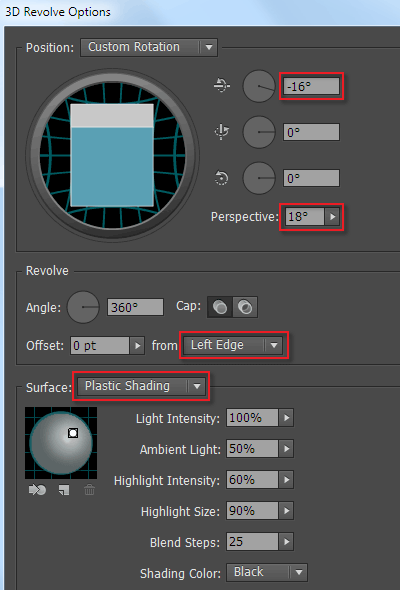
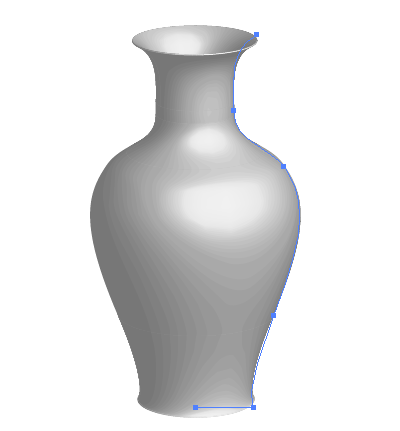
Keeping the path selected, go to Effect> 3D> Revolve and set the parameters, similar to those shown in the picture below.
Step 2
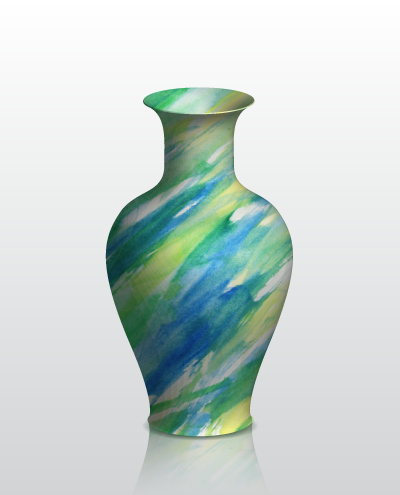
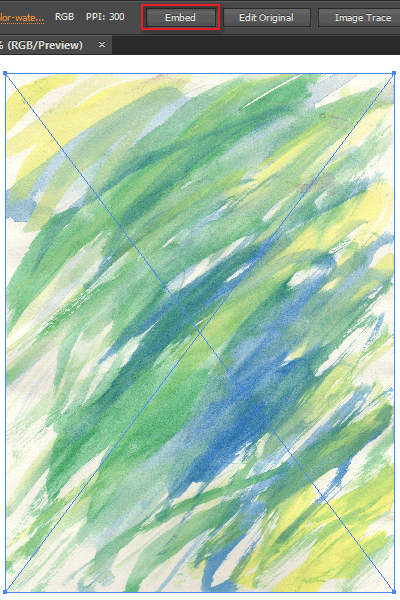
Now take a look at the technique of applying texture to a 3D object with Texturino. For the texture I will use Beautiful Multi Color Watercolor Texture. Place the texture into a current document (File> Place ), then click on the Embed button in the Control panel.
This is a high resolution texture with 300ppi, so your computer may take a long time to apply it to a 3D object. In order to optimise this process we can reduce the resolution of the bitmap image. You can reduce the resolution by first selecting the texture, then going to Object> Rasterize and setting the Resolution to 72ppi. There is also a "Crop Image" option in Illustrator that can be used as an alternative method (this will keep the size but reduce the resolution).
Step 3
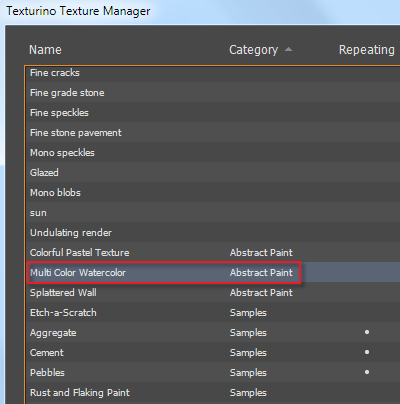
With the help of Texturino we are able to automatically convert embedded images directly in the Texture Manager of this plug-in. Select the texture, and then open the Texture panel. To do this, go to Window> Texturino> Texture panel or simply click on the Texture Tool icon in the Tools panel. Open the fly-out menu of the panel and select Convert Raster Art to Texture.
As a result, the Texture Manager dialog box opens automatically and we can see that a new texture appeared in the library. Here we can rename the texture and assign it to an existing or newly-created category.
You can read full version of this article on AstuteGraphics.com....
|