|
Final Image Preview In today’s Adobe Illustrator tutorial we will learn how to create a vector mosaic from a raster image using a Scriptographer plug-in, which allow us to widen the standard functions of Adobe Illustrator. To create a vector portrait we will use the scripts developed by Russian designer Vladimir Seregin. Tutorial Details:
- Program: Adobe Illustrator CS5
- Difficulty: Intermediate
- Estimated Completion Time: 2 hours
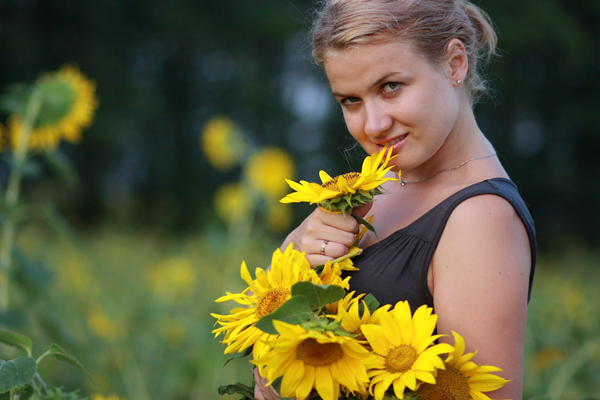
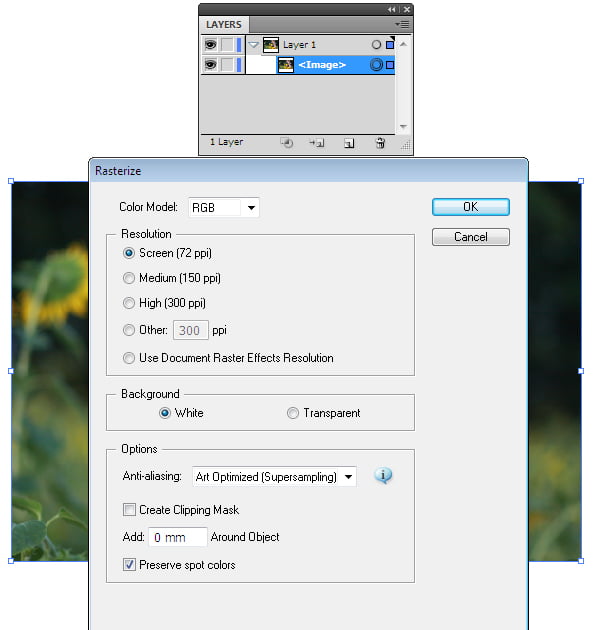
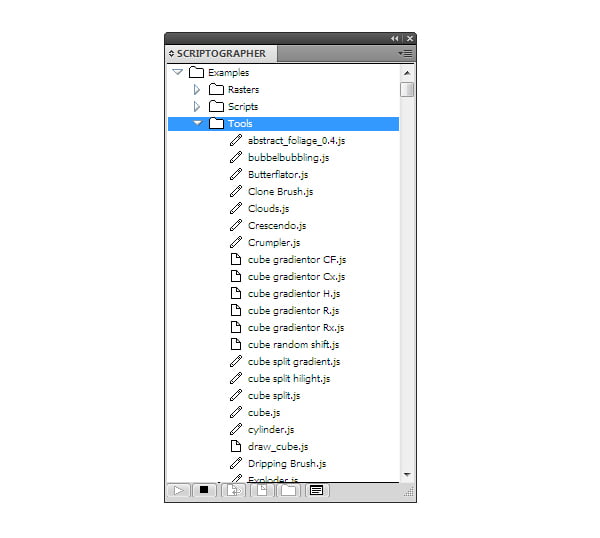
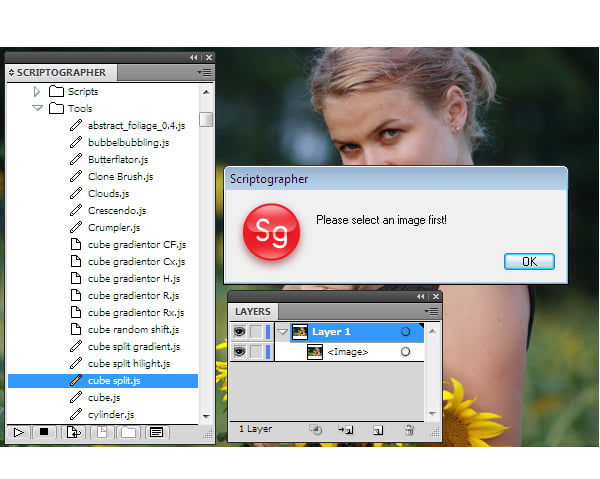
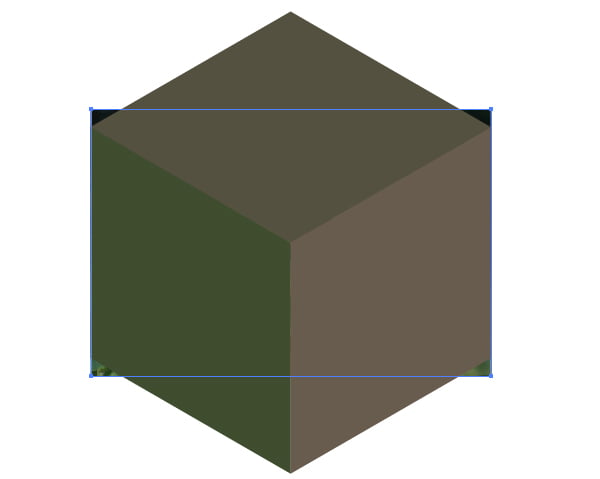
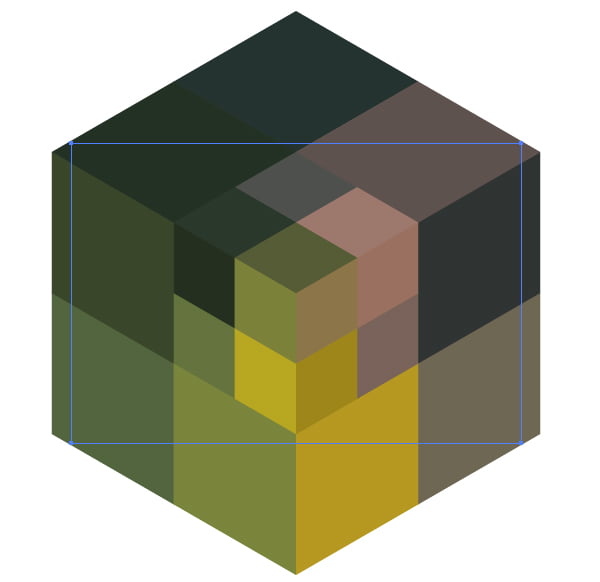
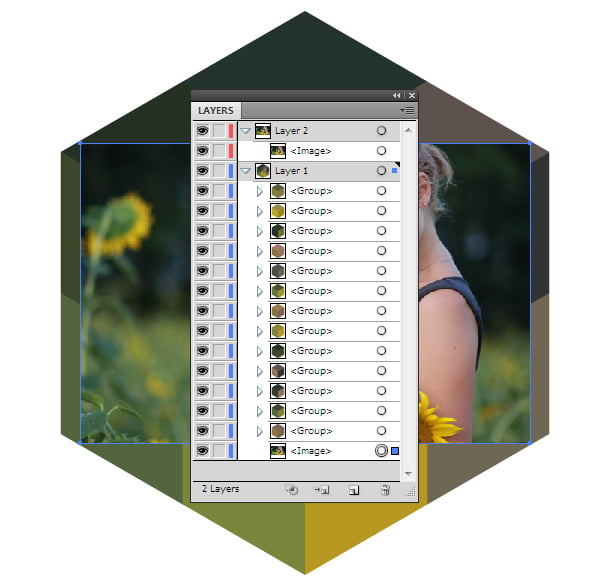
Step 1The Scriptographer plug-in can be downloaded on the Scriptographer.org. You will find detailed instructions on how to install scripts on your computer here. Download all the scripts necessary for our tutorial on Vladimir Seregin’s blog, using the following link https://github.com/peko/scriptographer_scripts/downloads. Extract the scripts from the archive and install them into the Adobe Illustrator folder Plug-ins > Scriptographer > Scripts folder. Step 2In this tutorial I used the photo of Ukrainian photographer Alexander Osadchuk. You can surely use any other image in your work, for example, your own photo. Note, the scripts work properly with RGB color mode images with the resolution of 72 ppi. In order to give your image the necessary options, select it and go to the Object > Rasterize… and set the values which are shown on the picture below. Creation of the Cubic MosaicStep 3To turn on the scripts go to the Window > Scriptographer > Show Main Palette. Choose the folder which contains Vladinir Seregin’s scripts. In my case, it is the folder Examples > Tool. We will use "cube split.js” script to work with our raster image. To run and stop the script use the control button in the bottom of the Scriptographer panel. I draw your attention to the error message below. The script requires the raster image to be selected to work properly. Step 4So, now select the image, choose the "cube split.js” and press the play button in the Scriptographer panel. Click on the raster image — and the "cube split.js” script creates a big cube, which is a group of three objects. The cube should cover all the images. Use the Selection Tool (V) to change the cube’s size, while holding Shift + Option buttons. Now click on the cube’s borders; this leads to the creation of new cubes of a smaller size. Step 5For further convenience of our work with the cubic mosaic we need to create a new layer above the first, copy the raster image and paste it to the front (Command + C, Command + F), then drag the copy into a new layer.
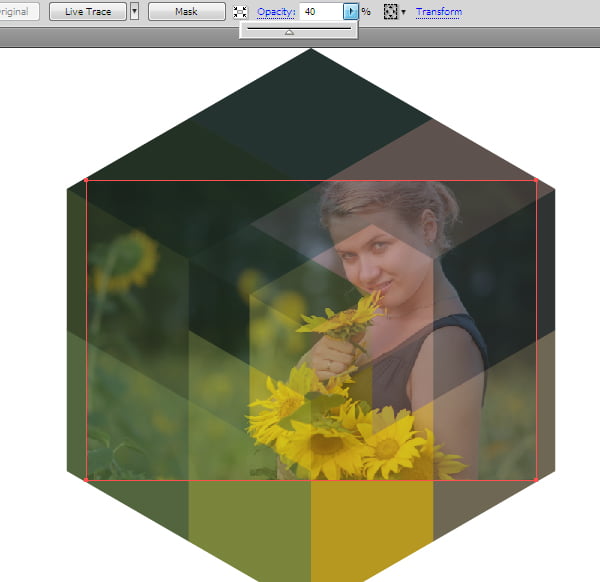
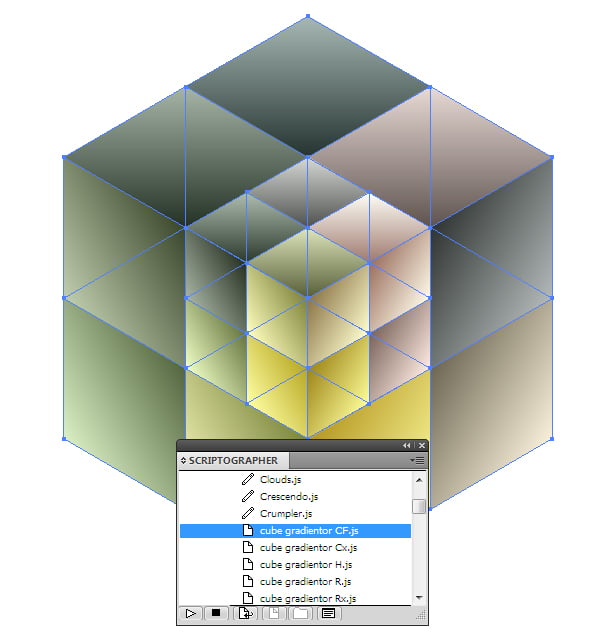
Reduce the Opacity in the Transparency Panel for this layer. We don’t need the upper layer for awhile, so turn off its visibility and lock it. Step 6There is a whole family of scripts for the cubic mosaic. Though I am not going to use them for the creation of this portrait, but you may find them useful for the realization of your artistic vision. I will show you some of the examples of their usage and the effects which you can get on the received cubes.
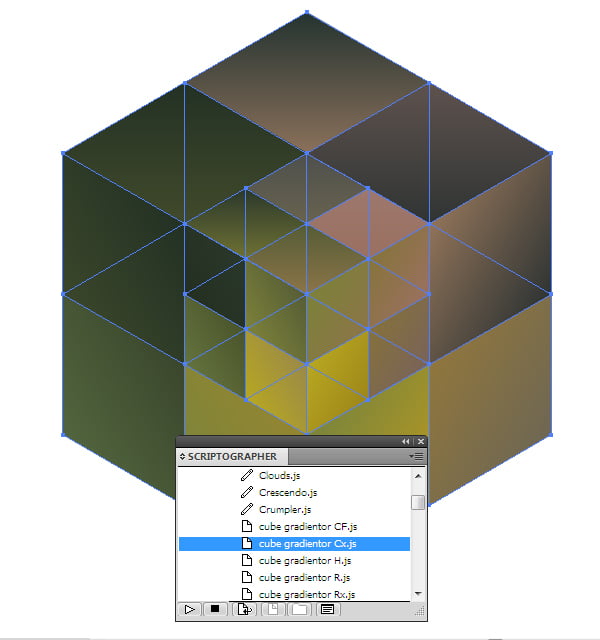
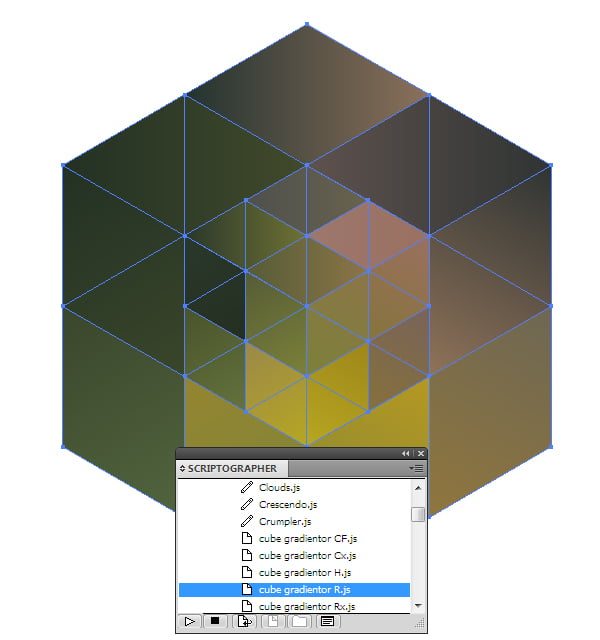
The following scripts "Cube gradientor CF.js”, "Cube gradientor Cx.js”, "Cube gradientor H.js”, "Cube gradientor R.js”, "Cube gradientor Rx.js” change the solid fill of the cubes’ borders to gradient fill. "Cube gradientor CF.js”: "Cube gradientor Cx.js”: "Cube gradientor R.js”:
You can read full version this tutorial on VectorTuts+
Follow us if you want to be the first to know about the latest Adobe Illustrator tutorials and articles. Vectorboom team works for you!
|