|
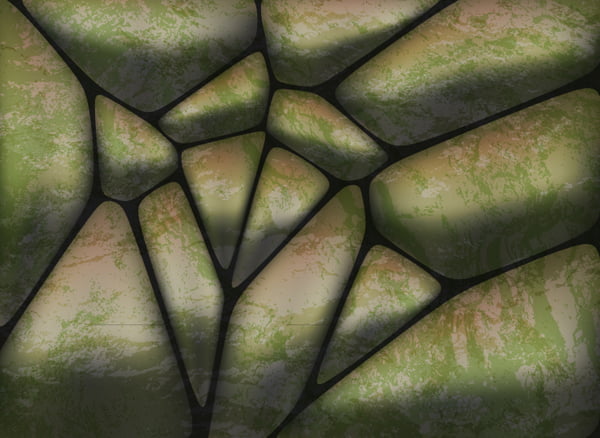
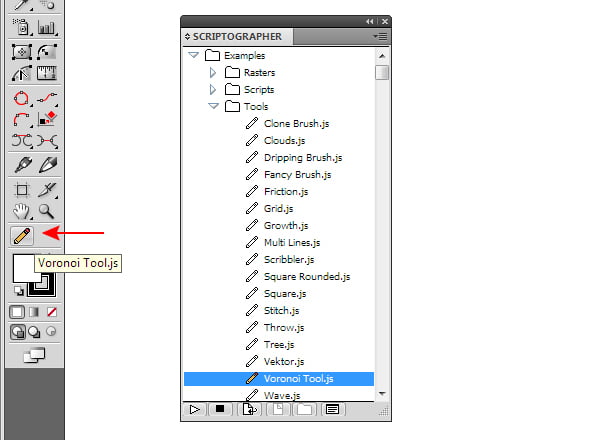
Final Image Preview In this tutorial we will learn how to create quickly the rocky background using two free plug-ins. Extend your abilities by learning this Adobe Illustrator tutorial. Required SoftwareWe will use only free software in this tutorial. So their usage shouldn’t confuse you. On the contrary, they expand your abilities in creating the vector artworks. So, we will need the Scriptographer plug-in, which you can download here. You also can read the instruction for the installing of this plug-in. We will need the Voronoi Tool script which should be copied into the Tool folder of Scriptographer after installing.
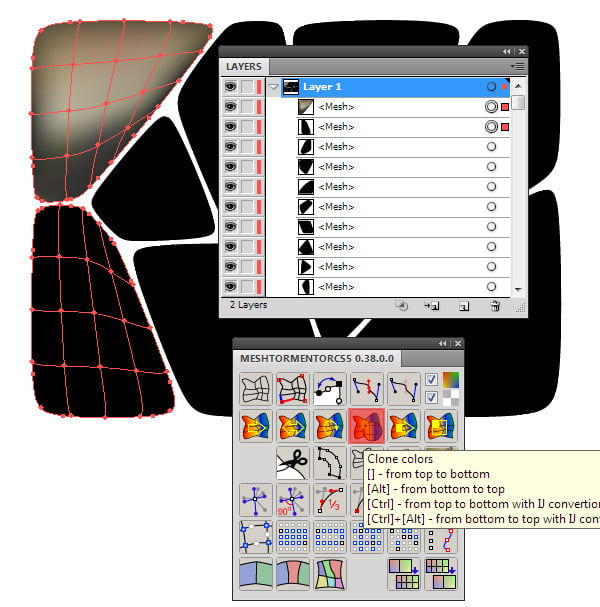
To color quickly the vector stones we will need the Mesh Tormentor plug-in. You should place its file in the "Plug-ins” folder of Adobe Illustrator.
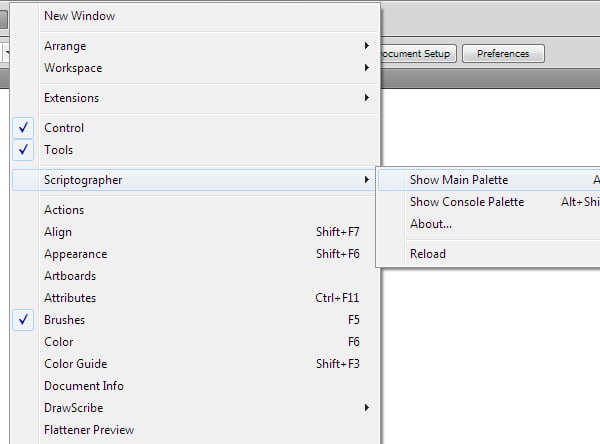
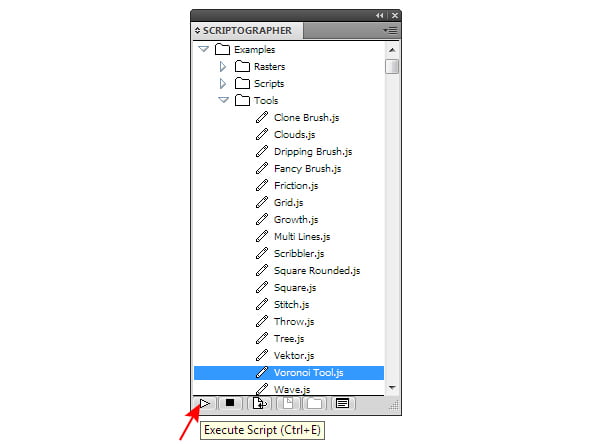
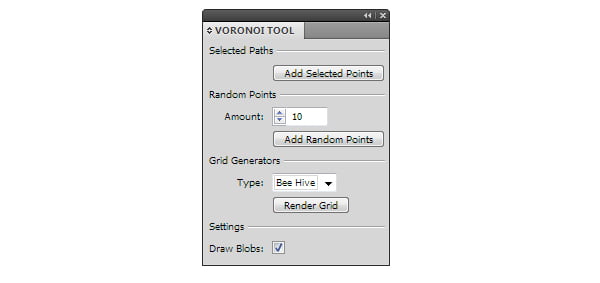
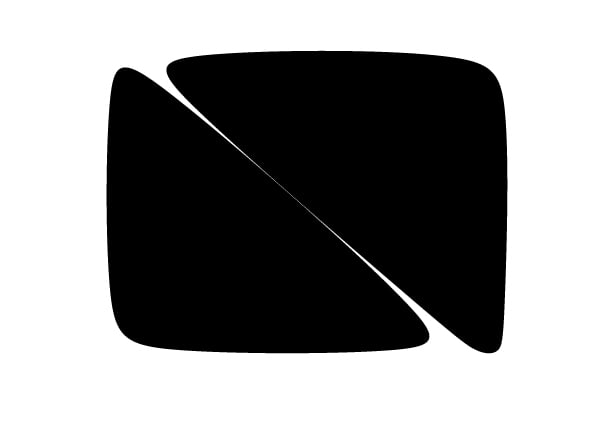
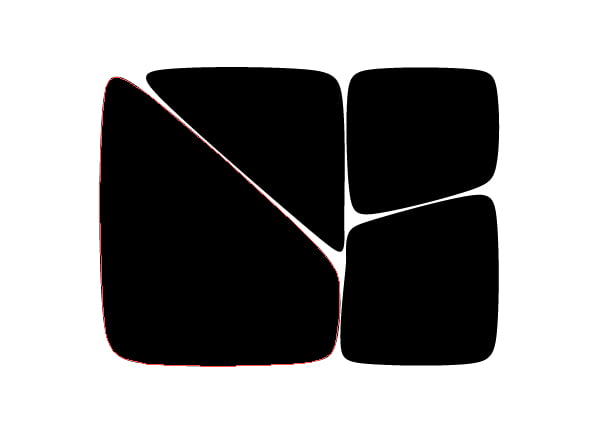
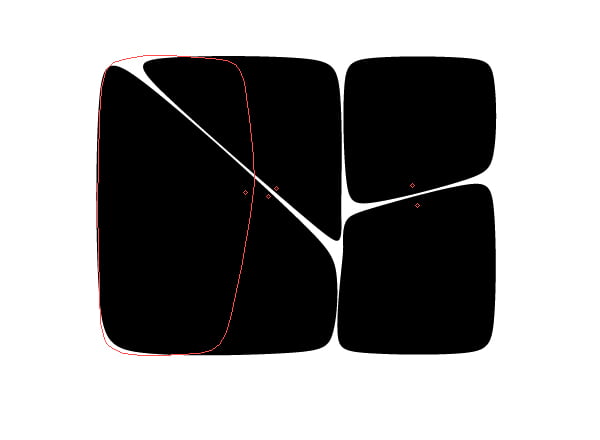
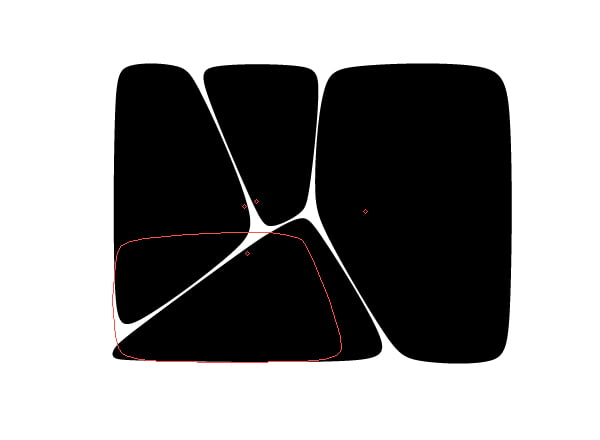
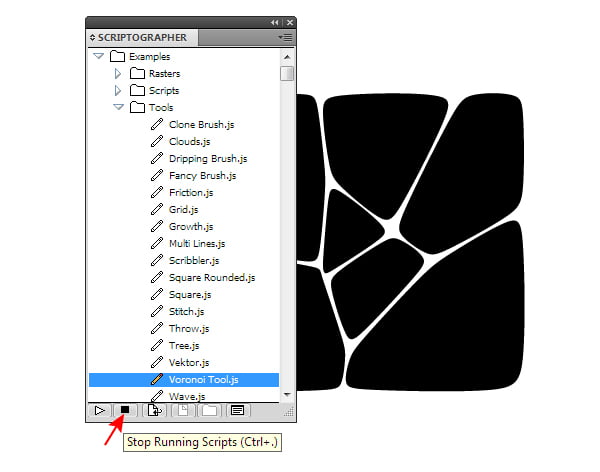
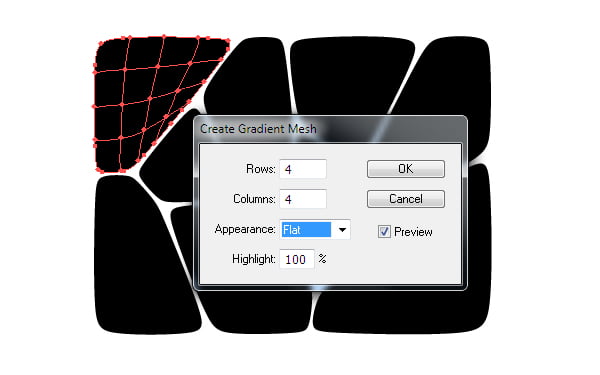
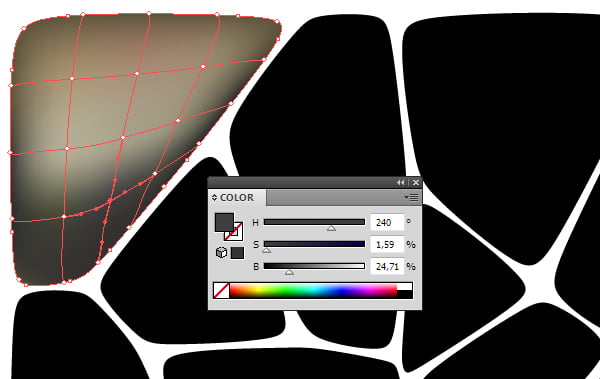
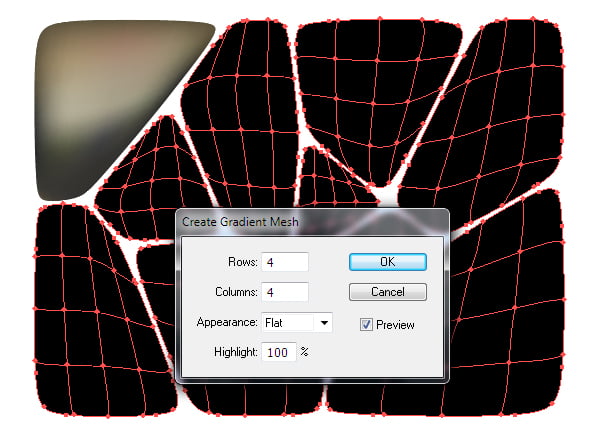
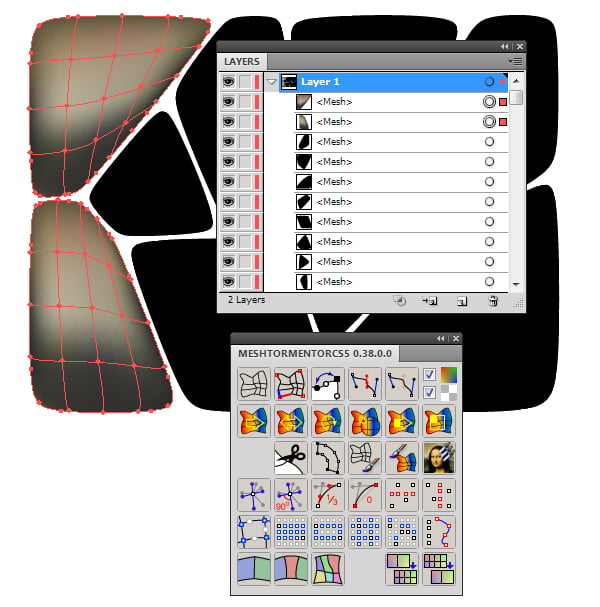
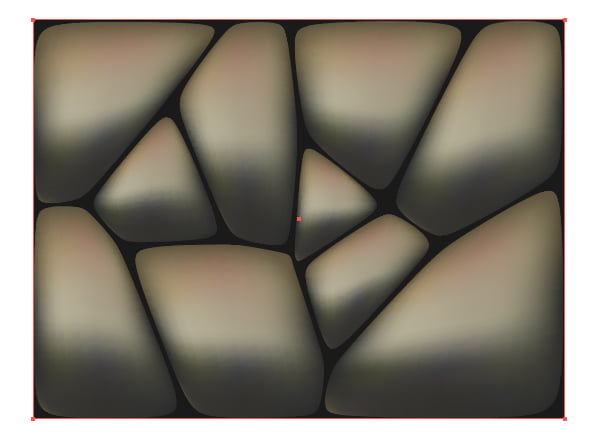
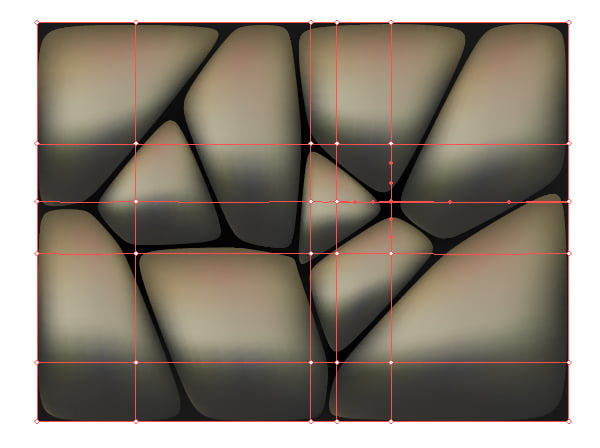
Creation of the Vector Stones FormAfter installation of the Scriptographer plug-in in the Window menu there appears an item with its name. Go to the Window > Scriptographer > Show Main Palette Open the Tools folder and start the Voronoi Tool script. Using the panel, this wonderful script allows us to generate different types of the Voronoi diagrams, named after the Russian mathematician Georgy Voronoy. The Voronoi diagram looks very similar to stone masonry, doesn’t it? We have an opportunity to generate the Voronoi diagram with the Voronoi Tool, which will be activated after we start the script. Take this tool and click on the blank area of the current document. The next clicks will led to the dividing of the existing vector objects. You can also control the forms of the created objects till you release the mouth button after the click. You can change the form of the existing objects while holding down the Shift. So, create the Voronoi diagram, whose objects will be similar to the rocks. If you are happy with your result, click on the Stop in the Scriptographer Main Palette. Coloring of the Vector ObjectsUngroup the forms of the vector stones twice (Shift + Command / Ctrl + G twice). Now select one of the objects and go to the Object > Create Gradient Mesh… and set the number of rows and columns in the dialog box. Color the nodes of the gradient mesh in such a way that our object start to look like stone (you can find a picture of a stone and take it as a basis for coloring of the mesh points) Select the rest of the stones, and then go to the Object > Create Gradient Mesh…; the number of rows and columns should be the same as for the first stone. In order to color our stones fast, we will use the Mesh Tormentor Plug-in (Window > Mesh Tormentor). Place the colored stone above all the objects in the Layers panel. Select it and any other stone, and then click on the Clone Color in the Mesh Tormentor panel. Our black stone was colored into the necessary color at once.
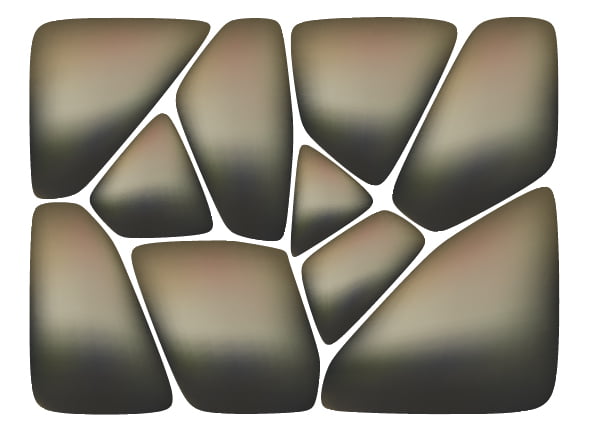
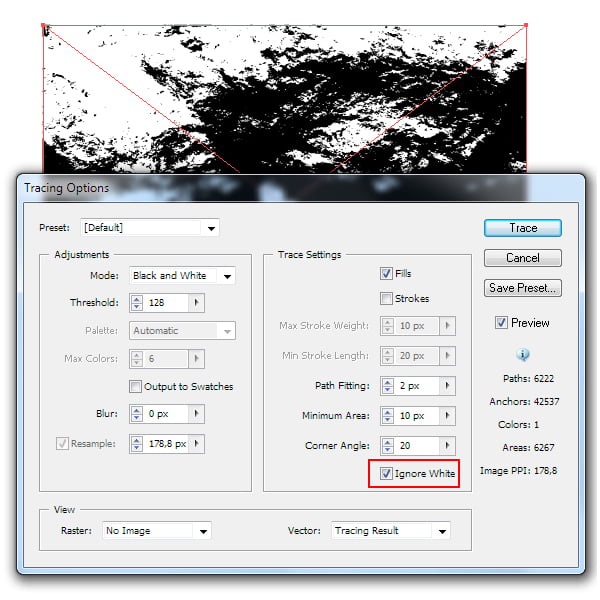
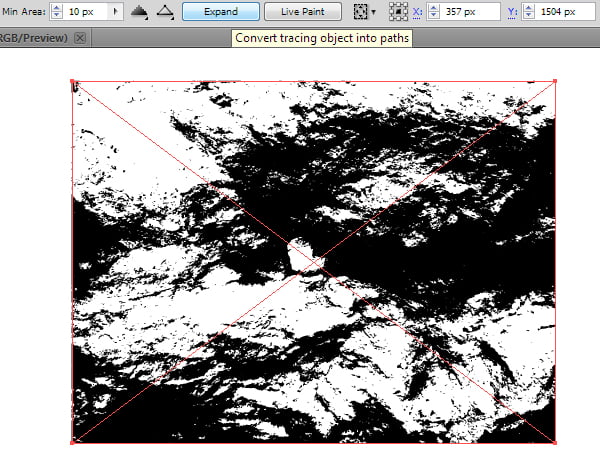
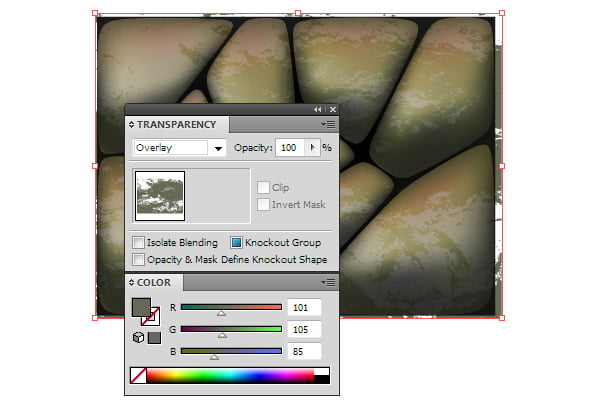
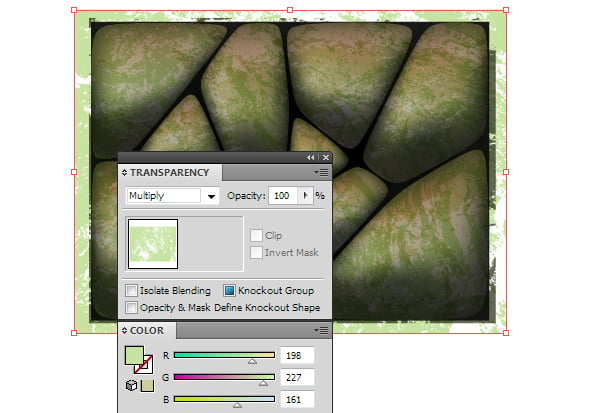
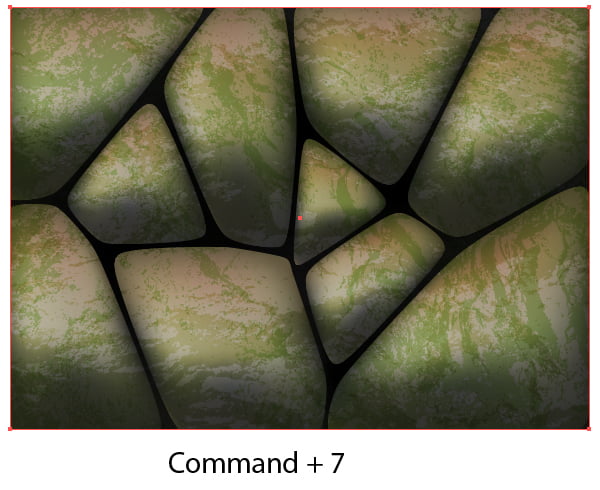
Using this technique, color the rest of the stones of our stone background. Take the Rectangle Tool (M) and create a rectangle with dark-grey fill. Place this rectangle underneath all the existing objects. You can recolor the joints into not uniform colors. To do so, create a simple Gradient Mesh with the Mesh Tool (U) and color some of its nodes in black. Texture Creation on the Vector StonesSurely, our Rock Background doesn’t look very realistic now. Rocks cannot be so smooth. Let’s create some vector texture that is going to fix this shortage. I’ve found some good samples of the stone textures, which can be downloaded here. Paste the stone texture into the current document (File > Place…). Now go to the Object > Live Trace > Tracing Options… and set the parameters which are indicated on the figure below. Click on the Trace button, and then click on the Expand button on the Control panel. Now we’ve got some vector texture. Color it in dark-green and apply the Overlay blending mode to it. Create one more similar vector texture and fill it with light-green. Apply the Multiply blending mode to it. In such a way, we’ve created some moss on our rock background. What is left to do is to hide the elements of the background with the Clipping Mask. To do so, create a bounding rectangle, select all the objects and click on the Command / Ctrl + 7. And here is another improvisation on the same topic. Surely, you can and you need to pay more attention to the colors and texture; my task was only to introduce you some techniques and little-known plug-ins which were created to simplify your artwork.
Follow us if you want to be the first to know about the latest Adobe Illustrator tutorials and articles. Vectorboom team works for you!
|