|
Final Image Preview - Program: Adobe Illustrator CS5-CS6
- Difficulty: Beginner
- Estimated Completion Time: 20 minutes
In this Adobe Illustrator Tutorial we will learn how to create a speech bubble icon using the Shape Builder Tool and the Pen Tool. We will use only grayscale colors and different blending modes for quick coloring. This method of coloring lets us to work very quickly and re-color all the artwork in a couple of seconds. Let’s start!
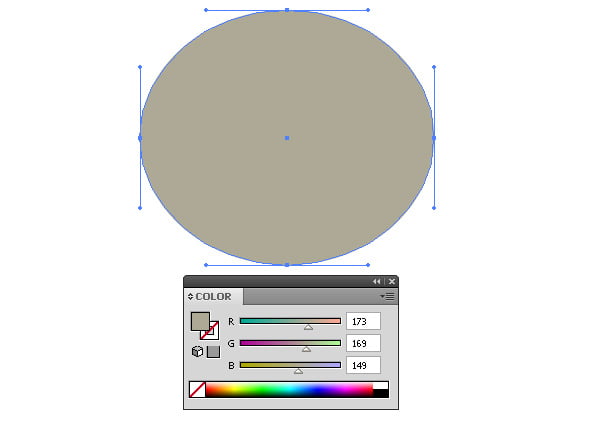
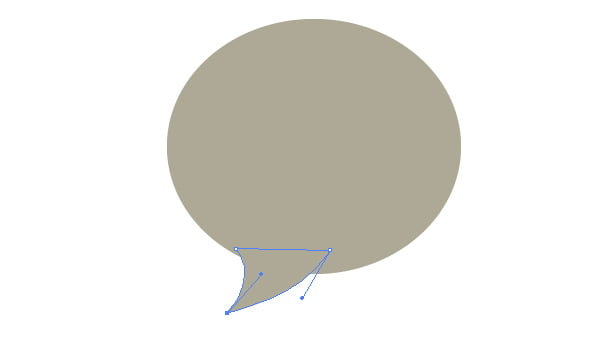
Step 1Take the Ellipse Tool (L) and create an ellipse with a grey fill with a slight mixture of yellow. To tell the truth, the color isn’t very important yet, because we can adjust the bubble’s color after the creation of all of its elements. Now take the Pen Tool (P) and create a tail of the speech bubble.
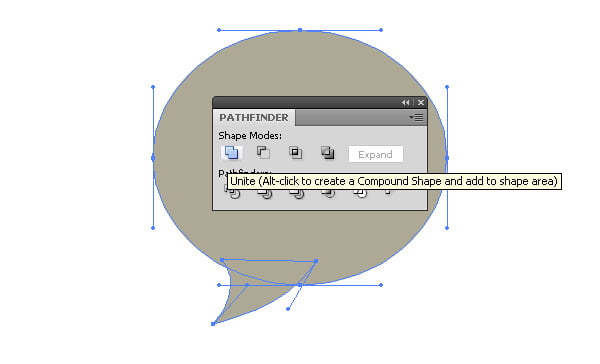
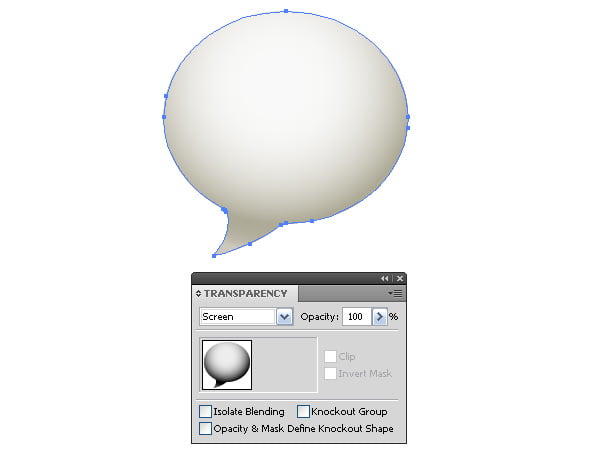
Step 2Select the created forms and click on "Unite" in the Pathfinder panel. Copy and paste the form to its front (Command + C then Command + F). Fill the new object with a radial gradient which consists of white, black and gray colors. So we have created the light and shade on the surface of the speech bubble.
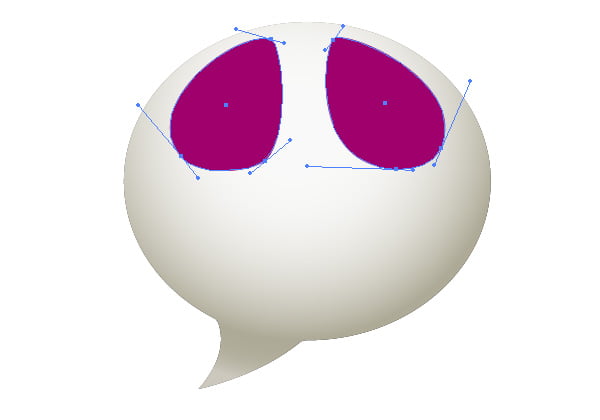
Step 3Apply the Screen blending mode to the upper object. This allows coloring the shades of light into shades of the lower form. Now with the Pen Tool (P) create the forms of a glare.
You can read full version this vector tutorial on VectorTuts+
Follow us if you want to be the first to know about the latest Adobe Illustrator tutorials and articles. Vectorboom team works for you!
|