|
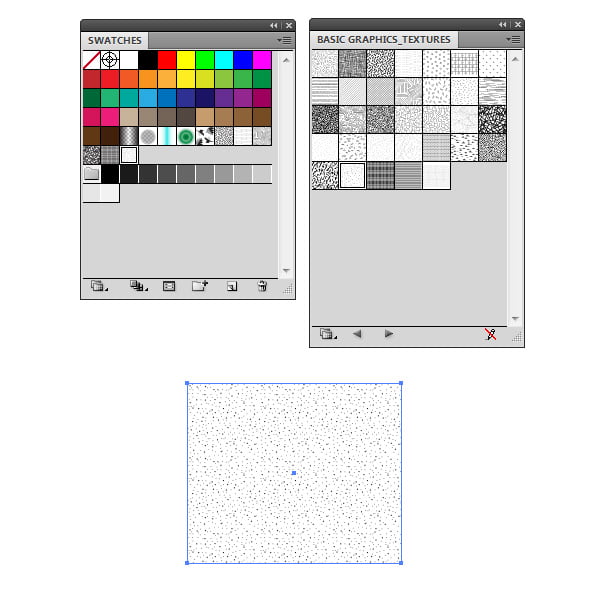
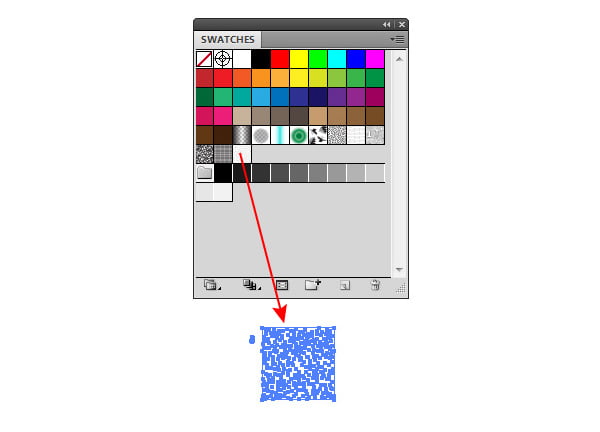
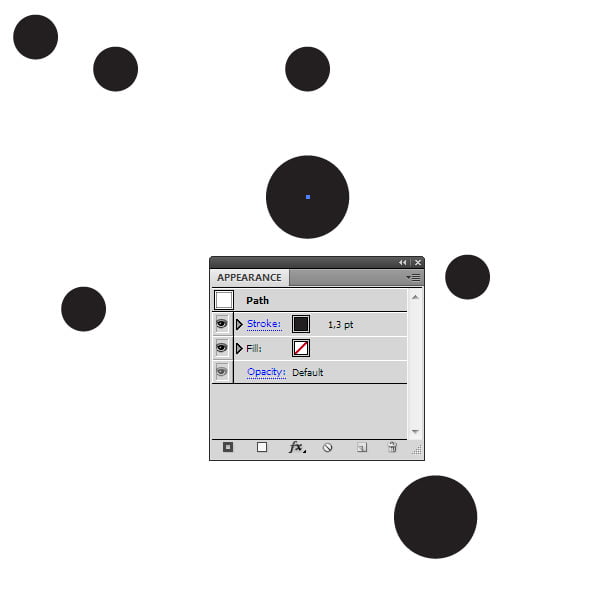
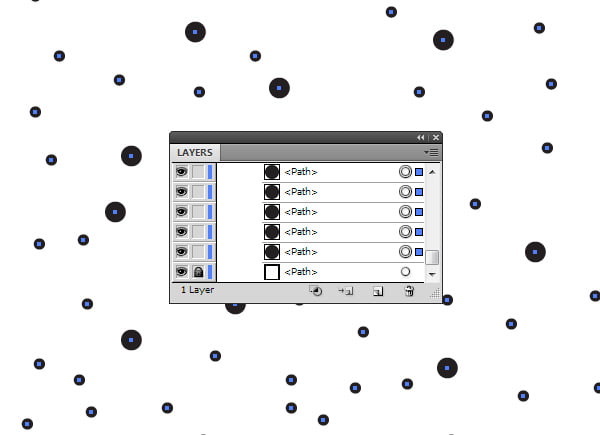
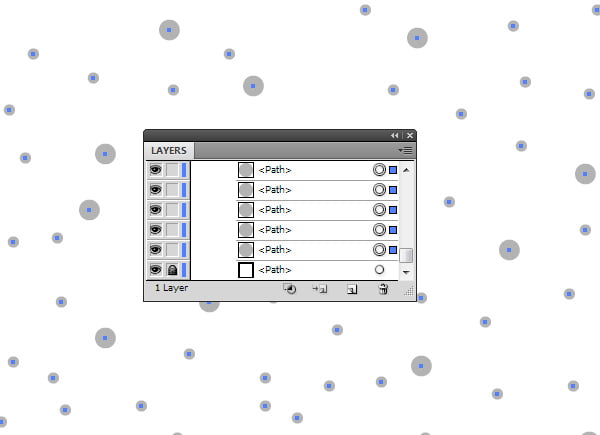
Vector artworks containing textures always look more natural simply because all objects that surround us also have textures. The texture can show itself through surface roughness and color and irregularity of objects. Moreover, the vector with some texture always looks professional, that’s why in today’s tutorial we will check out several ways to create texture in Adobe Illustrator. Final Image Preview Texture Creature with Seamless PatternsThe standard Adobe Illustrator library already contains a large number of seamless patterns, which you can use as your vector texture. In order to get access to them, go, for example, to the Open > Swatch Library > Patterns > Basic Graphics > Basic Graphics _Textures the pop-up menu of Swatches panel (Window > Swatches). However, I think, the standard textures, as they are, are not suitable enough for our purposes, because the objects, from which they are made, consist only of black; we often need a colored texture. Besides, different blending modes are used for the textures, and black is poorly suited for this purpose. In order to change the color of the standard texture, drag it from the Swatches panel to the Artboard. Explore elements of which it consists with the help of the Appearance panel (Window > Appearance). This must be done in order to know whether we need to change the fill or the stroke color. Thus, in this particular example, the elements of the dotted pattern have only the stroke. Select all the objects (Command / Ctrl + A), then find in the Layers panel the lower rectangle with no fill and no stroke, and lock it. Replace the stroke color, for example, with grey.
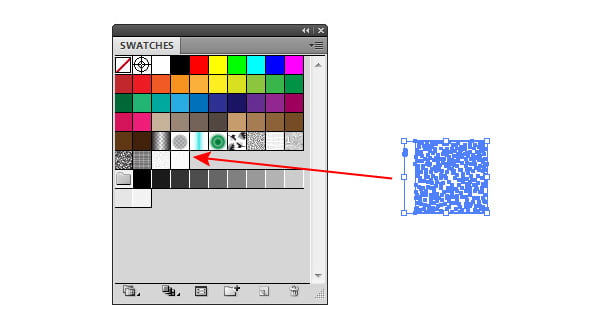
Unlock the lower rectangle with no fill and stroke; select all the elements of the tile pattern. Now drag the tile back to the Swatches panel. You can read full version of this tutorial on VectorCove.com
|