|
Final Image Preview
Polygonal Art Style became very popular over last year. It is often used in printing, designing T-shit, cell-phone backgrounds and websites. In our today's tutorial we will learn how to create quickly vector polygonal background with the help of web based tool and Adobe Illustrator.
Illustrator Tutorial Details
- Program: Triangulator, Adobe Illustrator CS - CS6;
- Difficulty: beginner;
- Estimated Completion Time: 15 minutes;
I've recently written Illustrator tutorial devoted to the creation of polygonal style. One very convenient tool made me get back to this topic; this tool allows you to create such style directly in our browsers and then convert the result into vector art.
Step 1
Before we begin, download Triangulator on the following link. After unzipping, open two folders of triangulator successively and find a file with the name index.html.
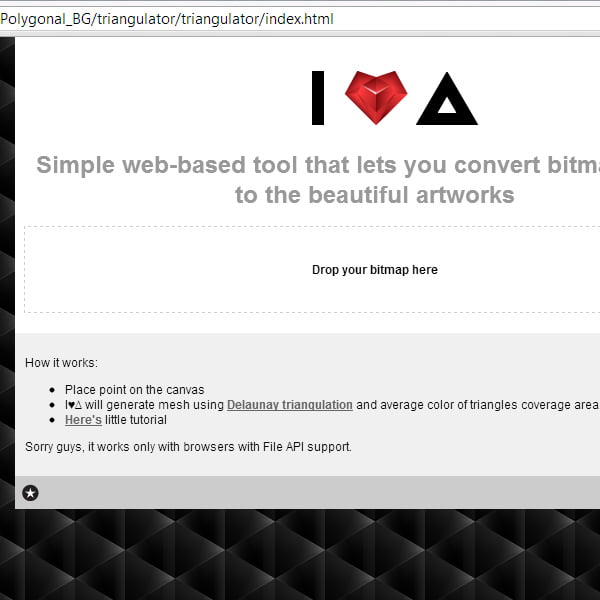
Open this file in your browser. I've used Google Chrome for this. Triangulator works only with browsers with File API support.
Step 2
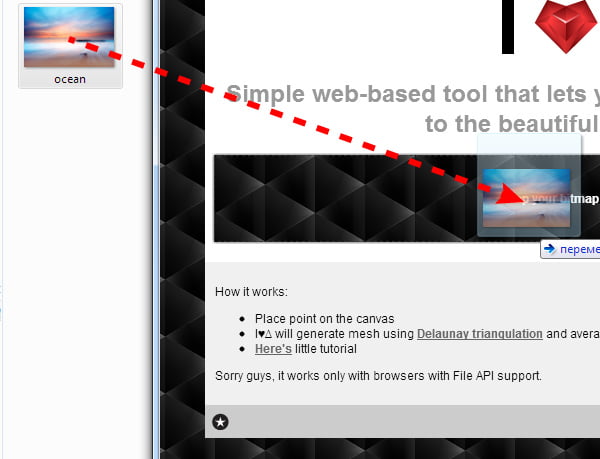
Drag your selected photo into the "Drop your bitmap here" field.
And now simply click on different places of your image with your cursor to create polygons.
You also have an opportunity to move the created mesh nodes.
You also can divide created polygons in parts by simply clicking on them.
Step 3
To create complex works you might need reduce polygon's opacity. The slider on the upper panel is especially designed to control it.
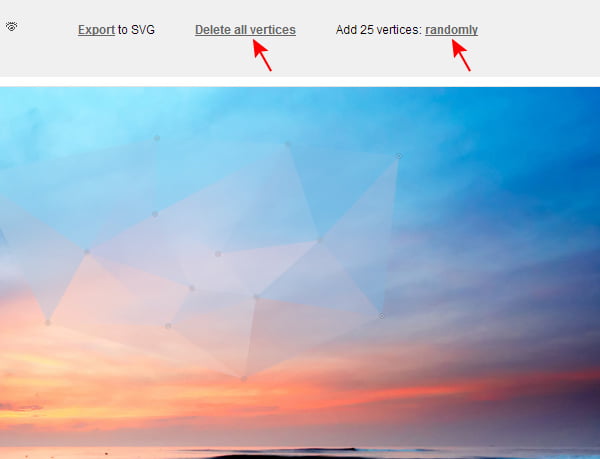
You can delete created polygons or place them in random order; use the interface elements "Delete all vertices" and "Randomly" for this.
Step 4
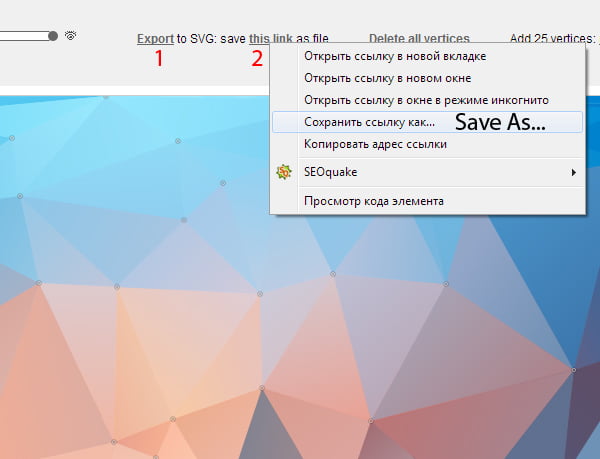
After creation of polygons on the entire area of the photography convert them into vector format. To do so, click on the "Export to SVG" and then on the words "this link" and open the context menu. Choose Save link as… and save the file on your hard drive.
Step 5
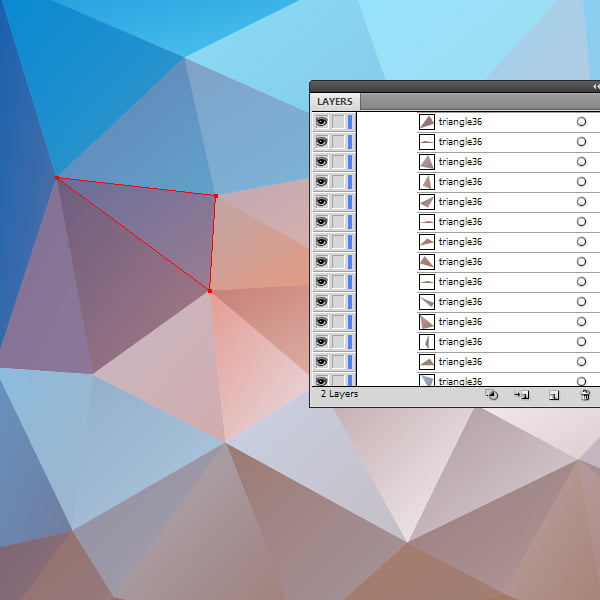
Open the file in Adobe Illustrator. As you can see, polygons are regular vector objects filled with linear gradients.
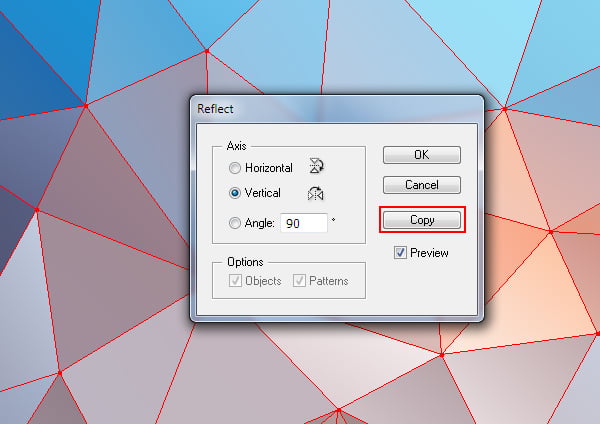
Now we can continue our work on polygonal background. Let's see how I've done it. Select and group all the polygons (Cmd / Ctrl + G). Go to the Object > Transform > Reflect…, and then click on Copy in the dialog box.
Step 6
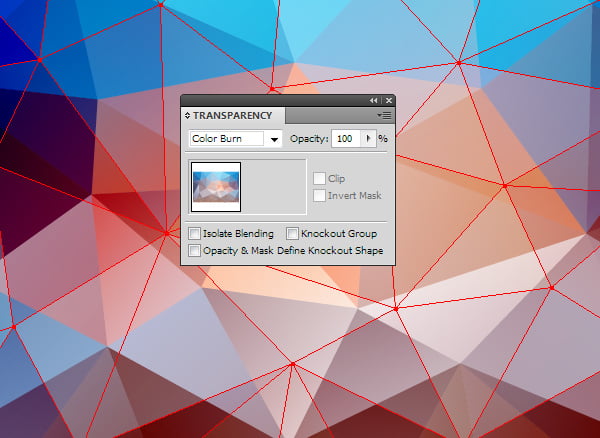
Apply the appropriate blending mode to the upper group. I've used Color Burn.
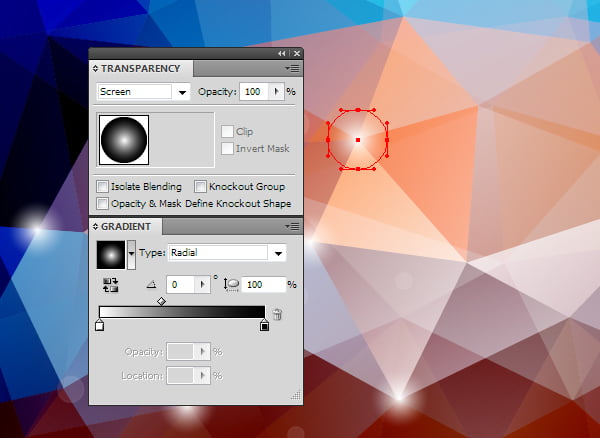
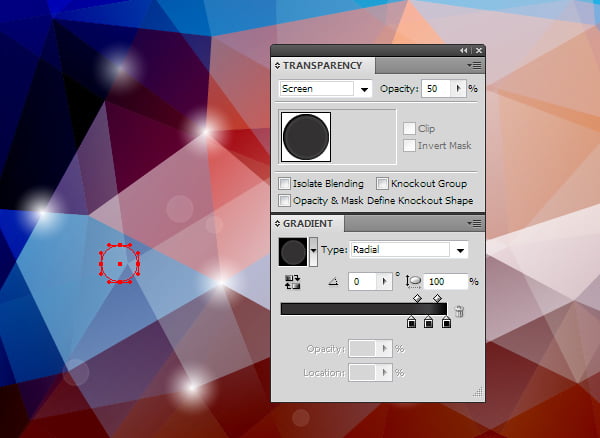
Step 7
Now let's create a couple of glowing objects. Draw a circle with the Ellipse Tool (L). Fill it with back-and-white radial gradient, then apply Screen blending mode to it.
As you can see, there is nothing difficult in creation of such background, and even so, it looks pretty impressive.
|