|
In this Illustrator tutorial, we will learn how to create vector glass objects that can be used as elements of infographics. Here we will use Gradient Tool, Transparency panel, Shape Builder Tool and Transform effect that will save us some time. Have fun learning our new Adobe Illustrator tutorial!
Final Image Preview
Step 1
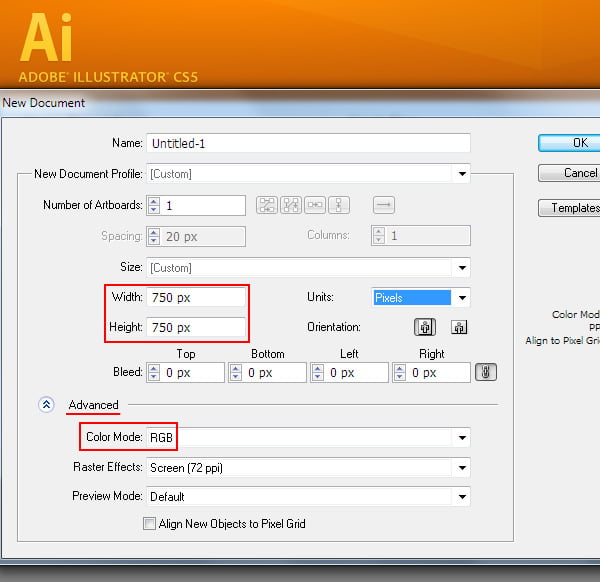
Go to File > New… or use Command/Ctrl + N shortcuts to create a new document. Select Pixels from the Units drop-down menu, enter 750 in the width and height boxes then click on the Advanced button. Select RGB color mode and then click OK.
Step 2
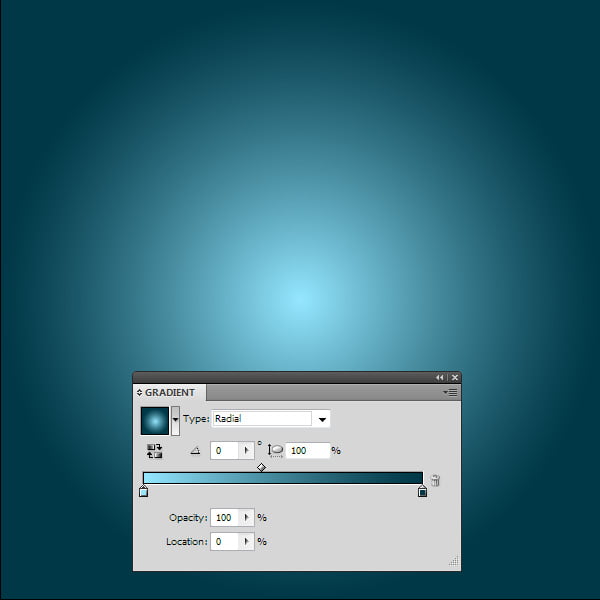
Draw a rectangle using the Rectangle Tool (M). Its sizes match with the sizes of our background illustration. Fill Rectangle with radial gradient from blue (R = 148; G = 231; B = 255) to a dark blue color (R = 0; G = 56; B = 71). Of course, you can use colors other than those.
Take the Gradient Tool (G) and click on the top, outside the artboard, transforming the radial gradient into the eccentric one.
Step 3
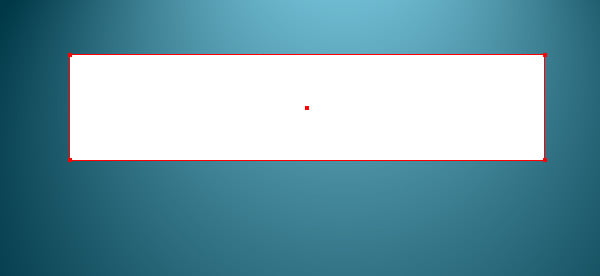
Now let's proceed to the creation of the glass elements. Draw a rectangle with a fill of any color.
Now, round two of its opposite corners. I use the Dynamic Corners Tool for this purpose (VectorScribe plug-in). You can also do selective rounding of the corners of the object, using the standard tools of Adobe Illustrator. How you do this is described in detail in my article How to Apply Different Rounding Radiuses to the Corners.
You can read full version of this tutorial on vectips.com
|