|
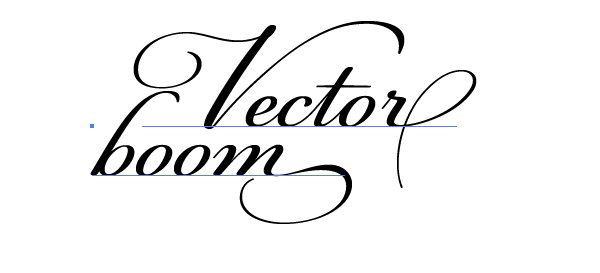
Final Image Preview In this Illustrator tutorial we will check out the work with open type fonts. This type of font gives us more opportunities when we work with texts than the True Type fonts. We can get a lot of variants of one text when we use the Glyphs panel and the alternative characters. You won't need to create some fanciful ornaments and swirls manually anymore. In order to get an artistic text effect we will simply need to combine some ready characters or just entrust this process to your computer. I think you definitely will enjoy this Illustrator tutorial. History of the OpenType and the TrueType Fonts and Its ComparisonThe TrueType font is the format of computer fonts developed by Apple in the end of 80s. The fonts in this format are used in many modern operating systems. Files with these fonts have the filename extension .ttf.
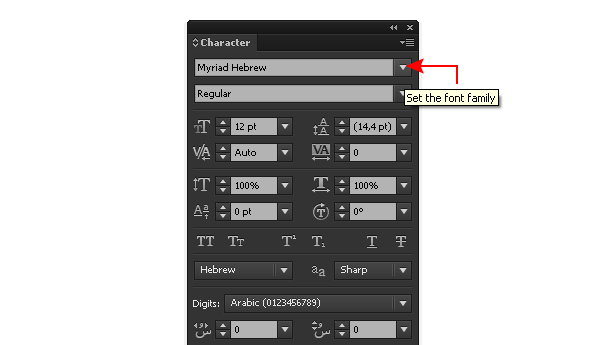
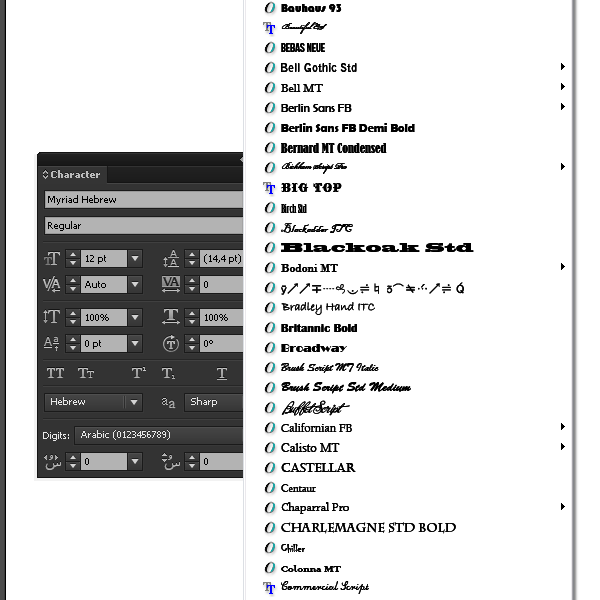
The OpenType font is the format of the computer fonts that supports Unicode-coding developed by Microsoft and Adobe for the usage on different operating systems. The OpenType fonts, when comparing to the TrueType fonts, have bigger prepress capabilities and a wider range of characters in a smaller file size. The OpenType fonts can have a wide range of glyphs, also including ligatures, fractions and historical characters, such as old style numbers and Swash. It allows the automatic replacement of some characters. The OpenType fonts can contain several optical font sizes inside one and the same font family, and even with the fonts of one size based on different set of vector outlines for better display on the screen and better readability of small size symbols. The font files have the filename extension .ttf (fonts, based on the TrueType) or .otf (fonts, based on the PostScript) Work with the OpenType fontsUnfortunately, most of the free fonts have the TrueType format, i.e. they don't have any alternative characters. However, I think your operating system has a sufficient number of the OpenType fonts. When you click on the Set the font family in the Character panel (Window > Type > Character) you'll see the list of all fonts (01a). There is "O” icon before the OpenType fonts. Step 1
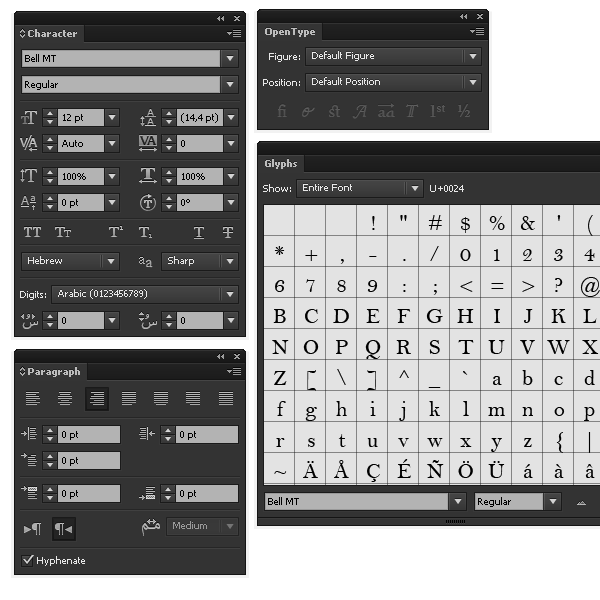
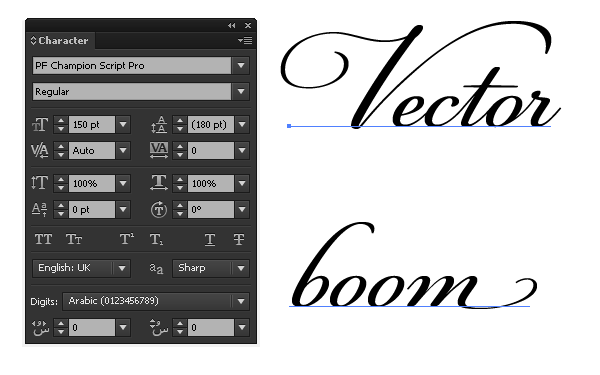
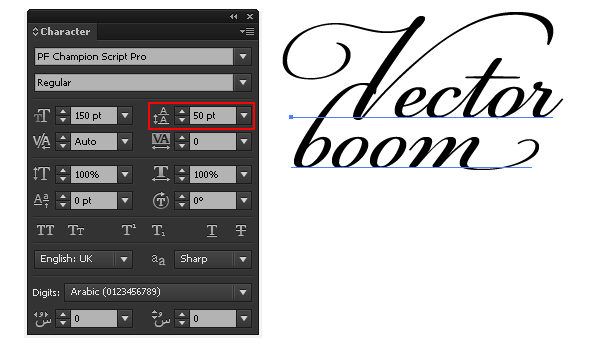
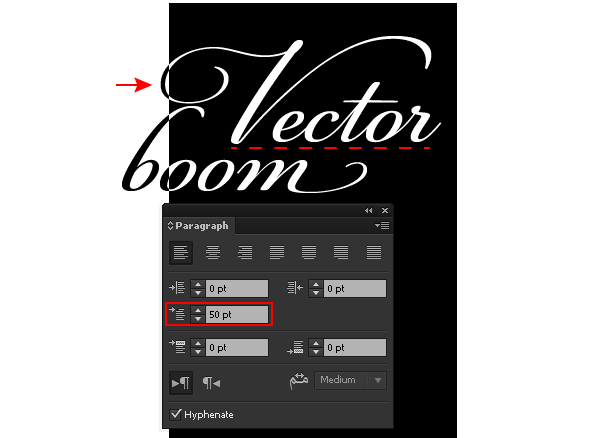
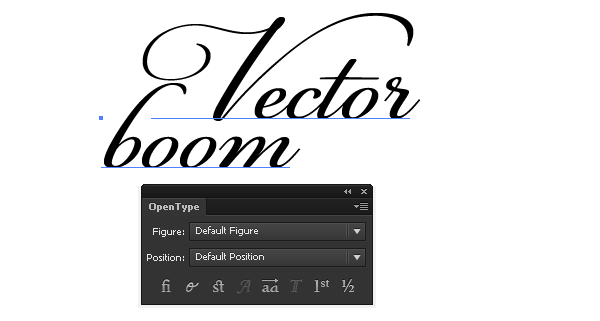
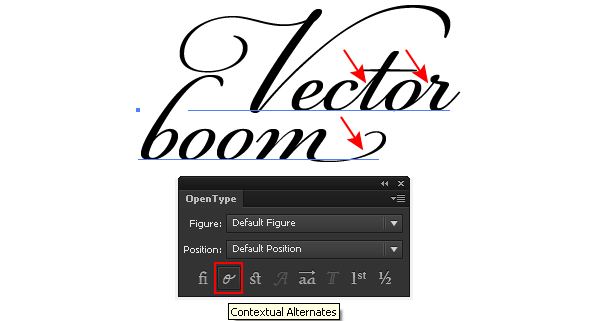
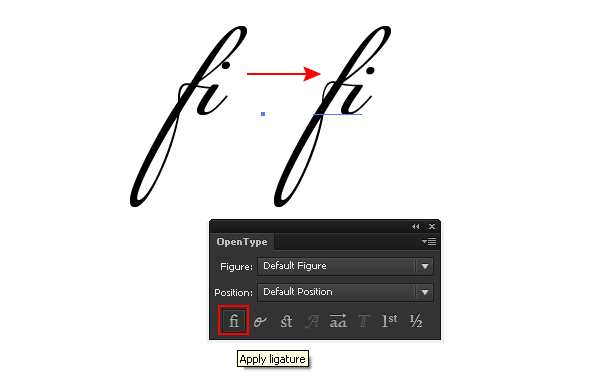
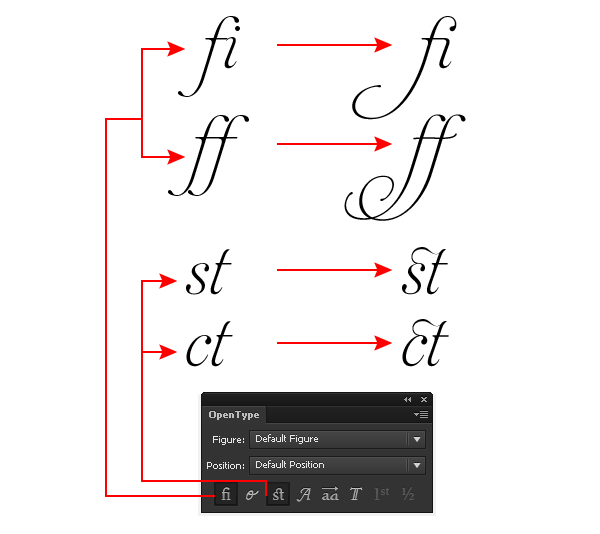
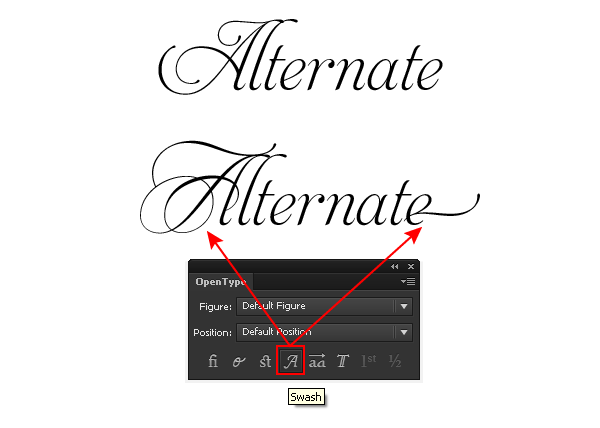
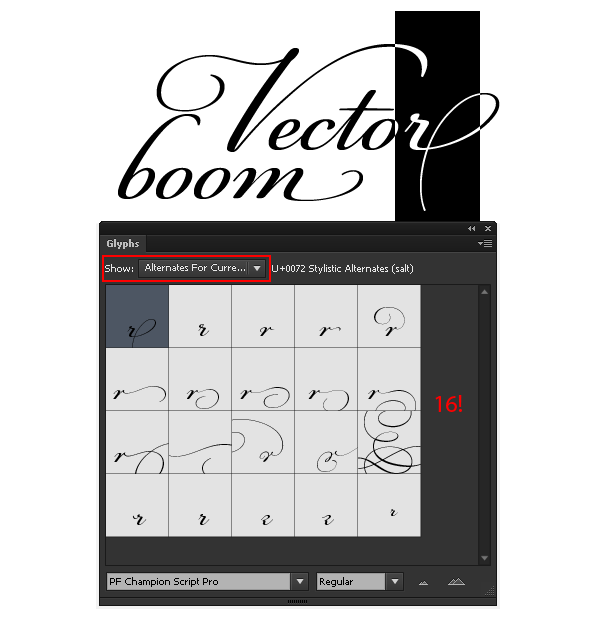
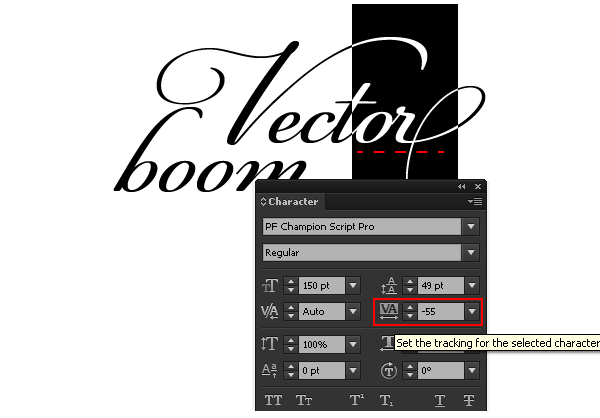
We will need a few more panels for our work; so let's open them. The Glyphs panel (Type > Glyphs); the OpenType (Window > Type > OpenType); the Paragraph (Window > Type > Paragraph) Take the Type Tool (T) and type the necessary inscription (I used the PF Champion Scrip Pro here; for my inscription I used the name of my website which I typed it in two lines) Step 2Let's work on our text. To begin with, reduce the leading in the Character panel. And now click twice on the upper line and select the whole upper line of the text, set the First- line left intend value in the Paragraph panel. Step 3Adobe Illustrator can automatically select some alternative characters giving their position in the context of the word. Here is how our text looks like without context. And here how it looks like with the automatic selection of alternative characters. In order to activate this mode, use the Contextual Alternates key in the OpenType panel. Step 4If your text contains the combination of letters, such as fi, ff, ij, st, ct, fs then you can turn them into one graphic character which is called ligature; it can be done by clicking on the appropriate keys in the OpenType panel. Please note, not all of the OpenType fonts have ligatures. Step 5Some OpenType fonts can apply the alternative characters to the first and the capital letters of the text. Such characters are called the Swash. They can also be applied to the last letters of the line. To replace the characters automatically click on the Swash button in the OpenType panel. Step 6We also have an opportunity to choose the right kind of the character ourselves. To do so, select the letter that you want to replace, and then go to the Alternates for Current Selection in the Glyphs panel. Select the suitable alternative from the generated list. So, for example, the letter "r” has 16 (!) different options if you use the PF Champion Script Pro font. I've also decided to replace the letter "m” and the letter "b” Step 7It seems to me that the distance between the letters "o” and "r” is too big. Let's reduce it. Select these two letters, and then reduce the tracking value in the Characters panel.
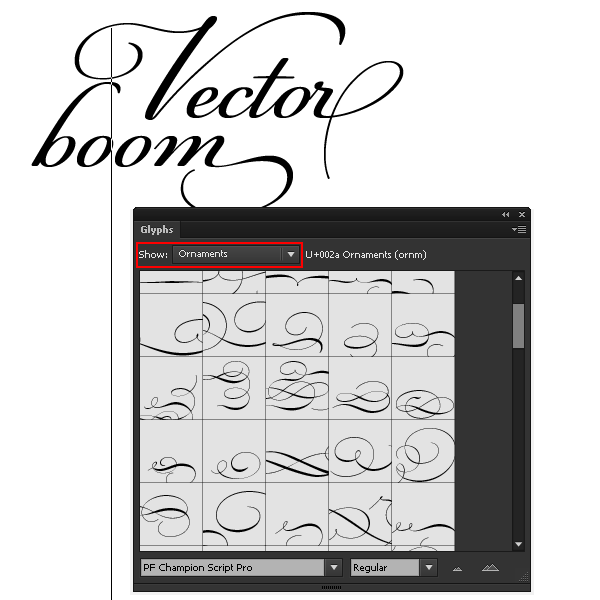
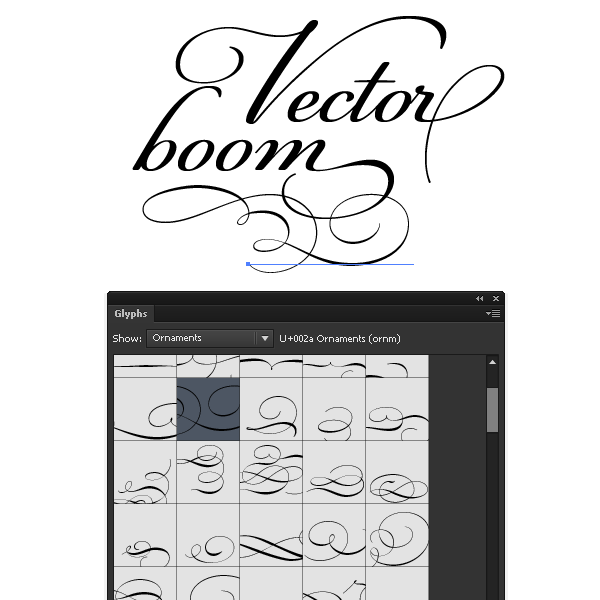
Step 8We just need to decorate our inscription with some ornament. Don't worry we won't need to create it manually. It appears that the huge amount of ornaments is already in the Glyphs panel. Take the Type Tool (T) and click below our text, and now go to the Ornaments tab in the Glyphs panel. Choose the suitable ornament and combine it with the text. Here is the alternative example of exactly the same inscription. I've created one more inscription "Work hard stay humble” while using the same techniques. This time, I used the magnificent Mon Amour Script Pro font. I hope this tutorial will make you love any work with fonts. It is no secret that a lot of designers love this process.
You can read other text effect tutorial: How to Create an Old Font Text Effect in Illustrator.
Follow us if you want to be the first to know about the latest Adobe Illustrator tutorials and articles. Vectorboom team works for you!
|