|
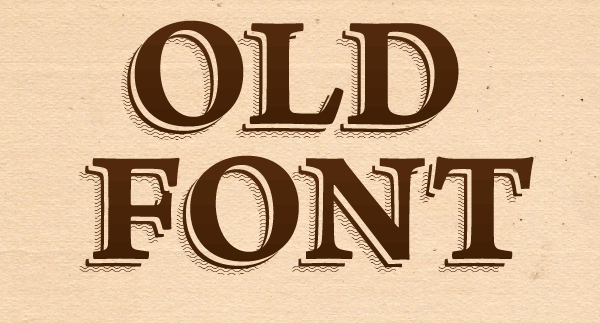
Final Image Preview
In this text effect tutorial you will learn how to create an old font style text. This illustrator tutorial is created for beginners, so it has very detailed instructions. Have fun in this tutorial.
Illustrator Tutorial Details
- Program: Adobe Illustrator CS3 - CS6;
- Difficulty: Beginner;
- Estimated Completion Time: 15 minutes;
Step 1
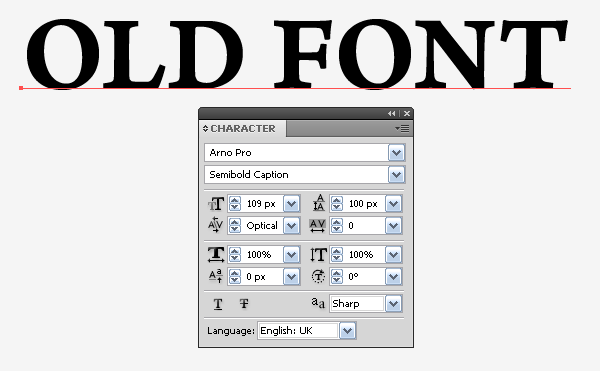
Take the Type Tool (T) and create text. I chose the font Arno Pro font. I think it is suitable for the creation of the old font style text.
Place the cursor after the word "OLD", then press Enter (Return on the Mac).
Step 2
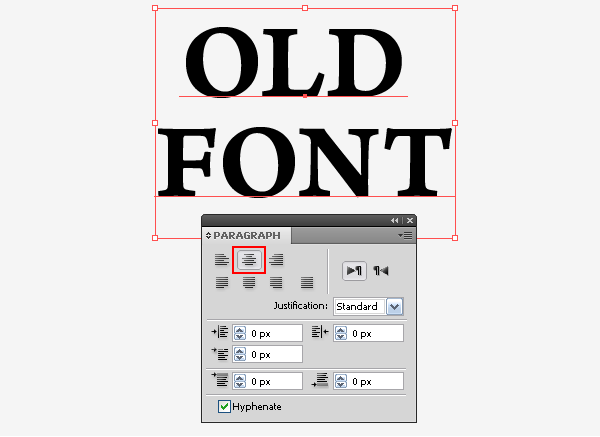
Center align the text with the help of the Paragraph panel (Window > Type > Paragraph).
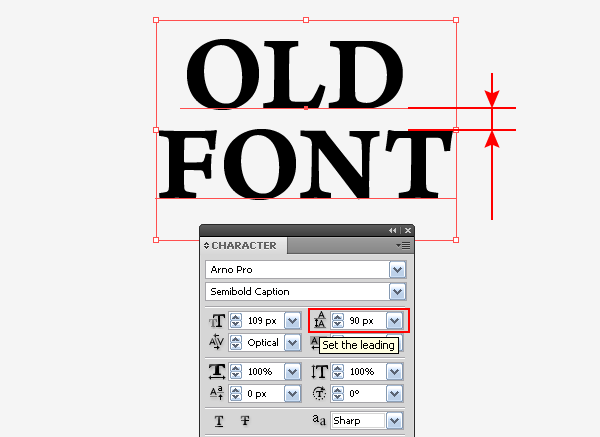
You can change the leading with the help of the Character panel (Window > Type > Character panel).
Step 3
After all the text parameters are set, it must be converted into vector objects (Type > Create Outlines).
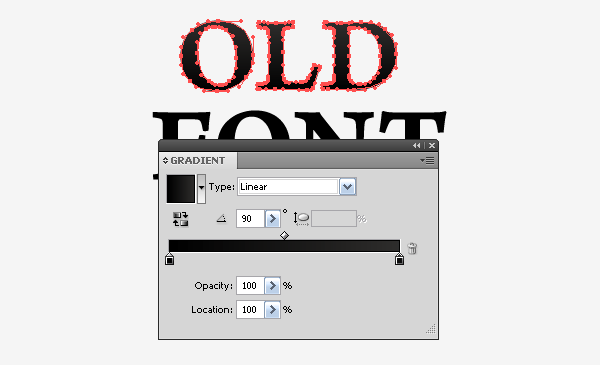
All the letters of the text are located in the group, so for the selecting of the upper part use the Direct Selection Tool (A). Fill the word "OLD" with vertical linear gradient from dark gray (K = 95) to black color (R = 0; G = 0; B = 0).
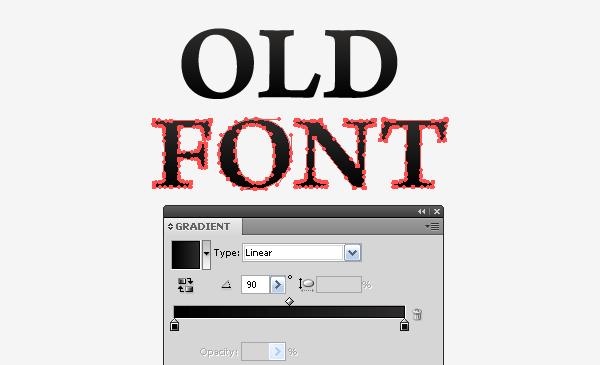
Fill the word "FONT" with the same gradient.
Step 4
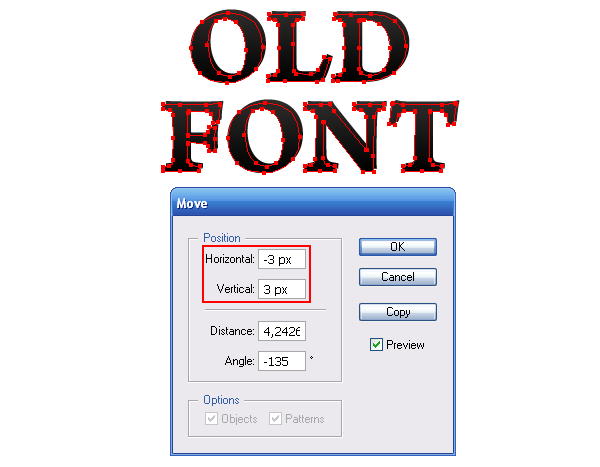
Copy the OLD FONT text and paste it back (Command / Ctrl + C; Command / Ctrl + B). Go to Object > Transform > Move …, and then set the vertical and horizontal offset value.
Recolor this group with a different color for visual purposes.
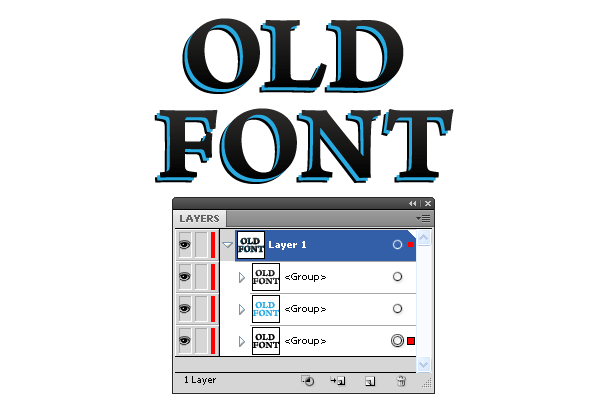
Step 5
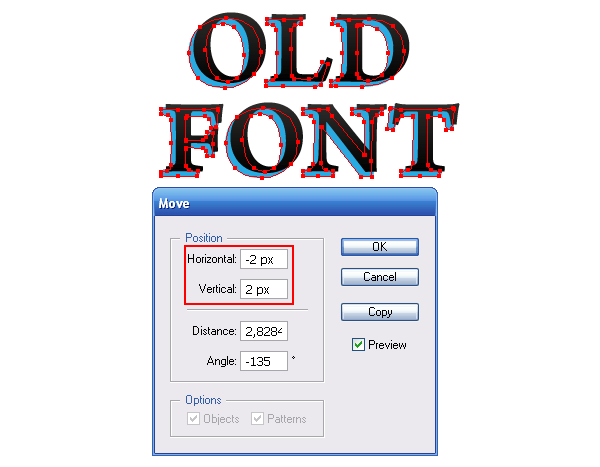
Select the group with a blue fill and paste it back. Now, again, go to Object > Transform > Move …, and set the vertical and horizontal offset value.
Recolor the lowest group with black color.
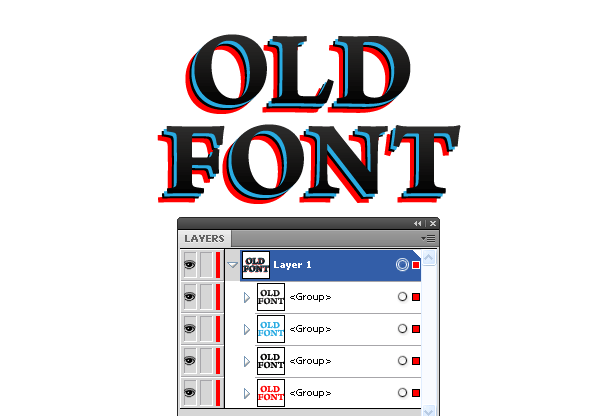
Step 6
Copy the lower black group and paste it back. The last time go to Object > Transform > Move …, and set the vertical and horizontal offset value.
So we got four groups with text.
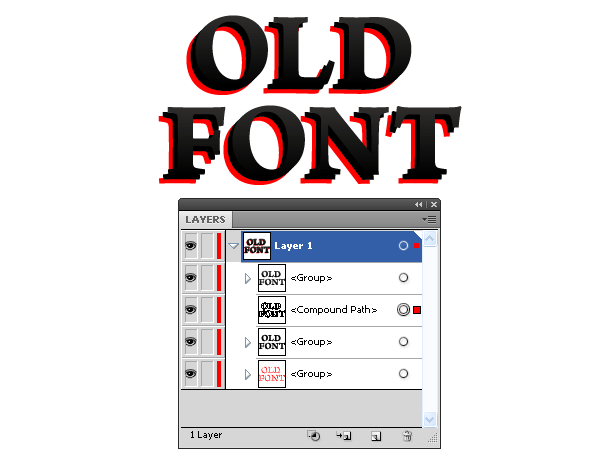
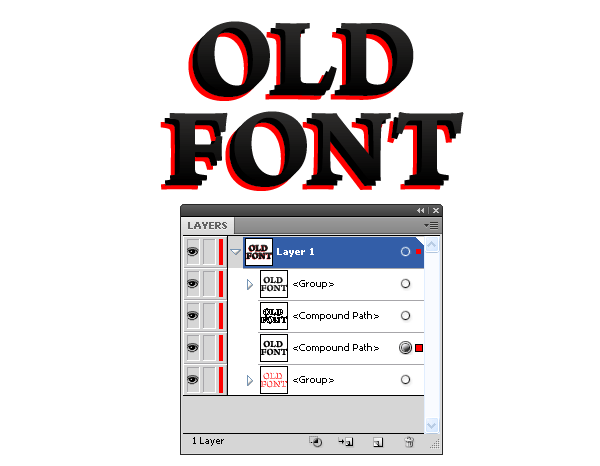
Step 7
Select the black group with the text and paste it back.
Keeping this group selected, go to Object > Compound Path > Make or use Command / Ctrl + 8 shortcuts.
This Compound path lost its fill, but it is not bad.
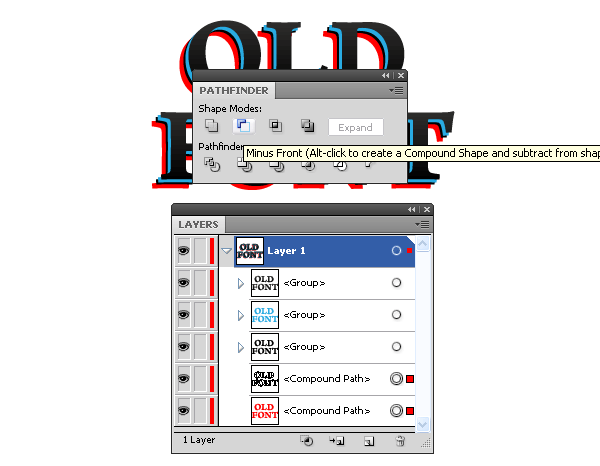
Step 8
Select the lower red group, and then use the Command / Ctrl + 8 shortcuts, that will bring to the creation of the Compound path.
Restore the color of this outline.
Select both Compound paths, then click on the Minus Front in the Pathfinder panel.
If you turn off the visibility of all the groups that lie above the achieved group, then you should see the result shown in the following picture.
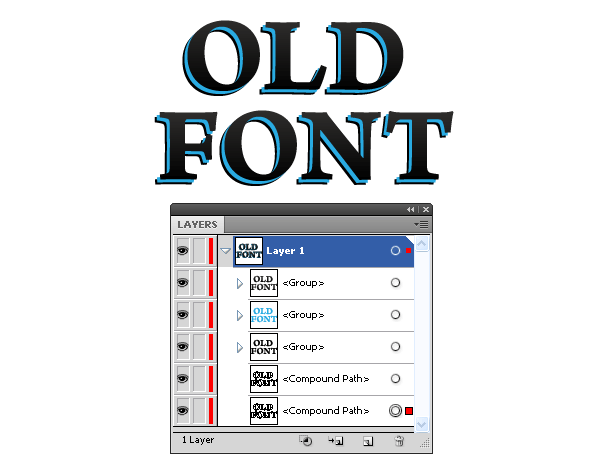
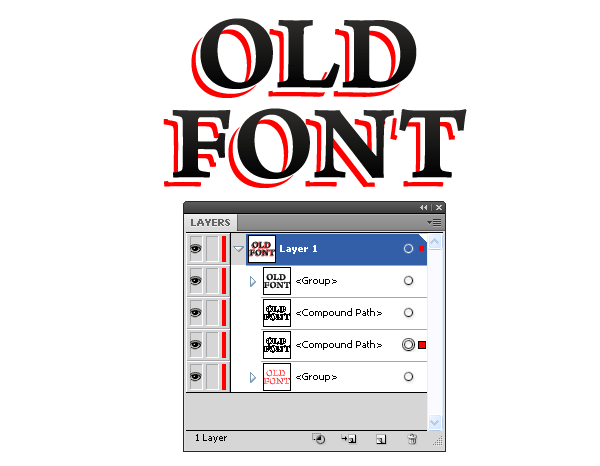
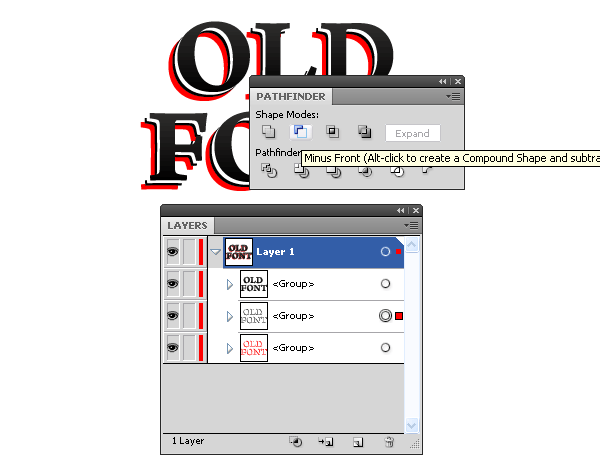
Step 9
Convert the blue and black groups into the Compound path.
Return the black color to the top third group.
Select both of the Compound paths, then click on the Minus Front in the Pathfinder panel.
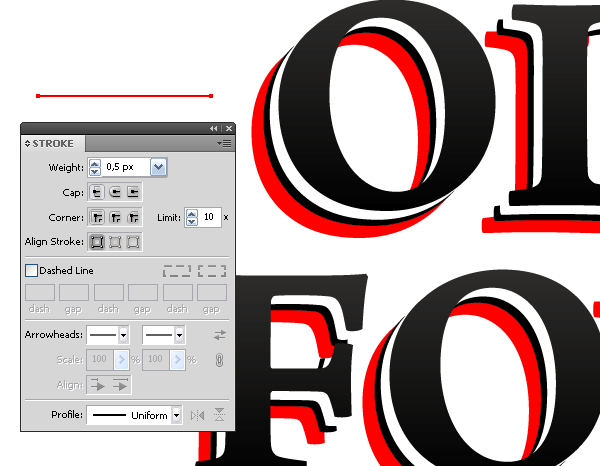
Step 10
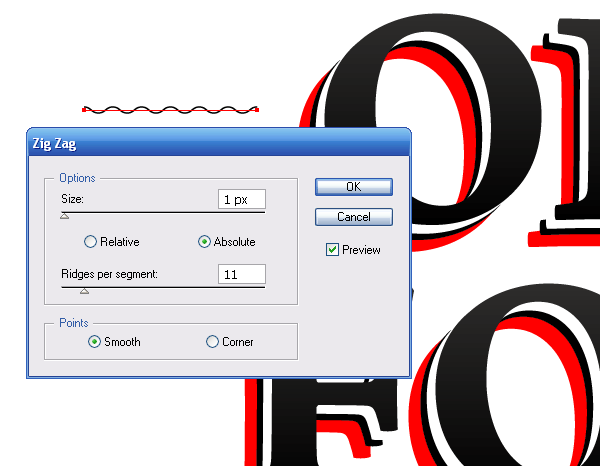
Now we need to create a seamless pattern that will consist of wavy lines. Take the Pen Tool (P) and create a horizontal line of 0.5px thickness.
Select this path, then go to Effect > Distort & Transform > Zig Zag and set the parameters listed in the following picture.
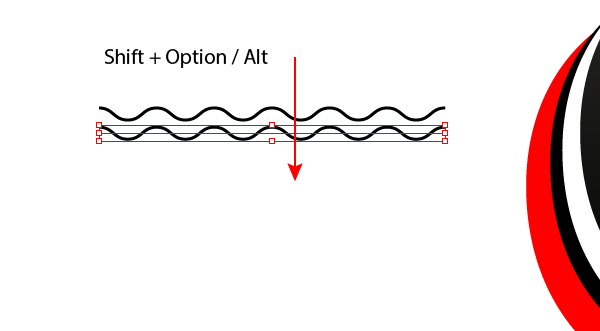
Step 11
Drag the line straight down, holding down Shift + Option / Alt, duplicating it.
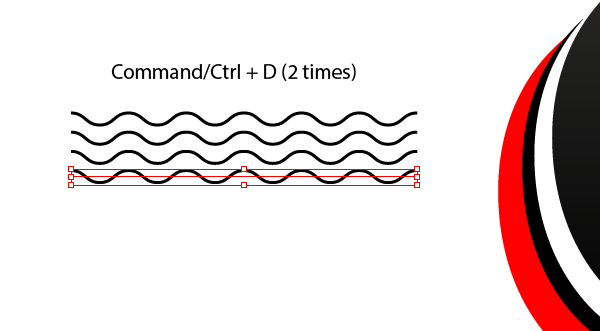
Now repeatedly press Command / Ctrl + D shortcut, this will repeat the last operation.
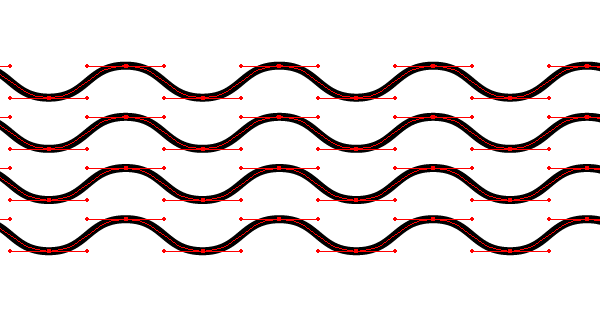
Step 12
Select all the lines and go to Object > Expand Appearance.
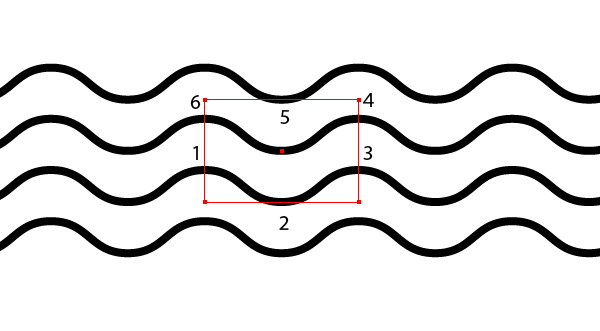
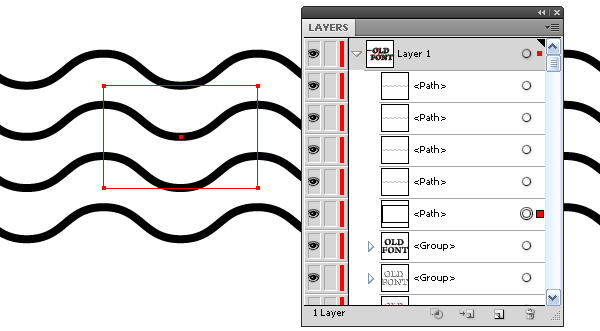
Take the Rectangle Tool (M) and create a rectangle with no fill and stroke. Sides of this rectangle should pass through the anchor points 1 - 6.
Place the rectangle below all the wavy lines. This can be conveniently done in the Layers panel.
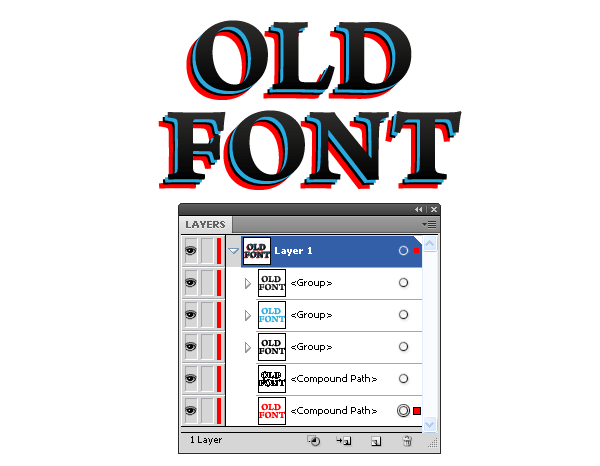
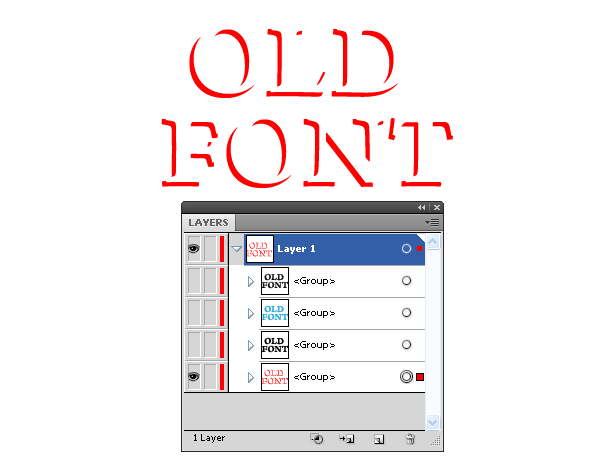
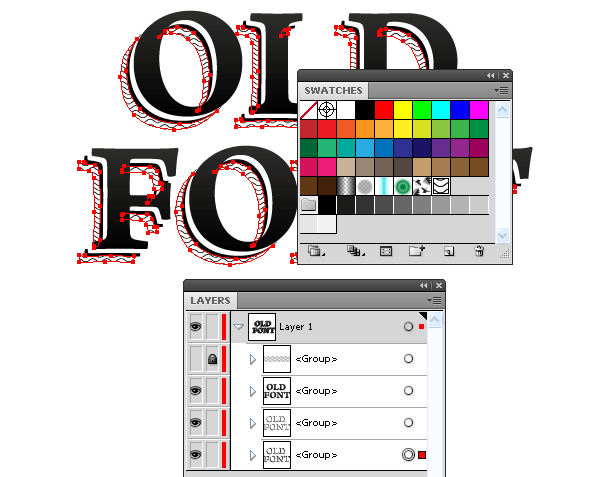
Step 13
Select all the wavy lines and a rectangle, and then drag them into the Swatches panel.
Thus, we have created a seamless pattern. Select the lower red group and apply the wavy pattern to it.
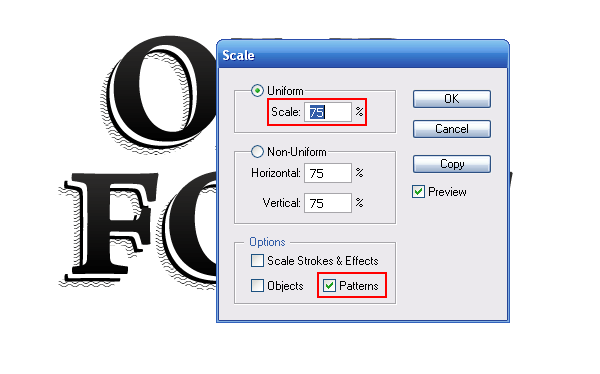
You can reduce the size of the pattern. To do this, go to Object > Transform > Scale … and tick only the Patterns in the dialog box.
Text is always an important part of design. In this illustrator tutorial you have learned how to design an inscription in old font style. You can find out other text effect tutorial here How to Create a Neon Text Effect in Adobe Illustrator. See you later!
Follow us if you want to be the first to know about the latest Adobe Illustrator tutorials and articles. Vectorboom team works for you!
|