|
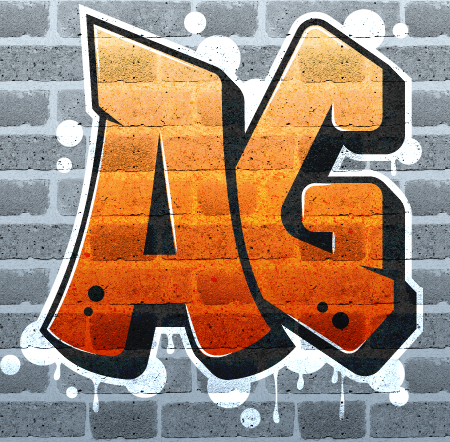
Final Image Preview
Today we will create a vector graffiti logo and apply the bitmap texture from free for customers Pro Texture Packs with the help of the Texturino. Other Astute Graphics' tools will help us to make the process of creating an artwork fast, convenient, and efficient.
Step 1
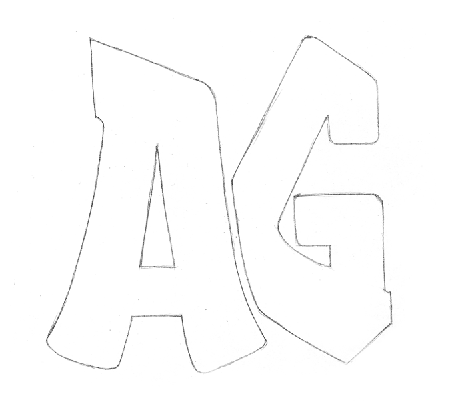
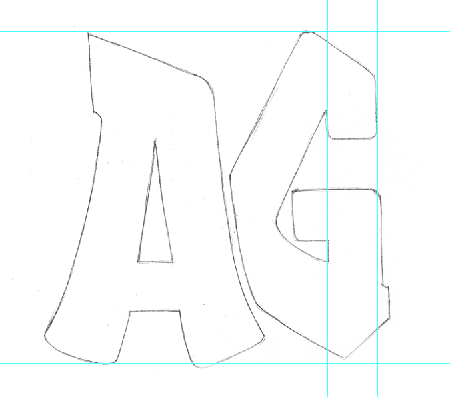
Begin our tutorial with a rough pencil sketch of AG (Astute Graphics) logo. Then scan it.
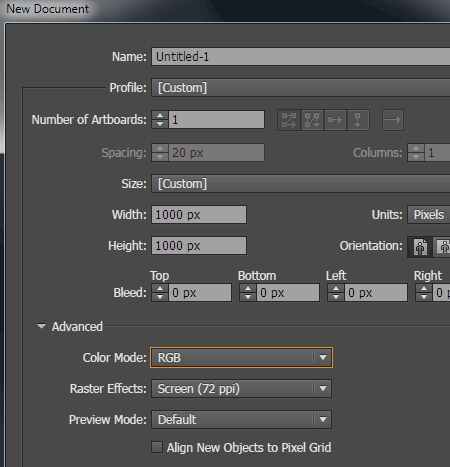
Create a new Illustrator's document (Cmd / Ctrl + N), in the open dialog box, set the required sizes of an artboard, and choose RGB color mode.
Now place a sketch into the current document (File> Place …) and will lock it in the Layers panel.
Step 2
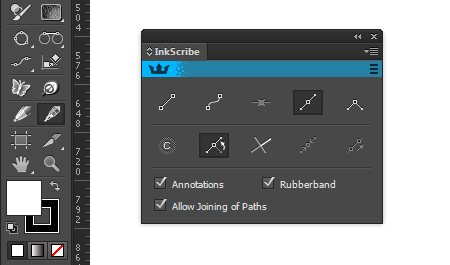
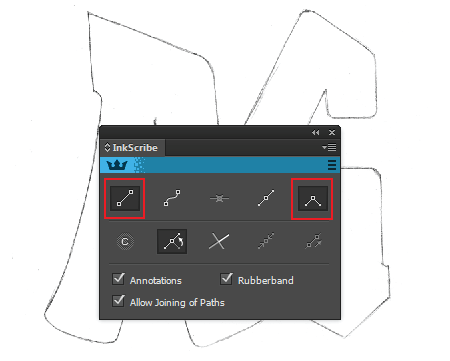
Proceed to the creation of vector logo based on the sketch. For these purposes, you can use the Pen Tool (P), but, in my opinion, it is more convenient and faster to recreate the shape of the letters with the help of the InkScribe Tool (InkScribe plug-in). Let's see how it's done. Click on the InkScribe Tool in the Tools panel and open the tool panel (Window> InkScribe> InkScribe panel).
Click on Draw a straight segment and Corner point buttons in the InkScribe panel.
The shape of the sketch letters is far from perfection, so I created several guides that will help you fix it in the process of drawing.
Step 3
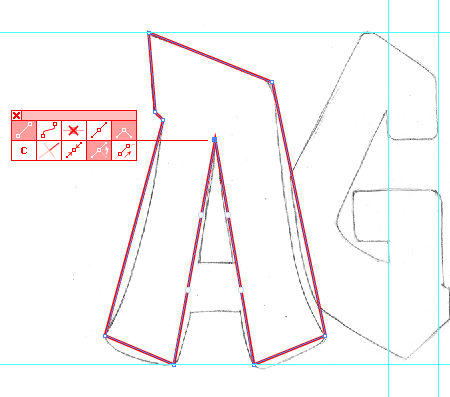
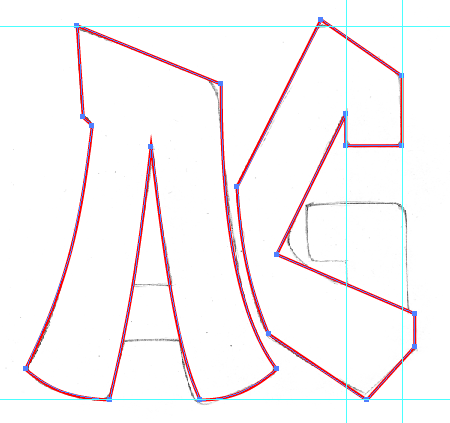
Select the stroke of any color, and disable the color fill in the Tools panel. With the help of the InkScribe Tool create a path consisting of only straight-line segments, based on the sketch of the letter A.
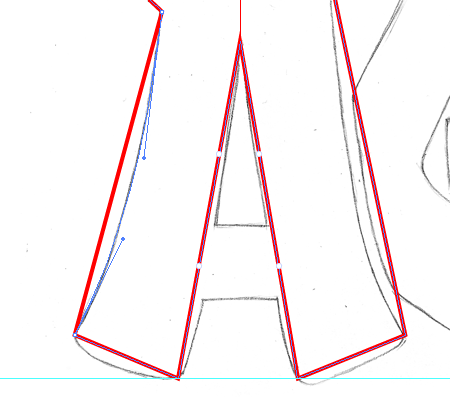
One of the advantages of the InkScribe Tool is that the tool has functions similar to the functions of the Direct Selection Tool. That means that you can edit the created points, segments and handles, without using other tools and shortcuts. Grab one of the straight-line segments and moving its side create a shape required by the sketch.
Work the same way with other segments. This is a very fast and comfortable process.
Similarly, creating a shape of the letter G.
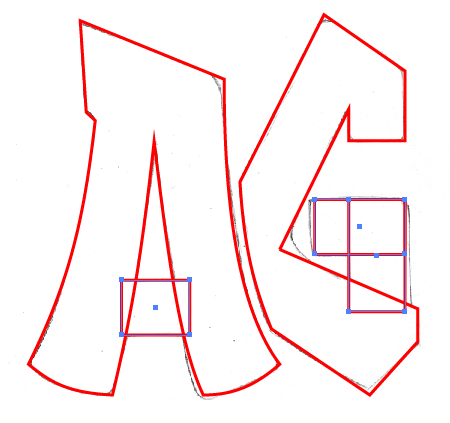
Step 4
Create the remaining elements of the letters with the help of the rectangles.
Select all the paths, then press the Unite button in the Pathfinder panel.
You can read full version of this article on AstuteGraphics.com....
|