|
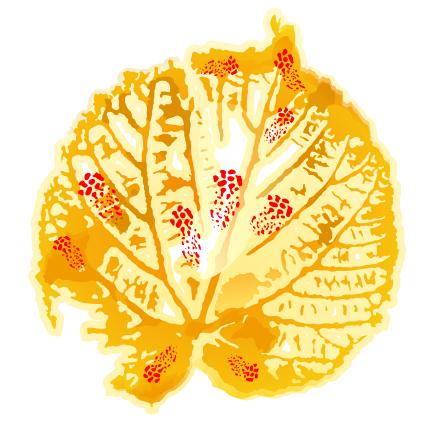
Final Image Preview
In this CorelDraw tutorial I will tell you how to create a watercolor effect in CorelDraw X5.
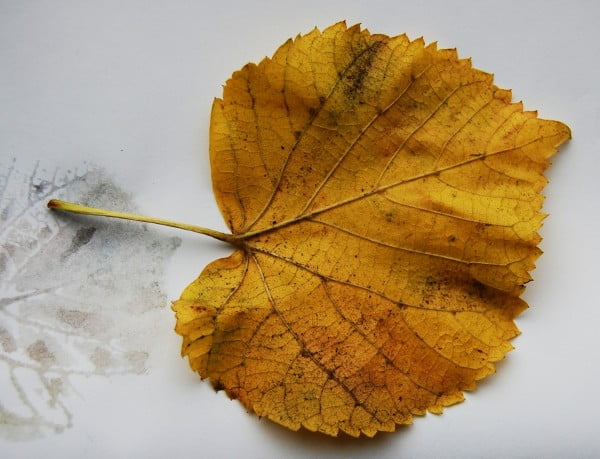
I decided to draw autumn leaves, so the main thing you need to do now is go somewhere outside and pick up a nice leaf:
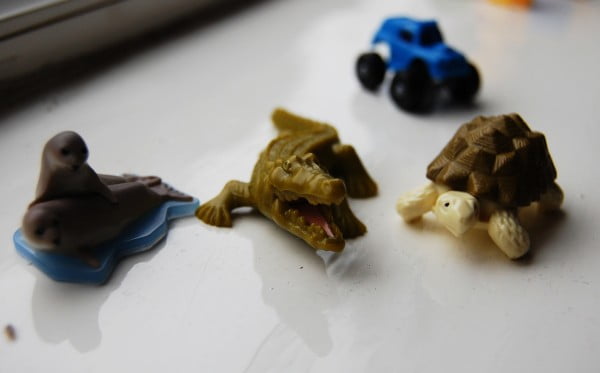
I don’t have watercolours, so all I waited for was some surprise. Even a Kinder Surprise is OK for me!:D
It took quite a time to find what I needed…
And voila!! Here it is — a finger brush with a watercolor ribbon! :)
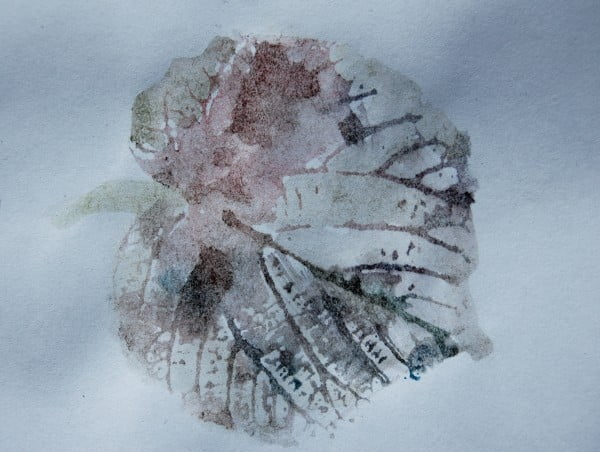
I put it on my finger and started painting the convex side of the leaf.
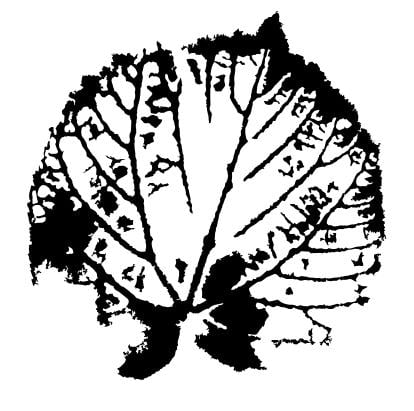
Press the leaf against white paper when it is still wet, so you get something like this:
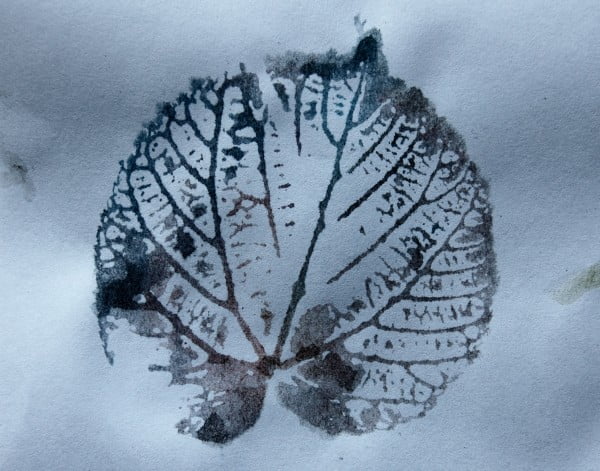
I did a few prints and chose the one I was most satisfied with:
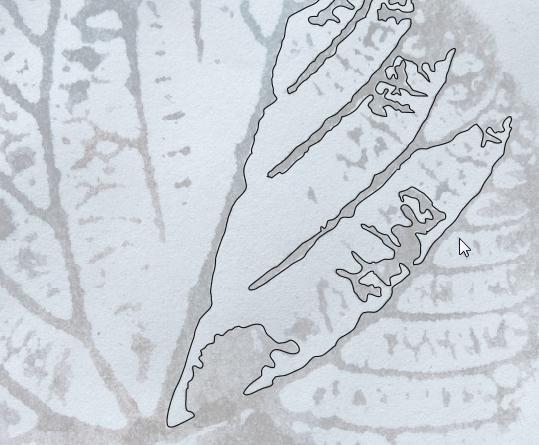
Scan it; open CorelDraw; import; select Freehand Tool and start hand tracing the watercolor lines:
Some you of might think: "*!&”* HAND tracing? There is a 1 button quick trace in CorelDraw”
That’s right, you can also do it, but 1) It will still need a LOT of editing; 2) Traced objects of different colors will have white border gaps between each other; 3)Traced objects of the same color will have really bad lines; 4) Depending on the quality of your scan, you will either have too many dark objects where unneeded, or too little where needed; 5) It might have hundreds of objects which are difficult to find (as they are of the same color) and edit. Besides, I feel it’s kind of cheating:) It will look pretty much like:
Or this:
So, it is up to you, but I hand traced:)
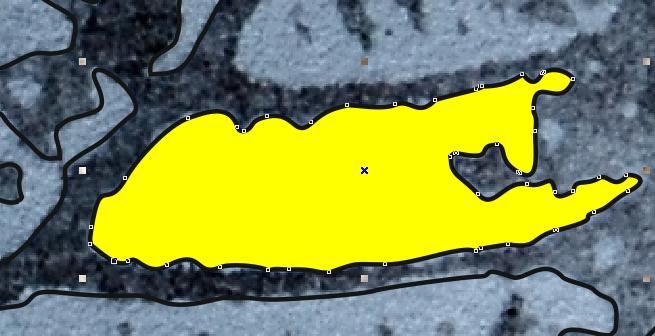
When hand tracing you don’t want to have open paths. So to check, just simply either select an automatic coloring when drawing with Freehand Tool, or color the object when you finish it. Objects with open paths can't be colored in CorelDraw, that is why if your object isn't filled with any color after coloring you have to look for Unclosed Nodes and close them, or select Shape Tool, right click on the object => Auto-Close:
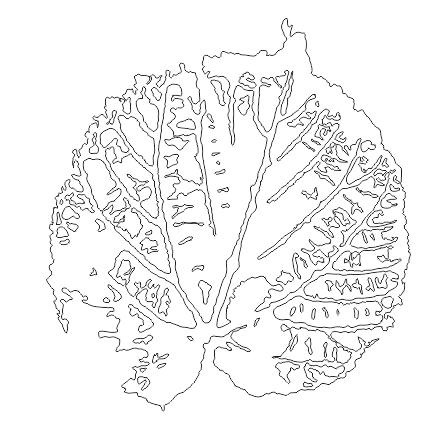
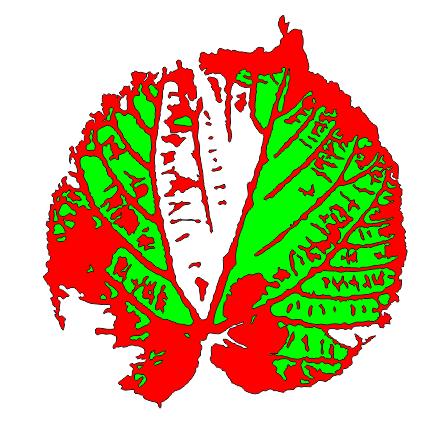
Here is what I had after tracing the leaf:
Color the outer shape red, and the shapes that have to be a background green:
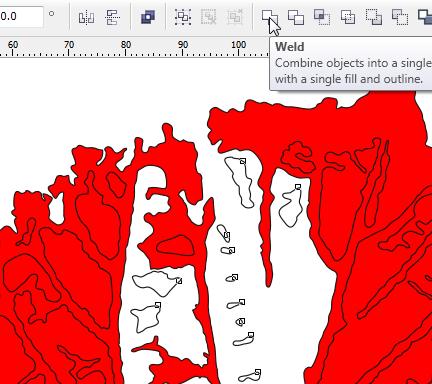
Select all red shaped and Weld them. Do the same with green objects:
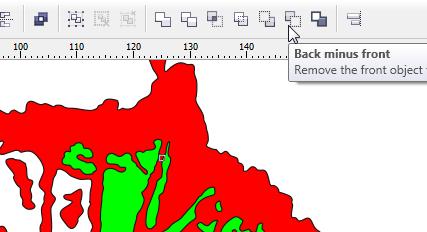
Select Green and Red objects and apply Back Minus Front:
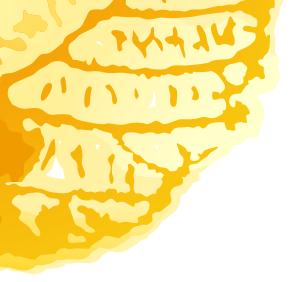
Now you will get something like this:
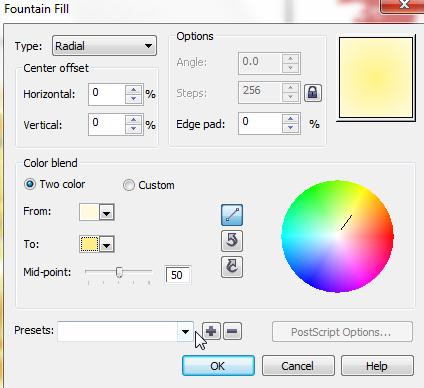
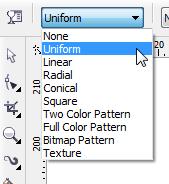
Color the leaf solid orange, or apply radial gradient, dark orange to lighter orange.
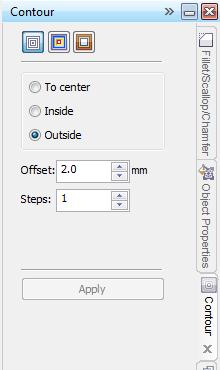
Now, go to Contour and apply Outside contour:
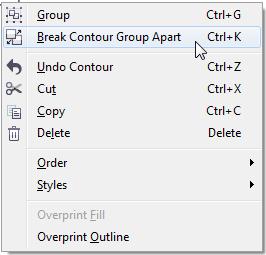
Right click on the contour => Break Contour Group Apart:
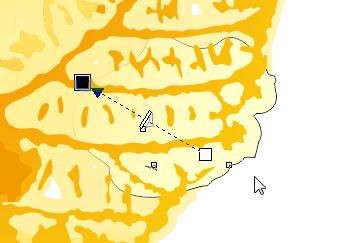
Select contour and apply radial gradient Pale Yellow to White or very very light yellow:
Here is what you will have:
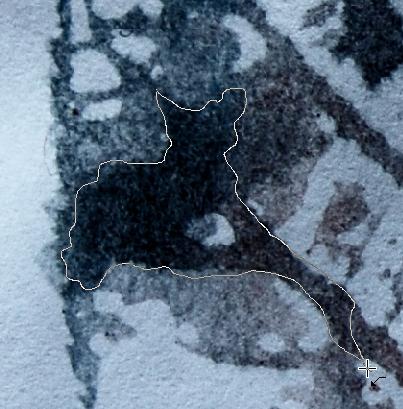
Now go back to the imported scan of the leaf and trace the darkest areas:
Group all of them and place on top of your leaf:
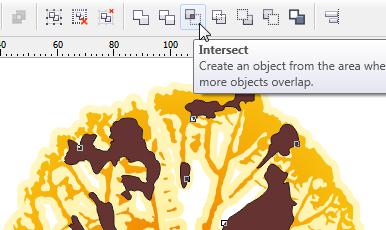
Select them together with the orange part of the leaf and Intersect:
Now, colour the intersected area dark orange, and apply transparancy:
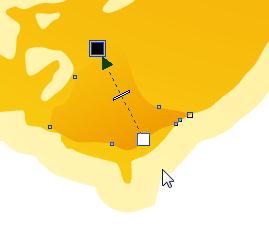
You might also want to play more with the leaf edges. Draw some random shapes, and intersect them with the orange leaf:
Move a little bit an intersected area and apply transparency. The more transparent object you have, the better effect your leaf will have.
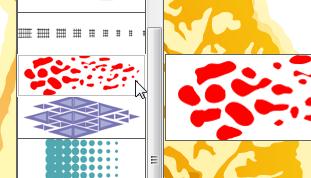
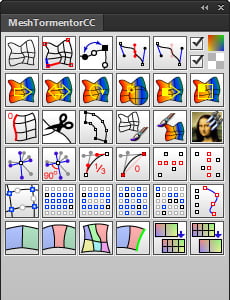
It might also be nice to add some brush splashes and dots. To do so, select Artistic Media Tool:
Now you can either create your own brush or select one within artistic media brushes:
Draw a few strokes like shown below:
Color some of them white or light yellow; and others dark orange; and apply Uniform Transparency:
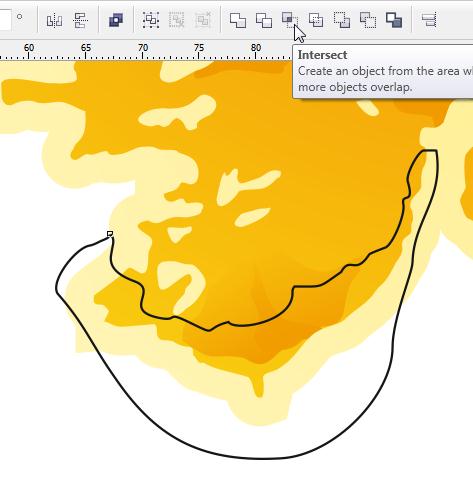
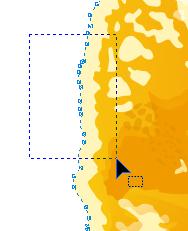
Now the light yellow shape that goes for a wet background is too nicely repeating the shape of the leaf, and you might want it to be more chaotic. Pick up Shape Too, select some random nodes, and move them the direction you feel is better. You can also use Up, Down, Left, Right arrows on your keyboard:
Draw some random shape, intersect them with the light yellow background, color the intersected area white and apply transparency like shown below:
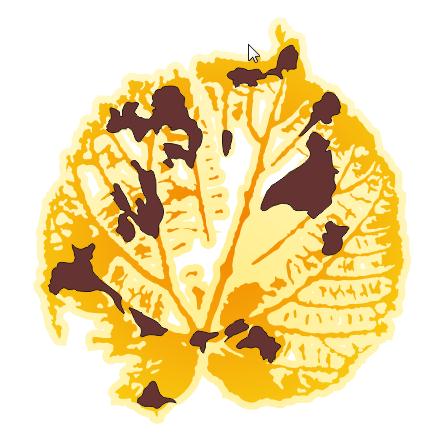
It will make "the wet background” look more natural with different shades of colors:
This is basically it:) Hope you found it useful:)
Anastasiia Kucherenko on Web:
shutterstock.com
istockphoto.com
zazzle.com
Follow us if you want to be the first to know about the latest Adobe Illustrator tutorials and articles. Vectorboom team works for you!
|