|
Final Image Preview
In this tutorial, we’ll find out how to create a realistic vector leaf which can be always used in your future projects. This leaf is essentially universal, i.e. you can always change its color and form. It might seem to you that it’s created with the help of the Gradient Mesh. But nope, it’s not the case. I used plain gradient fills. Would you like to learn how to create such leaves? Then put all your businesses aside and let’s draw!
Step 1
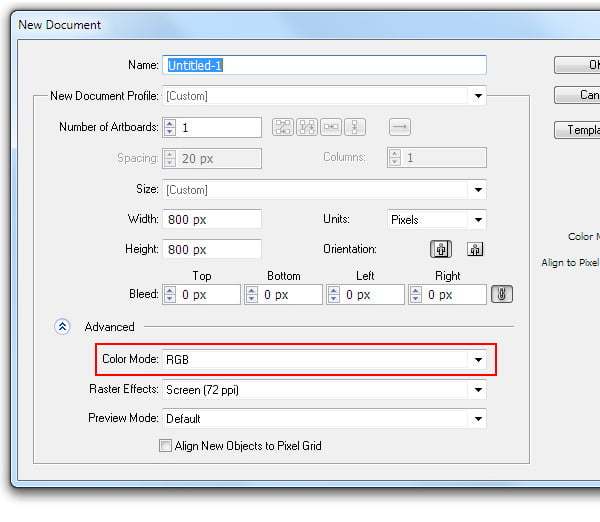
To begin with, create a new document (File > New…). Dimensions of our artboard are not significant, since we’ll create one vector element which you can use in different artworks in the future. Click on button Advanced and set the RGB color mode, if of course, it is not installed by default.
Step 1
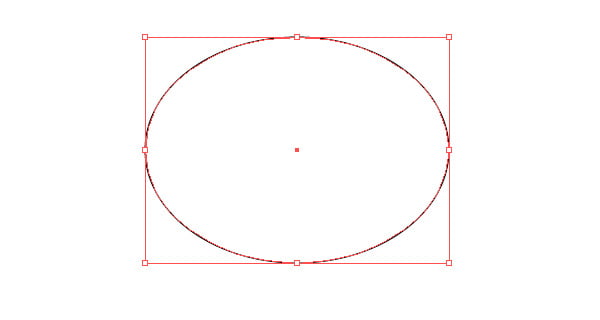
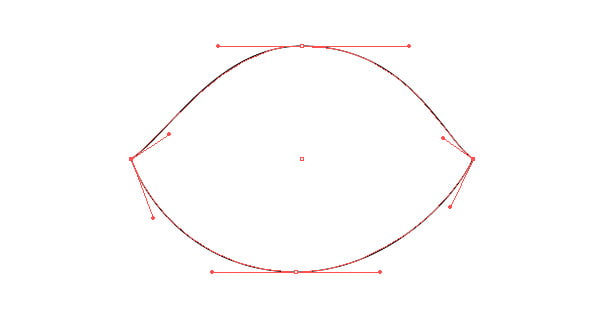
Take the Ellipse Tool (L) and create an ellipse of any size, which looks similar to the one you see on the figure below.
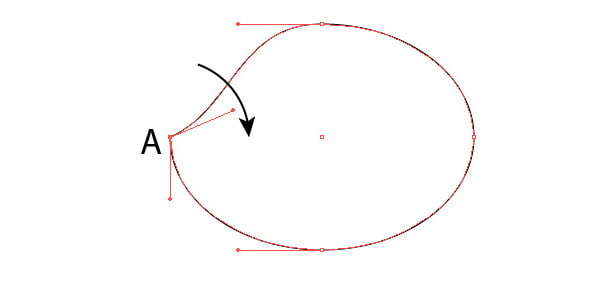
The colors of the fill and the stroke are unrestricted, since first we create necessary forms, which will be colored later. Take the Direct Selection Tool (A) and select point A. Now, while holding down the Option/Alt key, turn one of the handles of point A.
These actions will lead to the transformation of smooth point into a corner one.
Step 3
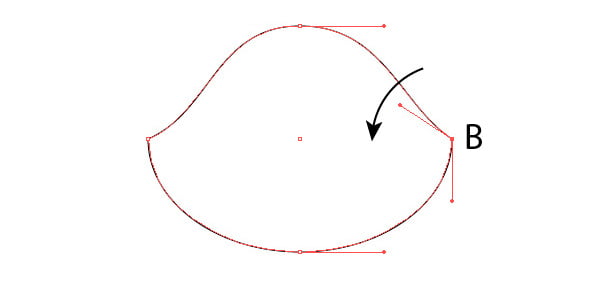
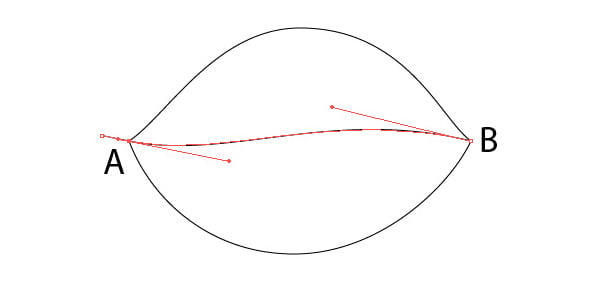
Perform the same actions with point B of our object.
And now while manipulating with the location of the points and its handles, give the object the form of a leaf as it is indicated on the figure below. All the actions are performed with the help of the Direct Selection Tool (A).
Step 4
Take the Pen Tool (P) and create a curved segment that passes though the points A and B.
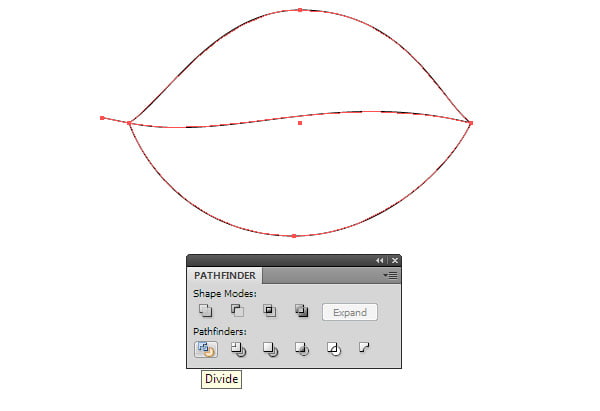
Select all the created objects, then click on Divide in the Pathfinder panel.
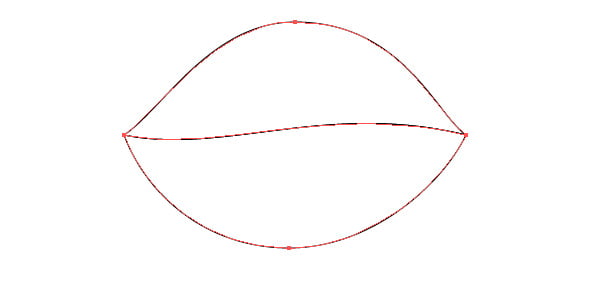
These actions will divide the leaf’s form into two parts.
And now we can start coloring its halves. For our convenience, we ungroup them (Shift + Command/Ctrl + G).
Step 5
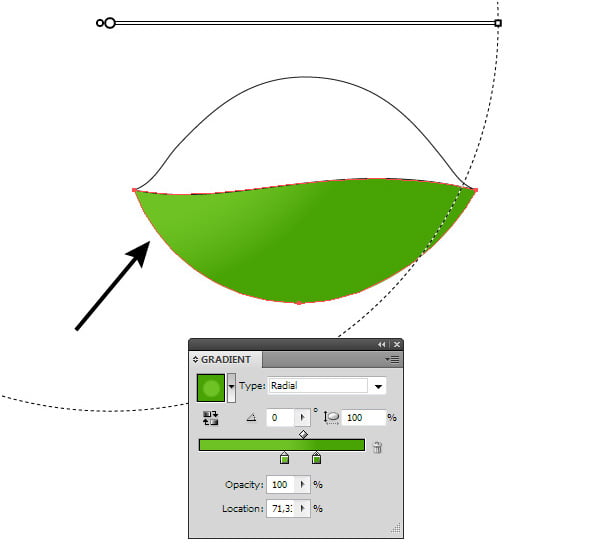
Typically, the Gradient Mesh is used to create complex color objects, but a lot of users and even advanced designers try to avoid the usage of this function because of usage complexity and management. I perfectly understand the problem they face–that’s why I suggest another method. And namely, I suggest to use the Appearance panel to create light-and-shade in the halves of our leaf. The work with color is always very challenging to describe since it is a long journey of trials and errors. Therefore, I give you exact designations of colors, and what effect I’m trying to reach. Fill the lower half of the leaf with radial gradient from green (R = 110, G = 194, B = 36) to green (R = 72, G = 163 B = 4). Now using the Gradient Tool (G), shift the center of the radial gradient by clicking and dragging off the center. We need to place the center of the radial gradient in such a way that the left corner of the leaf was lighter in color.
You can read full version of this tutorial on vectips.com
|