|
In this Illustrator tutorial we will learn how to create the trash bin icon using such techniques, as 3D modeling, gradient mesh, blend tool and blending modes, as well as tracing raster images. This vector tutorial is made by Iaroslav Lazunov and a professional Ukrainian designer Sergii Korolko.
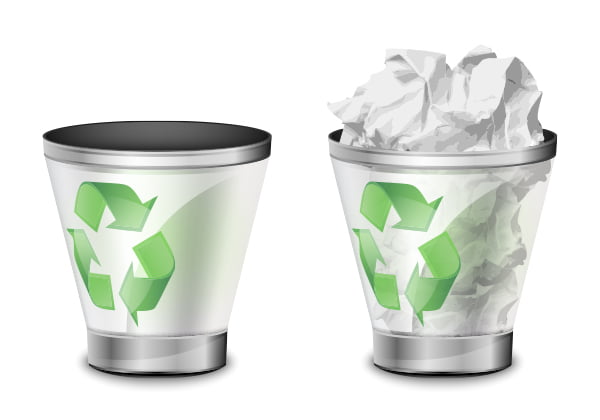
Final Image Preview
Tutorial Details - Program: Adobe Illustrator
- Version:15.0.15
- Difficulty: Intermediate
- Estimated Completion Time: 3 hours
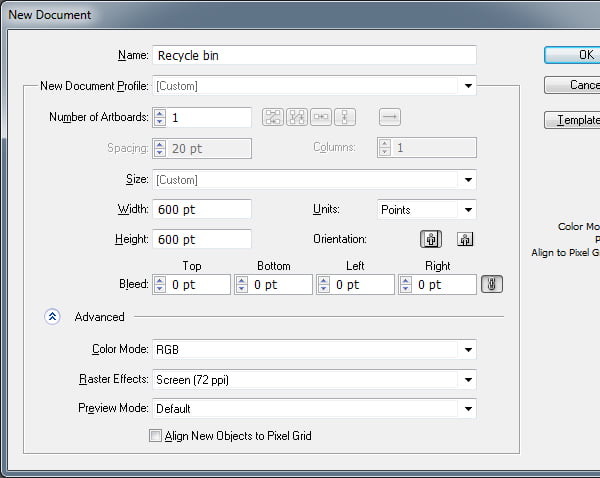
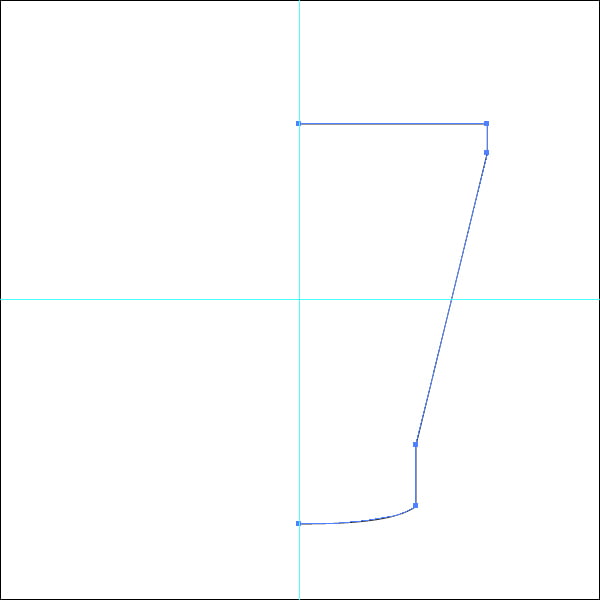
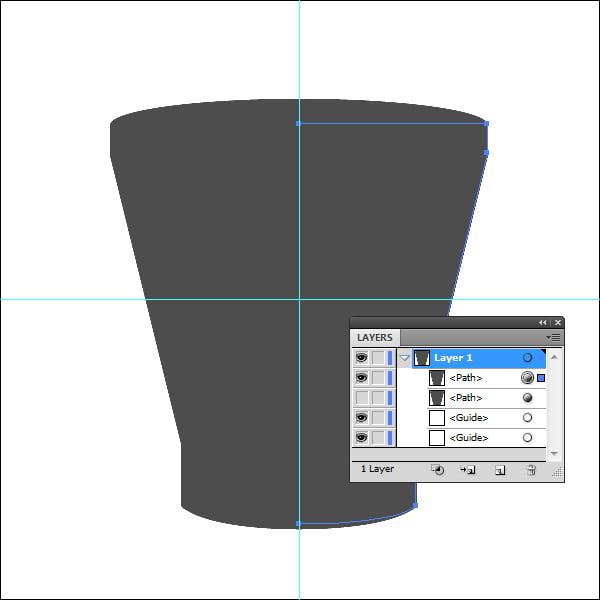
Step 1Open Adobe Illustrator and create a new document of 600 x 600 pt size, RGB color mode. The Align New Objects to Pixel Grid should be turned off. With the Pen Tool (P) create a form which is shown below; the form should be without filling with the thickness of the stroke of 1pt. The two leftmost points should be in one vertical . Create the vertical guide and turn the Smart Guides mode on (Command + U) for its more precise positioning.
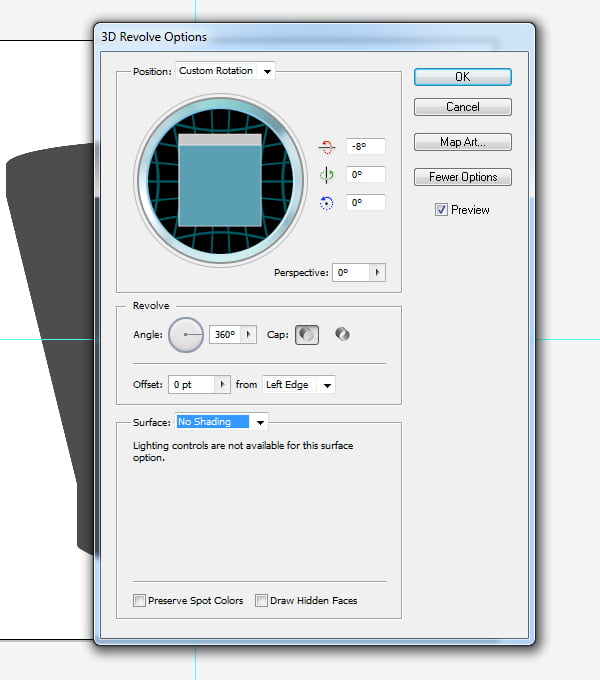
Step 2Keep the path, which was created in the previous step, selected and change the stroke’s color to grey, then go to the Effect > 3D > Revolve and set the following parameters.
Step 3Copy the created object and paste it to the front (Command + C; Command + F). Turn off the visibility of the lower object with the Layers panel, thereby eliminating the possibility of its accidental movement. We will need this object later.
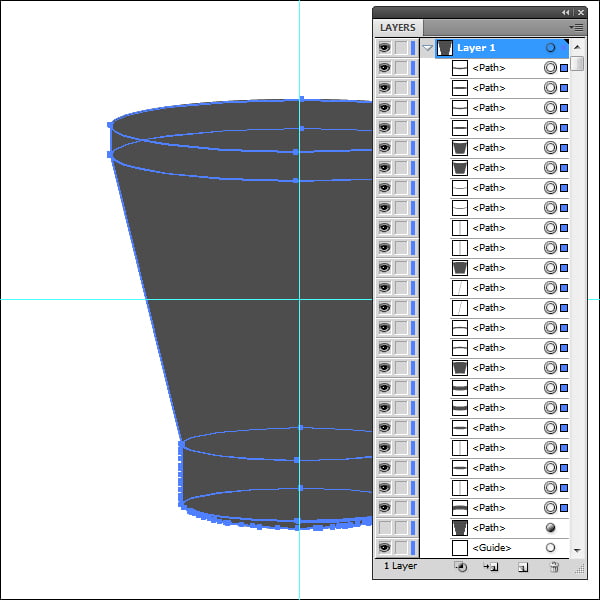
Step 4Now go to the Object > Expand Appearance. After that action, our object transforms into a group, which consists of visible objects, with which we will continue working, and hidden, unnecessary objects. Ungroup the group three times (Command + Option + G). Now the layers panel looks like this. Our task now is to separate objects for further work; to do so take the Selection Tool (V), hold down the Shift key and click on the upper objects.
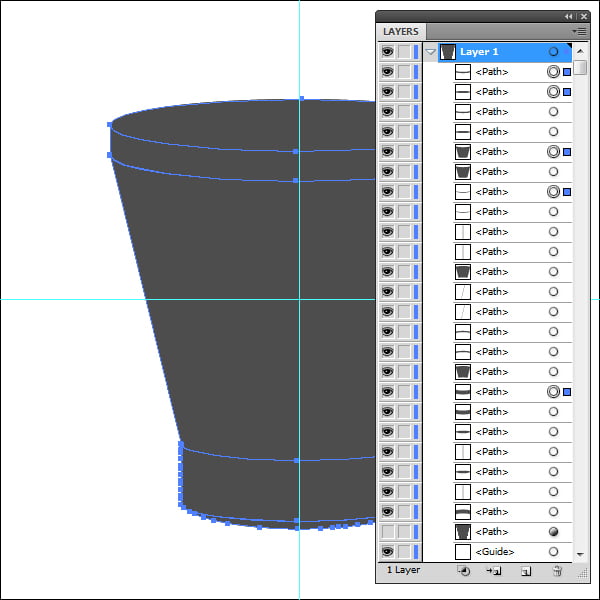
Go to the Select > Inverse and press the Delete. As the result, we’ve got five objects corresponding to different parts of our trash bin. To see it better, color them differently.
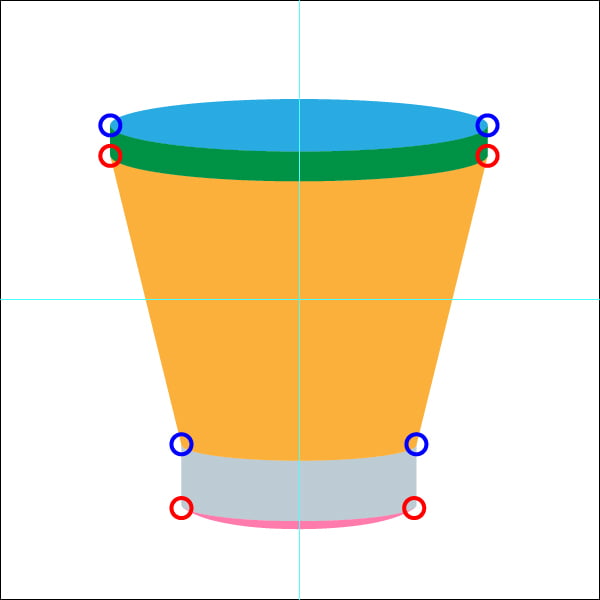
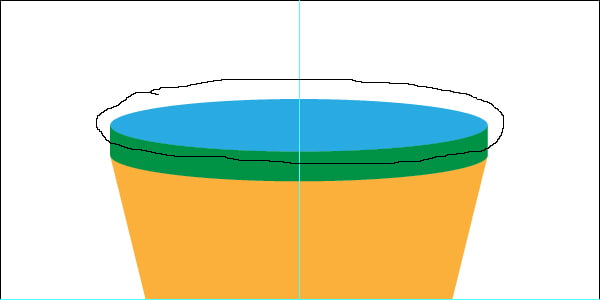
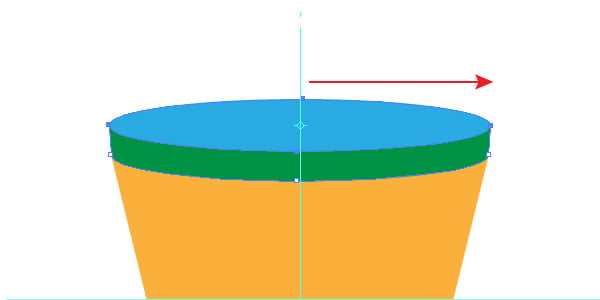
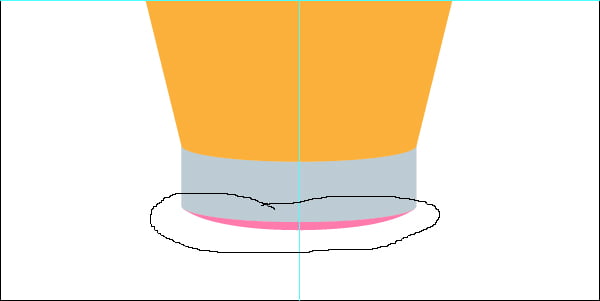
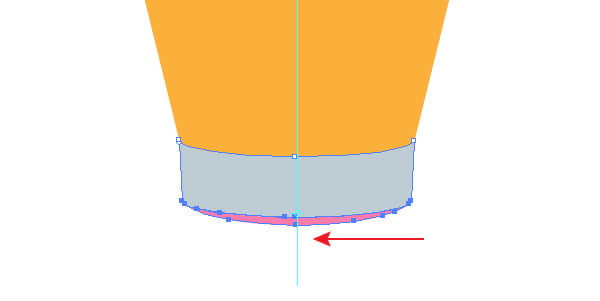
Step 5Before starting working on the details of the icon, we should adjust its geometry a little bit. As we can see, the areas highlighted in red look are wider than blue areas. I think it spoils the visual effect. Take the Lasso Tool (Q) and select the part of the figure that will be edited. Then, take the Scale Tool (S), click on the blank area and without releasing the mouse button gently drag it to the right. We do the same work with the bottom of the basket, but now, instead of stretching the selected area horizontally, we reduce it, i.e. use the Scale Tool (S), hold the mouse button and move it towards the vertical axis. You can read full version of this Illustrator tutorial on VectorTuts+
Follow us if you want to be the first to know about the latest Adobe Illustrator tutorials and articles. Vectorboom team works for you!
|