|
It is well known that the creation of isometric images in Adobe Illustrator is a quite time-consuming task that requires some knowledge. Using the techniques of today’s tutorial we are simplifying the process of transforming, coloring (Phantasm) and positioning (ColliderScribe) objects. This knowledge has very much accelerated my workflow and now I am sharing this with you.
Step 1
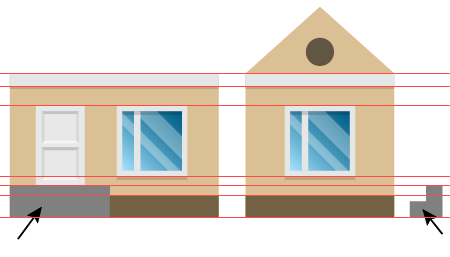
Create the right and left flat projection of the building. I will not go into details on the creation of the elements of these projections, as they are simple geometric shapes filled with solid colors. Only the window’s glass is filled with a linear gradient. Gray objects marked with arrows in the picture below are the projections of the steps. They will be needed for correct positioning further on. When building projections you will need to set same sizes for the same objects that are in different planes, as well as to position them correctly. This rule is better demonstrated by the horizontal guides that connect the left and right side of the building.
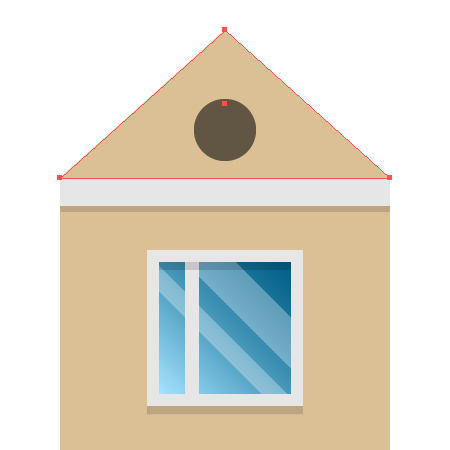
Right projection of the attic is a separate object of triangular shape. This will help us in creating a roof.
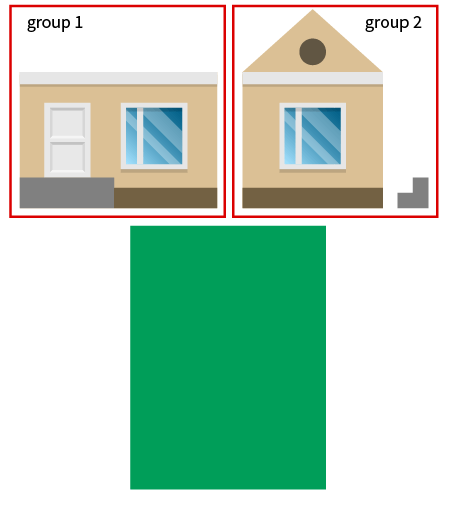
Area of the lot (green rectangle) on which the building will be located will be in the third bottom projection. Elements corresponding to one projection should be grouped up. This does not apply to the green rectangle, as it is represented by a single object.
Step 2
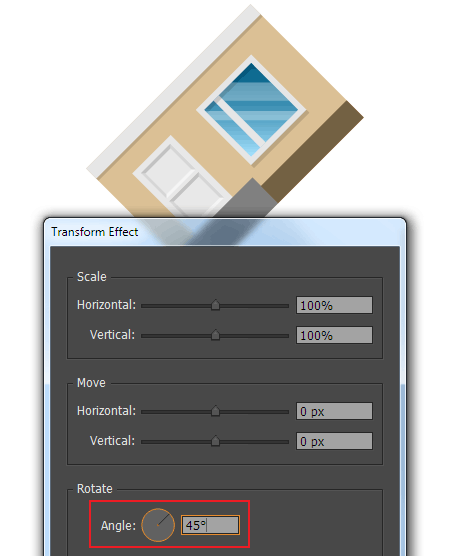
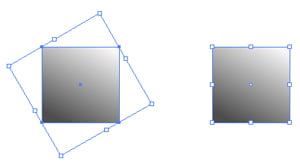
Proceed to transforming of flat projections — that means to their placement in isometric planes. Select the group that corresponds to the left projection of the building, then go to Object > Transform & Distort > Transform … and set the rotation angle of 45 degrees.
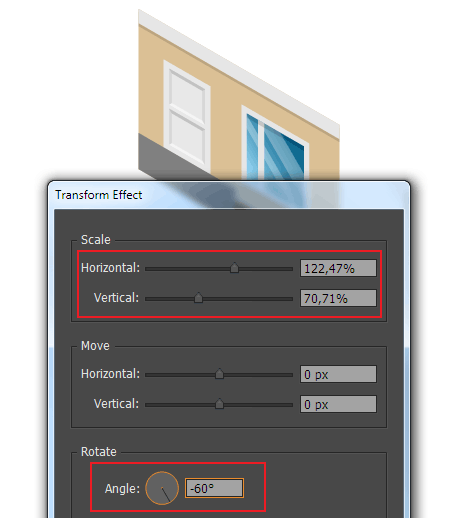
Apply Transform one more time (Object > Transform & Distort > Transform …) this time set the Horizontal Scale = 122.47%, Vertical Scale = 70.71% and Rotation Angle = -60 degrees.
Step 3
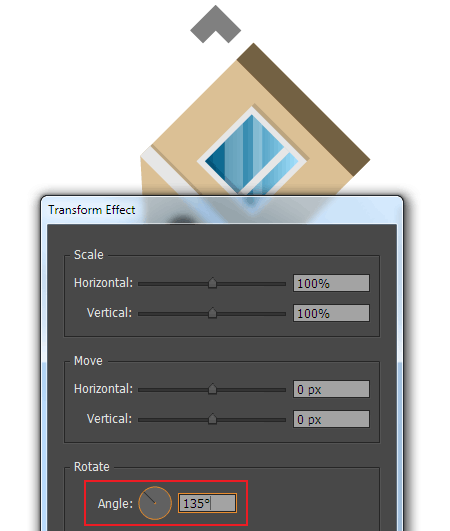
Select the group that corresponds to the right projection, then go Object > Transform & Distort > Transform … and set the rotation angle of 135 degrees.
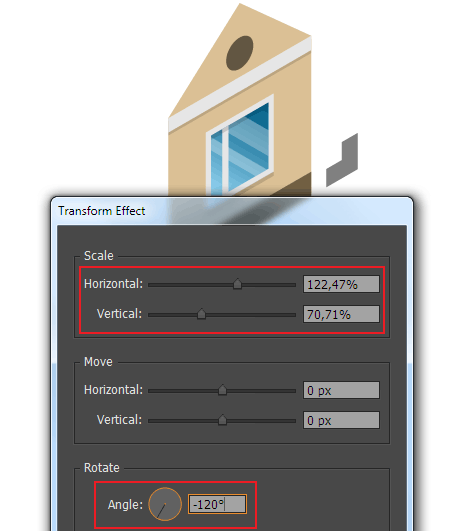
Apply Transform again (Object > Transform & Distort > Transform …) this time set the Horizontal Scale = 122.47%, Vertical Scale = 70.71%, and Rotation Angle = -120 degrees.
You can read full version of this tutorial on AstuteGraphics.com....
|