|
Final Image Preview
Tutorial Details
-
- Program: Adobe Illustrator CS-CS6
-
- Difficulty:Advanced
-
- Estimated Completion Time:3h +
This Adobe Illustrator tutorial shall provide the examples of the wood and fabric textures creation technique. Also we shall learn how to render the light play on the objects with the help of Opacity Mask, Bland Tool and Art Brushes. Studying this Adobe Illustrator tutorial step-by-step, you shall become the witnesses and get to know all the secrets of the professional design artworks creation.
Step 1
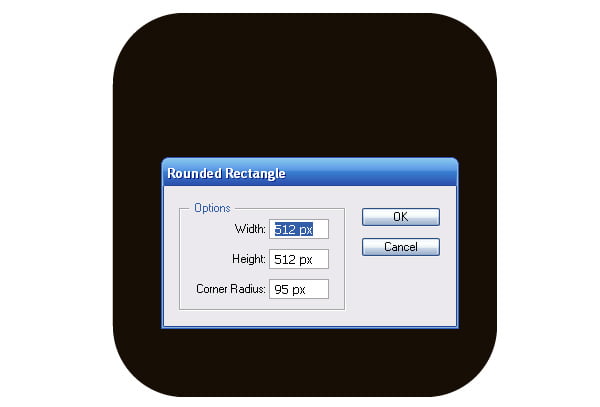
The icons for iOS-applications have typical size. Despite we are going to use the vector editor, the icon to be made shall have the required preset size. Understanding of the above enables us to create professional graphic, avoid creation of the odd details, which shall be not ever visible in real scale and moreover, could affect its general view. Today, we are going to make an icon having the size of 512 x 512 px. This size is used for displaying in iTunes, including the CoverFlow and App Store. The retro style is considered to be one of the fancy directions of the modern design. Therefore, I’ve decided to make Radio App Icon as the retro-like radio set of the middle of the last century. Use the Rounded Rectangle Tool to shape the icon form having set required size and corners’ rounding radius.
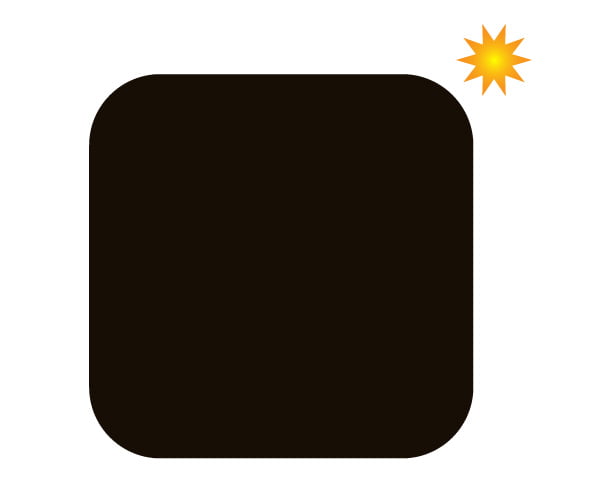
Fill the form with dark brown color.
Step 2
As the objects shall be finally colored in the course of the icon creation process, it is required to determine in advance the light source positions. In our case, the light source is on the right at the top. The gradient fill colors, dropping shadows direction, glares position and intensity are dependable on its position.
Application of some light sources in similar images shall be avoided. This is because our brain perceives the real world and graphics in different way; therefore, should there be some light sources applied, your image might look unnaturally and even lose its 3-D features.
Step 3
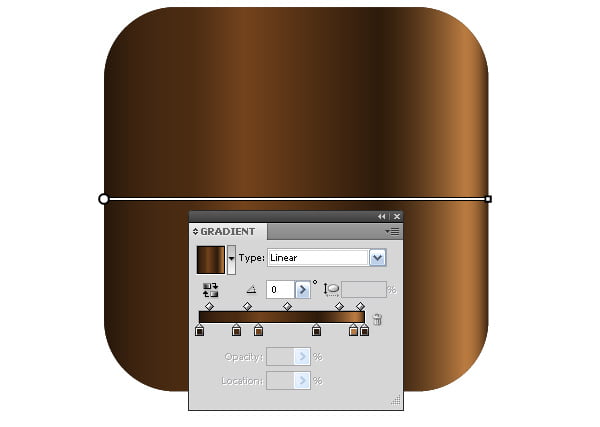
Make a copy of rounded rectangle and paste it directly on the top of the previous one (Cmd / Ctrl +C; Cmd / Ctrl +F). Fill the copy with the linear gradient consisting of several brown color light and dark tints.
As you can see, lighter sliders of gradient are located to the right of this form, according to the light source position.
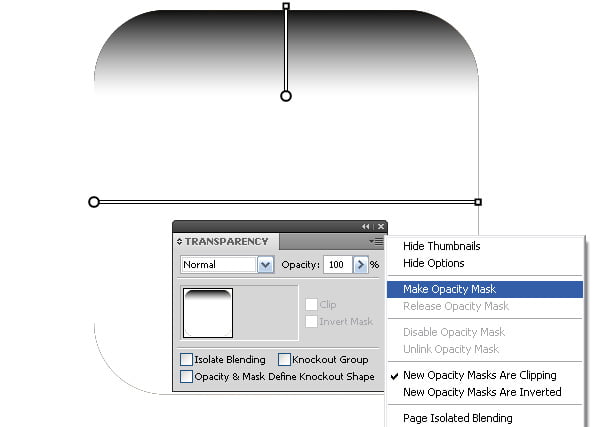
Step 4
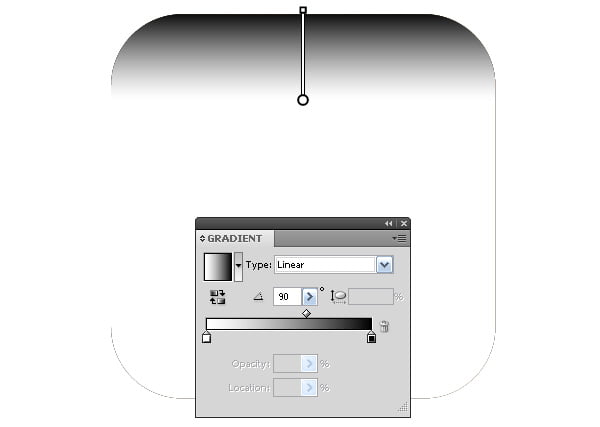
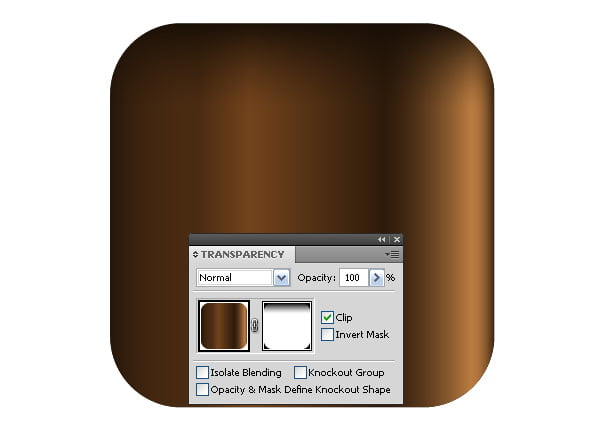
Make a copy of the last made rounded rectangle and paste it directly on the top of the previous one. Fill it with black & white gradient, as it is shown in figure below.
Select two top rectangles and create Opacity Mask having chosen Make Opacity Mask in Transparency panel menu.
Therefore, we have achieved uneven light distribution within the top part of the image.
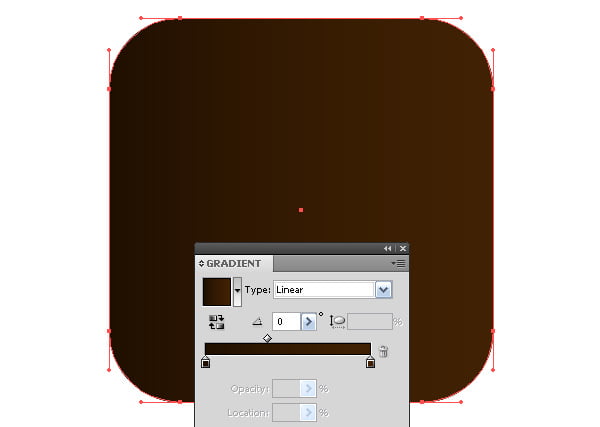
Step 5
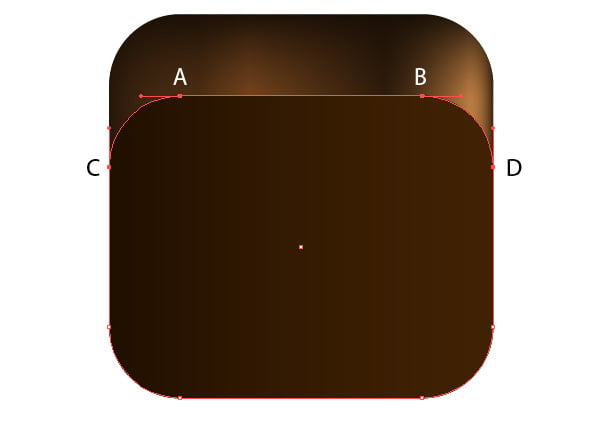
Make a copy of rectangle initially created during the first step and paste it on the top. Place the new form on the top of all created objects and fill it with dark brown to brown linear gradient.
Select points A, B, C and D with the help of Direct Selection Tool (A) and move it vertically down by holding down the Shift key.
You can read full version this vector tutorial on VectorTuts+
Follow us if you want to be the first to know about the latest Adobe Illustrator tutorials and articles. Vectorboom team works for you!
|