|
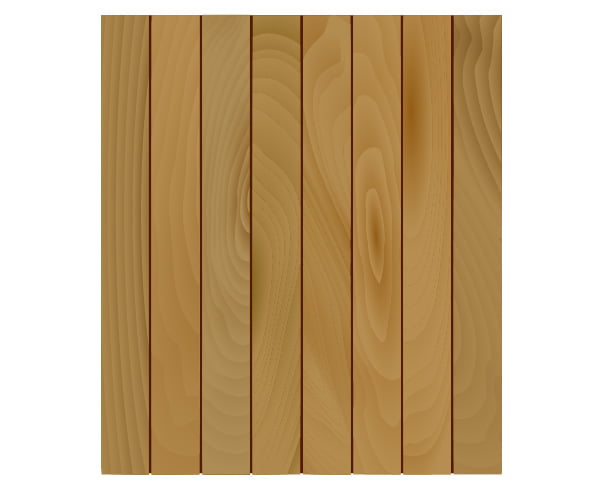
Final Image Preview
In this Adobe Illustrator tutorial we will teach you how to create a vector wooden texture using simple techniques and standard tools of Adobe Illustrator. I’m sure, after you’ve learned this tutorial you would spend no more than 10 minutes on creating a similar texture. Find out more at the jump!
Tutorial Details
- Program: Adobe IllustratorCS3 -CS5;
- Difficulty: beginner;
- Estimated Completion Time: 30 min;
Step 1
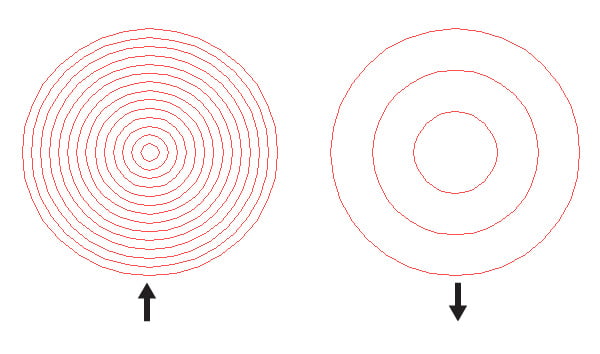
Take the Polar Grid Tool and click on the blank area of current document. This action opens a dialog box with the tool settings. Set the parameters indicated on the figure below and click OK.
You can also edit the grid’s parameters in the process of its creation. To increase or reduce the number of the Concentric Diameters use the "arrow up” and the "arrow down” keys.
Step 2
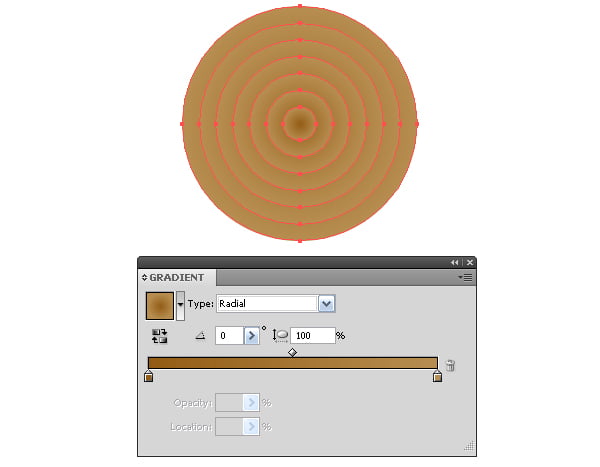
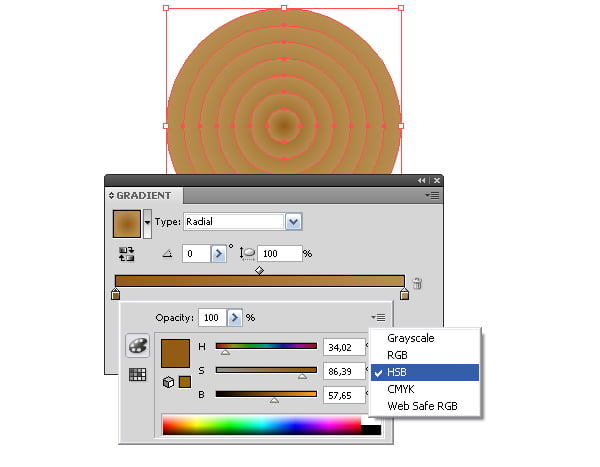
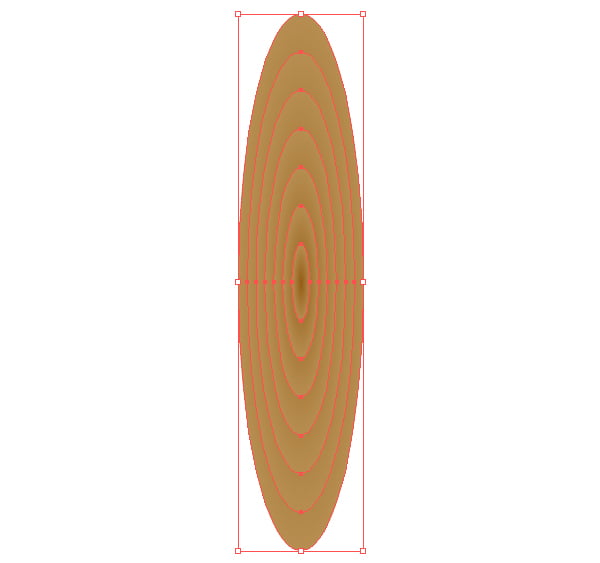
Fill the resulting group of circles with radial gradient which consists of two shades of brown.
I use the HSB color mode to control the color.
Step 3
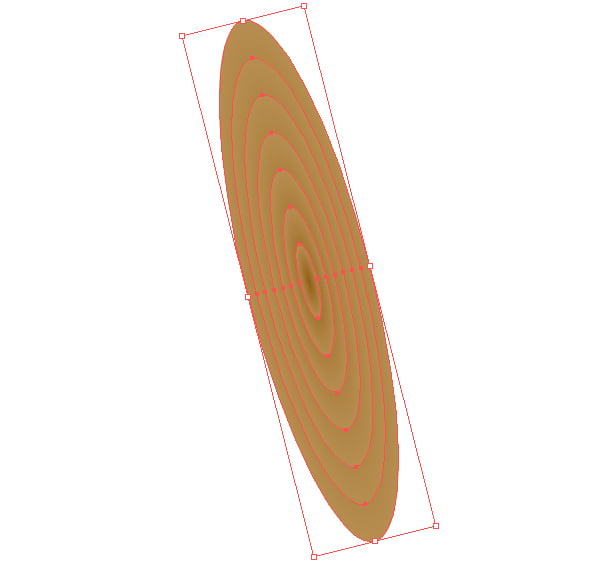
Reduce the width of the group of circles while transforming them into ellipses with the Direct Selection Tool (V).
Now turn them into some arbitrary angle.
Step 4
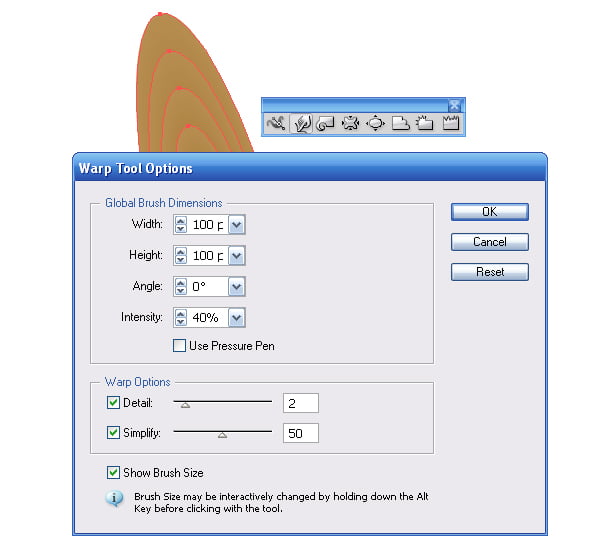
Double-click on the Warp Tool (Shift + R) on the Tool Bar in order to get a dialog box with its settings. Set the parameters indicated on the figure below.
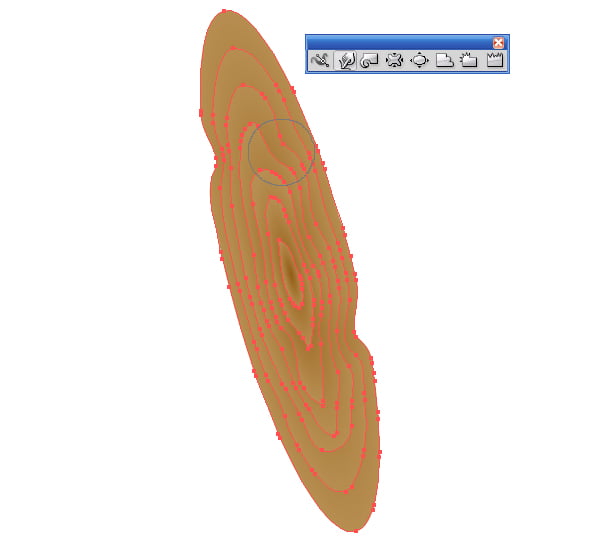
Now deform the ellipses to make them look like the wood fibers.
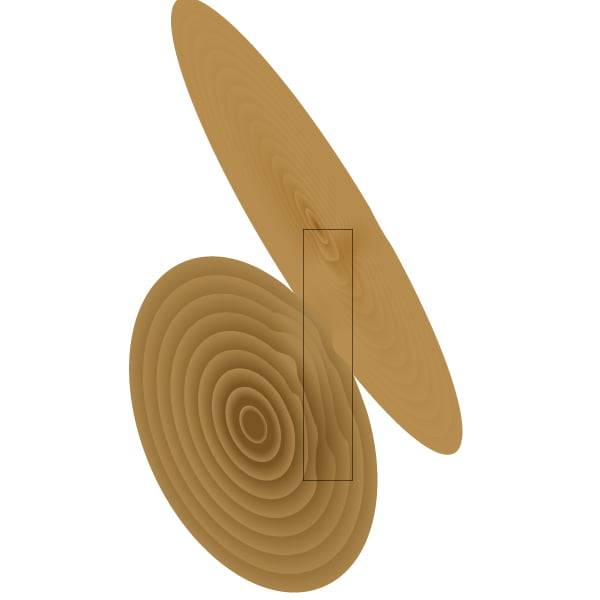
Step 5
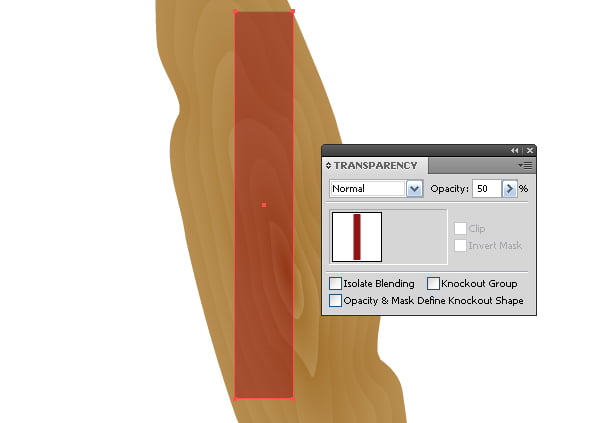
With the Rectangle Tool (M) create a rectangle which limits our texture. You can reduce rectangle’s opacity. This will help selecting its location.
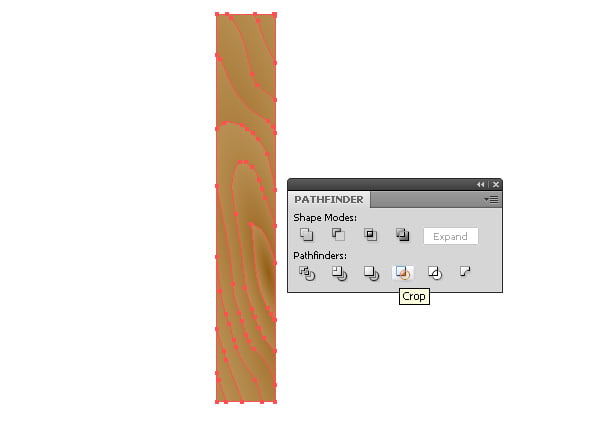
Select all the created objects, click on Crop in the Pathfinder panel.
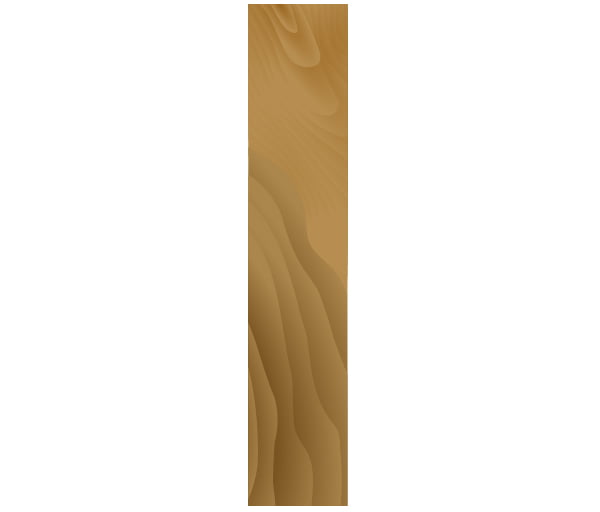
In such a way we’ve got a wooden board.
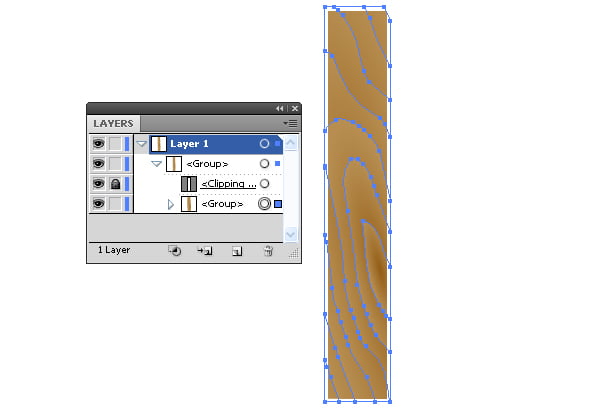
Step 6
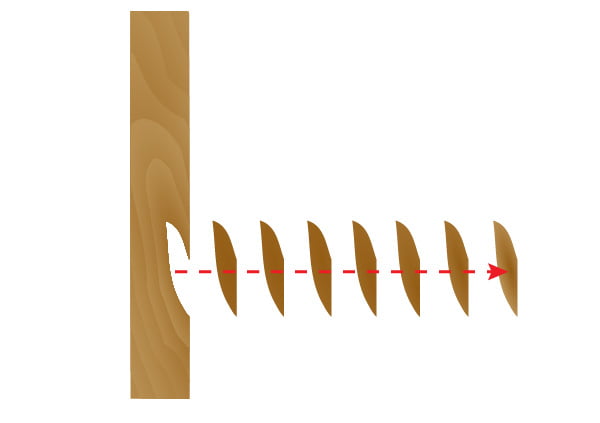
The usage of the Pathfinder panel creates extra set of objects.
This extra information will certainly increase the size of your file. If you create such a texture which consists of a lot of objects then you should use the other technique. Let’s get back to our previous step. Select a rectangle and the texture then go to the Object > Clipping Mask > Make or use the Cmd / Ctrl + 7 shortcuts.
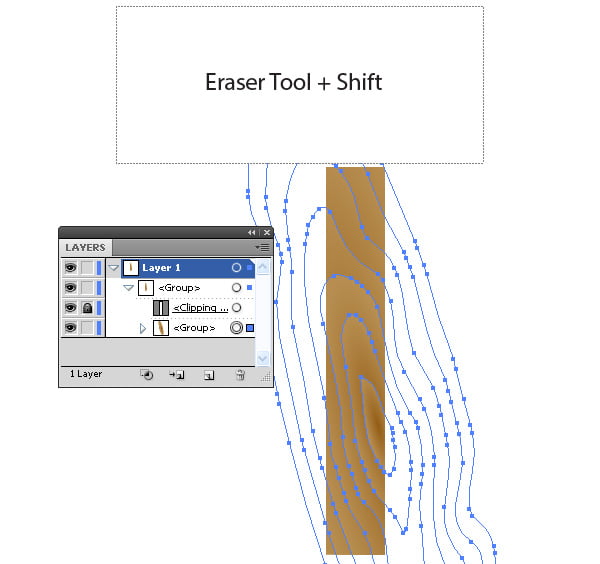
Lock the sublayer with the Clipping path then take the Erase Tool (Shift + E) and holding the Opt / Alt key delete the invisible parts of our texture.
So, in such a way we’ve got a minimum number of points and objects.
Step 7
You can combine several groups of ellipses, adjust colors of the radial gradient and the parameters of the Warp Tool to get wider variety of textures.
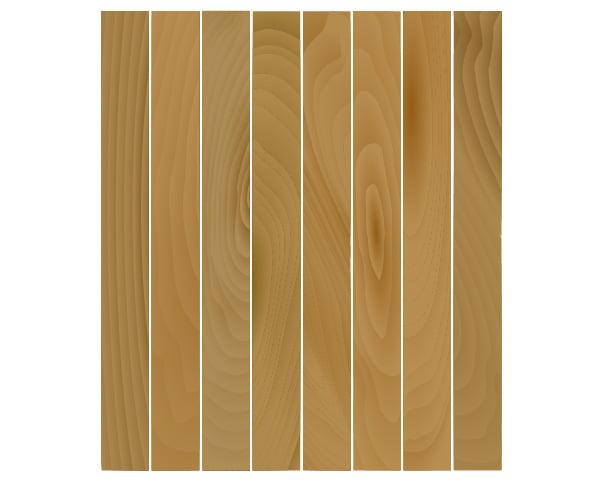
Step 8
I’ve created eight boards using this technique.
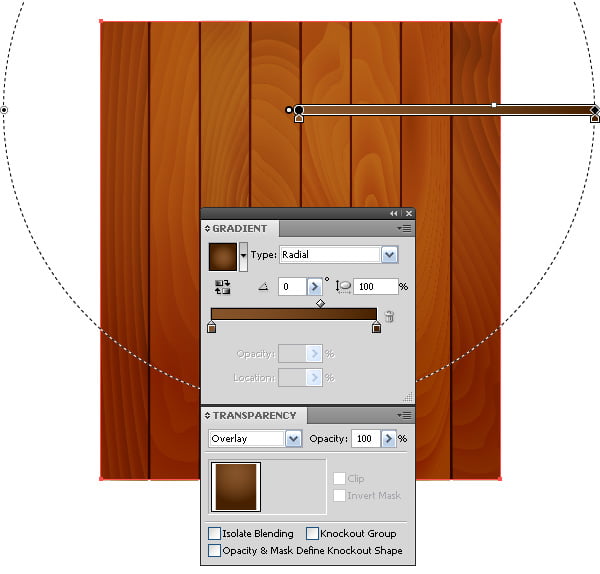
Now let’s create a rectangle with dark-brown fill. Place this rectangle below all the other objects in order to fill the space between the boards.
Create one more rectangle and place it above all the other objects. Fill it with the radiant gradient which consists of two shades of brown. Apply the Overlay blending mode to it.
In this way we can change the color and light of our wooden texture.
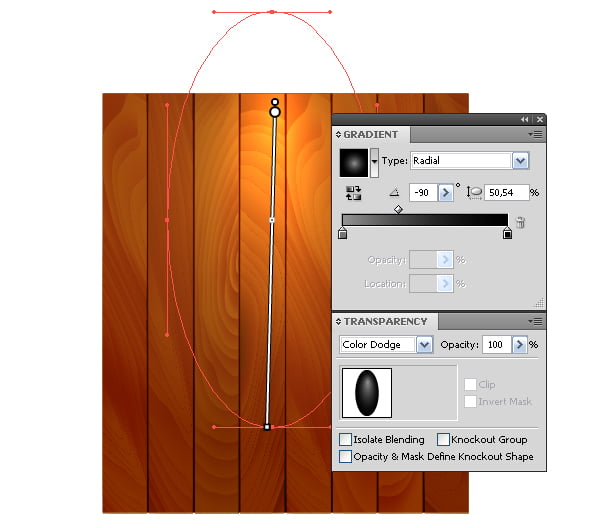
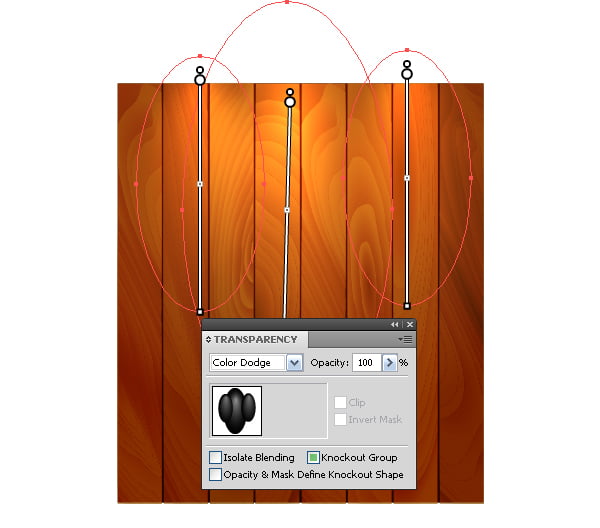
Step 9
To create a brighter light create an ellipsis which is filled with elliptical gradient from grey to black. Apply the Dodge blending mode to it.
Conclusion
I hope the described here techniques will come in handy to you. You can apply this knowledge to create illustrations, icons or web-interfaces. Follow us if you want to be the first to know about the latest tutorials and articles.
Follow us if you want to be the first to know about the latest Adobe Illustrator tutorials and articles. Vectorboom team works for you!
|