In this tutorial we will learn how to create seamless vector leather texture. Photoshop and Inkscape, which can create high-quality textures with optimum number of colors and points, will help us in this work. Unfortunately, Adobe Illustrator is not well suited for this purpose. We will also consider the question of optimizing the final vector texture in Adobe Illustrator.
This tracing technique with the help of Inkscape was shared with us by Sergii Korolko. Thank you, Sergii!
Illustrator Tutorial Details
Program: Photoshop, Inkscape and Adobe Illustrator CS4 - CS6;
Difficulty:beginner;
Estimated Completion Time: 45 minutes;
Creation of Seamless Leather Texture in Photoshop
Step 1
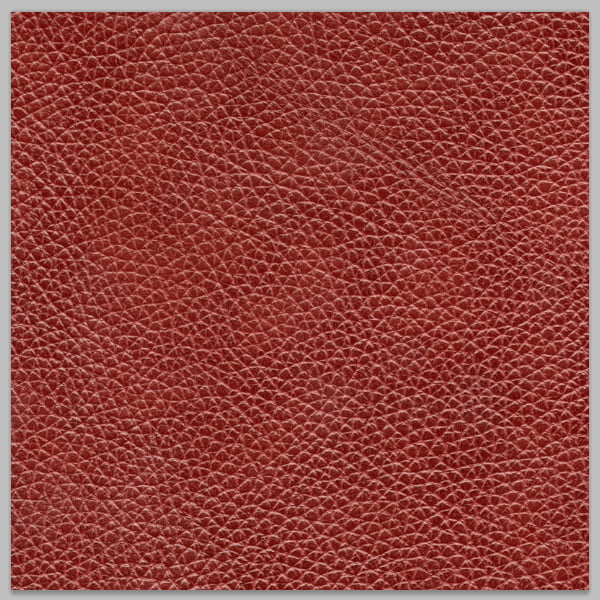
We will use the Red leather texture from Shutterstock as our reference image. You can also get the similar image yourself, by simply scanning a sample. Scanning allows getting evenly lit texture.
Step 2
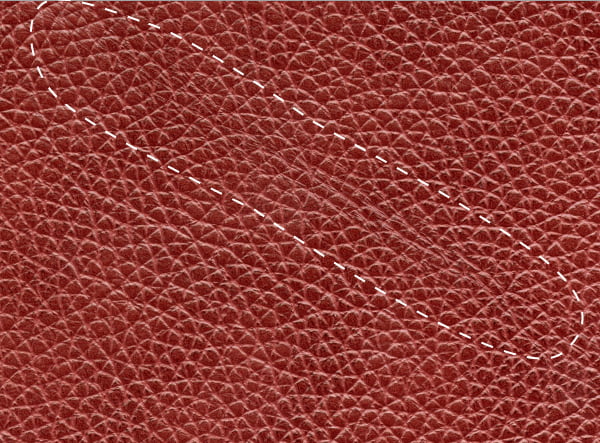
Start Photoshop and open the leather texture (File > Open…). Now we need to choose a small piece that will serve as the basis of seamless texture creation. On the figure below you can see a piece of texture that is not good for our further work. This piece has some "special features" in the form of small folds and its use in the creation of the seamless texture will be seen.
It's better to choose more suitable homogeneous area for color and texture. So, take the Crop Tool (C) and cut the fragment you like.
Step 3
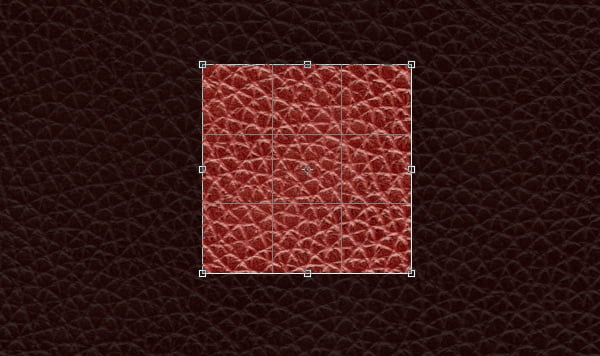
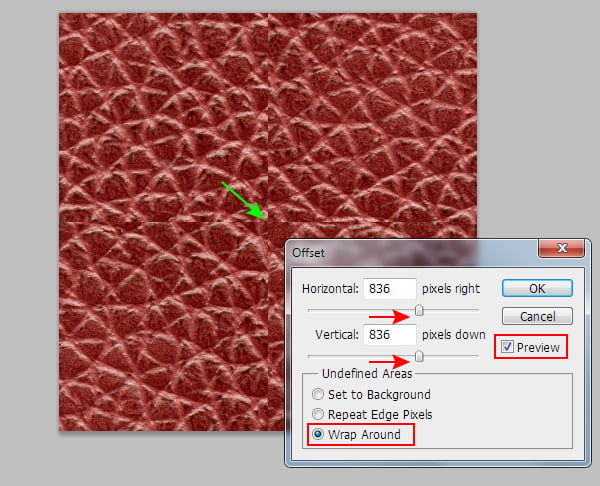
Go to the Filter > Other > Offset… and set such values for displacement, so the seams are located somewhere in the center of the image.
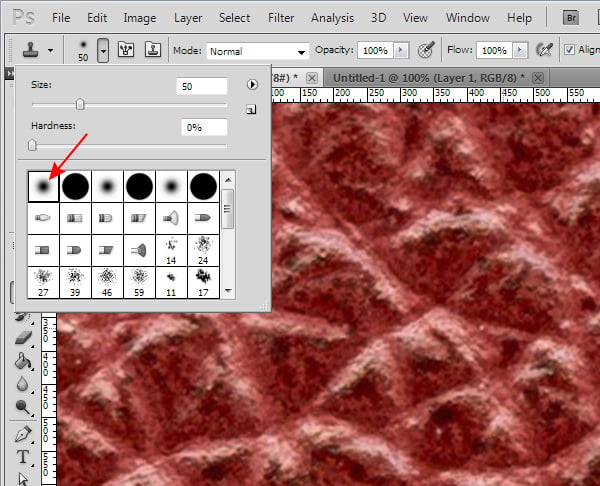
Now all is left for us to do is to mask the seams. We will do it with the help of the Clone Stamp Tool (S). Choose the brush with smooth edges, if only it is not already installed by default.
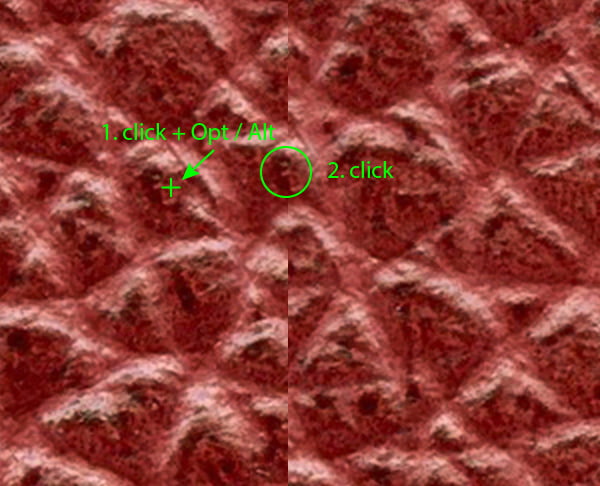
You can change the brush's size in the dialog box or by using the "Lift and Right Square Bracket" keys. And now, keeping the keys Opt / Alt down, click on the field that should be copied, and then release Opt / Alt keys and click on the part of the seam, into which we want to insert the copy.
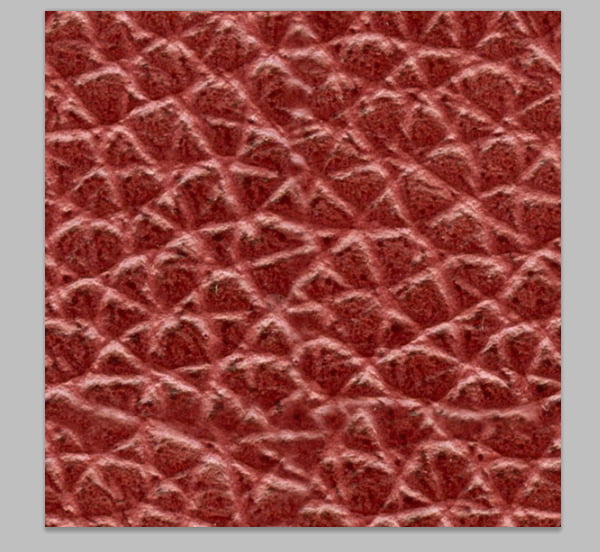
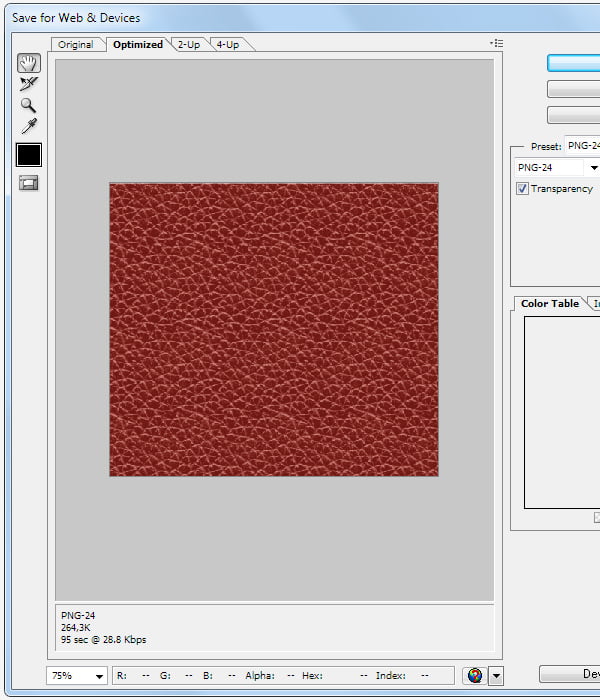
We should mask all the seams while selecting the suitable sites to copy. Only 10-15 minutes, and all the seams are masked Save the seamless texture in Jpeg format (File > Save as…).
I also advise you to watch this video tutorial, which demonstrates this process in more detail.
Creation of Seamless Vector Texture in Inkscape
Step 4
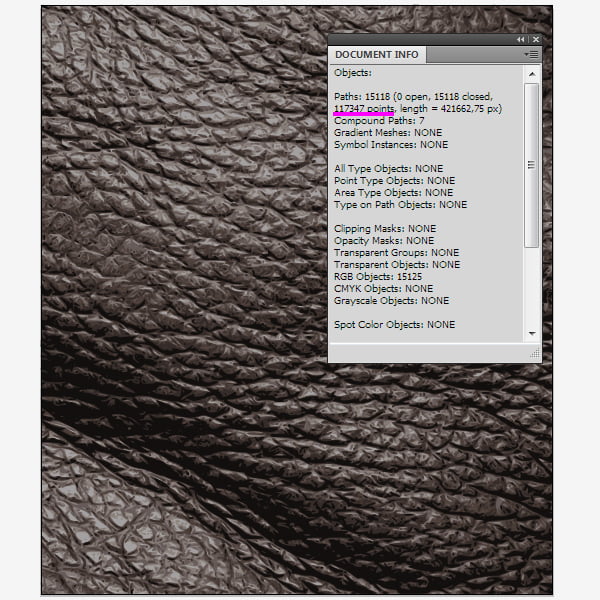
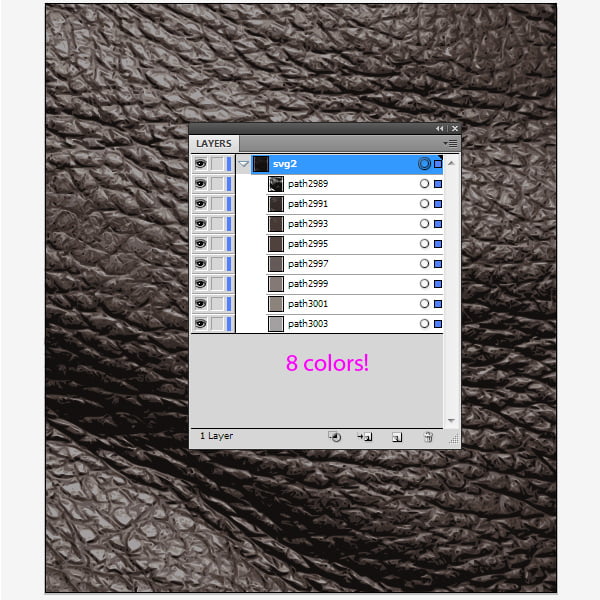
If you traced the raster textures in Adobe Illustrator, then you probably know this application is not very suitable for creation of high-quality vector textures. File can be very big; it will also consist of great variety of colors, paths, and anchor points. Today we will take a closer look at some alternative vector tracing way, which allows us getting high-quality textures of a small size while using only a couple of colors. This alternative is a free vector editor - Inkscape, which can be downloaded here. On the figure below you can see the leather texture created in Inkscape and opened in Adobe Illustrator. As you can see, high quality is provided only by 8 colors and 117347 points.
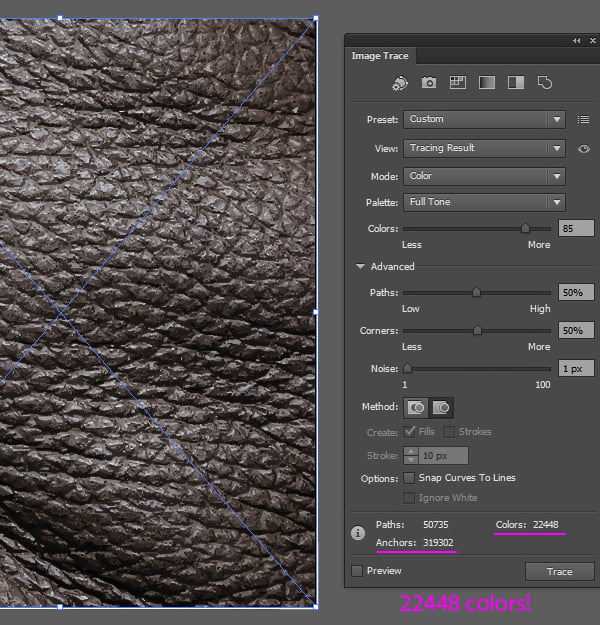
To get a similar quality texture in Adobe Illustrator 319302 points were needed and 22448 colors were used!
I think that the benefits of Inkscape are obvious.
Step 5
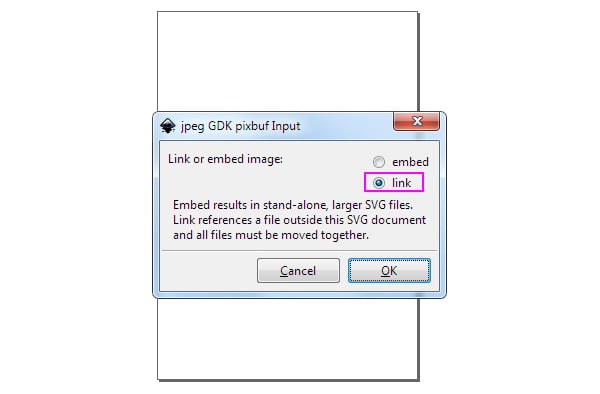
Let's take a closer look at tracing process in Inkscape. Start the application, then go to the File > Import…, choose the seamless leather texture and in opened dialog box tick "link".
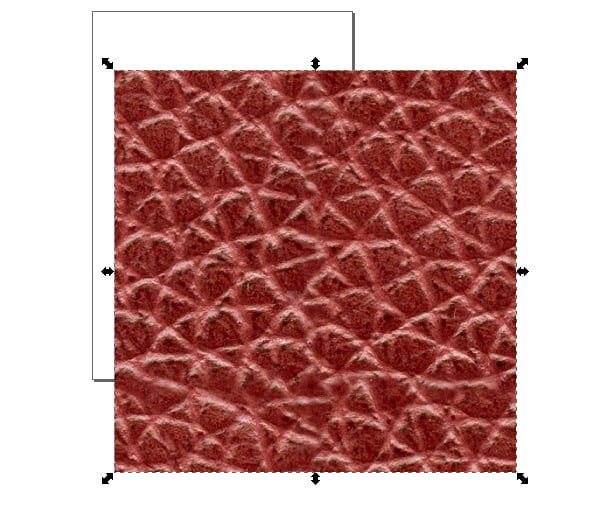
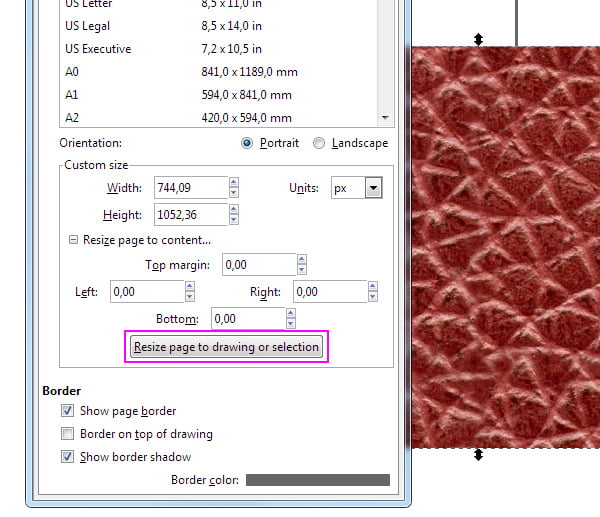
In order to match the size of artboard to the size of the texture, go to the File > Document Properties… and tick "Resize page to drawing or selection" in opened dialog box.
Step 6
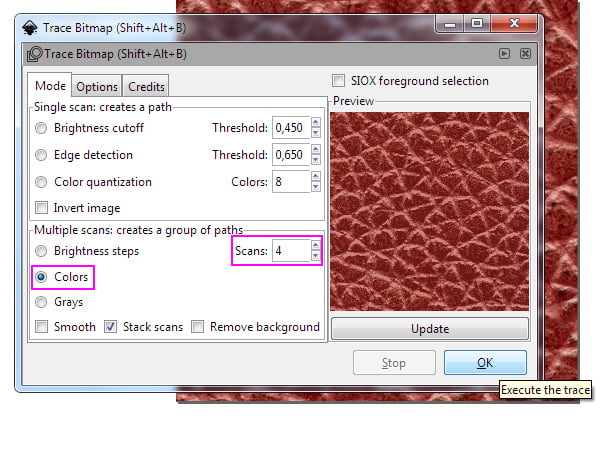
Proceed to trace; to do so, go to the Path > Trace Bitmap… (the raster texture must be selected). In the dialog box choose Colors, set the number of colors (in my case 4 colors is enough) and turn off the Smooth option. The option Stack scans must be turned on. Choice of other parameters depends on the texture and is selected experimentally (in my case, set up of other parameters was not performed). Click on OK button.
Couple of seconds, and our vector texture is ready.
I want to note here, the time of trace depends on the selected texture, so, for example, the creation of the denim texture can take you several hours, but the result is worth it.
Step 7
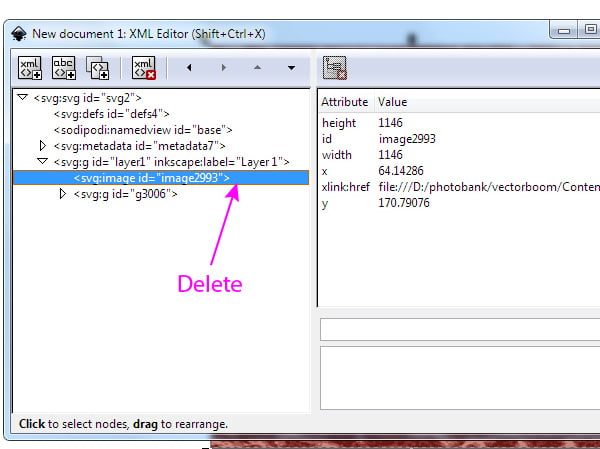
And now go to the Edit > XML Editor…, then select and delete the penultimate line by clicking on Delete. This will remove the raster texture in the current document.
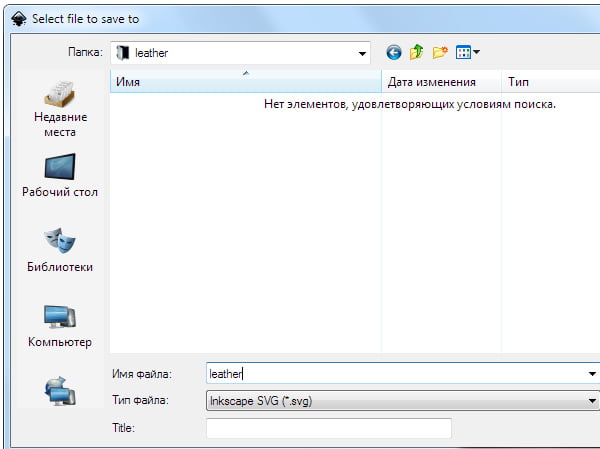
Save the vector texture in SVG format (File > Save As…).
Our work in Inkscape is over, you can close the application.
Post Processing of Vector Texture in Adobe Illustrator
Step 8
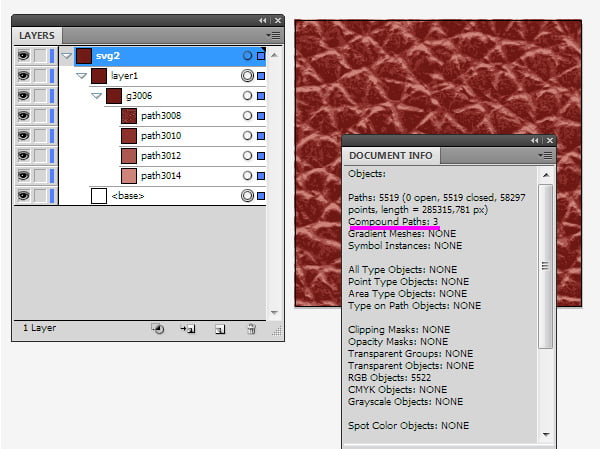
Open the file saved in Adobe Illustrator (File > Open…). As you can see, our seamless vector texture consists of 3 Compound paths and a rectangular background (by number of colors). Empty group <base> should be deleted from the Layers panel.
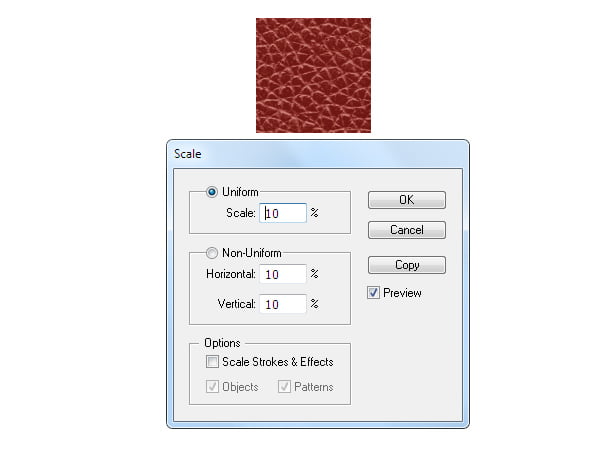
I've worked with the raster texture, which has a high resolution, that's why I reduced the size of resulting vector texture. To do so, select the texture, then go to the Object > Transform > Scale… and set the appropriate parameters.
Step 9
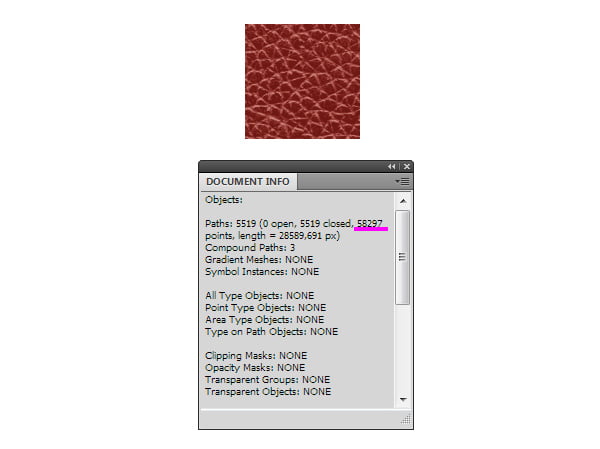
Now let's optimize the number of points and paths of texture, the number of which of course influences the size of our vector file. Now our texture has 58297 points, part of which is overlapped.
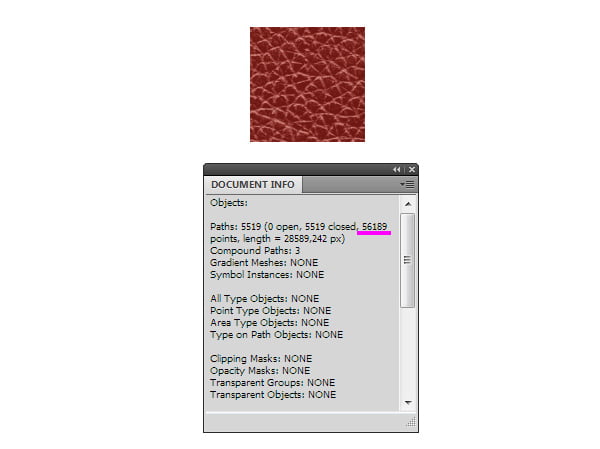
To delete such points use the script Marge Overlapped Anchors, which you can download here. Unzip the archive and install the script to a directory of Adobe Illustrator, for example C:\Program Files\Adobe\Adobe Illustrator CS5\Presets\en_GB\Scripts for Windows users or Applications / Adobe\Adobe Illustrator CS5\Presets\en_GB\Scripts for Mac users. Now select the texture and go to the File > Script > Marge Overlapped Anchors. After the overlapped anchors are deleted, the texture consists of 56189 points, which means that more than 2000 points were deleted.
Step 10
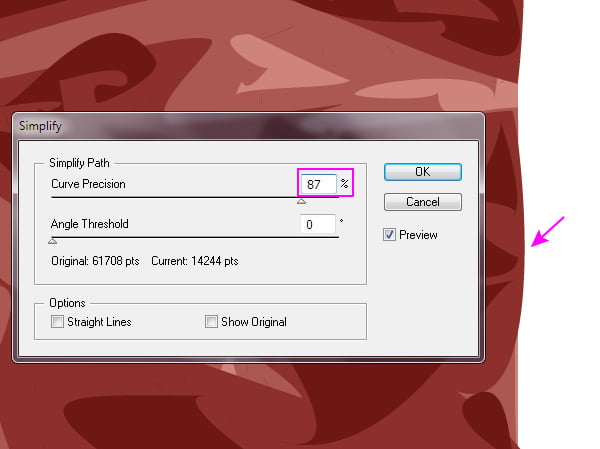
To reduce the number of paths go to the Object > Path > Simplify… and set for the Curve Precision value close to 99%. This action led to reduction of paths almost in two times.
But be careful while doing this action, the reduction of number of paths will lead to distortion of objects on the border tiles, creating gaps in the seamless pattern and the edges of tiles will require some additional editing.
Resort to such actions only if you really need to reduce the size of your file.
Step 11
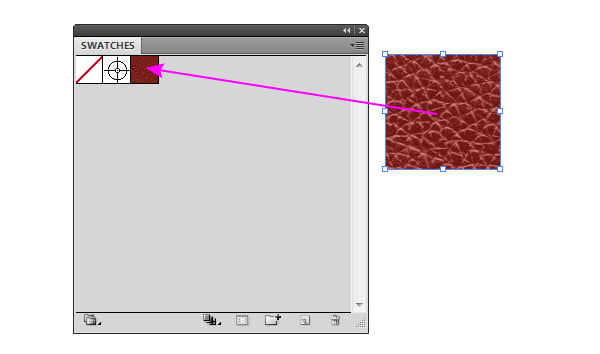
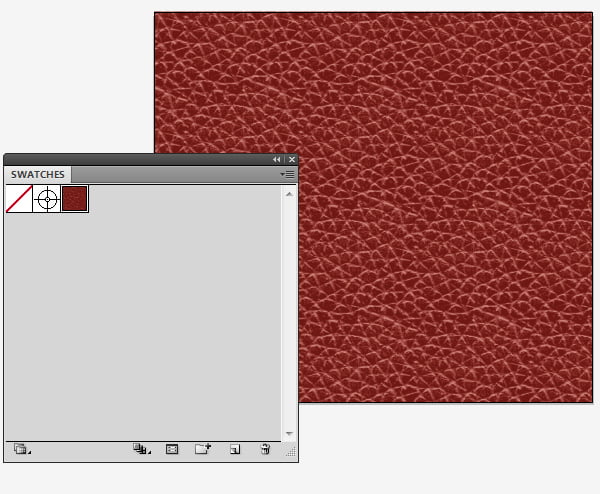
Drag the vector leather texture into the Swatches panel.
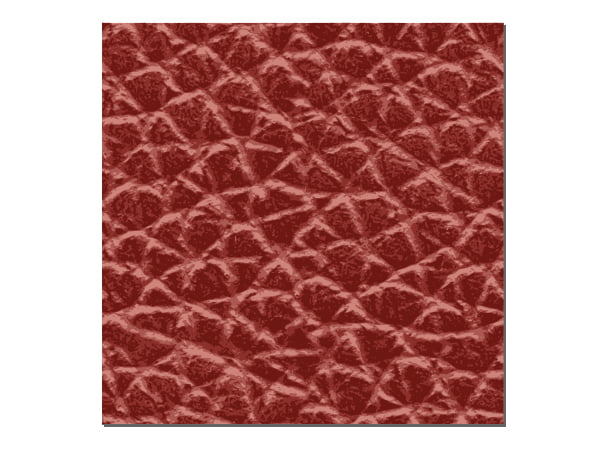
Now create a rectangle of any size and apply the created pattern to it. As you can see, everything works perfectly.
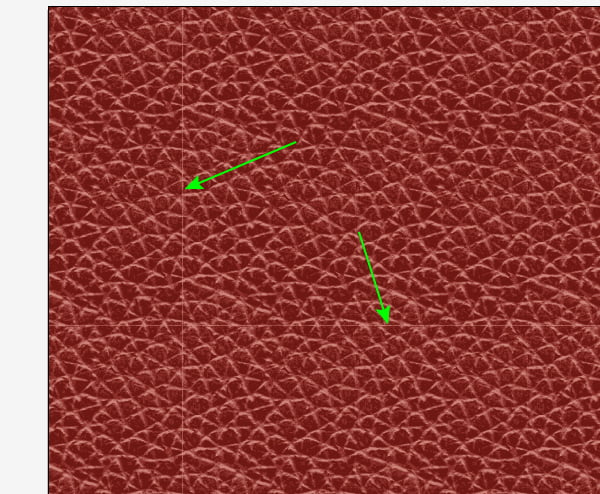
You can also notice some thin seams when you zoom in the artboard.
Don't worry about it- it's the way every seamless pattern looks like in Adobe Illustrator. When you export it into the raster image, the seams will be not seen at any zoom of the image.
From now on you can use the seamless texture in your design projects.
And, surely, you can easily re-color your texture as it only consists of 4 colors.