|
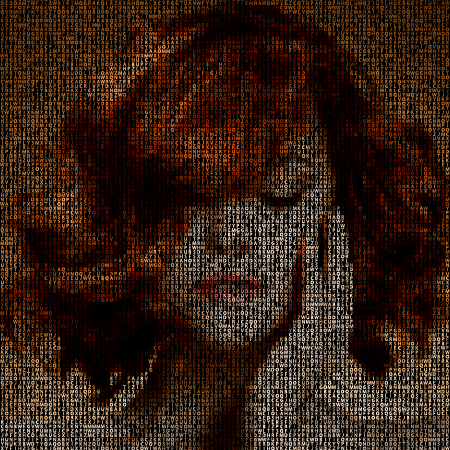
Final Image Preview
In this tutorial we will learn how in just a few minutes you can create a text portrait using Phantasm Halftone and Phantasm Levels effects. For enlightening of certain sections of the portrait create and apply custom Art Brush. Let’s get started!
Step 1
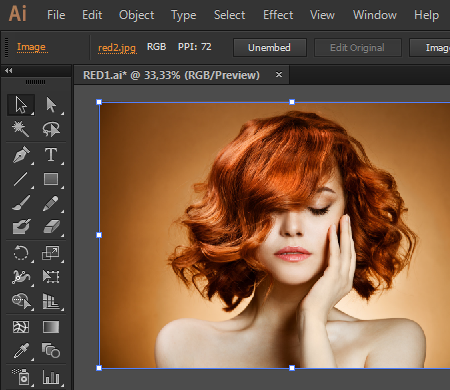
As a reference image I’ll use Beauty Portrait from Shutterstock. Insert an image into the current document (File > Place …). Press the Embed button in the Control panel (we can apply some of the Phantasm effects only to the embedded image, for example Levels effect, which we will use below.)
Step 1
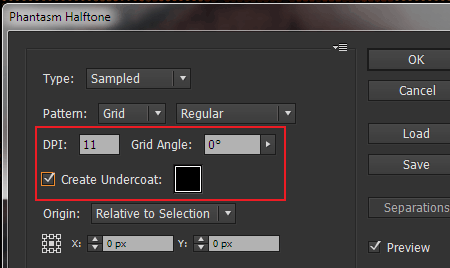
Keeping the image selected, go to Effect > Phantasm > Halftone…. Set 11 DPI in the open dialog box. This parameter affects the granularity level of the effect and depends on the size of the image being used. Tick Create Undercoat option and choose black color.
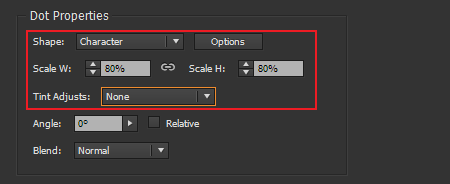
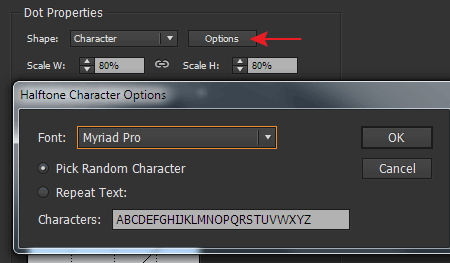
In the Dot Properties section select Character for Shape option and None for Tint Adjusts option. Font size can be adjusted by changing the two Scale options.
Clicking on the Options button leads to the opening of the Halftone Character Options dialog box. Here you can choose the font, determine the sequence of characters and type letters or text that you want to use.
You can read full version of this tutorial on AstuteGraphics.com....
|