|
Today we will talk about the combination of automatic and manual tracing of raster images with Phantasm. Image Trace feature and Phantasm’s tools will help you to achieve amazing effects that you can not get by using Image Trace options only. Applying Phantasm to determine clear boundaries between light and shadow helps you to easily implement manual vector tracing, better known as Vexel. Do you want to work faster and more efficiently? Then this article is for you.
Combining Image Trace feature with Phantasm
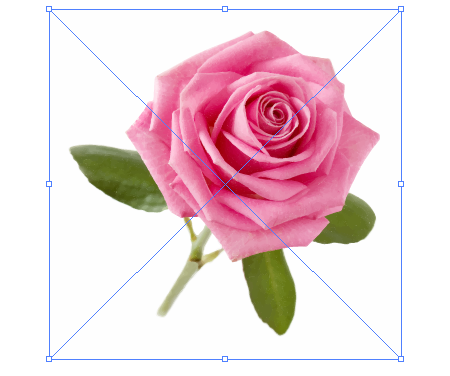
Image Trace function is designed for converting raster images into vector objects. This function was significantly improved since Adobe Illustrator CS6, through the introduction of Adobe Mercury Performance System. Let’s see how it works. As a tracing object I will use Pink rose from Shutterstock. Run Adobe Illustrator, then create a new document (Cmd / Ctrl + N). Now place an image into it (File> Place…).
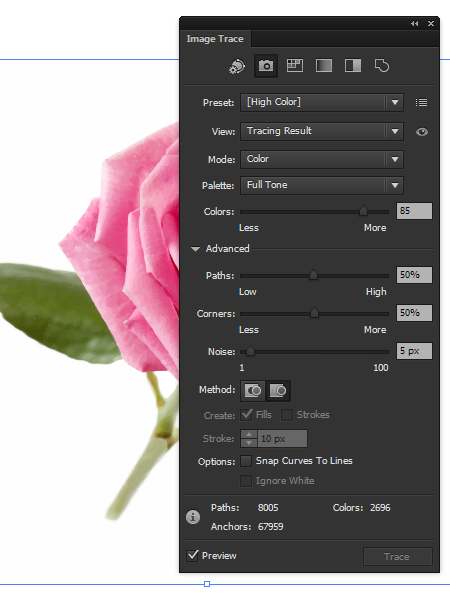
To apply Image Trace feature we can use the corresponding button and one of the presets in the Control panel.
Image Trace panel is intended for the same purposes (Window> Image Trace), which as you can see, contains more than a dozen options.
Skillful use of these options allows you to get a really great result. In the picture below you can see Image tracing object.
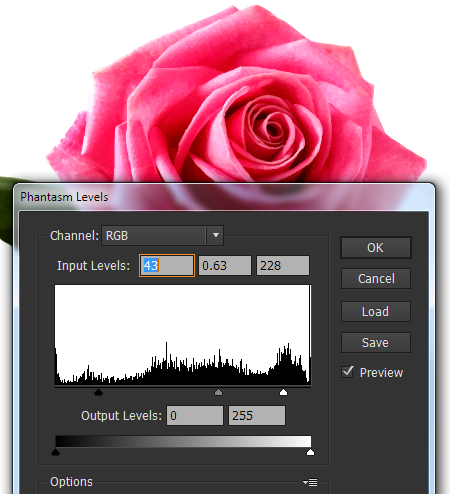
However Phantasm allows us to get additional control tools over the vector images during the process of automatic tracing. For example, we can use Phantasm Levels (Effect> Phantasm> Levels…). It allows you to move the black, white and mid-grey points thereby controlling the brightness, contrast and tonal range of the selection.
You can read full version of this tutorial on AstuteGraphics.com....
|