|
Today we will learn the new features of the tracing engine in Adobe Illustrator CS6 and talk about its new functions. We will trace a photo, a sketch and a texture; then we will compare the results between Adobe Illustrator CS5 and CS6. Let’s get started!
Tutorial Details
-
- Program:Adobe Illustrator CS6
-
- Difficulty: Beginner
-
- Estimated Completion Time: 15 mins
-
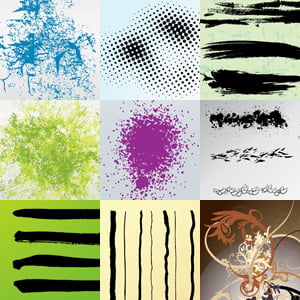
In this tutorial I’ll use a photo a strawberry (credit to deviantART user StockProject1) ; the sketch was kindly provided by Victoria Vasilyeva and the texture (credit to deviantART user ~kingkool6).
Step 1
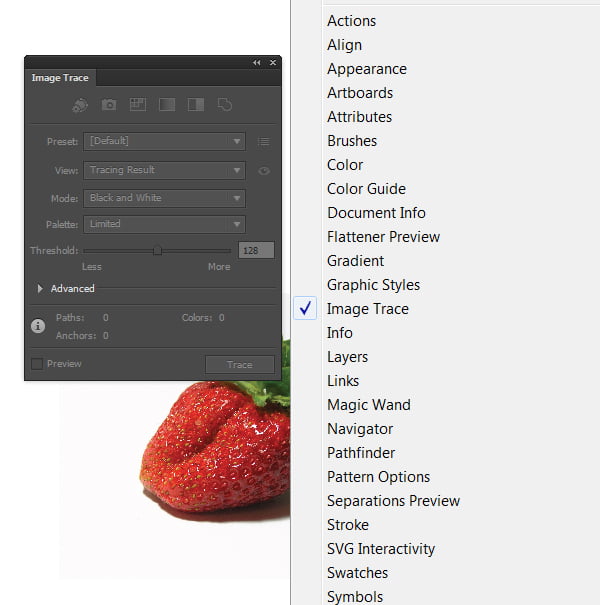
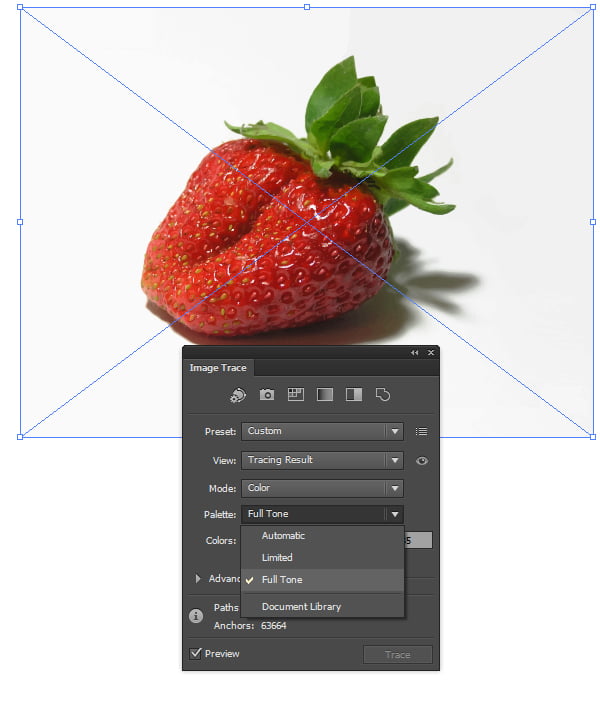
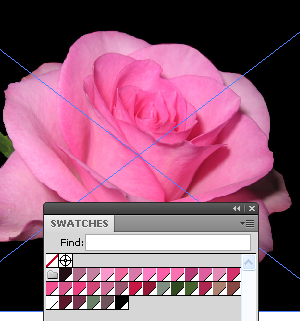
In Adobe Illustrator CS6 the settings of the tracing is in the new Image Trace panel (Window > Image Trace).
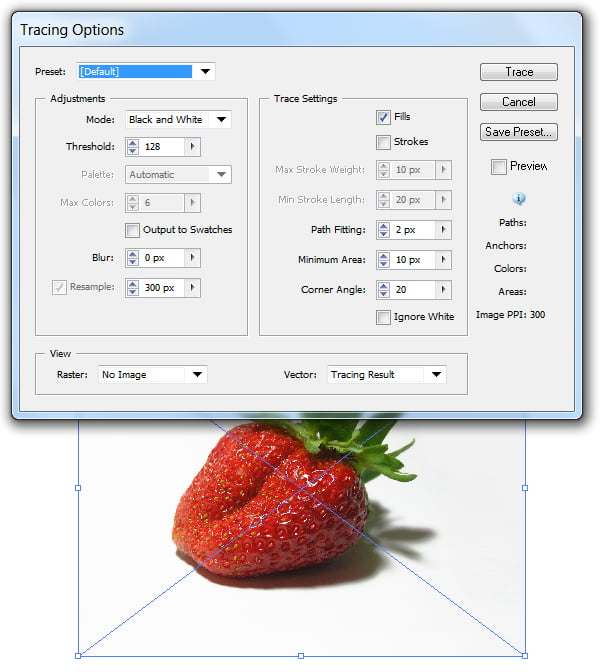
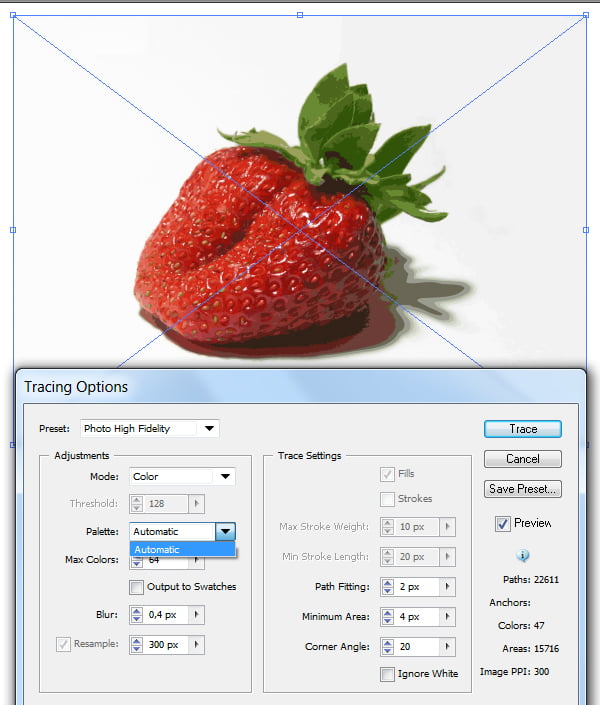
This allows us to use other panels and tools while tracing. Such features did not exist in Adobe Illustrator CS5 as well as in earlier releases; the setting of the tracing was made in the Tracing Options dialog box, and then it was impossible to access the other objects and interfaces.
Step 2
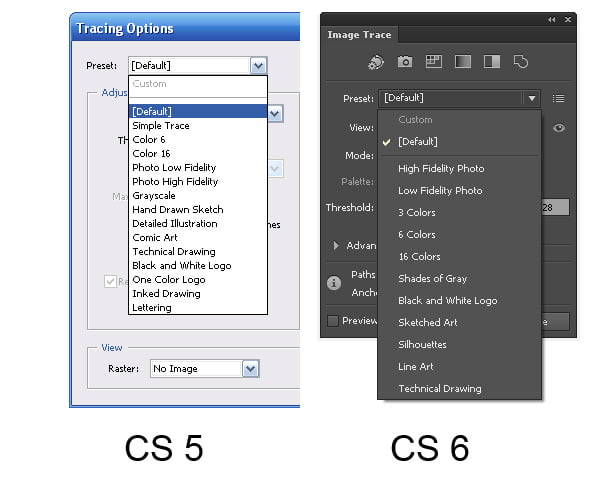
The presets have also changed between Adobe Illustrator CS5 and CS6
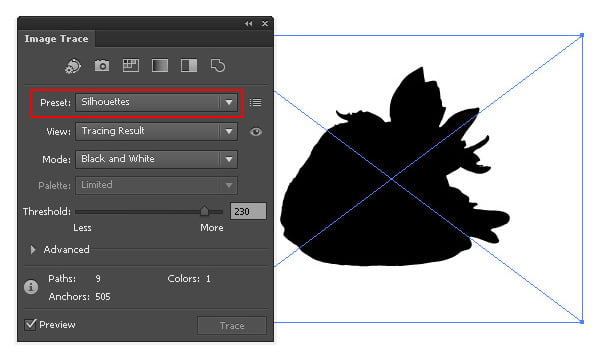
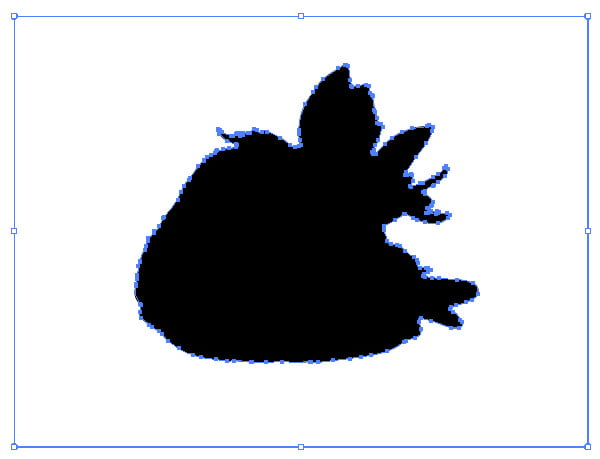
The new preset, "Silhouettes" allows quick creation of vector silhouettes.
After the Expand command we get the vector object with the optimal amount of points.
Step 3
Let us evaluate the quality of the tracing using the same preset High Fidelity Photo in Adobe Illustrator CS5 and Adobe Illustrator CS6.
You can read full version this vector tutorial on VectorTuts+
Follow us if you want to be the first to know about the latest Adobe Illustrator tutorials and articles. Vectorboom team works for you!
|