|
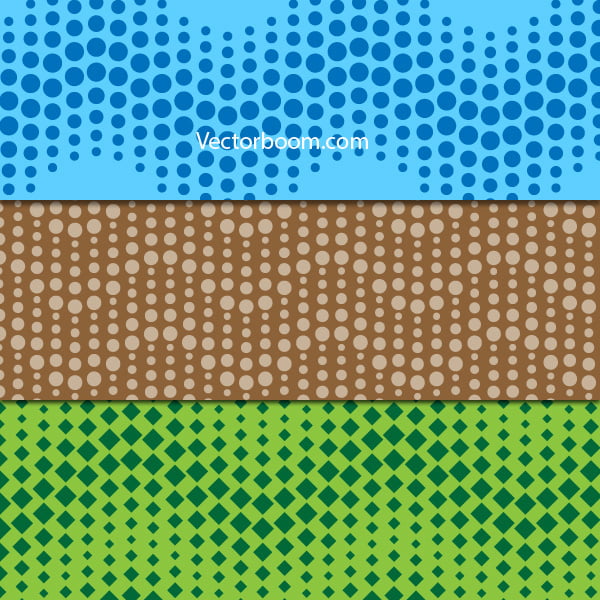
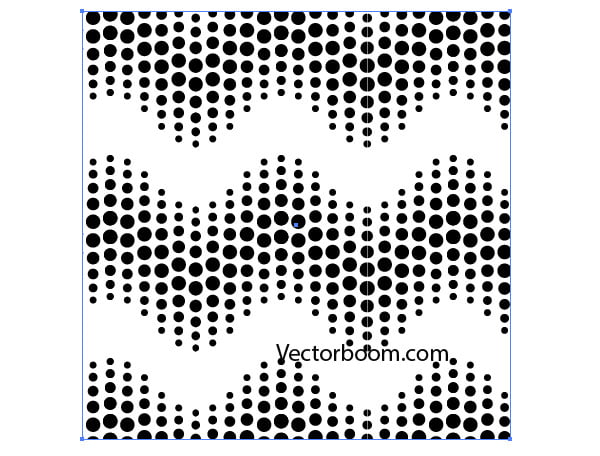
Final Image Preview
In this tutorial we will review the process of creating seamless geometric pattern starting from drawing the first circles to the stage of uploading the final product to microstock sites. Have fun learning one of the new Adobe Illustrator tutorials!
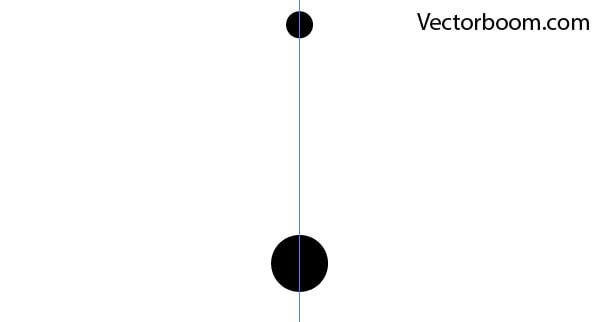
Step 1
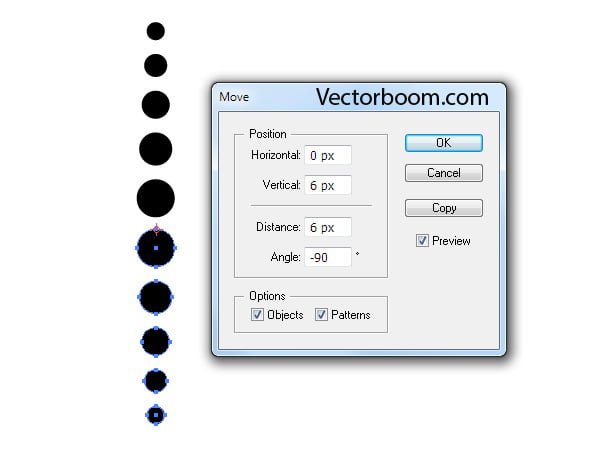
Using the Ellipse Tool create two circles of different sizes, the centers of which are located in the same vertical line.
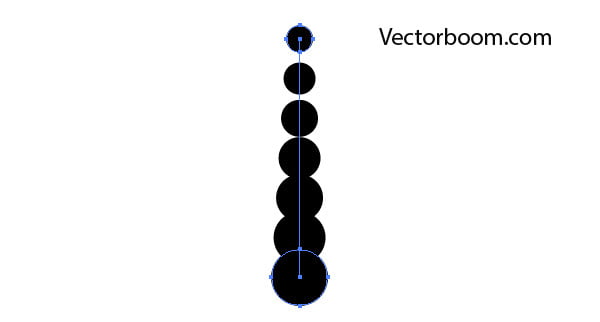
Select both circles, then go to Object > Blend > Make or use Cmd / Ctrl + Opt / Alt + B shortcuts.
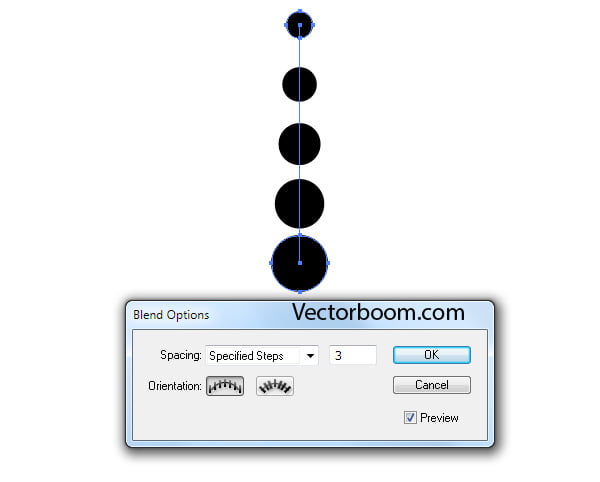
Proceed to Object > Blend > Blend Options … or just click on the Blend Tool's icon in the Tools panel. Set the desired amount of the specified steps in the dialog box.
Step 2
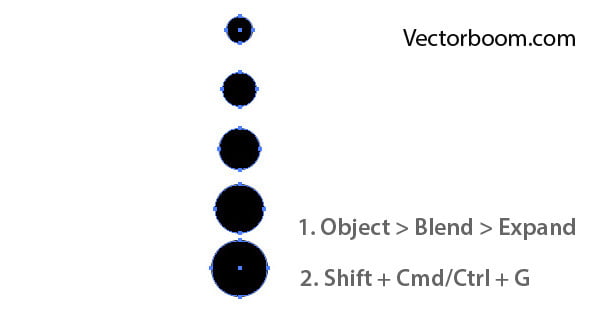
Now go to Object > Blend > Expand. Make sure to ungroup the resulting circles (Shift + Cmd / Ctrl + G).
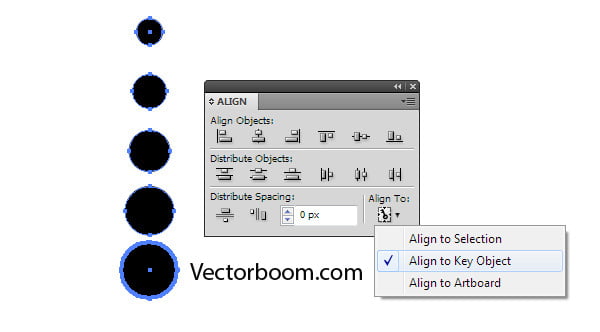
Select the "Align to Key Object" in the drop down menu "Align To:" of the Align panel (Shift + F7).
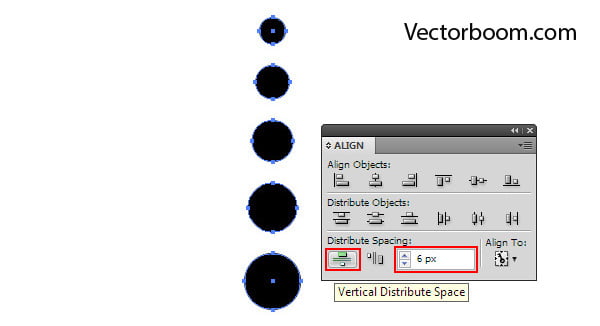
Set the desired value of the gap between the edges of the circles in a numeric field, then click on the Vertical Distribute Space.
Group up the circles (Cmd / Ctrl + G).
Step 3
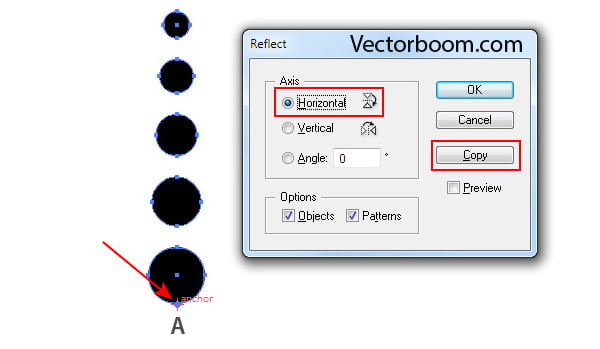
Take the Reflect Tool (O), holding down Option / Alt key, click at point A of the bottom circle. Choose Horizontal Axis in the open dialog box, press the Copy button.
Keeping the new group selected, go to Object > Transform > Move … and set the vertical offset value, which equals the value that was previously set in the Align panel (6 px in my case).
Group up all the objects created for the convenience of further work.
Step 4
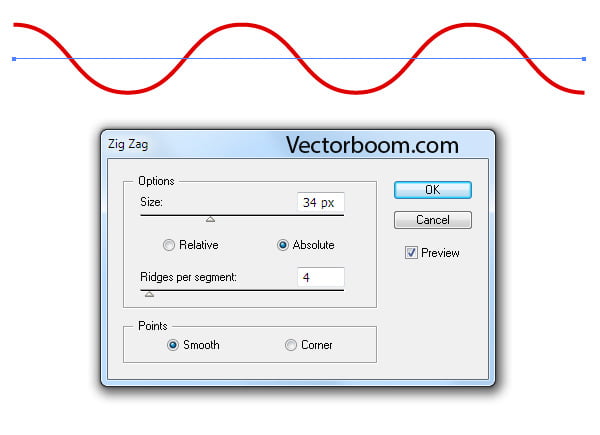
Using the Line Tool (/) or Pen Tool (P) create a horizontal line, while holding Shift key.
Proceed to Effect > Distort & Transform > Zig Zag … and set the parameters similar to those shown in the picture below.
Step 5
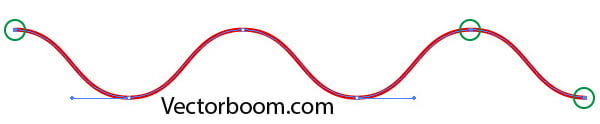
Go to Object > Expand Appearance. For further work, we would only need a curved segment between points A and B.
Select the points that have to be removed using the Direct Selection Tool (A), then click on Delete key.
Step 6
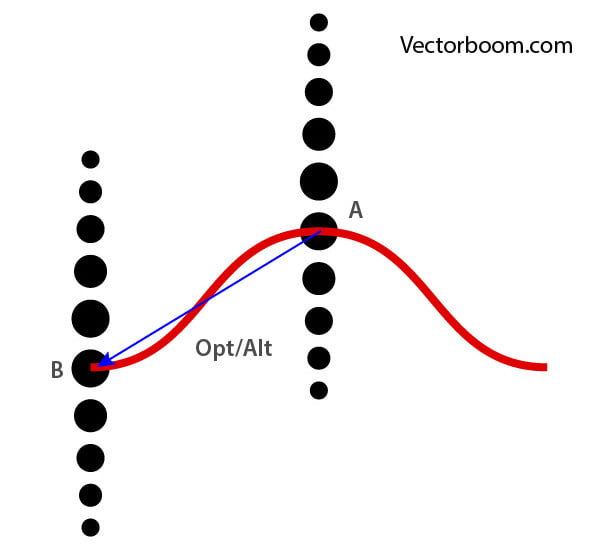
Using the Selection Tool (V) align the center of any circle with point A of the curved segment. In the future, I will call this circle the base circle. At this time there is no need to do accurate manipulations.
Move the group of circles, holding down Opt / Alt key for duplication, to match the center of the base circle with point B of the curved segment.
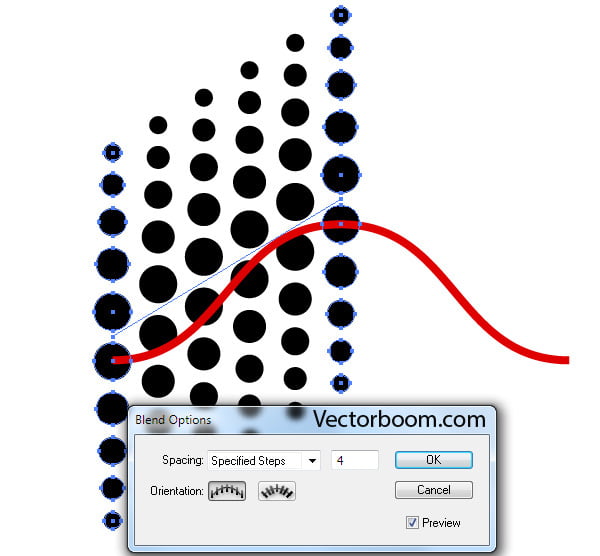
Step 7
Select both groups of circles, and then create a blend object (Cmd / Ctrl + Opt / Alt + B shortcuts, then Object > Blend > Blend Options …)
Go to Object > Blend > Expand, then ungroup the resulting group.
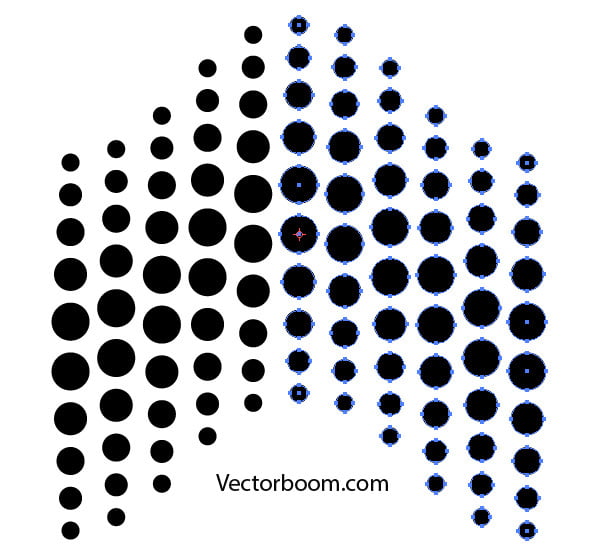
Step 8
Move the intermediate groups of circles in the vertical direction so that the centers of the base circles were located on the curved segment. Such movements can be conveniently done using Up and Down Arrow keys.
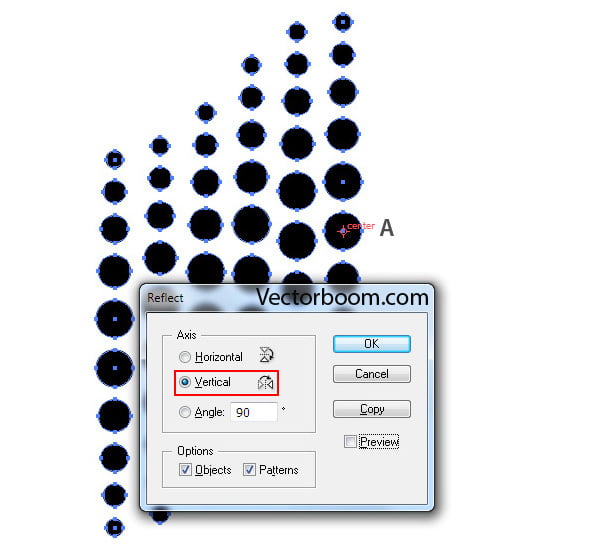
Select all the circles, then take the Reflect Tool (O) and click at point A, holding the Opt / Alt key. Select the Vertical Axis in the Reflect dialog box, and click on the Copy button.
Circles will overlap each other, so the upper group can be deleted.
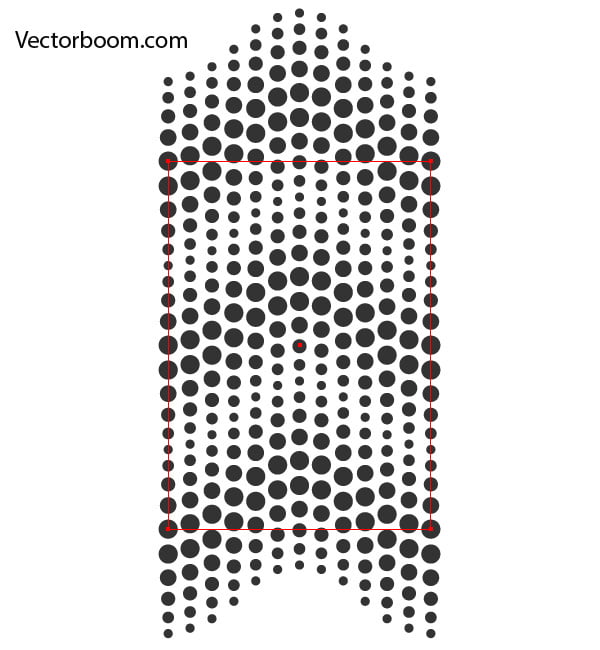
Step 9
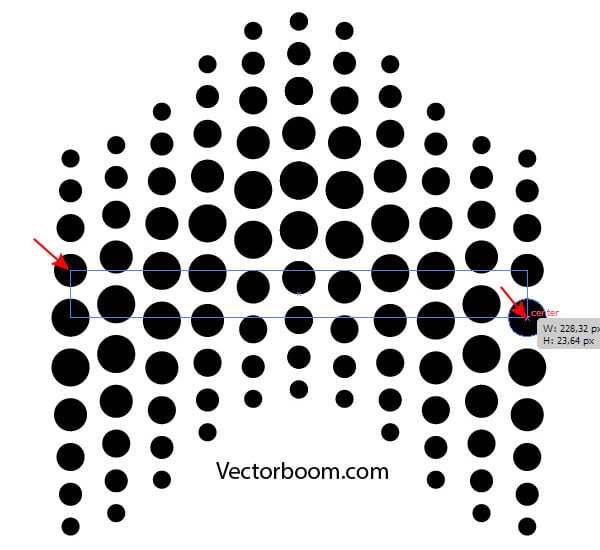
We can create a tile for seamless pattern at the base of the created circles. Take the Rectangle Tool (M) and create a rectangle so that that its vertices coincide with the centers of the circles, which are located in the far groups. In this case, the manipulations must be completely accurate.
Increase the height of the rectangle so that it covers all the circles and move it below all the created objects.
Turn off the fill and stroke of this rectangle.
In the future, I will call this rectangle a base rectangle.
Step 10
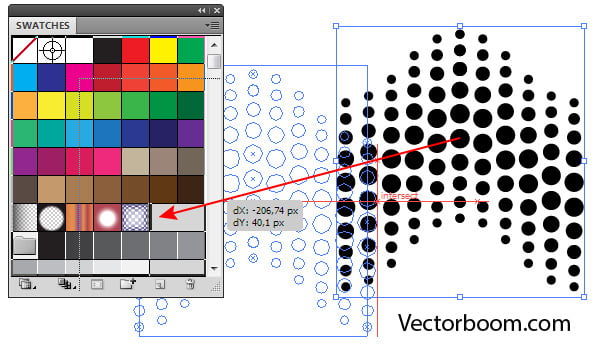
Drag the circles with the base rectangle into the Swatches panel.
Now to test it, create an arbitrary rectangle and apply the pattern to its fill. Everything works fine.
An attentive reader has probably noticed a thin stripe, which appeared between the tiles of the pattern in the picture above. Is this a flaw? No, it is not, if you zoom in artboard, this stripe disappears.
To check, you can also go to File > Save for Web & Devices … and if you do not see it in the preview window, then everything is fine.
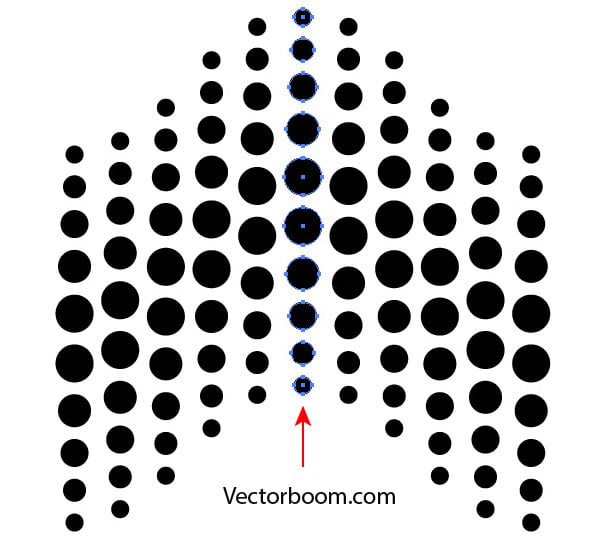
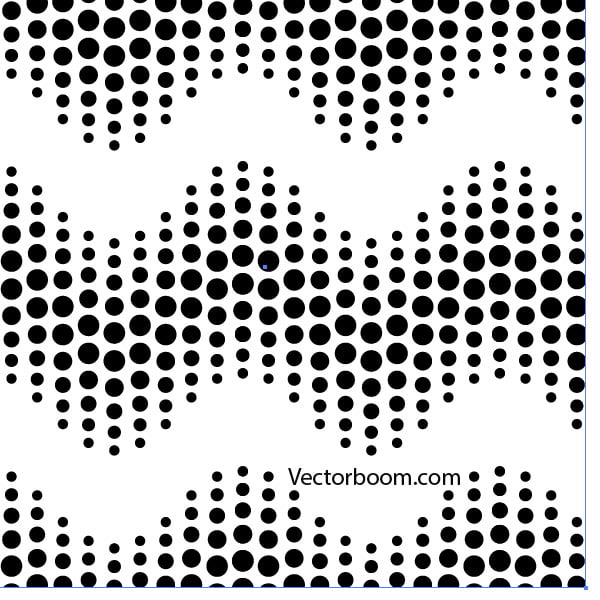
Step 11
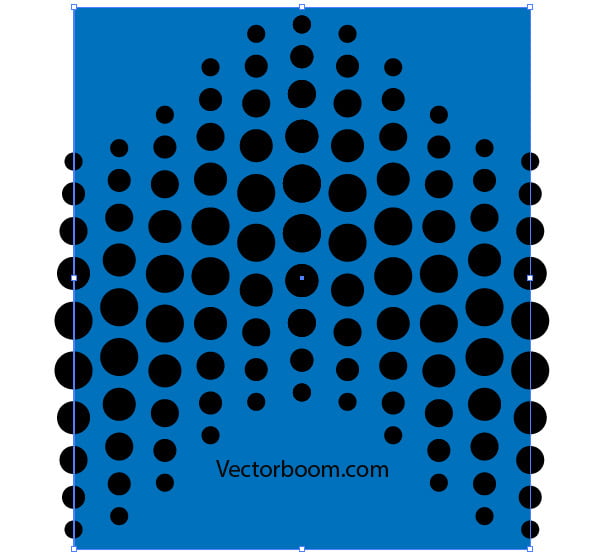
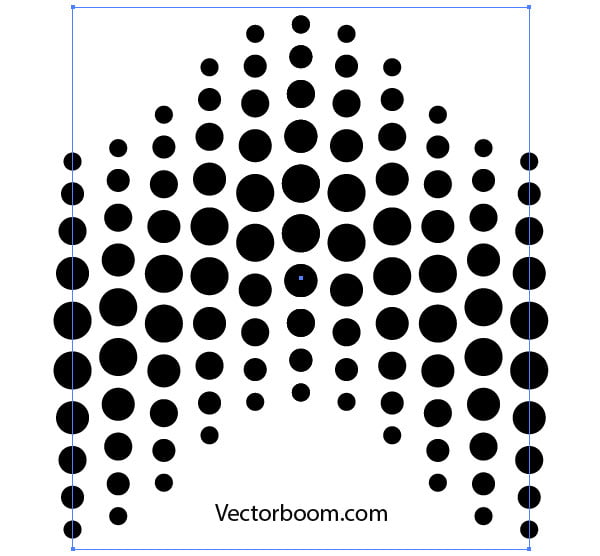
Based on the circles I created another version of the pattern. Duplicate the circles twice and place them above and below the original ones as it is shown in the following picture.
Position of the base rectangle is shown in the following picture.
Step 12
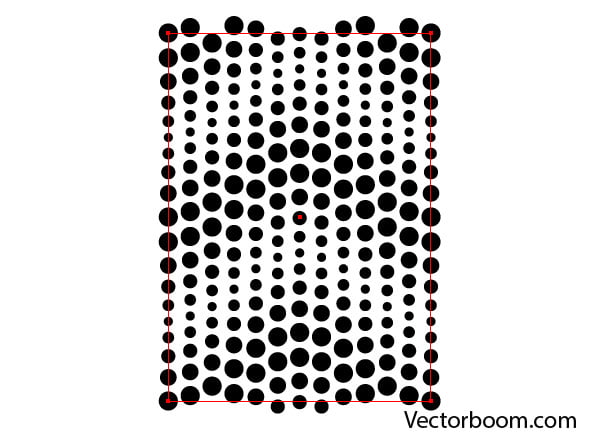
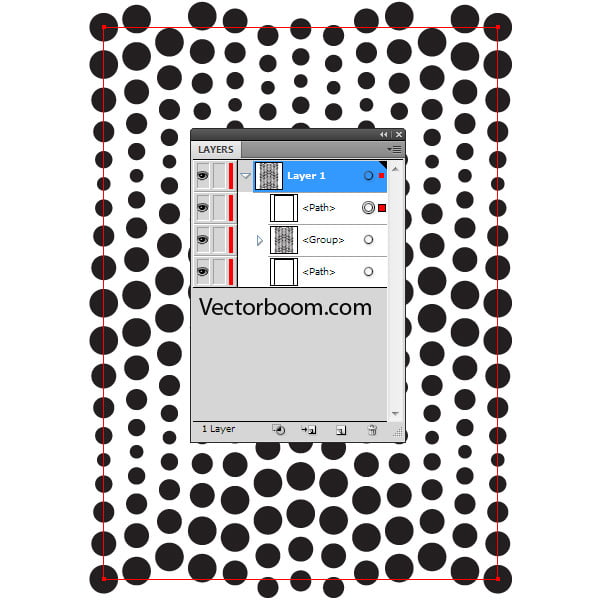
Now I would like to tell you how to prepare created seamless pattern for uploading to microstock sites. Objects that are located outside the base and do not intersect its sides may be removed, though this is not required.
Duplicate the base rectangle and place its copy above all the objects.
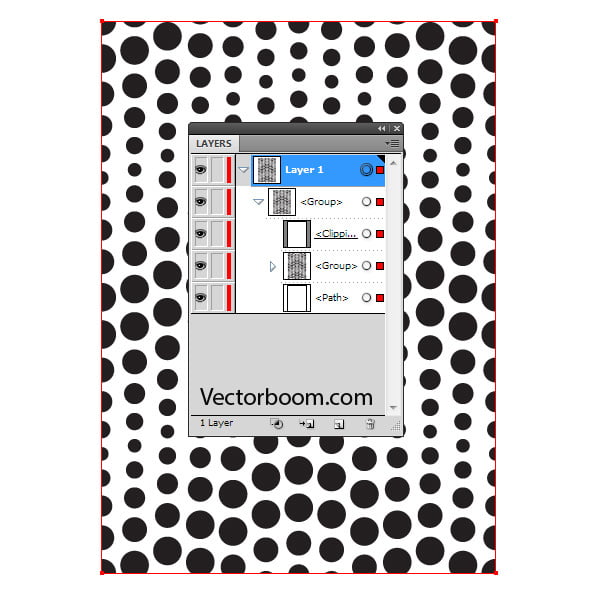
Select all the objects, then press Cmd / Ctrl + 7 shortcuts to create a Clipping Mask.
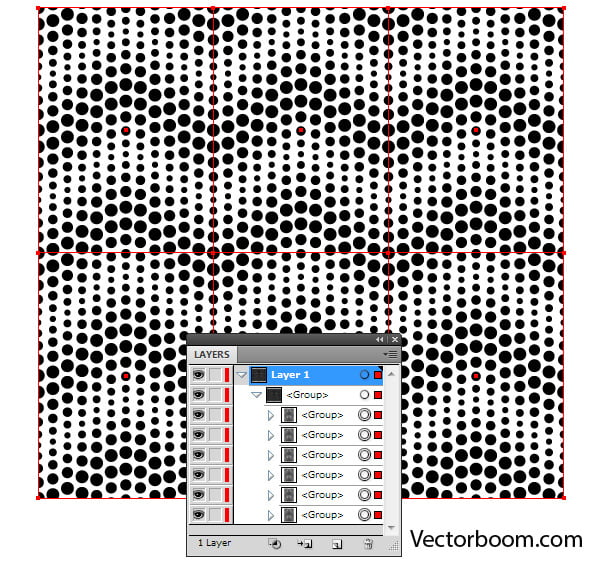
What we got is suitable for uploading to microstock sites. But for a better visual effect, you can duplicate a tile pattern a few times, place the copies so that they touch each other without gaps. This is how it looks like when I load any seamless pattern.
Having mastered the technique, proceed to the creation of the series of similar patterns. The larger your portfolio is, the more you earn. Wish you successful sales!
|