|
In this tutorial you will learn how to create a Halftone shading effect in a matter of seconds using Phantasm. Using the Actions feature and native Pathfinder effect will allow us to limit the dots using object’s outline. So let’s get started!
Halftone is the reprographic technique that simulates continuous tone imagery through the use of dots, varying either in size or in spacing, thus generating a gradient like effect (Wikipedia). In design, this effect is used to create retro-style illustrations for example.
Step 1
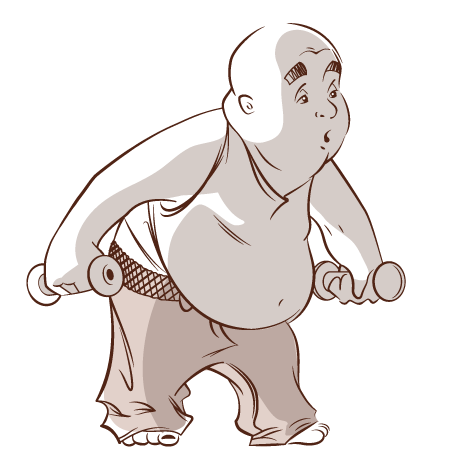
To demonstrate the process of creating and automating the Halftone shading effect I’m going to use a fun character, created on the basis of a sketch, which was kindly provided by Victoria Vasilyeva.
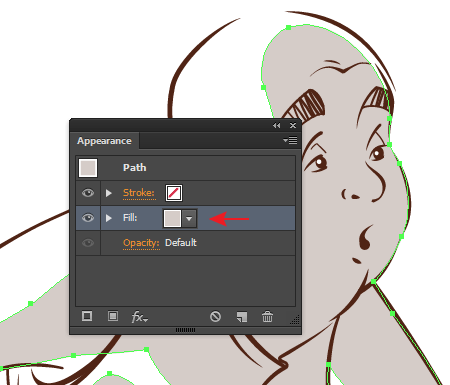
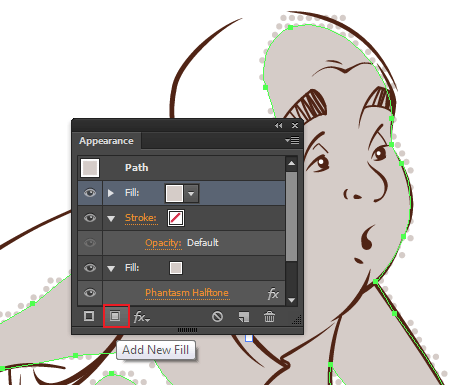
To create the Halftone effect, we will use the corresponding effect of Phantasm plug-in. Select any shape of a shadow on the character. Open the Appearance panel (Window > Appearance) and select the target fill.
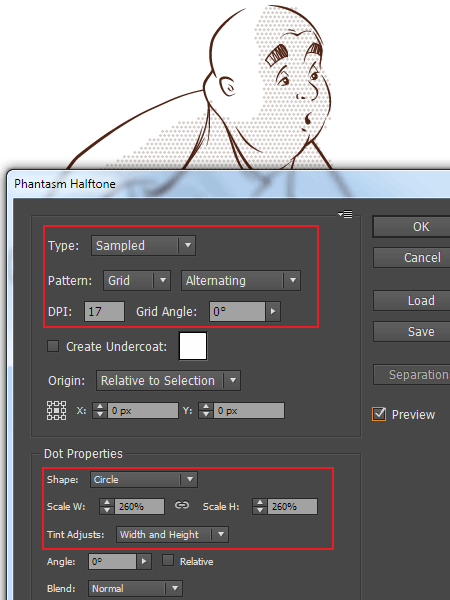
Proceed to Effect > Phantasm > Halftone…. In the dialog box, set the parameters which correspond to your plan. An example of such settings is shown in the following picture.
Please note that Halftone effect is applied only to the target fill in the Appearance panel.
Step 2
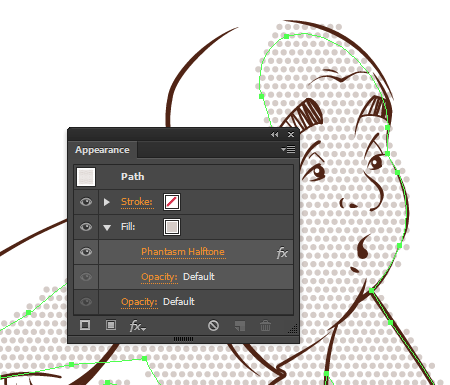
As you can see, after applying Halftone effect some dots are outside the outline of the shadow, that doesn’t look neat. Our task is to limit dots of the object’s outline and to make this process automatic.
Add a new fill by clicking on the appropriate button in the Appearance panel.
You can read full version of this tutorial on AstuteGraphics.com....
|