|
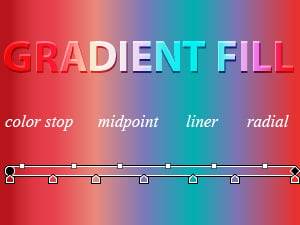
Gradient fills are used to create transitions between colors. Most often they are used to add volume to flat vector objects, creating light and shadow. Today we’ll learn how to create gradients and control them.
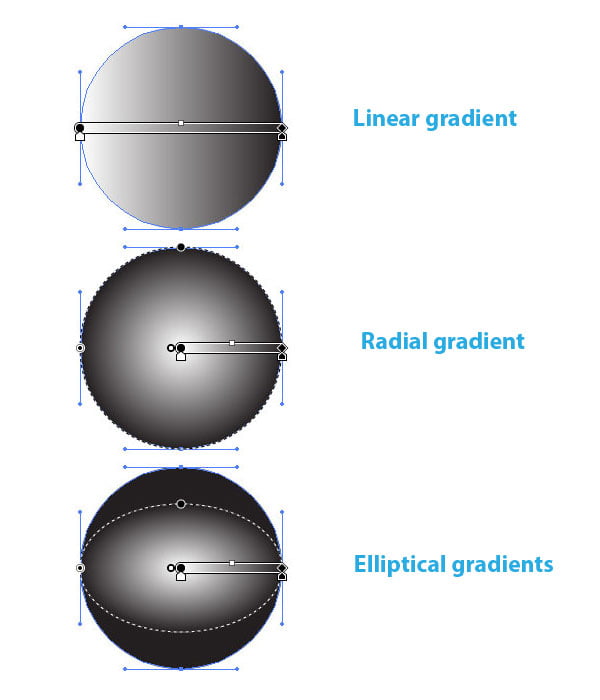
Adobe Illustrator has only two types of gradient fills. These are linear and radial gradients. Radial gradient can be transformed into an elliptical one. This kind of gradient has been available since the release of CS4. I would like to mention that other vector editors may have additional types of gradients. For example, CorelDraw has also Conical and Square gradients.
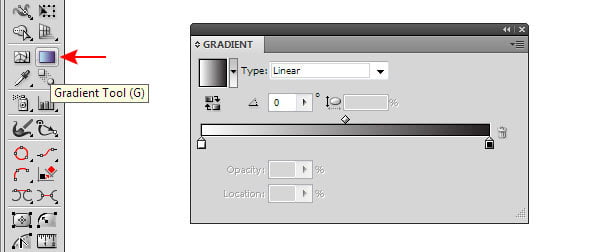
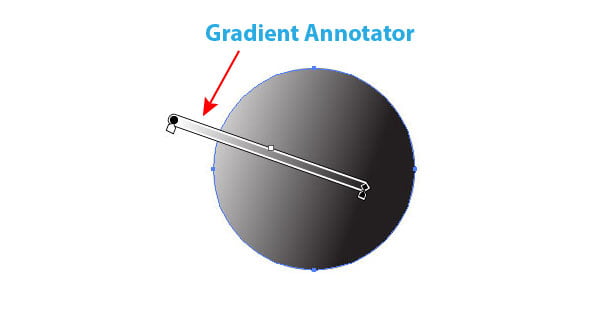
Gradient panel (Window > Gradient) and Gradient Tool (G) that can be found on the Tools panel, serve to control the gradient fills in Adobe Illustrator. You can also control the gradient using the Gradient Annotator. This feature, as well as an elliptical gradient, has only appeared in Adobe Illustrator CS4. Gradient Annotator becomes active only after you choose the Gradient Tool (G). For various reasons Gradient Annotator may disappear in the process, which is the cause of thousands of identical questions in illustrator forums. To turn on the Gradient Annotator, go to View > Show > Gradient Annotator or use Option / Alt + Command / Ctrl + G shortcuts.
You can read full version of this tutorial on DesignModo
|