|
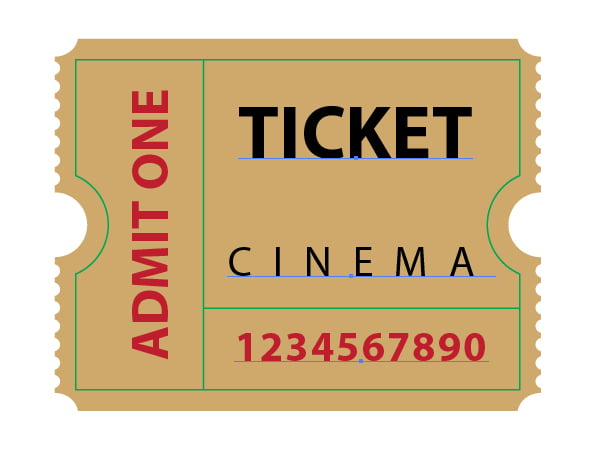
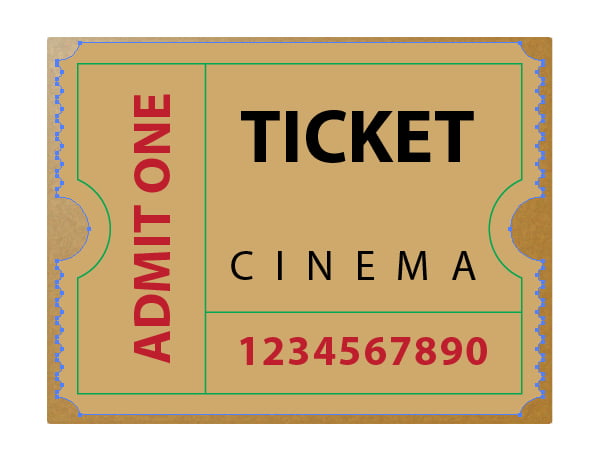
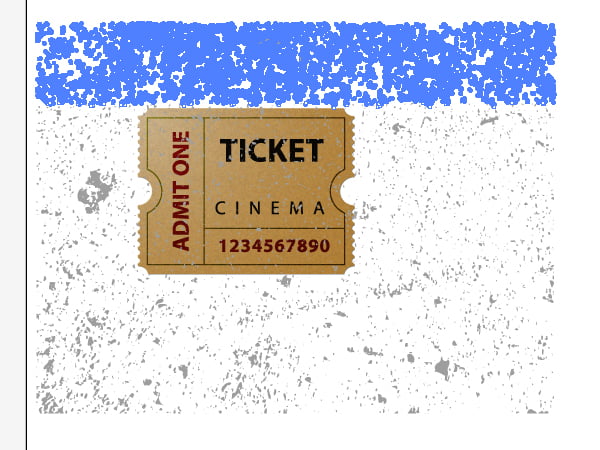
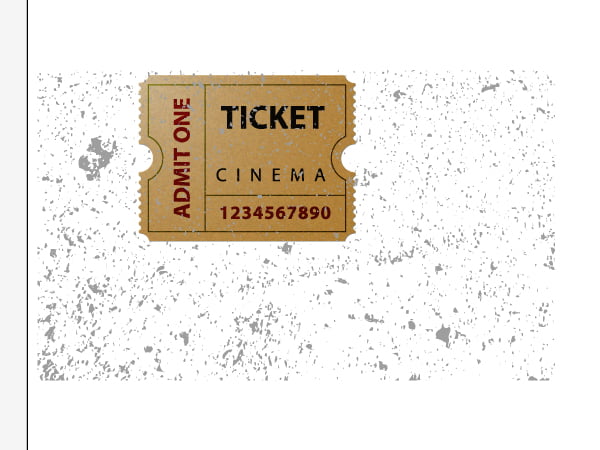
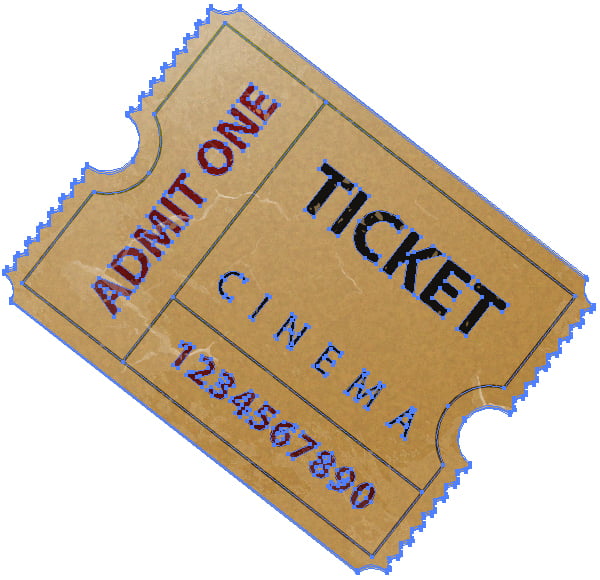
Final Image Preview
Tutorial Details:
- Program: Adobe Illustrator CS3 — CS6
- Difficulty: Intermediate
- Estimated Completion Time: 1 hour
Do you want to illustrate a cinema ticket used several decades ago in our world? If yes then let’s get started and you will undoubtedly learn the excellent Illustrator tools and create your own impressive and stunning artworks! Open the Illustrator program, create there the new document and let's begin…
Step 1
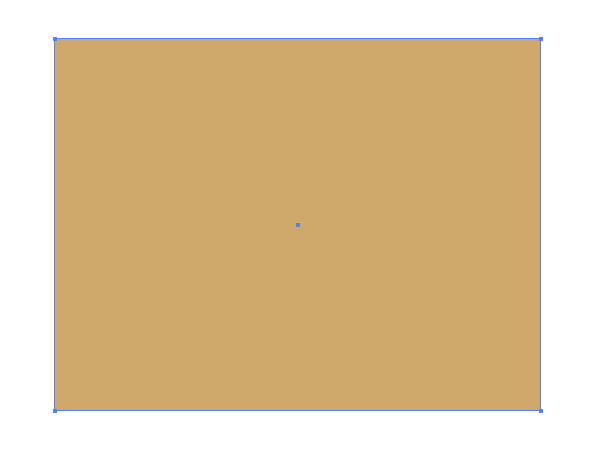
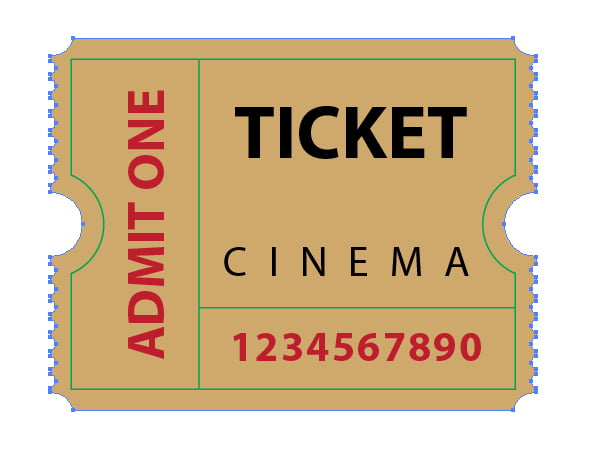
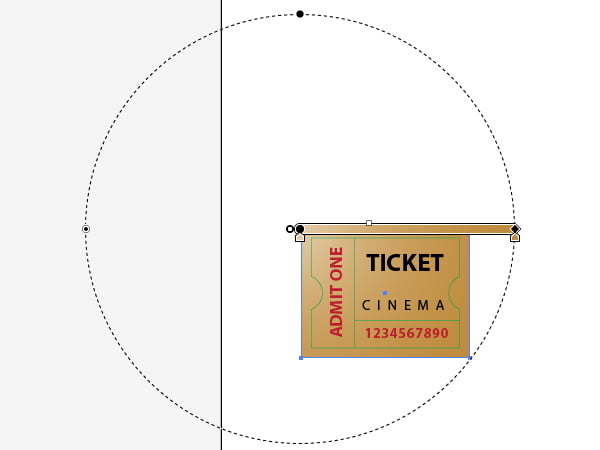
Take the Rectangle Tool (M) and illustrate a path shown below and filled with light brown.
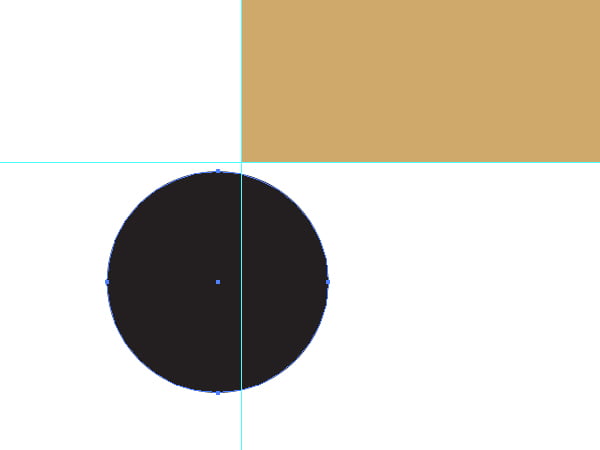
Grab the Ellipse Tool (L) and draw a small circle filled with any color (black in my artwork) and with the Stroke color set to none at the top left corner of the rectangular path as it is shown in the images below. We will use this circle for creating the perforation. (The Guide-lines are shown for your convenience only and not important for the tutorial).
Step 2
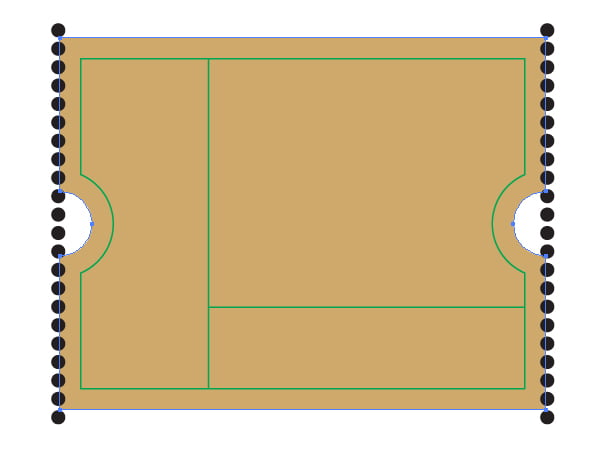
Copy this circle and Paste it in Front (Command + C then Command + F). Move the copy downwards so as to place the circle at the bottom left corner of the brown path. You should achieve the next result.
Step 3
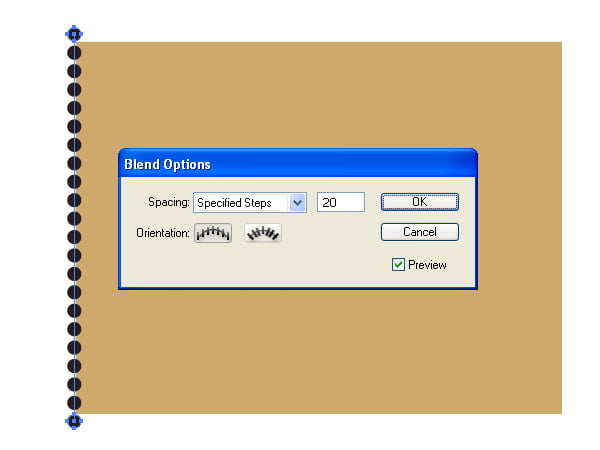
Select both black circles, and go to Object > Blend > Make (Command + Alt/Option + B).
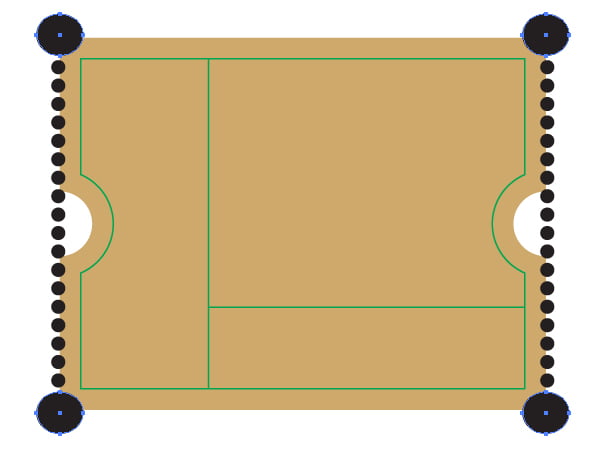
While the received blend is selected, go to Object > Blend > Blend Options and change the Spacing to Specified Steps, and the number of steps to the appropriate value in order to receive the following image.
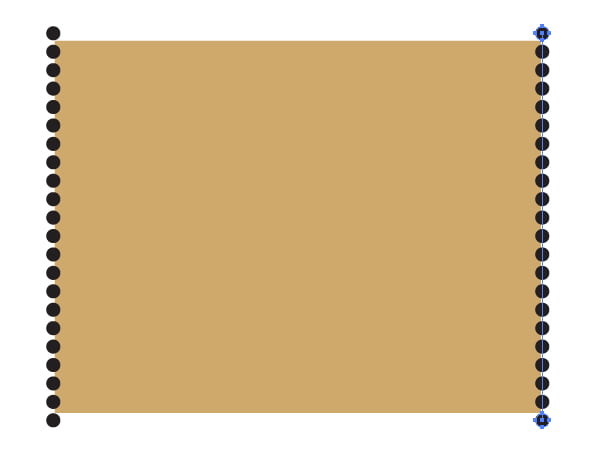
Draw the next blend at the opposite side of the rectangle.
Step 4
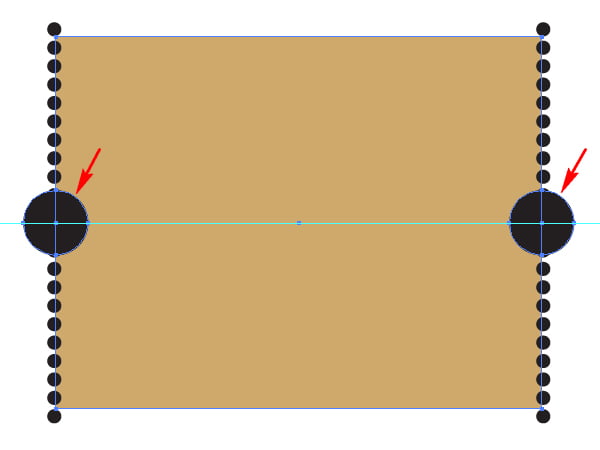
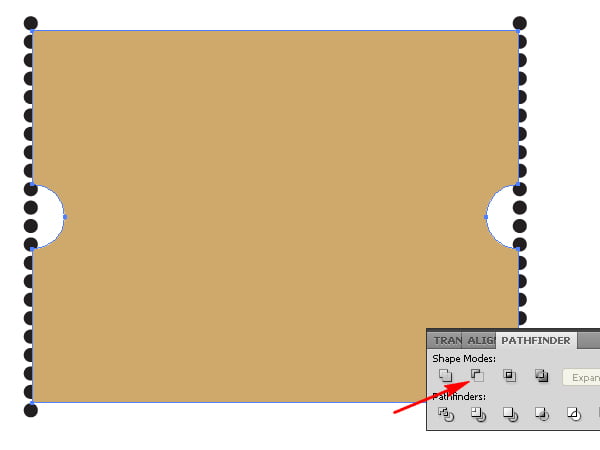
Illustrate two big circles in the centers of the opposite sides of the rectangle as shown and group them (Command + G).
Select both: this group and the rectangle,…
…go to the Pathfinder panel and click there the Minus Front button.
Step 5
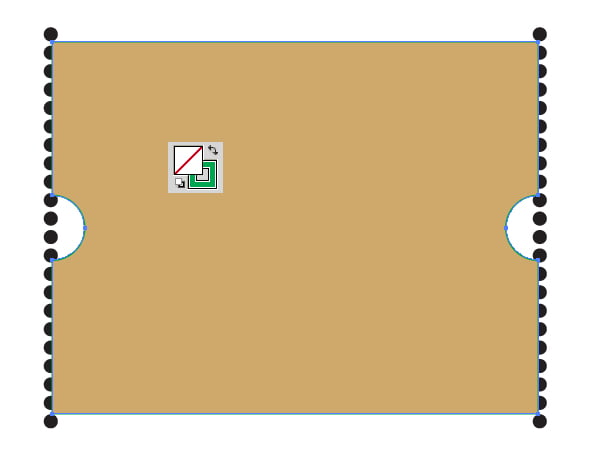
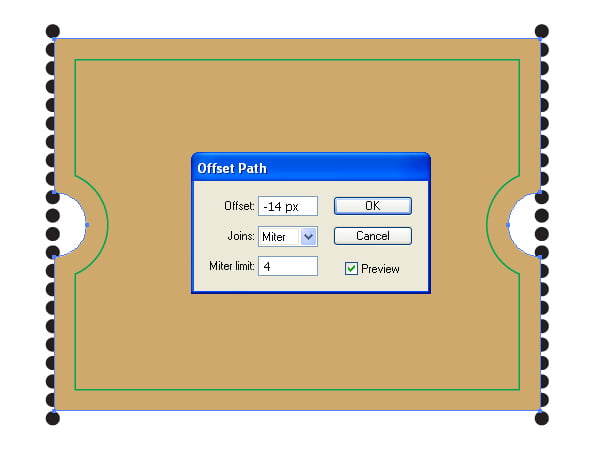
Copy the brown path and Paste it in Front (Command + C then Command + F). Change the Stroke color to green, and the fill color to none for this copy.
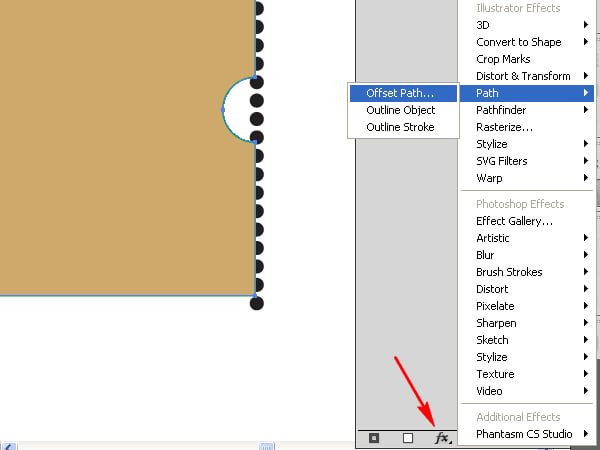
Go to the Appearance panel, click there the Add New Effect button, and choose Path > Offset Path command.
Choose the appropriate values so as to receive the next result.
Go to Object > Expand Appearance.
Step 6
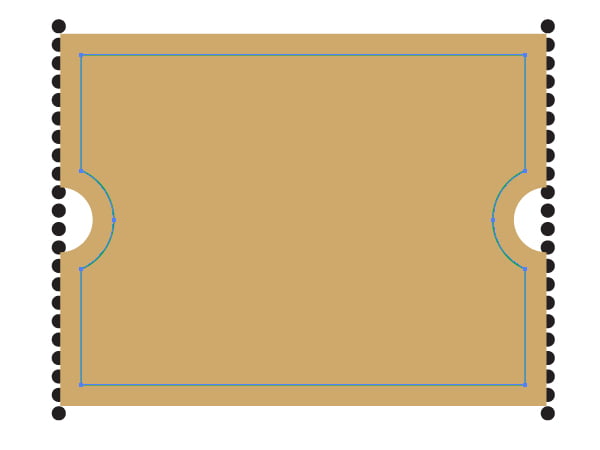
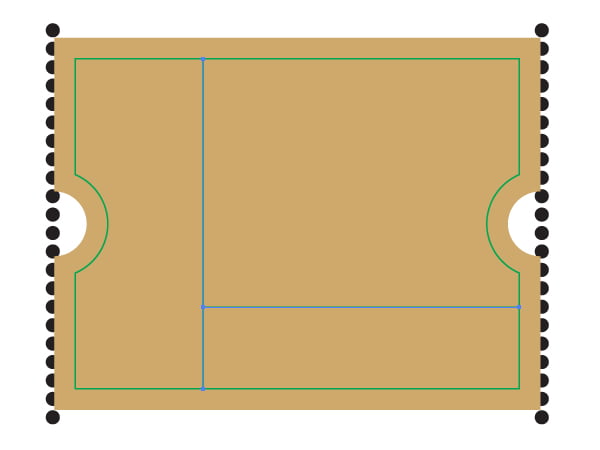
Illustrate the next green paths using the Pen Tool (P). Do it by yourself, because it is simple.
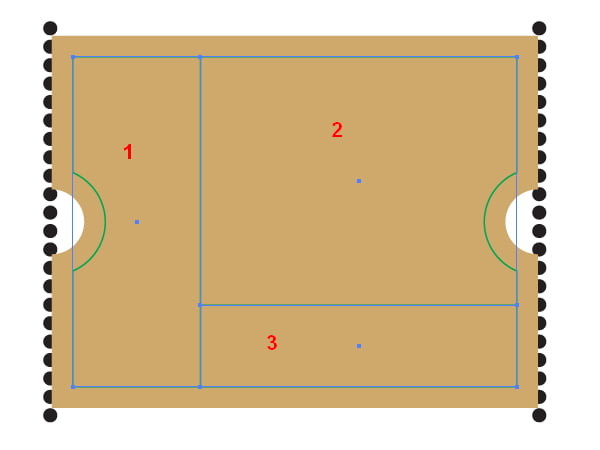
Now draw three additional rectangles which will be necessary further in the tutorial. Name them: "1", "2", and "3" as shown. We will refer to them. Change the Stroke to none for all of them.
Step 7
Send the brown path backward.
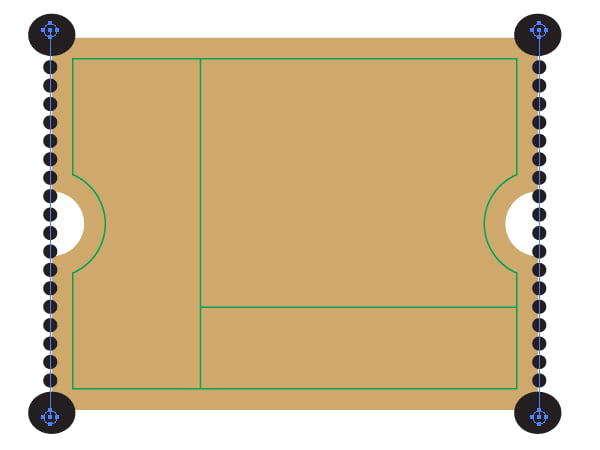
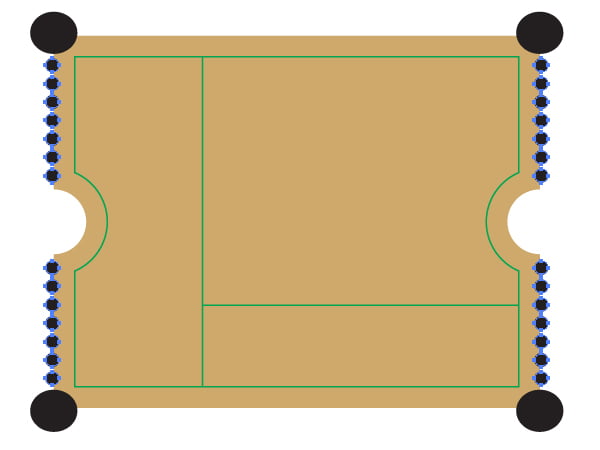
Draw four elliptical paths as shown by using the Ellipse Tool (L).
Select both blends,…
…and go to Object > Blend > Expand. Choose then Object > Ungroup twice.
Step 8
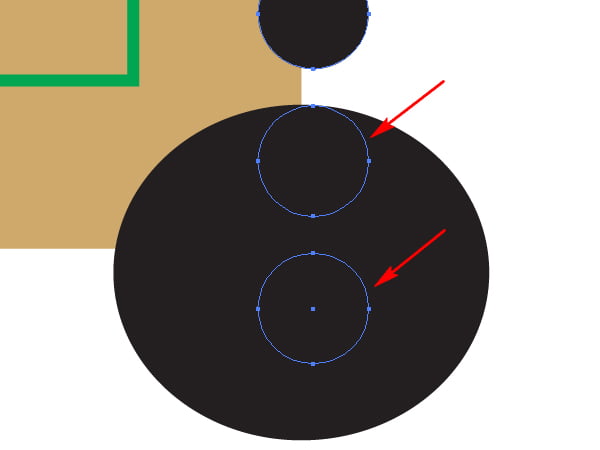
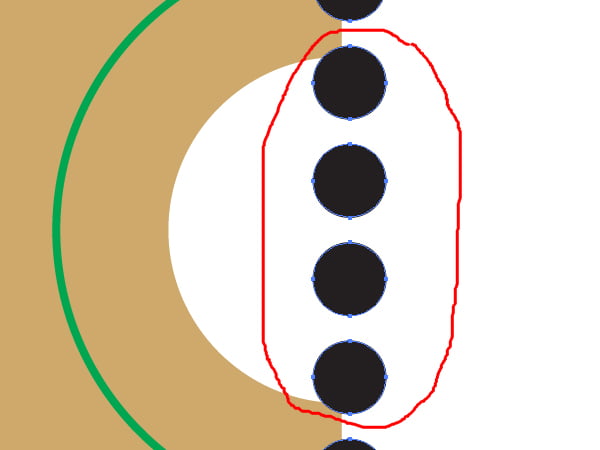
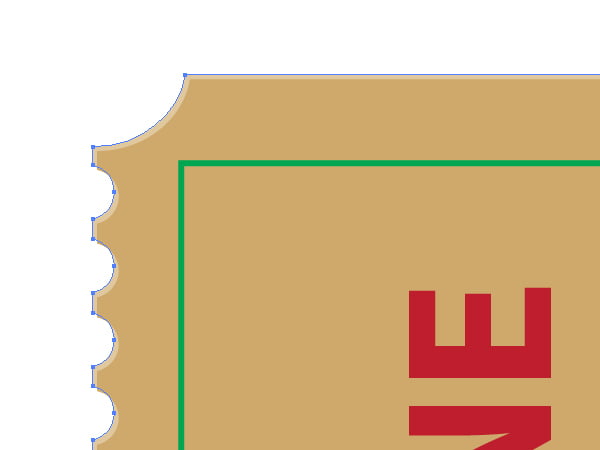
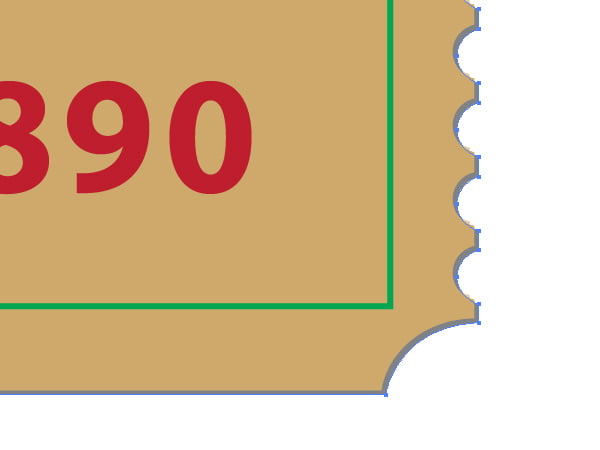
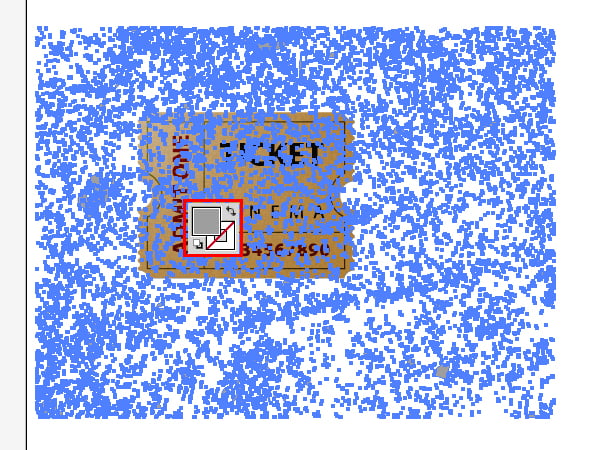
Blow up the image and delete the circles which intersect with four elliptical paths drawn before.
Besides delete all the circles which are placed over the opening. See the image below for reference where such circles are indicated with red.
And after these manipulations you should achieve the following result.
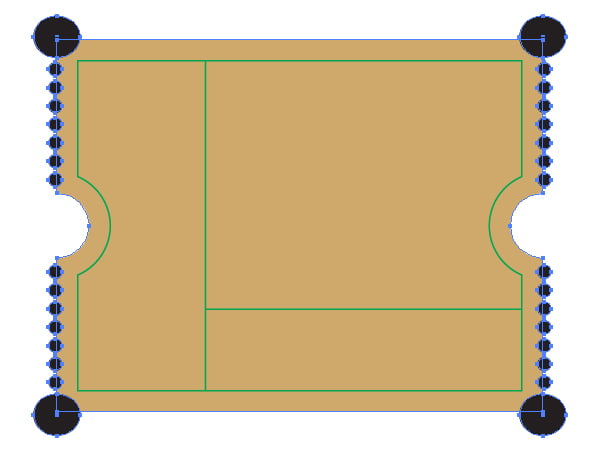
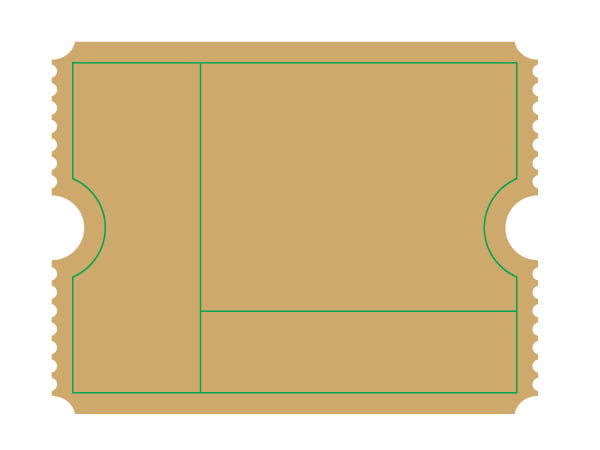
Step 9
Select all the black paths, go to Object > Group (Command + G), then select both: this group and the brown path,…
…and go to the Pathfinder palette and click there the Minus Front button.
Step 10
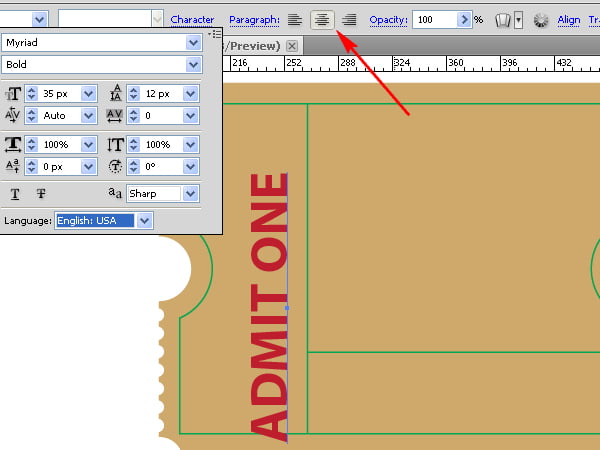
Take the Type Tool (T), change the fill color to red, and type the text "ADMIT ONE". Then rotate it by going to Object > Transform > Rotate as shown below. Align the text to the center (indicated with the red arrow), and choose the appropriate options in the Character palette.
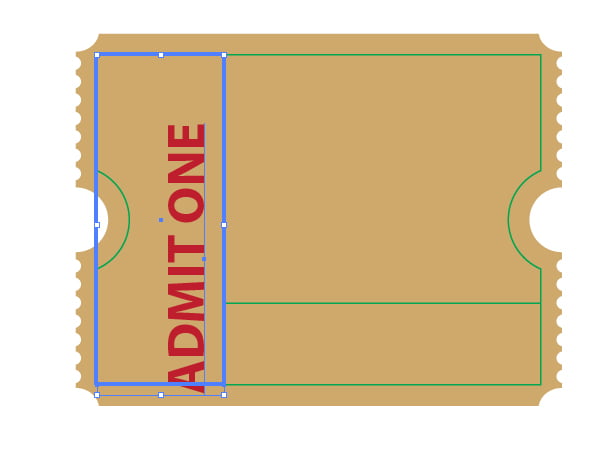
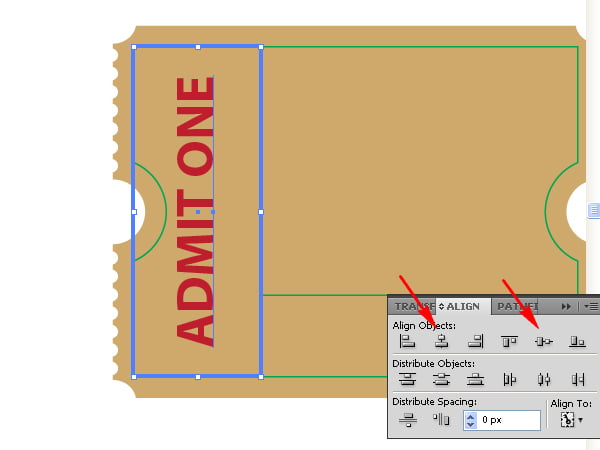
Select both: the text and the rectangle "1", click the border of the rectangle "1" with the Selection Tool (V),…
…and make the Horizontal and Vertical Align Center in the Align palette.
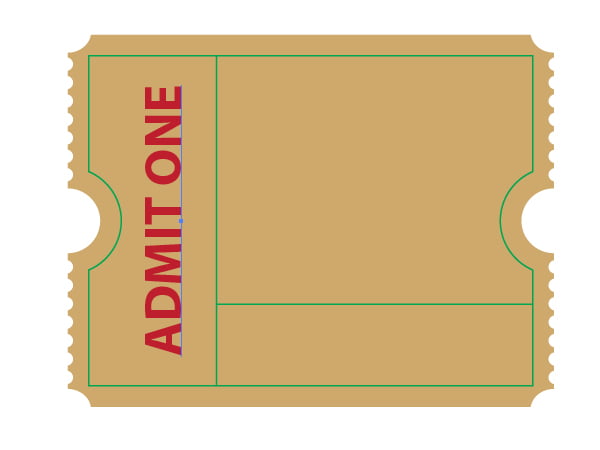
Move the text to the right slightly in order to make its location more beautiful.
The other text are made the same way and aligned with the help of the rectangles "2" and "3". Do it by yourself.
Step 11
Select the brown path, Copy it and Paste in Back (Command + C then Command + B).
Move it slightly both: leftwards and upwards. Fill it with lighter color. See the scaled image below.
Copy the brown path and Paste it in Back (Command + C then Command + B) again. Move it slightly both: rightwards and downwards. Fill it with gray. See the next scaled image.
Step 12
Take the Rectangle Tool (M), illustrate a rectangle a little more in dimensions than the brown path of the ticket and fill it with a Radial gradient shown below.
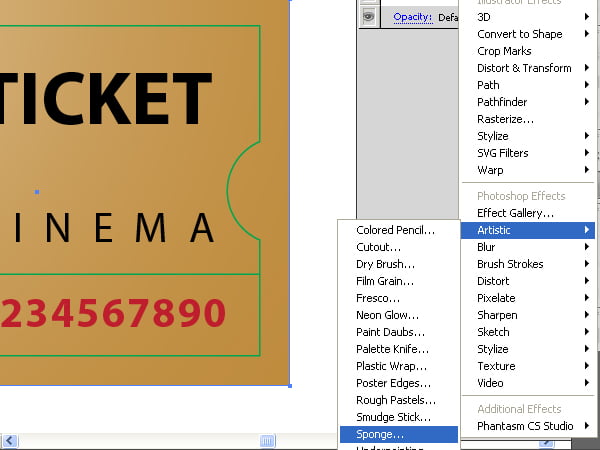
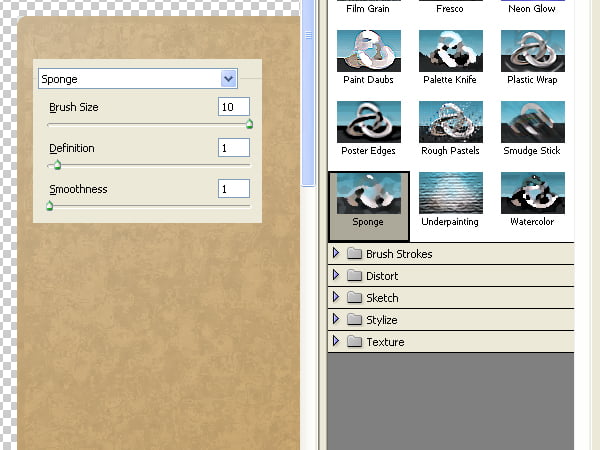
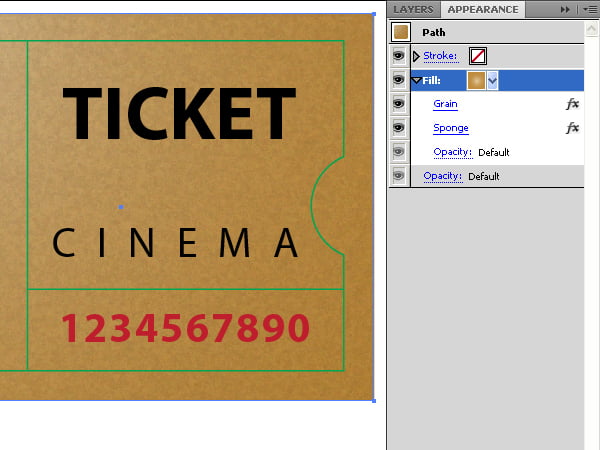
While the created rectangle is selected, go to the Appearance palette, click there the Add New Effect button and choose Artistic > Sponge effect.
Set there the values which you can see on the diagram below.
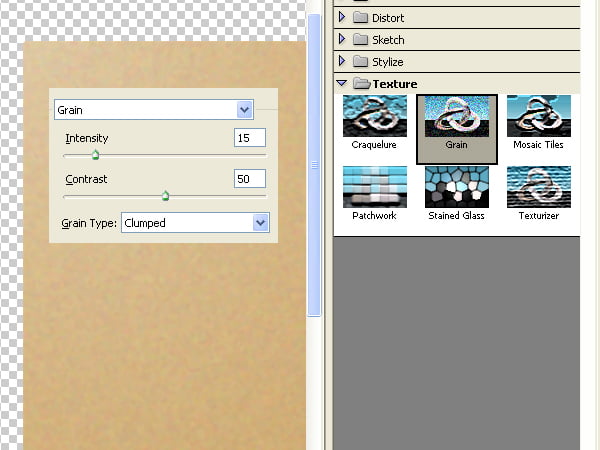
Then click the Add New Effect button again and choose Texture > Grain effect. Set there the values which you can see on the diagram below.
Place the effects into the Fill part of the Appearance palette.
Select the brown path, place it over the rectangle to which the effects have just been applied,…
…and go to Object > Clipping Mask > Make (Command + 7).
Step 13
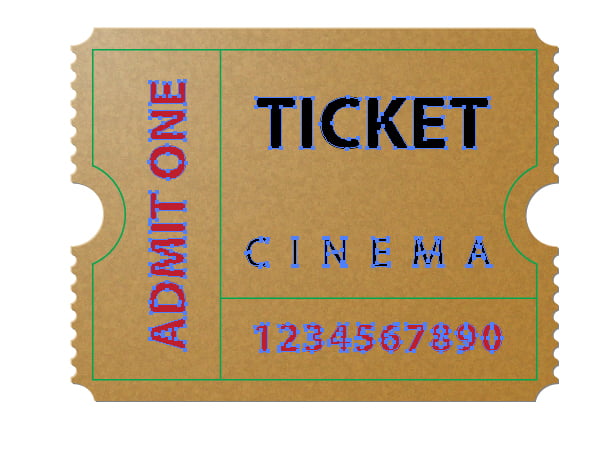
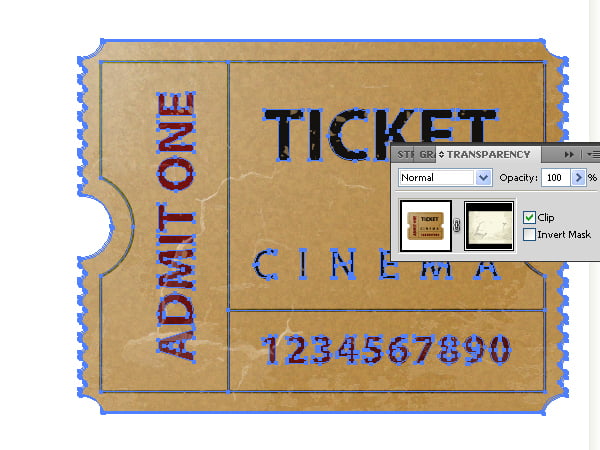
Select all the texts printed on the ticket, and go to Type > Create Outlines (Command + Shift + O).
Change the colors of the text and the green line if you want. I decided that cherry letters and grassy lines are more effective for the tutorial. Follow your own feeling of beauty.
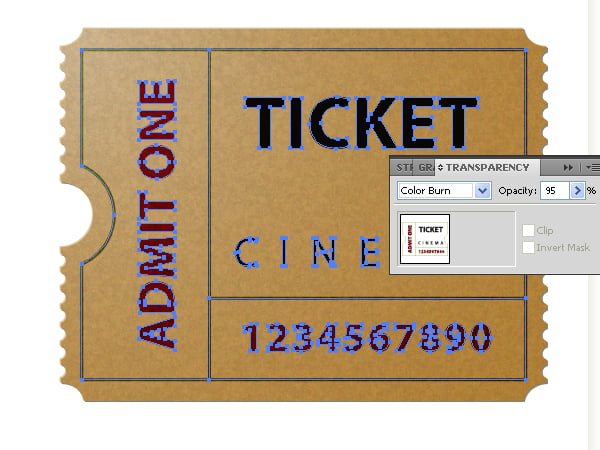
Select all green lines and all the texts and group all of them (Command + G). Then go to the Transparency palette and change the Blending Mode to Color Burn and the Opacity to about 95% as shown for this group.
Step 14
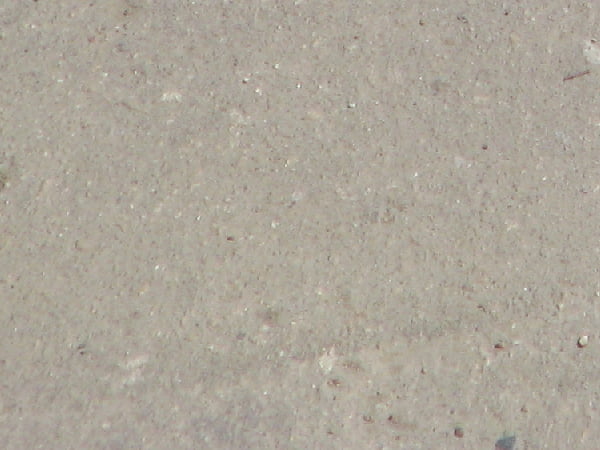
Let's now place a texture over the ticket. I used a photo of asphalt for this purpose which I had taken in the street.
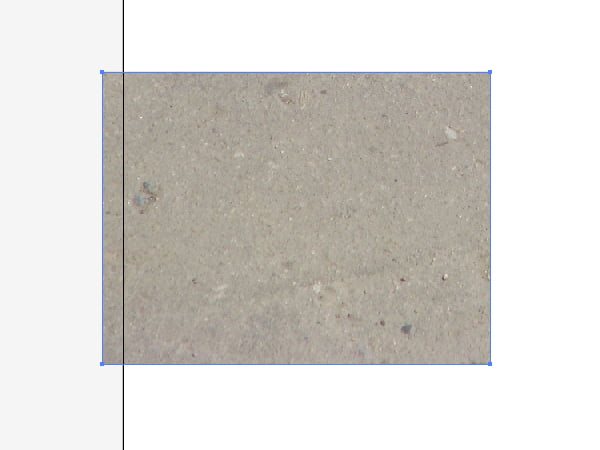
Go to File > Place and insert the photo into your artwork.
Go to Object > Live Trace > Tracing Options, and set there the values which you can see on the diagram below. Select the option Ignore White (indicated with an arrow) in the dialog window. Then click the Trace button.
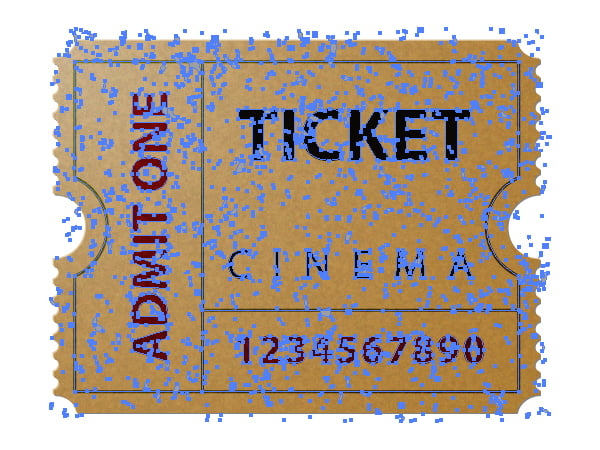
Step 15
Convert tracing objects into paths by clicking the Expand button in the Control panel. Then change the fill of the objects to light gray.
Take the Direct Selection Tool (A) and select the paths which do not located over the ticket. The selection should be approximate, should be made by eye.
Press the Delete button on your keyboard twice.
Delete all unnecessary paths that are placed beyond the ticket bounds.
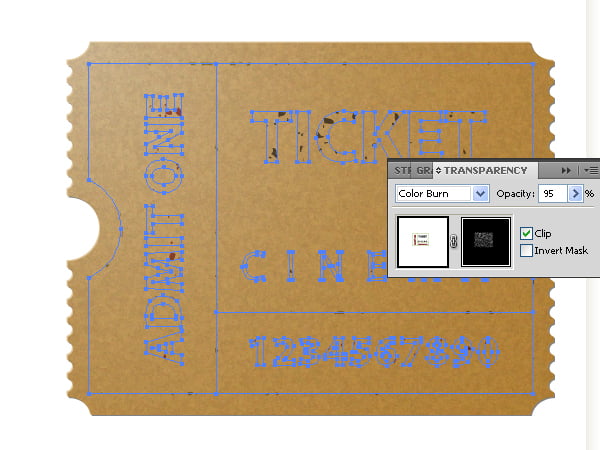
Step 16
Now we need to place this texture on the texts and grassy lines of the ticket. Select both: the group of texts and lines, and the group of the light gray paths made from the texture,…
…go to the Transparency palette, open the fly-out menu and choose the Make Opacity Mask command.
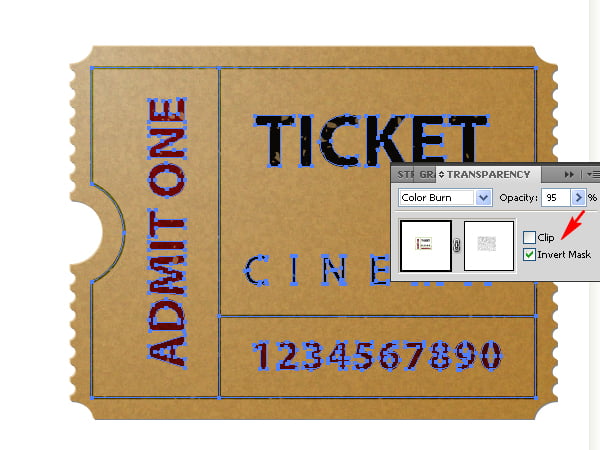
Then change the flag options in the Transparency palette that indicated with an arrow on the diagram.
Step 17
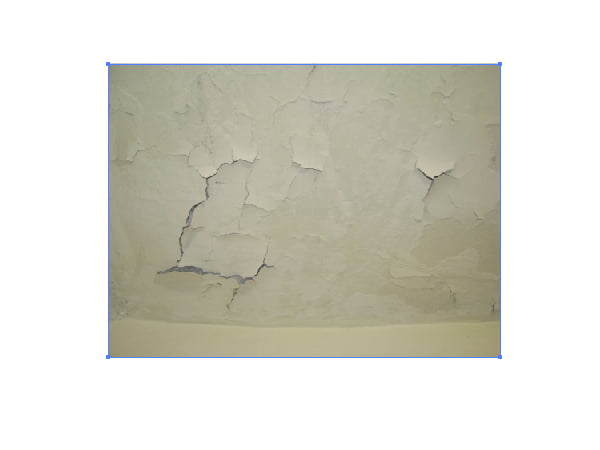
Let's now place a new texture over all the ticket. I used a photo of the ceiling in the bathroom for this purpose which I had taken too. Place it over the ticket as well.
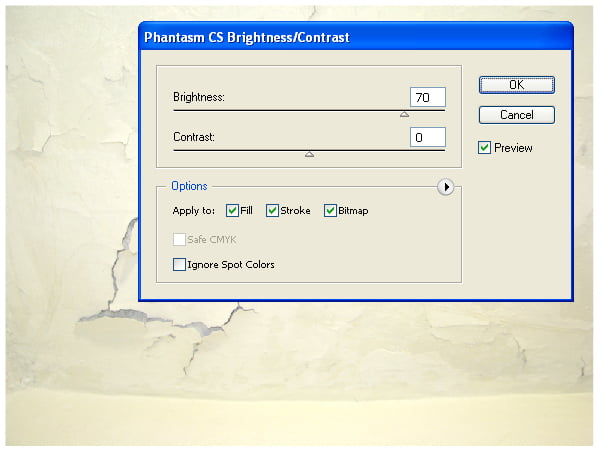
Our ceiling is too dark. If yours too, you need to lighten it before using. If you have the Astute Graphics' Phantasm CS plug-in, then go to Effect > Phantasm CS Studio > Brightness / Contrast, and set there the values which you can see on the diagram below.
Then use it, and go to Object > Expand Appearance.
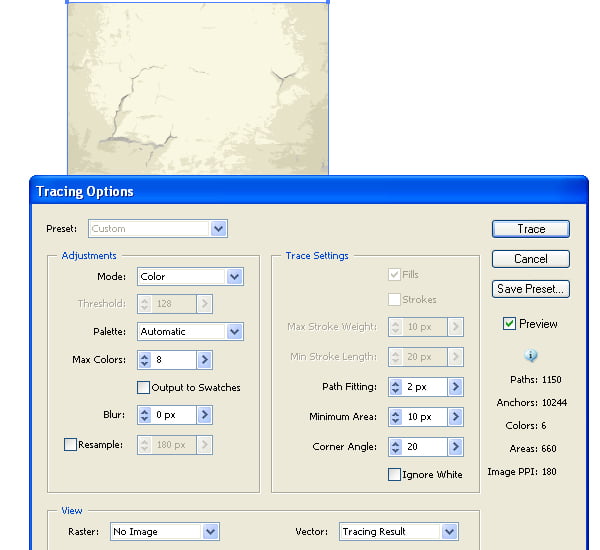
Trace the picture now. The tracing options are shown in the diagram below.
After that expand the trace.
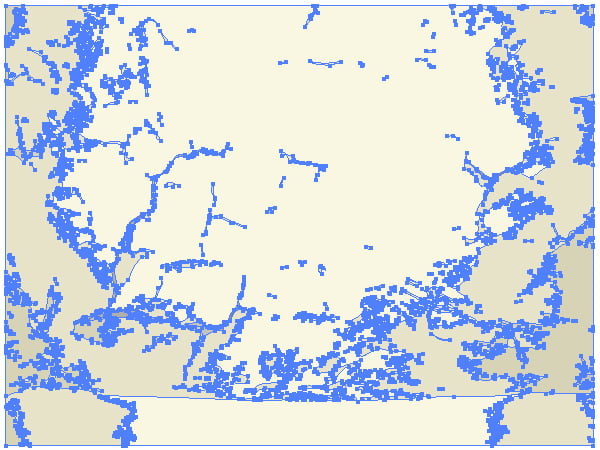
And make the Opacity mask in the Transparency palette as shown below. This mask is applied to all the artwork made before; to all the objects of the ticket in other words.
Step 18
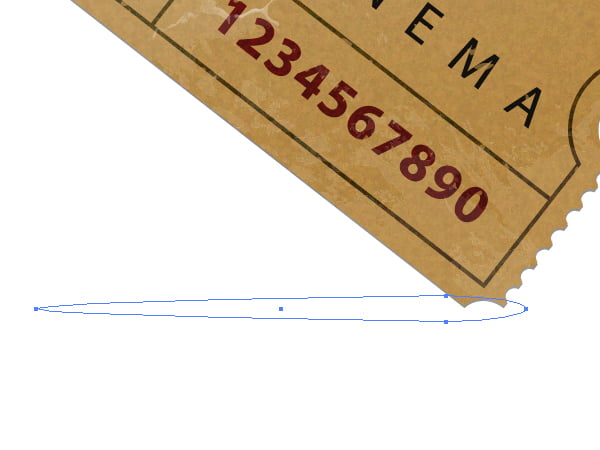
After that rotate the ticket by going to Object > Transform > Rotate.
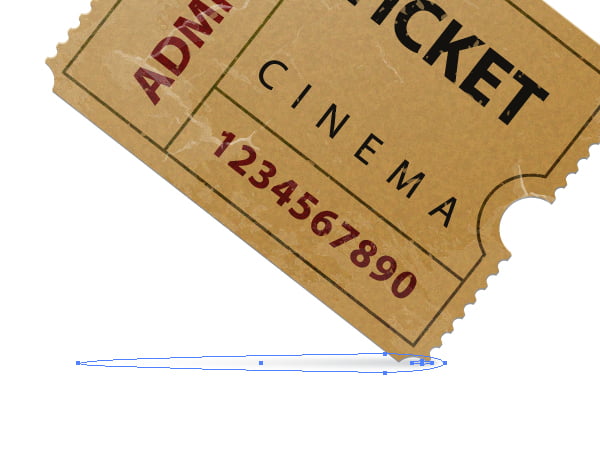
In order to create a shadow, first, create the shown path. Fill it with white, change the Stroke to none, and the Opacity of the path to 0.
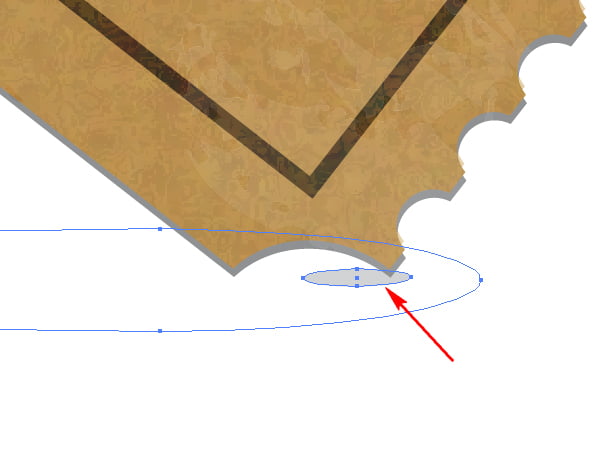
Illustrate the next path filled with light gray over the first path as shown below.
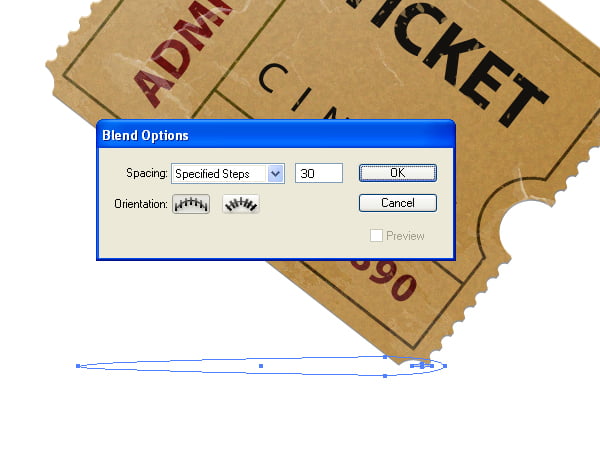
Step 19
Go to Object > Blend > Blend Options and set there the values which you can see on the diagram below.
Then go to Object > Blend > Make (Command + Alt/Option + B).
Conclusion
The final image is below. Use the techniques you’ve learned here in your own artworks. I hope you’ve enjoyed this tutorial.
|