|
In the previous tutorial we looked at the process of creating isometric icons of the building with the help of transformation effects and Phantasm for quick coloring of different projections. Today, using action feature we will make the process automatic. After this, creating isometric icons in Adobe Illustrator will only take a few seconds. Accelerate to speeds of space!
Step 1
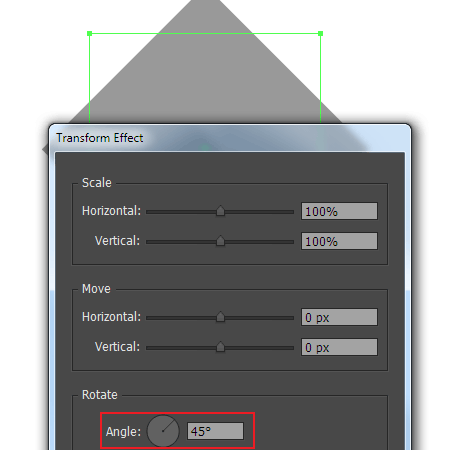
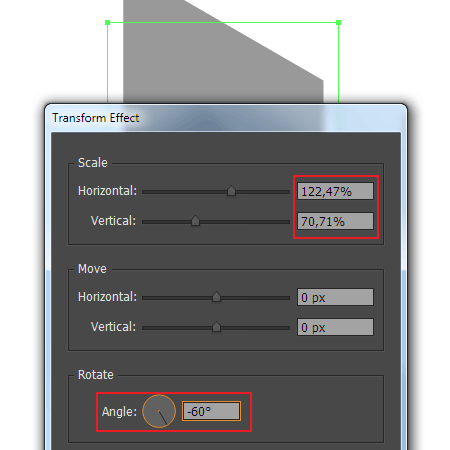
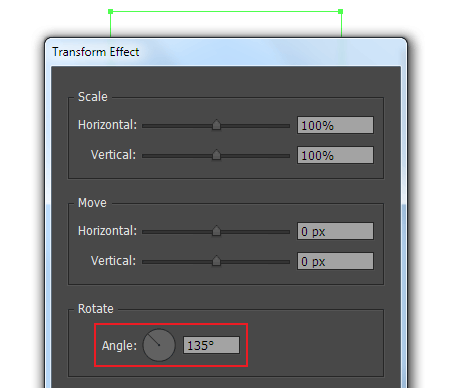
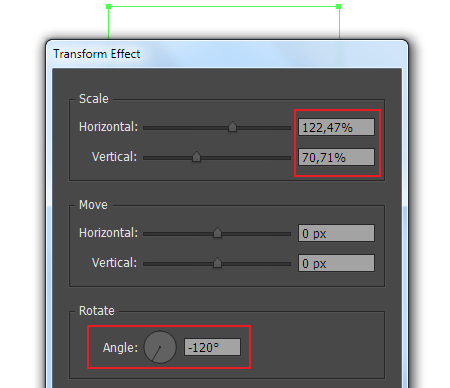
Create graphic styles, using effects, which we described in the previous tutorial. Let’s make an arbitrary object and apply two transformation effects to it (Object > Transform & Distort > Transform …), that correspond to the deformation of the left isometric plane.
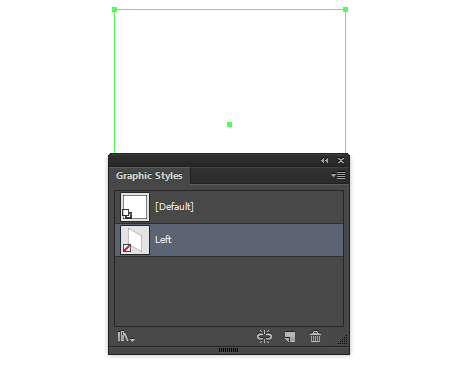
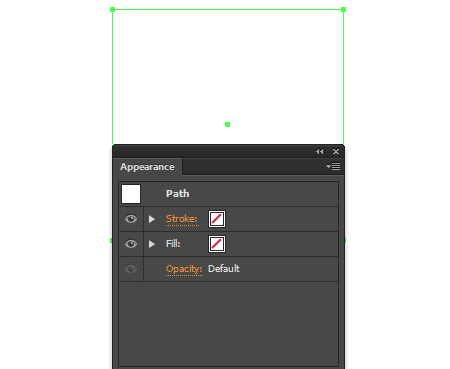
Turn off the fill and stroke of the object. These are extra attributes of the style.
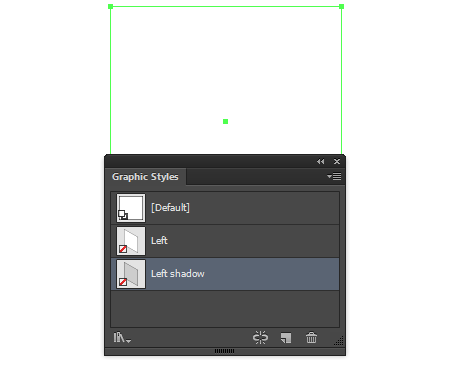
On the basis of this object, create a graphic style, name it Left.
Step 2
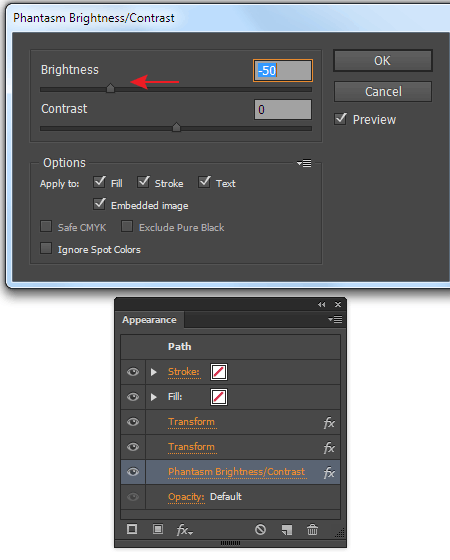
Apply to our object Brightness / Contrast effect (Effect > Phantasm > Brightness / Contrast …) and reduce the value of Brightness. This effect will allow us, if necessary, to quickly shade objects of the left isometric projection.
Based on the object create a graphic style, and name it Left shadow.
Step 3
Remove all the effects of the selected object in the Appearance panel.
Now apply to the object two transformation effects (Object > Transform & Distort > Transform …), that correspond to the deformation of the right isometric plane.
On the basis of this object, create a graphic style, and name it Right.
You can read full version of this tutorial on AstuteGraphics.com....
|