|
Today you will learn how to create Line Art with the new Width Stump Tool, which became available in the current release of the WidthScribe2 plug-in. This powerful and flexible tool allows you to create variable width paths, transmitting the light and shadow of raster or vector objects. You would only need to select a preset, pick up the parameters and click on the button. A few minutes of experimentation and an awesome engraving is ready! I'm hoping that you have already experienced using this if not, download a 14 day free trial now!
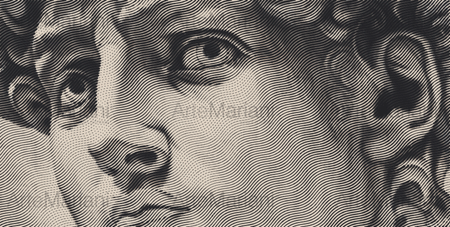
I will use an illustration of David by Mariani Affreschi as a reference image.
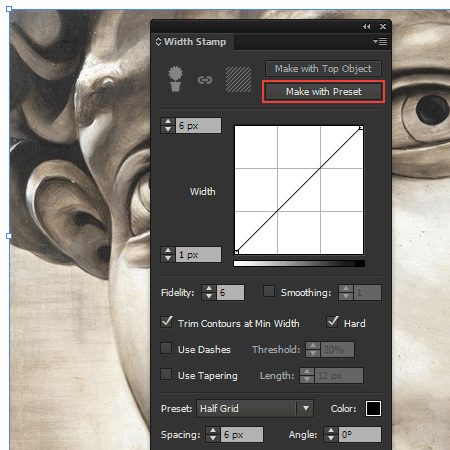
You can use another image, such as a photo of you. Place raster image in Adobe Illustrator (File> Place …). Open Width Stump panel (Window> WidthScribe> Width Stump panel). Now select Linked or Embedded image and click on the Make with Preset button in the panel.
As a result we will apply Half Grid preset, set in the Width Stump panel by default.
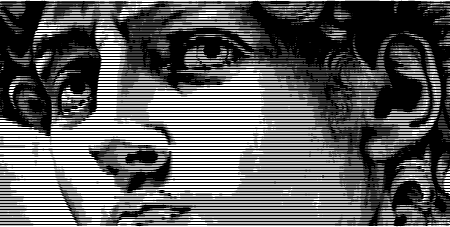
As you can see, preset lines represent variable width paths, which convey the distribution of light and shadow on the face of David. By the way, Width Stump Tool can be applied to vector objects with the same success.
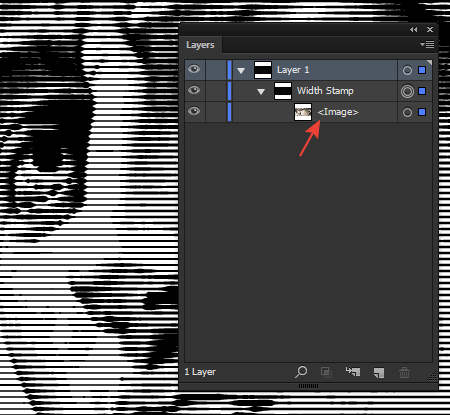
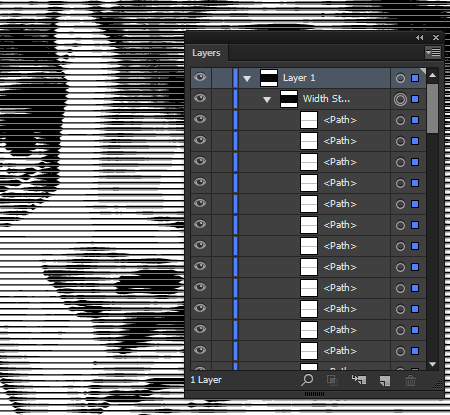
We applied non-destructive live effect to the raster object. You can see that by looking at the Layers panel, that still contains the Image item.
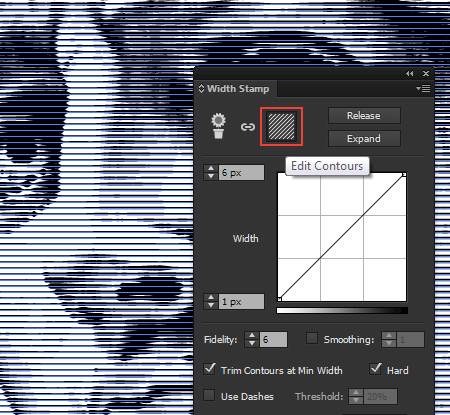
Let me do a brief review showing the properties of the Width Stamp object. Managing this object is similar to the management of the Envelope Distort. You can access the editing of the paths of grid, to do this, click on Edit Contours icon in the Width Stump panel.
In this case, we can see the entire path instead of the image in the Layers panel.
If we change the shape of the paths, then their variable width will still depend on the position of light and dark spots of the illustration. The picture below shows how the Width Stamp object looks after local application of theBloat Tool.
You can read full version of this tutorial on AstuteGraphics.com....
|