|
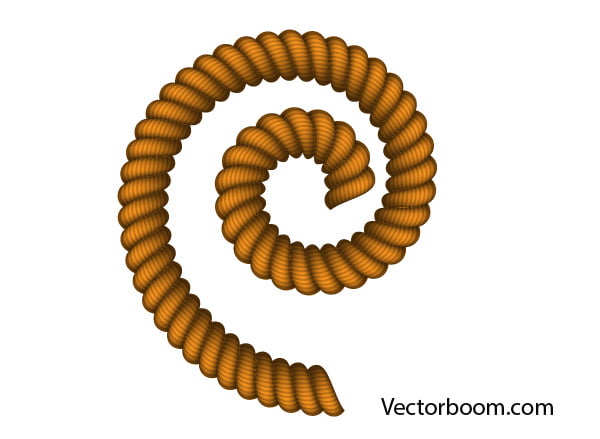
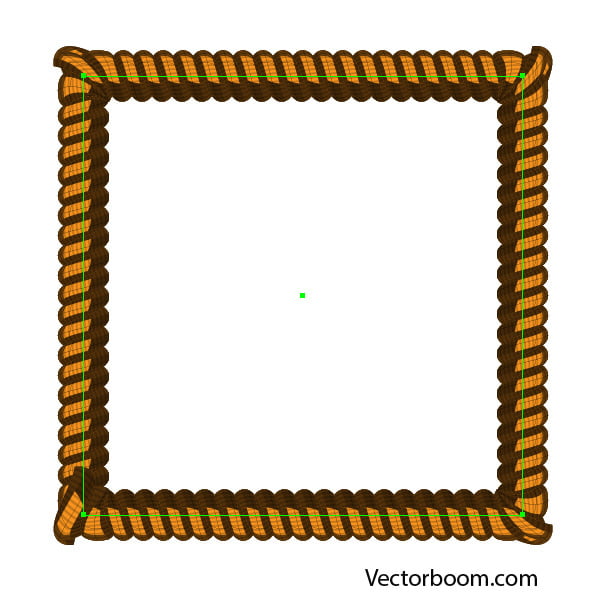
Final Image Preview
In today's tutorial we will learn how to create a pattern brush in the shape of a rope. As you know, this brush cannot contain a gradient mesh, but we will violate this rule using the Mesh Tormentor plug-in.
You can download the source vector file for this tutorial

Step 1
Using the Pen Tool (P) or Line Tool (/) create a horizontal segment, holding down Shift.
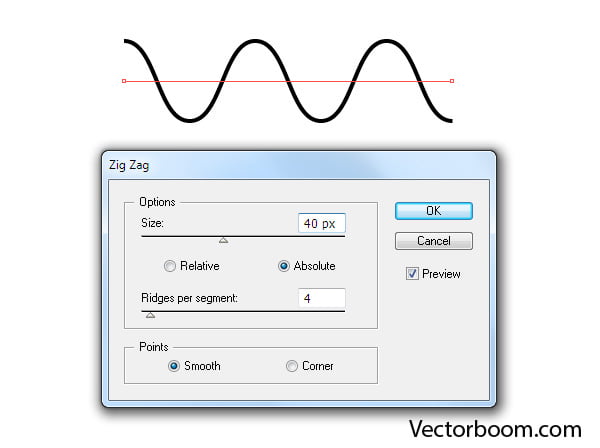
Keeping the path selected, go to Effect > Distort & Transform > Zig Zag … and set the parameters that are shown in the picture below.
Step 2
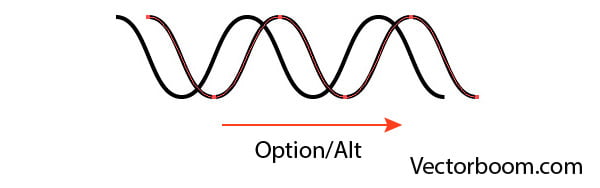
Proceed to Object > Expand Appearance. Move the resulting curve to the right, while holding down the Shift and Option / Alt, that will lead to its duplication.
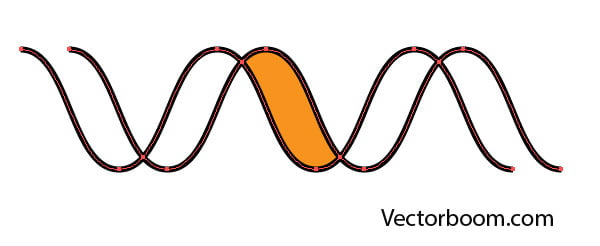
Step 3
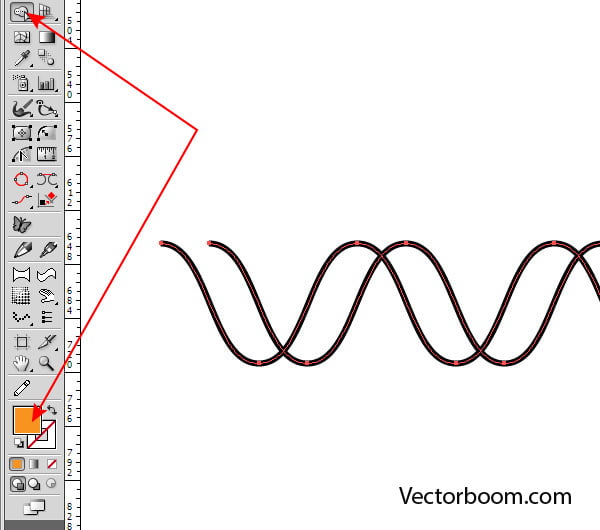
Select both paths, take the Shape Builder Tool (Shift + M) and choose any color for the fill in the Color panel.
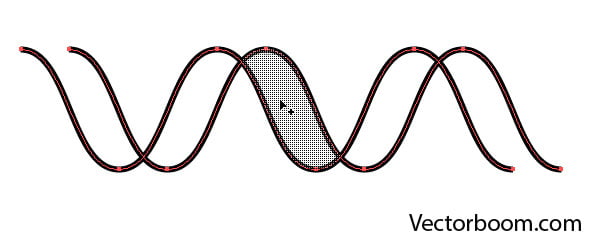
Click on the closed space that is formed with intersecting curves.
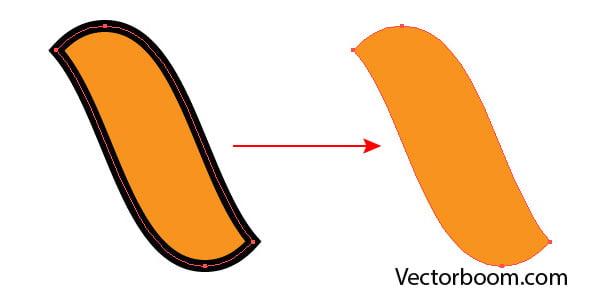
Step 4
Remove all the black paths, keeping only closed path with a fill. Turn off the black stroke of this object.
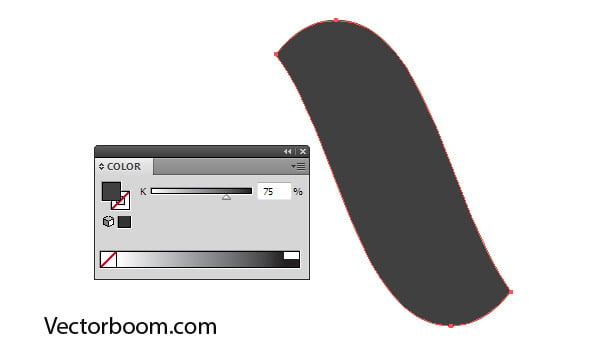
Copy the shape and paste it in front (Command / Ctrl + C; Command / Ctrl + F). Fill the upper object with a dark gray color.
Step 5
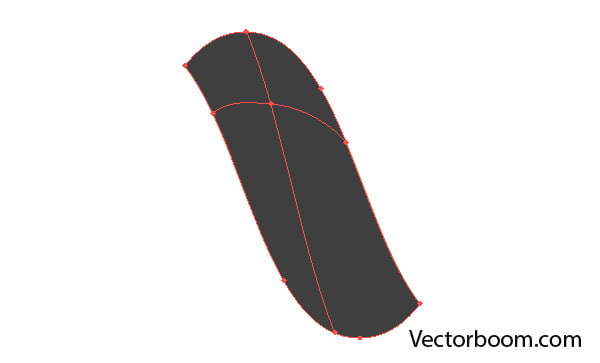
Take the Mesh Tool (U) and click at the top of the gray shape, transforming it into a gradient mesh.
Select the central mesh point with the help of the Direct Selection Tool (A), then color it in white.
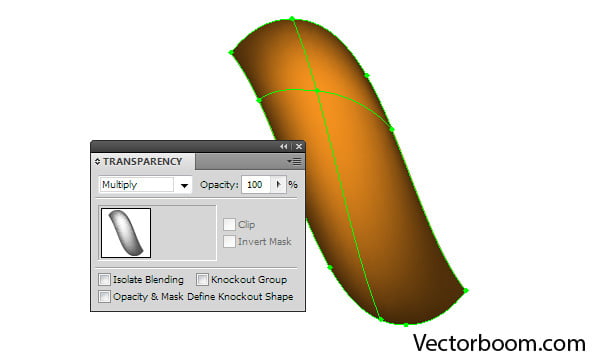
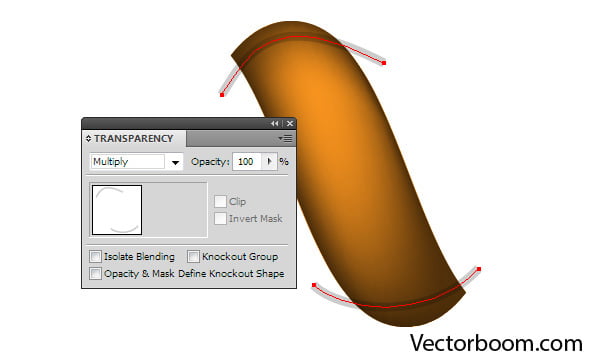
Step 6
Select the entire gradient mesh, then set the Multiply blending mode in the Transparency panel.
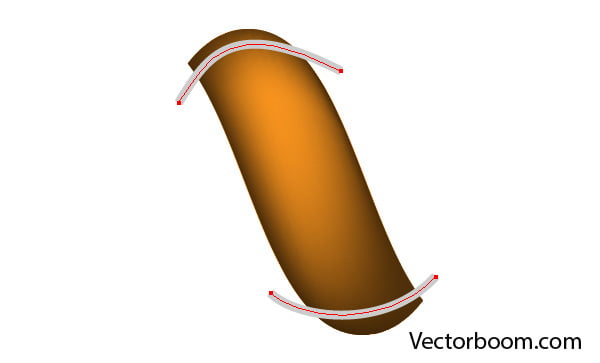
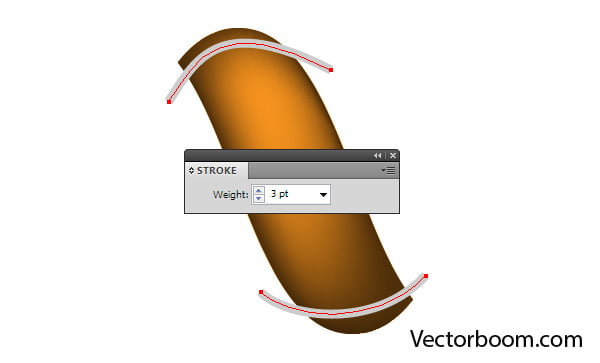
Create two curved segment with a stroke of light gray color, as it is shown in the picture below.
Set the appropriate stroke width in the Stroke panel.
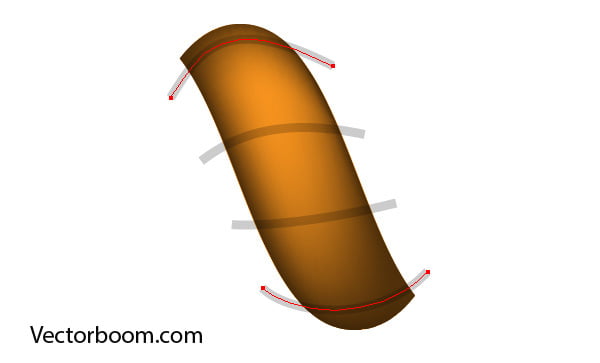
Step 7
Select both paths, then set the Multiply blending mode in the Transparency panel.
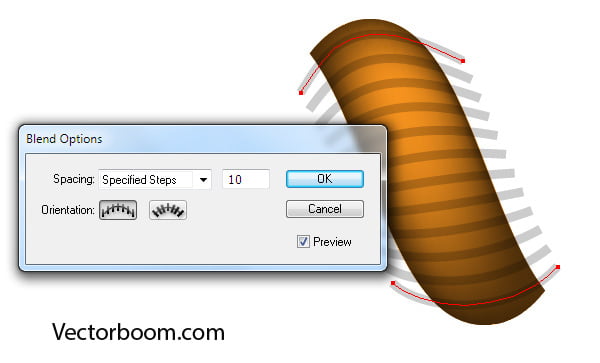
Now apply the Command / Ctrl + Option / Alt + B shortcuts to create a blend object.
Double-click on the Blend Tool (W) icon in the Tools panel, and then set the appropriate number of the Specified steps in the dialog box.
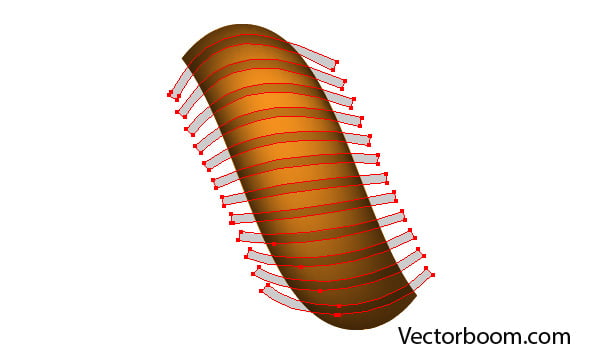
Step 8
Now go to Object > Blend > Expand, then go to Object > Path > Outline Stroke.
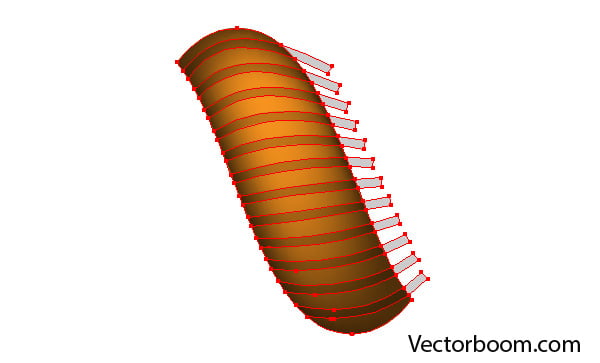
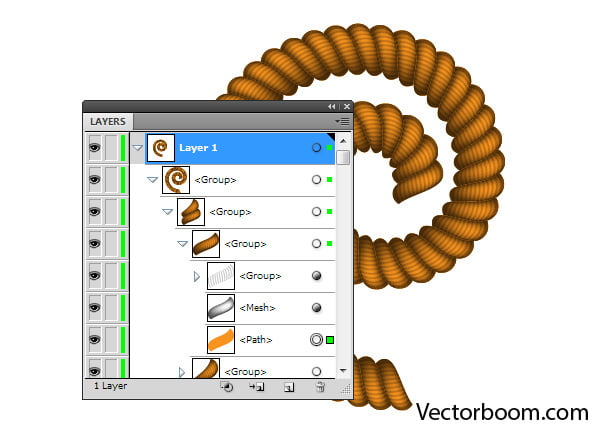
Select the achieved group of objects, and the lower orange shape. This can be conveniently done in the Layers panel.
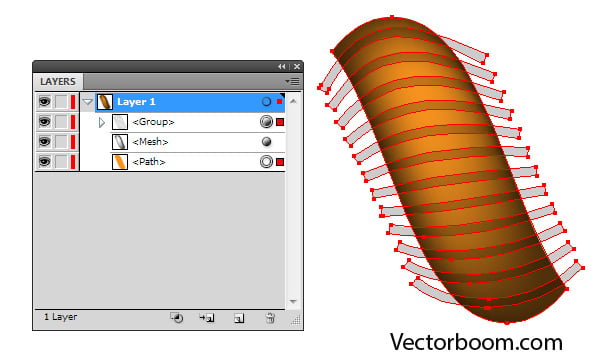
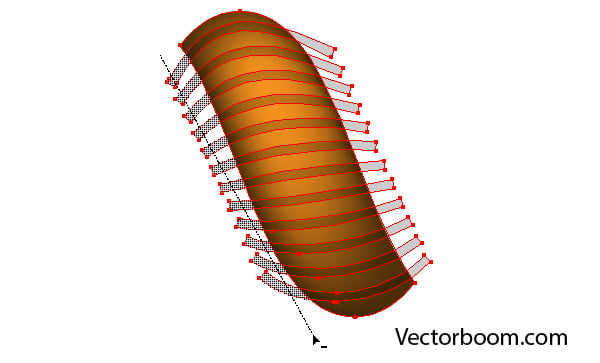
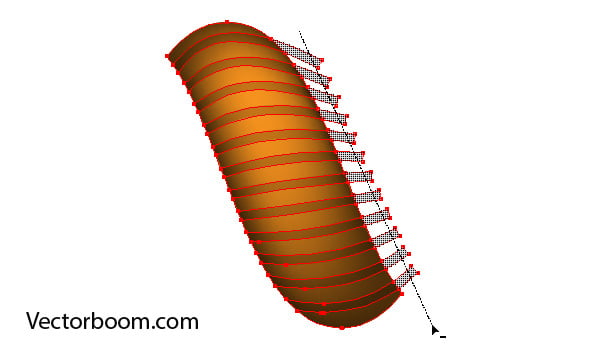
Step 9
Take Shape Builder Tool, holding Option / Alt key and the mouse key, hover the cursor along the trajectory shown in the picture below.
This action will result in the removal of parts of the shapes that go beyond the orange object.
Repeat the same steps on the other side of the orange shape.
Select and group up all the created objects.
Step 10
Drag the group to the right, holding down Shift and Option / Alt, leading to its duplication.
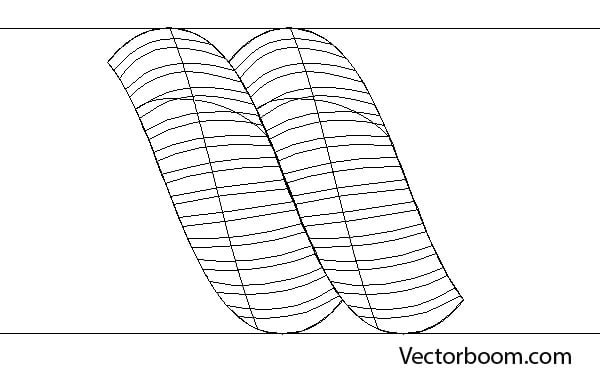
For more accurate work in this step, you can enable Outline mode (View > Outline (Command / Ctrl + Y)).
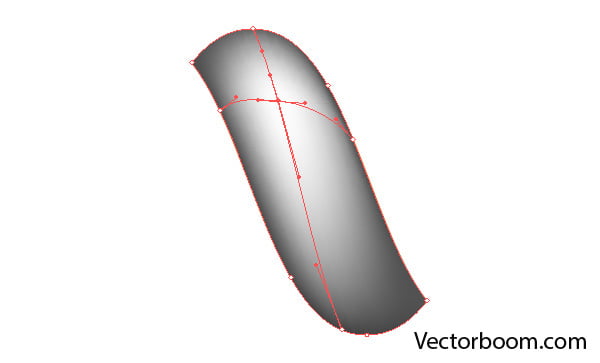
Create two horizontal guides, which must touch the top and bottom of the shape.
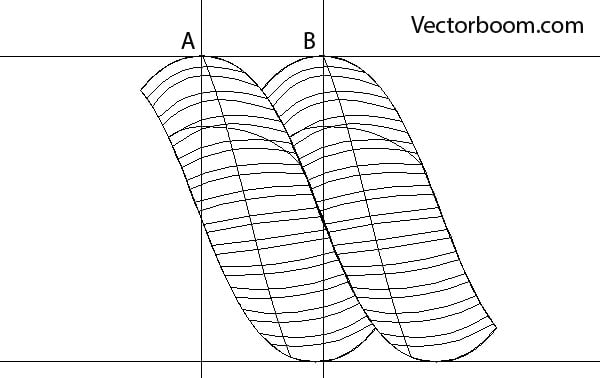
Now create two vertical guides, which must pass through the points A and B.
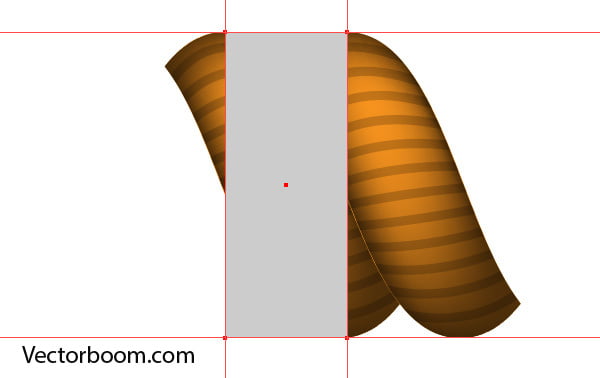
Step 11
Switch back to Preview mode (Command / Ctrl + Y) and create a rectangle which vertices must lie exactly on the points of intersection of the guides.
Now the guides can be removed. Place the rectangle below all the objects and turn off its stroke and fill.
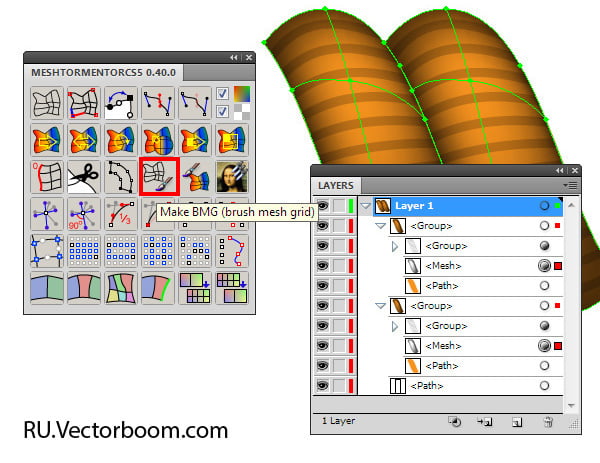
Step 12
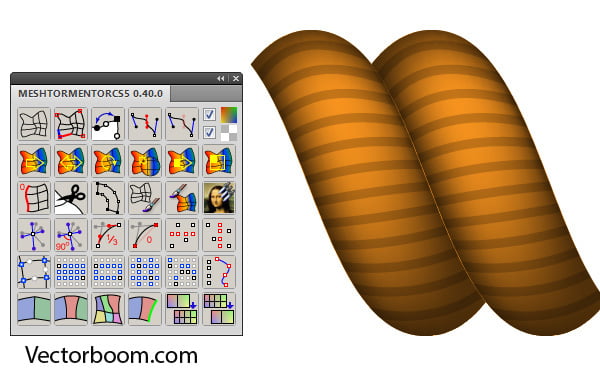
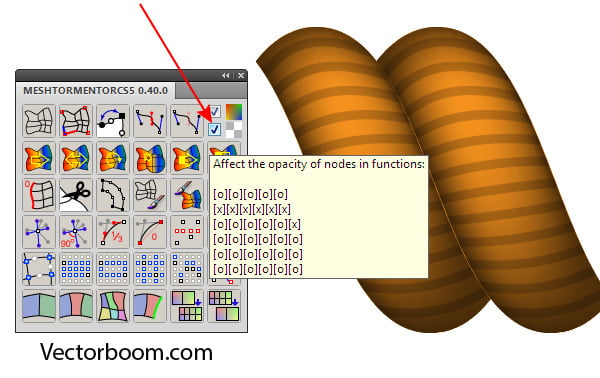
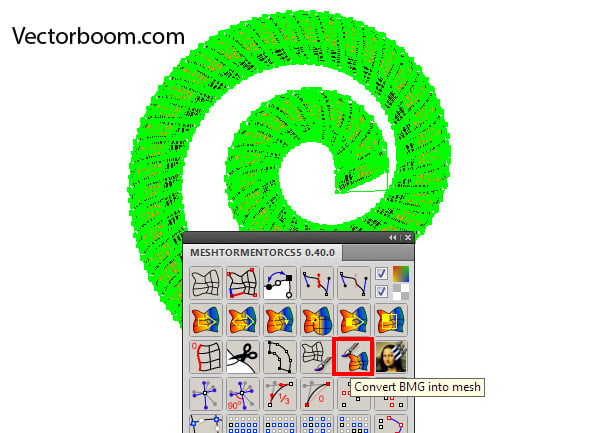
It's time to make some magic. Open Mesh Tormentor panel (Window > Mesh Tormentor). This plug-in is for working with the gradient meshes can be downloaded for free by clicking on this link.
Tick the opacity option in the panel.
Select both gradient meshes in the Layers panel, then press on the Make BMG button in the Mesh Tormentor panel.
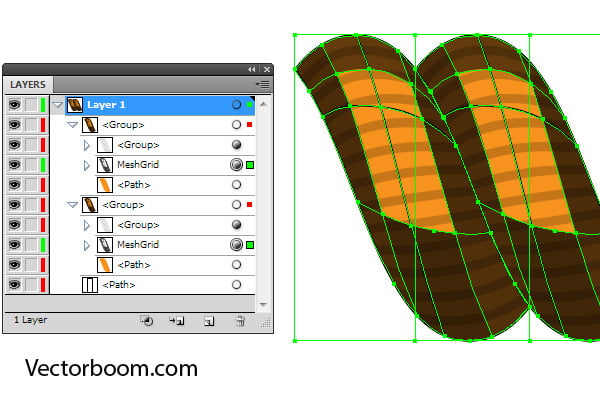
Gradient meshes have been converted into groups of regular vector objects. Group up all the created objects.
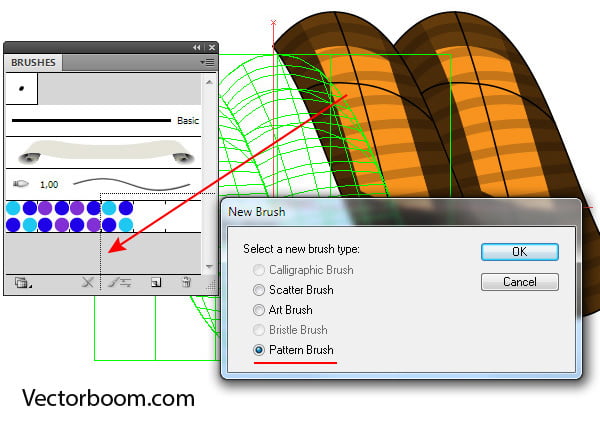
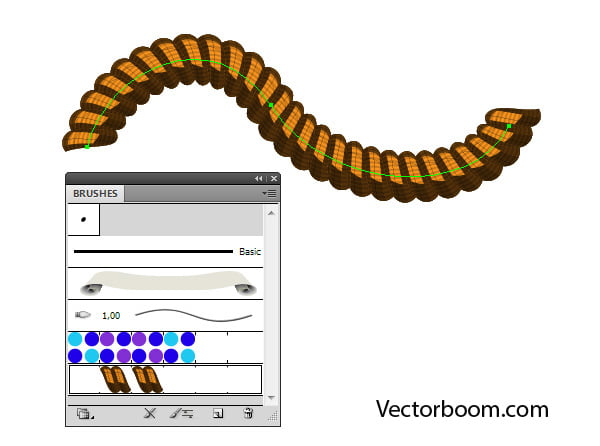
Step 13
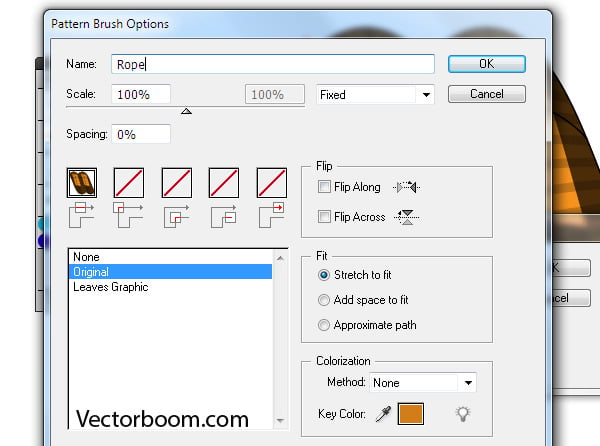
Drag the group into the Brushes panel and save the new brush as the Pattern Brush.
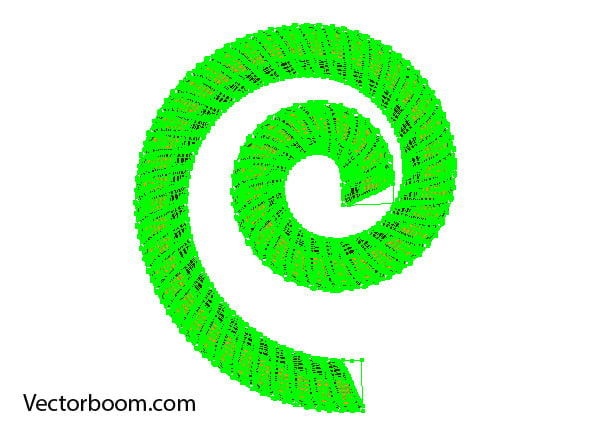
Now create a path of an arbitrary shape and apply the created brush to it.
You can always change the thickness of the rope by changing the stroke weight in the Stroke panel.
Before moving further put the path into the final shape.
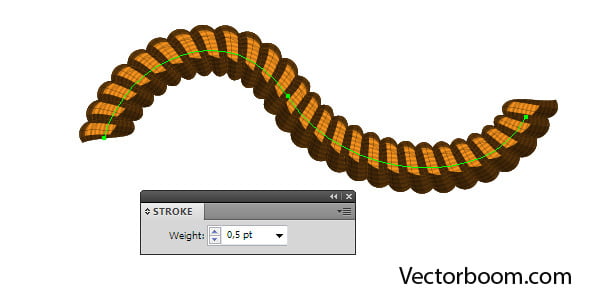
Step 14
Select the path, then go to Object > Expand Appearance.
Click on the Convert BMG button into Mesh in the Mesh Tormentor panel.
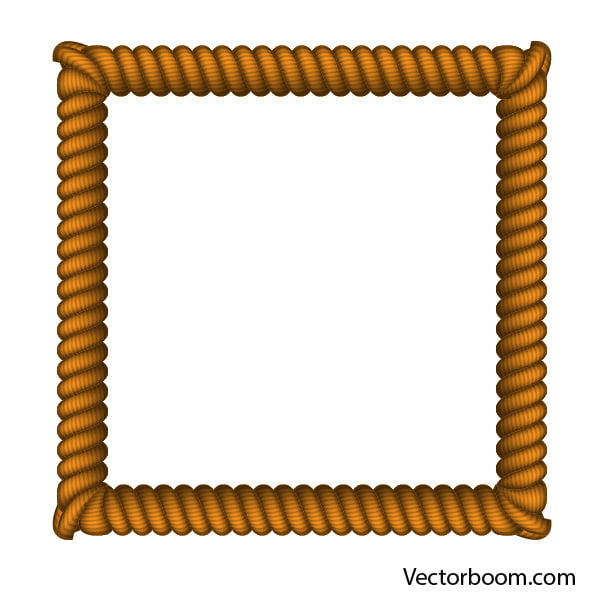
We have obtained the final product — the rope.
Step 15
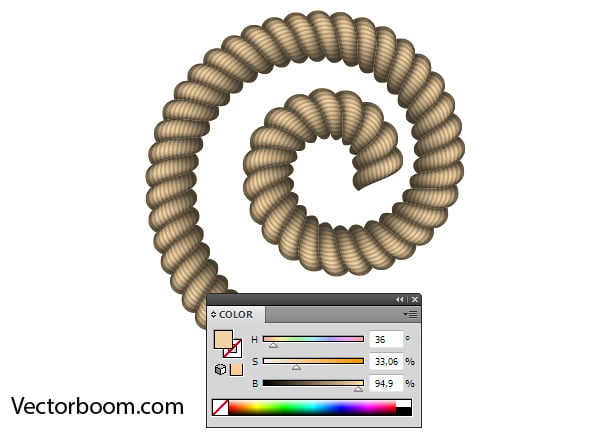
Now let's see how quickly we can change the color of the rope. Select any shape that is filled with orange color in the Layers panel.
Proceed to Select > Same > Fill Color. We just need to choose the desired color in the Color panel.
For the convenience of working with color disable Edge highlight (Command / Ctrl + H).
Conclusion
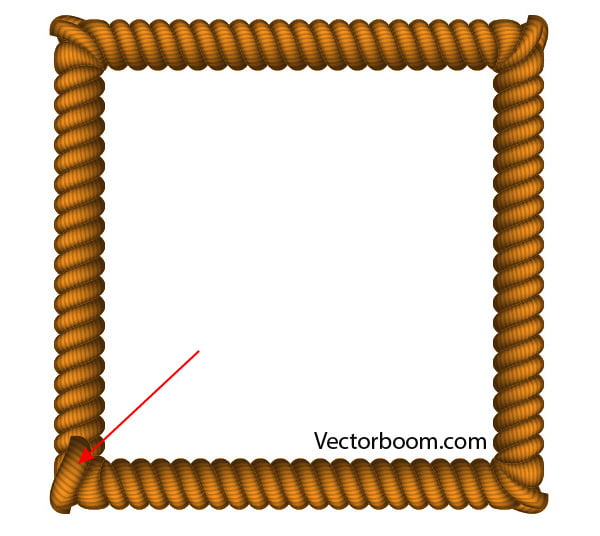
The technical part of the tutorial is over, it's time to think about where we can use vector rope.
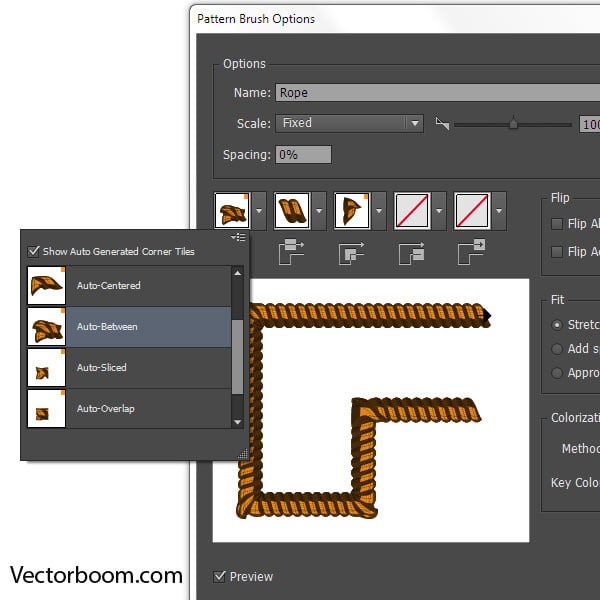
As you probably know, the latest release of Adobe Illustrator CC has the feature of automatic generation of a corner tile of the pattern brush. Let's try to create a corner tile for our rope, just as an experiment.
Apply the created brush to the rectangle
By following the above described technique, restore the gradient meshes
I cannot say that it looks perfect. Although, if you move a few objects into the Layers panel, you can slightly improve the result
You can download the source vector file for this tutorial
Thank you for your time, wishing all the best!
|