|
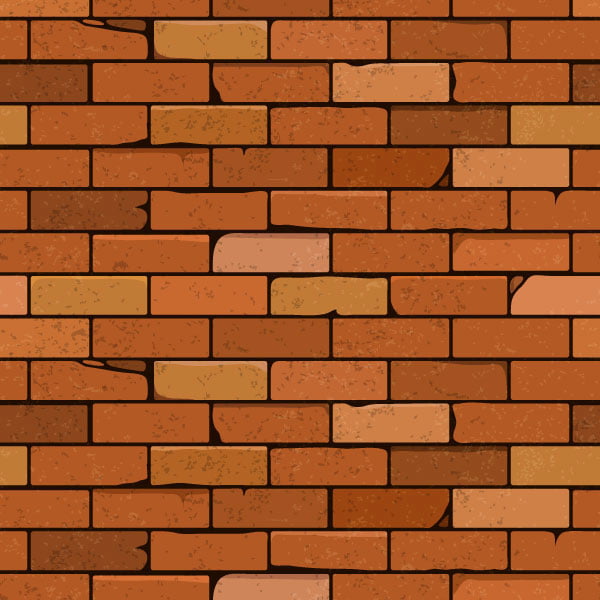
Final Image Preview
In this tutorial we’ll learn how to create a brick seamless background using the Pattern Editing feature, which is available for the users of Adobe Illustrator CS6 or CC. For more realistic effect we use some manual techniques, create and apply a vector texture.
Step 1
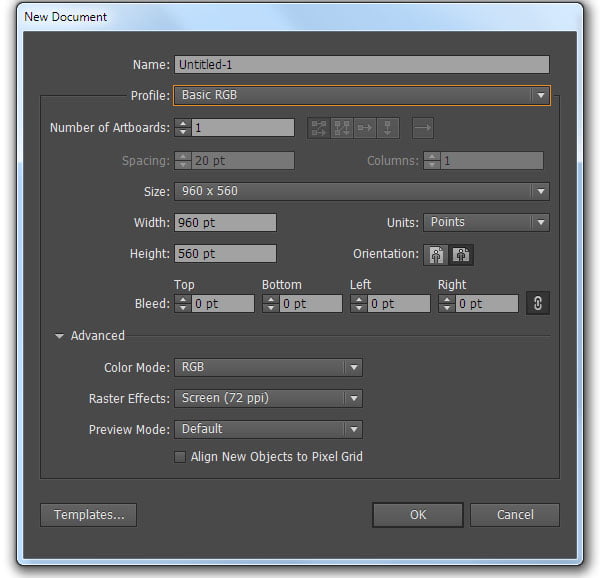
Start the Illustrator, then create a new document (File > New…). In the new dialog box New Document choose the Basic RGB profile.
Step 2
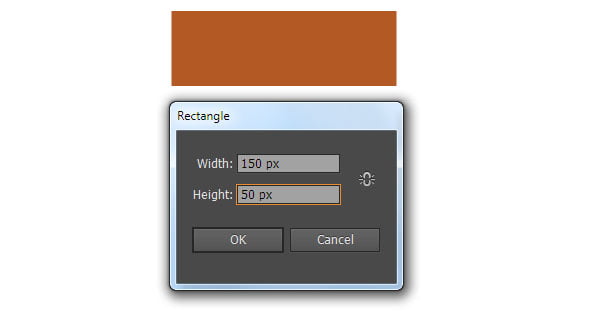
Take the Rectangle Tool (M) and click on the artboard. In the opened dialog box enter the width and the height of our rectangle — 150x100px. Fill the object with dark-orange (R = 179; G = 89; B = 36).
Step 3
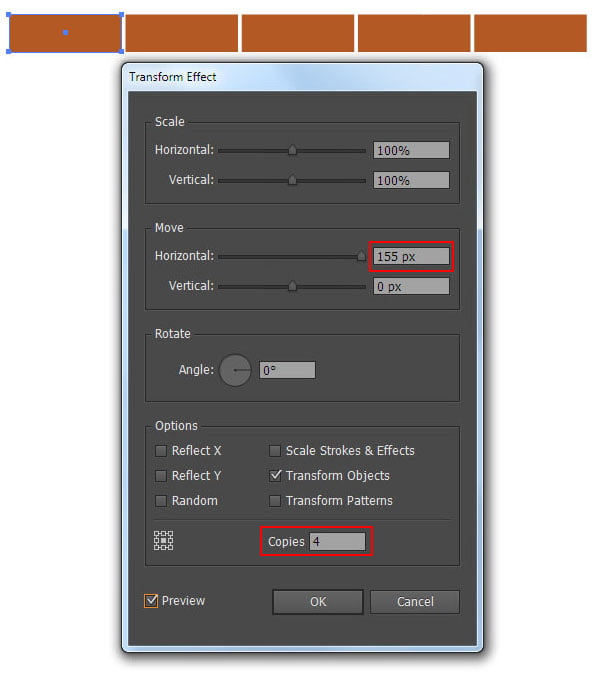
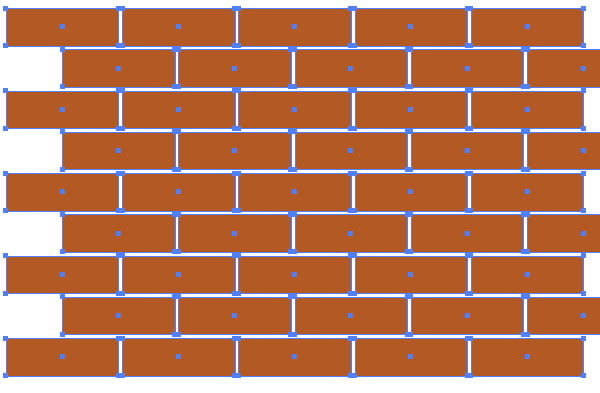
Keep the rectangle selected and go to the Effect > Distort & Transform > Transform… to set the value of the horizontal shift and a number of copies, then click OK.
Repeat the effect, but this time with different values. Go to the Effect > Distort & Transform > Transform…, set the value of the horizontal and vertical shift, a number of copies and choose the Reflect X option.
Step 4
In order to be able to work with each rectangle, go to the Object > Expand Appearance…
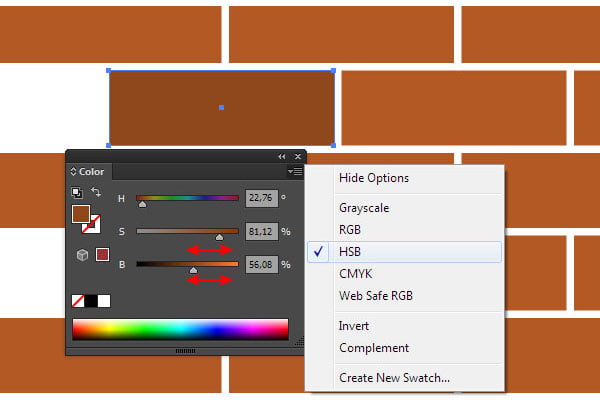
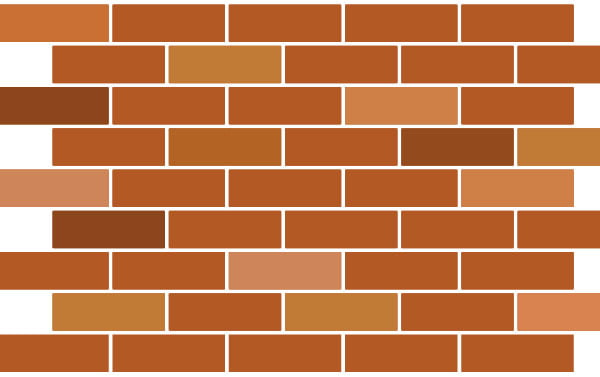
Recolor some of the bricks into darker and lighter shadows of the main color. To receive the shades of the main color quickly, switch to the HSB color mode in the Color panel. Adjust the color by moving the Saturation and the Brightness sliders.
We receive something similar to what is indicated on the figure below.
You can read full version of this tutorial on VectorCove.com
|