|
In this article you will learn how to quickly set up brushes, how to select the appropriate colorization method, how to quickly modify only the selected stroke, the compatibility of brushes with the variable width path and much more. This should enable you to work more efficiently and avoid making common mistakes.
1. Quick brushes setup
In most cases, it is difficult to immediately set up the brush parameters to match your expectations. Therefore, I recommend that you first make a brush stroke with the default settings. Then open the Brush dialog box, turn on the preview option, and play with the numbers and options, observing the changes that occur.
2. Colorization methods
If you want to create a universal brush that will change its color depending on the stroke color, you should definitely use colorization methods. This applies to Scatter, Art and Pattern brushes. Calligraphic and Bristle brushes are colored with stroke color automatically. Some users have difficulty understanding the colorization methods, so let's look at it from a practical point of view.
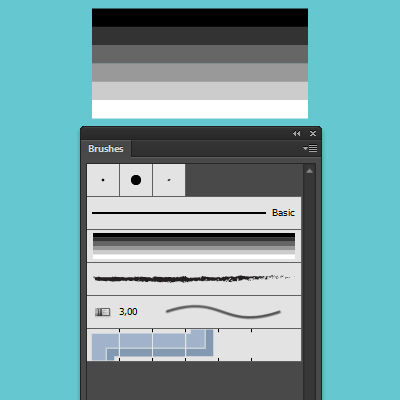
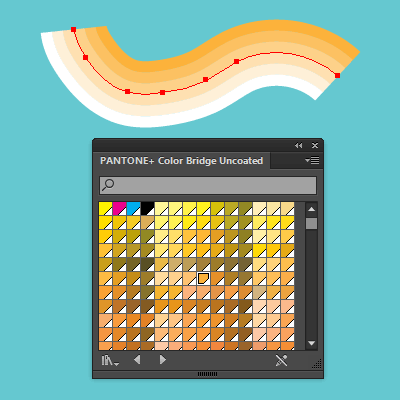
Tint — Displays the brush stroke in tints of the stroke color. If the object that was used to create the brush is black, then the stroke will have a stroke color. In all other cases, these will be lighter tints of stroke color. For example, create an Art brush which consists of several rectangles with different tints of Grayscale from K100 to K0.
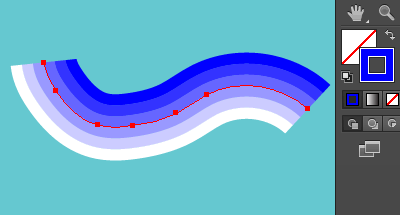
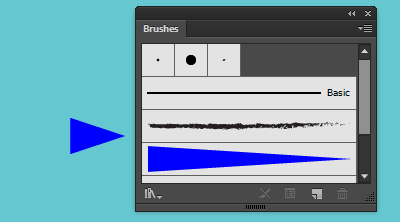
Select the blue color for the Stroke Tint method in the Art brush dialog box and draw the path with Paintbrush.
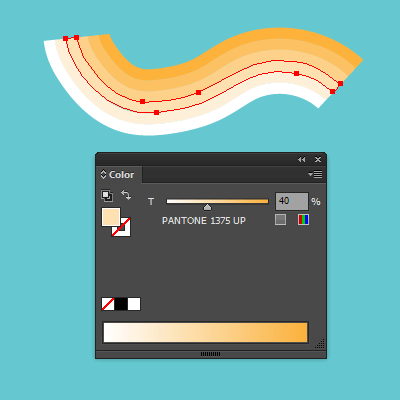
As you can see, the black color has turned into the color of the stroke, the white color has remained the same, and the remaining tints of gray color acquired the corresponding tints of the stroke. The tints method is useful to print. If you used the spot color for the stroke, all tints will be represented by percentages of this color.
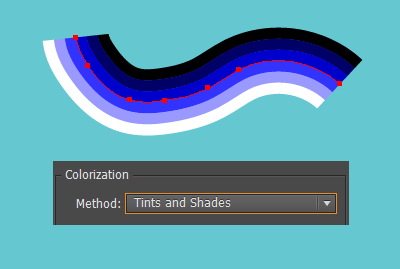
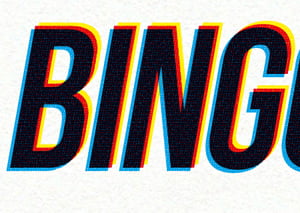
Tints and Shades — Displays the brush stroke in tints and shades of the stroke color. Tints and Shades maintains black and white, and everything between will be a blend from black to white through the stroke color. Because black is added you may not be able to print to a single plate when using Tints and Shades with a spot color. Choose Tints and Shades for brushes that are in Grayscale.
Personally, I have never used this method in multiple years of my practice, but it may come in handy for someone else.
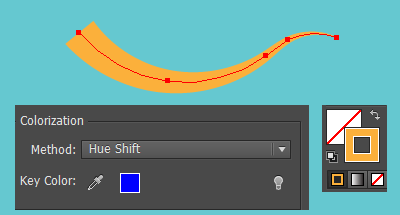
Hue Shift — Uses the key color in the brush artwork, as shown in the Key Color box (by default, the key color is the most prominent color in the art). Everything in the brush artwork that is the key color becomes the stroke color. If you have a brush object of a single color, it will match the key color and the brush stroke will have the stroke color. I often use this method, as it's usually more predictable in such cases.
You can read full version of this article on AstuteGraphics.com....
|