|
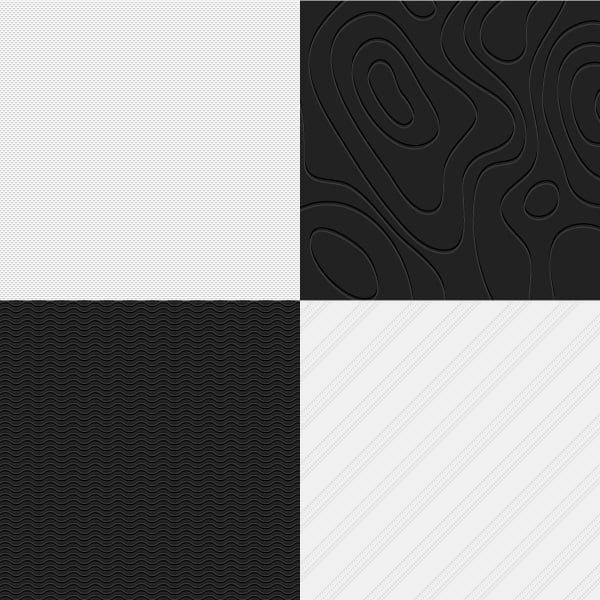
Final Image Preview Recently, the subtle pattern has been used more often in the design of the websites. Today we will learn how to create several types of these fillings. The whole process should take you only a few minutes if you use the Pattern creation feature in Adobe Illustrator CS6. Let’s begin!
The Subtle Pattern differs from the other patterns in such a way, that the shades of the elements have only a slight difference between one another and between the main background color. These patterns are mainly in the Low-key (dark) and High-key (light) lightning styles.
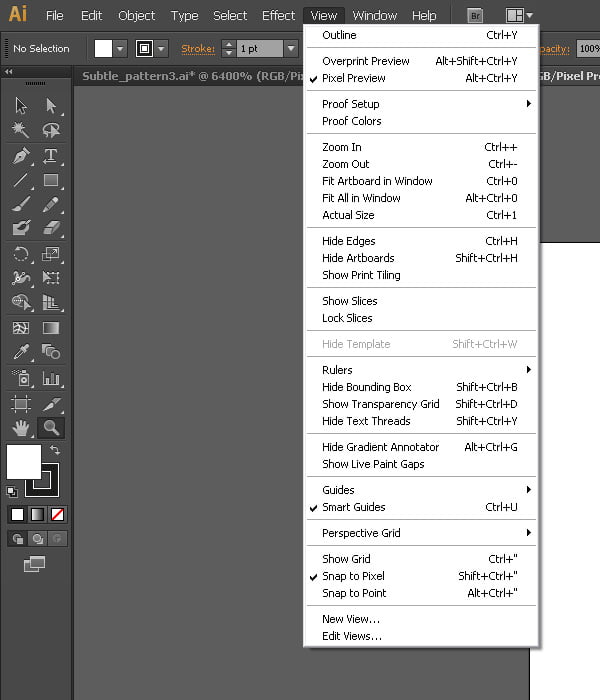
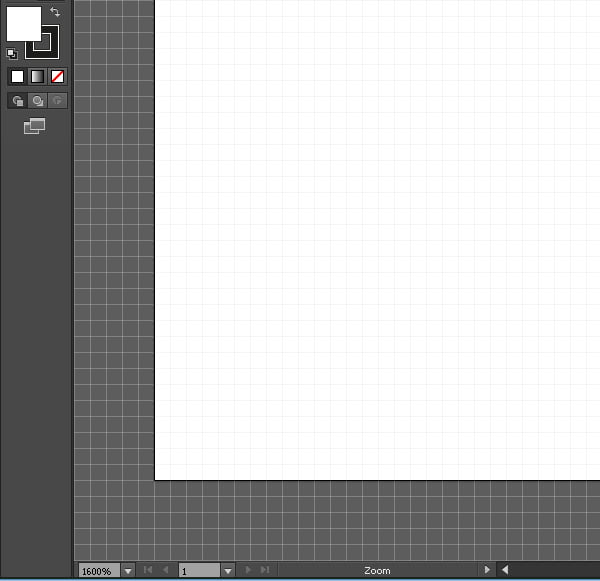
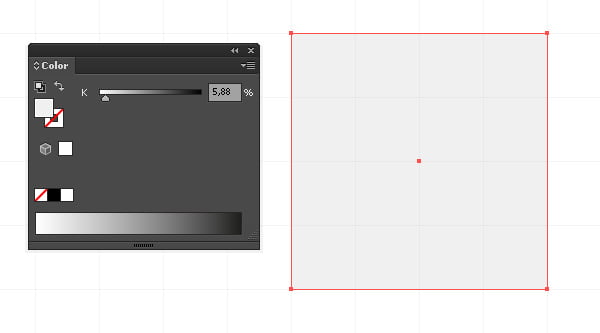
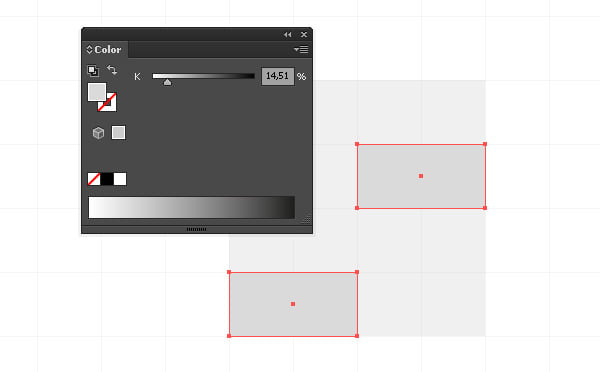
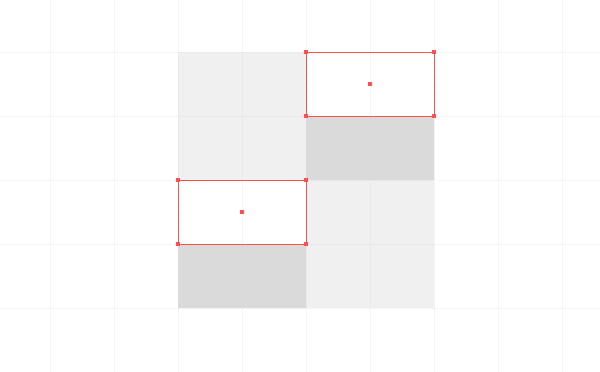
The Pixel PatternStep 1Chose the Pixel View mode (View > Pixel View) to create the pixel pattern. In this case all the created objects will be placed exactly on the lines of the pixel net, because the Snap to Pixel mod will be turned on automatically. Moreover, when you zoom the artboard, you will be able to see the lines of the pixel net, which will make the creation of the pattern much easier. Now let’s create a plain but attractive pattern. Take the Rectangle Tool (M) and create the 4*4px size rectangle with the light-grey fill. Let’s create two more 2*1px size rectangles with a bit darker grey fill and place them as it is shown on the picture below. Now create two white rectangles of the same size.
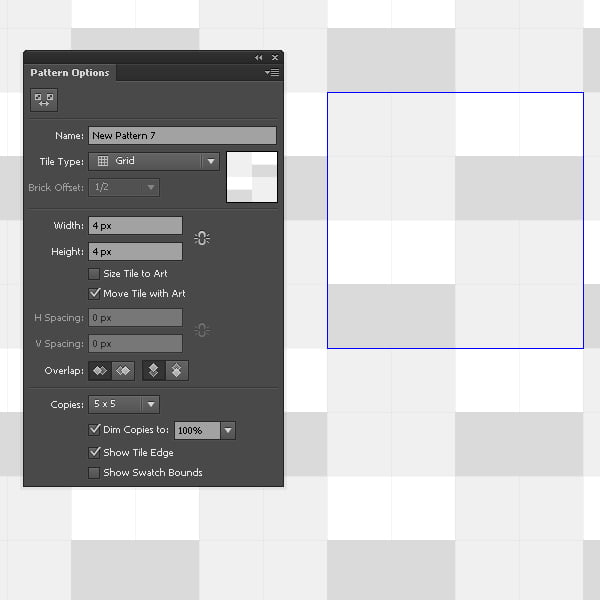
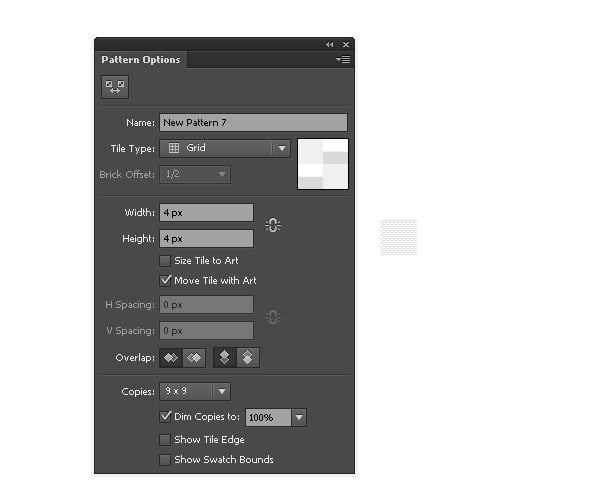
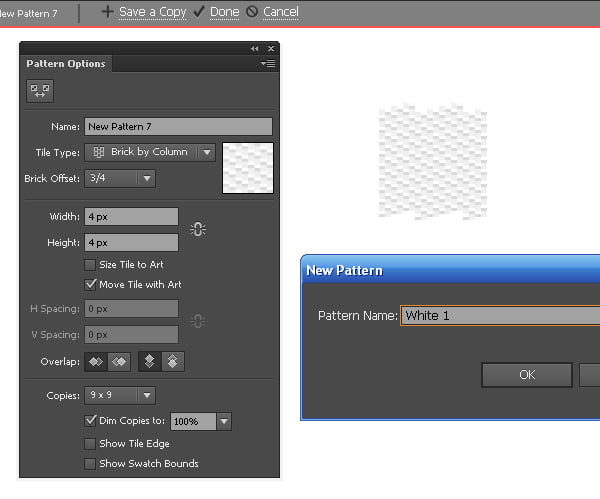
Step 2Select all the created objects and go to the Object > Pattern > Make… As the result of these actions, we are in the create-pattern mode. You can edit this pattern with the Pattern Options panel. You can have a look at the pattern in the full size and decide if you need to edit the color of its elements. We can also apply to the pattern different Tile Types, which allows us to create some several types of patterns from one element
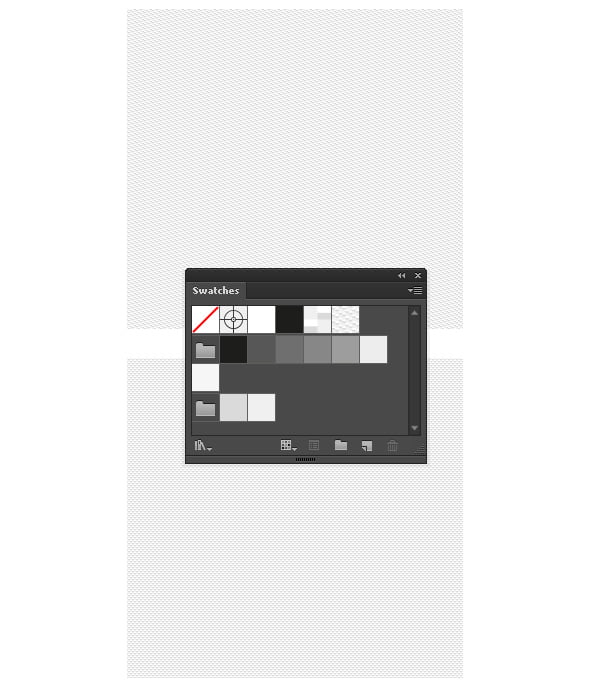
Step 3To save a couple of variants of the pattern, click on the Save a Copy on the Top bar. To save one pattern click on the Done. All the saved patterns were added to the Swatches panel. Now, let’s create a couple of figures and apply the created patterns to them. If for some reason you are not happy with your result, click on the image twice in the Swatches panel and edit it in the Pattern creation mode.
You can read full version this tutorial on VectorTuts+
Follow us if you want to be the first to know about the latest Adobe Illustrator tutorials and articles. Vectorboom team works for you!
|