|
In this tutorial we will learn how to model vector objects in Adobe Illustrator with the help of Revolve, Extrude & Bevel and Rotate effects. Then we will apply a symbol to 3D model and make it ready for our further work.
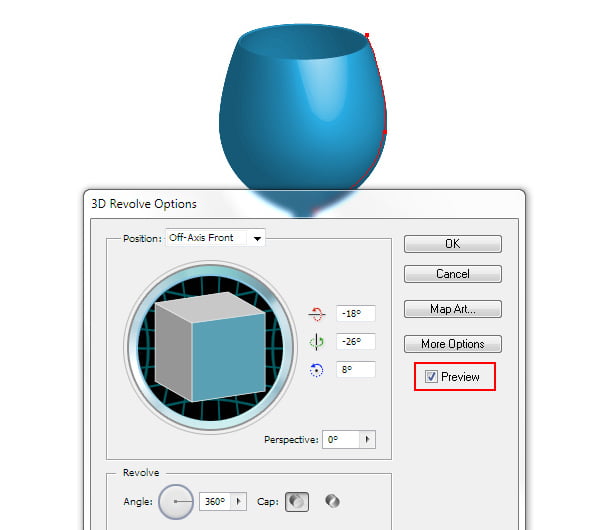
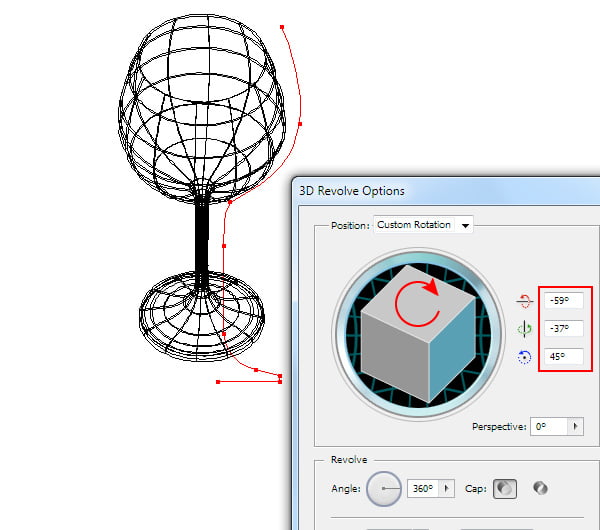
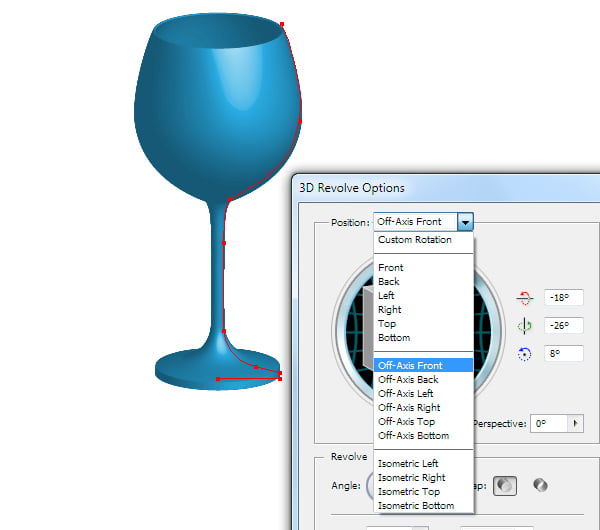
In my practice I often use 3D effects for icons creation. The figures below show some examples of work, where 3D modeling was the first step of the creation. So, let’s get acquainted with 3D effects and its parameters. Revolve EffectThis effect is designed for surface revolution creation. A wine glass is a good example of such object. With the help of the Pen Tool (P) create a shape of the half of the glass in the frontal plane. Select the created path, and then go to the Effect > 3D > Revolve… which leads to the opening of the dialog box with the effects parameters. All 3D effects have similar features, that’s why we will take a closer look at them on the Revolve example. Tick a preview option to be able to observe the changes. To control the position of an object in space serves the numeric fields in which the rotation angles can be entered around the axes X, Y and Z. You can also control object position by turning the cube in the dialog box. One of the presets from the Position list can be used for exactly the same purposes.
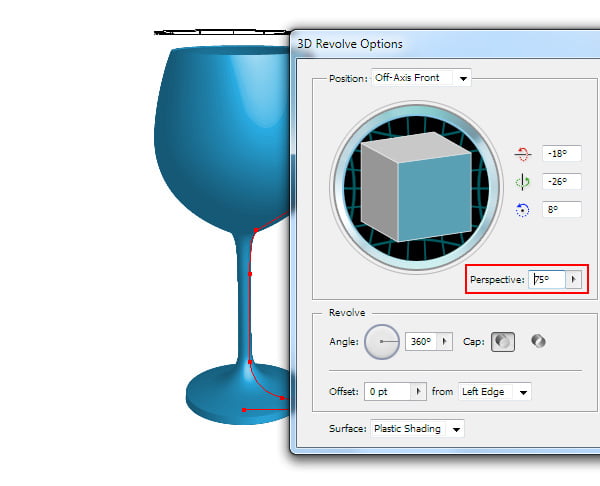
In order to apply the effects of linear perspective to the object, control the Perspective parameter. You can read full version of this tutorial on Designmodo.com
|