|
This script allocates the objects on equal distance from each other along the chosen path. Unlike the Blend Tool (Replace Spine) distribution doesn’t depend on the curvature of the path, besides, you can allocate different objects which are located in one or a couple of groups…
The script Distribute on the Path (developed by Hiroyuki Sato) can be downloaded by clicking on the Download button in the beginning or at the end of this overview.
Install the script in the script folder Adobe Illustrator, for example:
For Windows users: C:\Program Files\Adobe\Adobe Illustrator CS5\Presets\en_GB\Scripts
For Mac users: Applications / Adobe\Adobe Illustrator CS5\Presets\en_GB\Scripts
To demonstrate the script, I took a couple of illustrations from symbol library and created a path. For proper operation of the script, this path should be placed above all distributed objects.
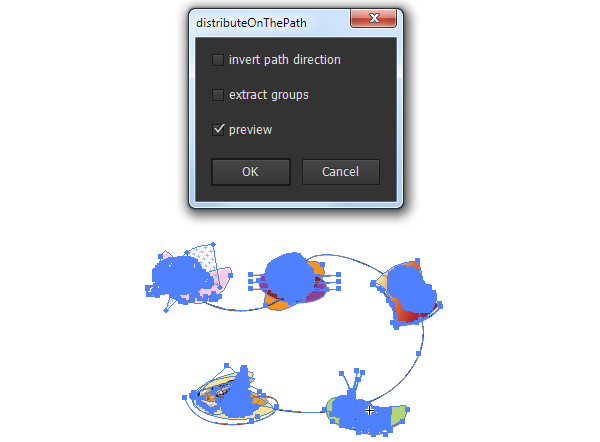
Select the objects which we want to allocate and a path. To start the script go to the File > Script > distributeOnThePath. As a result, a dialog window opens where we can select some options. The Invert path direction option changes path’s direction and also sequence of distributed objects. The Extract groups option ungroups objects if they were in one group. The preview option gives an opportunity to see the allocation of the objects without closing the dialog box.
The script distributes objects equally along open and closed paths.
I hope that this new script will speed up your work process.
You can also follow my recommendation and take a look at earlier published tutorial — How to allocate different vector objects along a circle in Adobe Illustrator.
|