|
Final Image Preview
Topic: Adobe Illustrator
Difficulty: Intermediate / Advanced
Estimated completion time: 2-3 hours
In this tutorial we will recreate the LEXXMT LTD logo. You can not sell or somehow get profit (commercial usage) for any materials copyrighted by LEXXMT LTD.
In this Adobe Illustrator tutorial I’ll tell you how to create icons for iOS-applications, we will also talk about the technical requirements that are applied to this kind of products. In the process we will be using unique techniques that will allow you to create light and shade and soft play of colors. Let’s begin!
Step 1
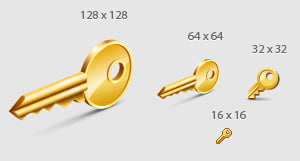
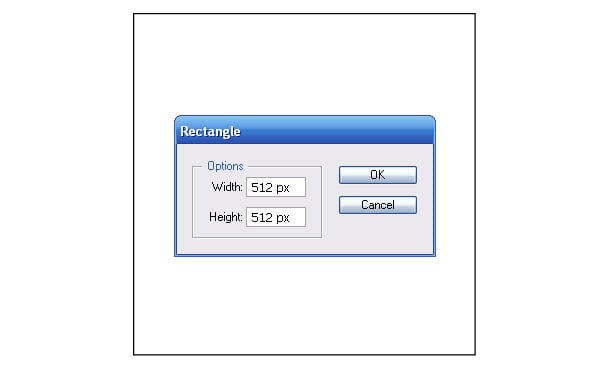
Before creating an icon for universal iOS-applications, you need to know the exact size of an icon that you are playing to create. If you are making a few icons, you will need to create a new drawing for each drawing. For each specific size it is required not only to reduce the large icon with a lot of details, but highlight the major (while discarding minor) elements, otherwise the final result will become a mess. Now we will create an icon 512 by 512 px in size, the other sizes and variations of the icons will be discussed in the concluding part of this tutorial. So, take the Rectangle Tool (M) and create a square 512 by 512 px, this way we limit the workspace of our icon.
 I want to draw your attention to the fact that no matter what shape you draw the icon, the frame with rounded edges will be automatically applied to it, so you do not have to think about it too much and can leave the original one square. But if you want to use some special graphics techniques, emphasizing borders of the icon, they will have to be created.
Step 2
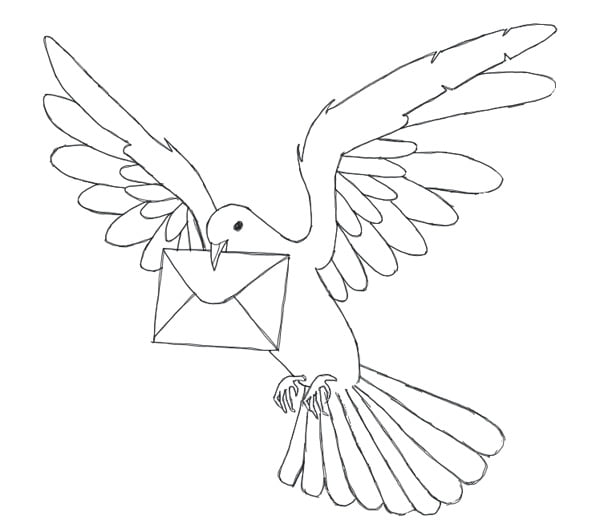
Now we need an idea (in this tutorial I will be using the graphic of my friend, Valentine Sant, who kindly provided it for this tutorial). Most professional designers start everything with a working sketch.
I think it’s a good idea to associate a carrier pigeon with mail app. Now we need to create a sketch that will serve as a prototype for the creation of vector objects.
Paste this sketch in the workspace of Adobe Illustrator (File > Place …).
Step 3
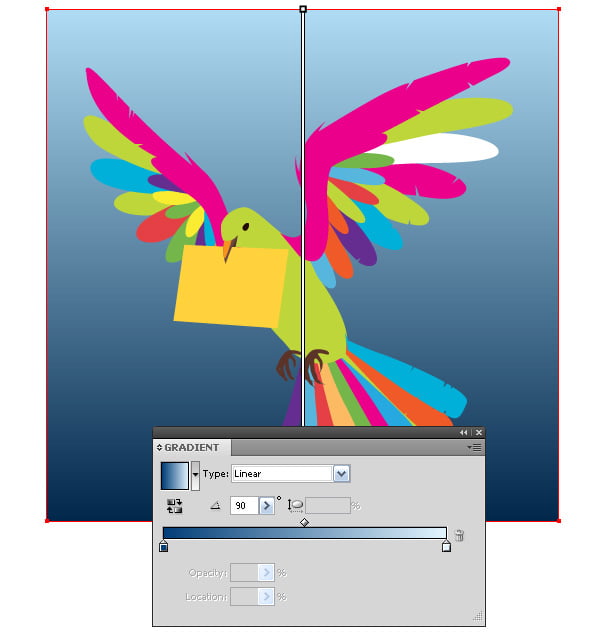
Based on a working sketch, create basic elements of our composition. In this artwork I’m using the Pen Tool (P) and filling objects with different colors in order to place them in the right sequence.
As you can see, I immediately placed all the objects inside the frame which limits the size of icon.
Step 4
I always create a background before proceeding to vector objects coloring. Only in this case you will be able to pick right colors. Fill the square created in the first step with a vertical linear gradient from light-blue to blue.
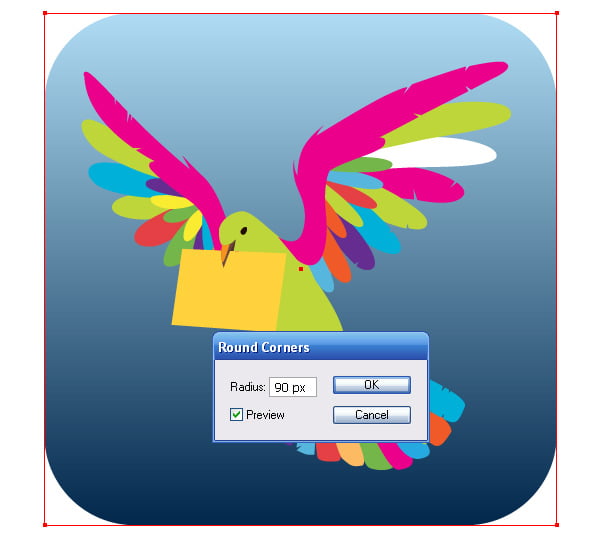
Let’s have the background of the icon done completely so we do not have to return to it again. To round the corners of the square go to Effect > Stylize > Round Corners … and set the radius of rounding in the dialog window.
In this tutorial we recreated the LEXXMT LTD logo. You can not sell or somehow get profit (commercial usage) for any materials copyrighted by LEXXMT LTD.
You can read full version this vector tutorial on Designmodo
Follow us if you want to be the first to know about the latest Adobe Illustrator tutorials and articles. Vectorboom team works for you!
|